
What is BCG?
EzeScan’s Barcode Coversheet Generator (BCG) is a powerful component of the EzeScan WebApp suite, purpose-built to streamline the production of barcoded cover sheets.
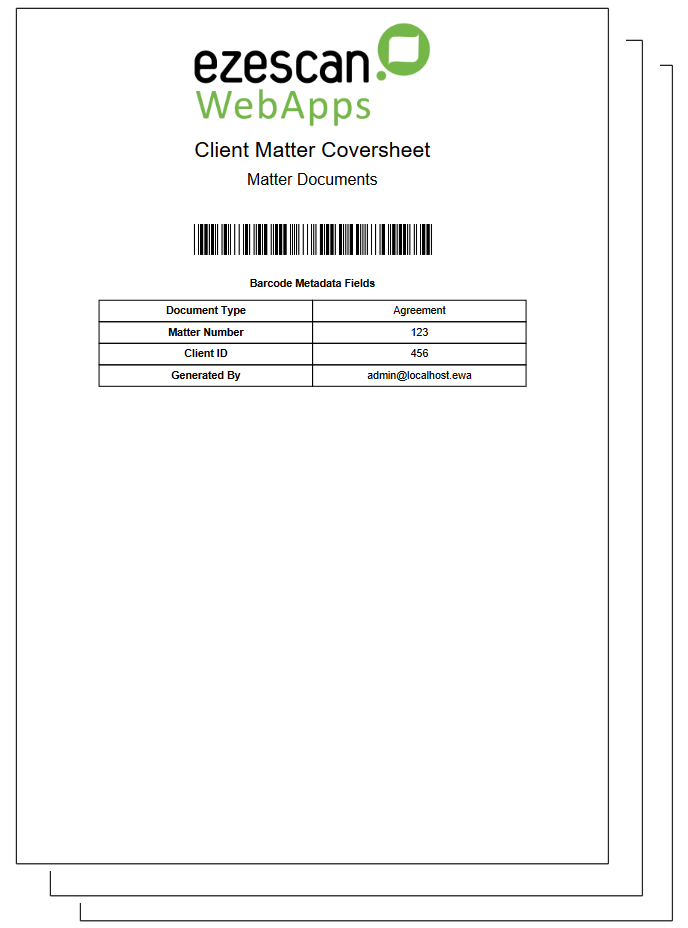
Launching the BCG app, allows the user to enter/select barcode metadata, print the barcode cover sheet, then place it on top of a document prior to scanning.
The scanned document (including cover sheet) is usually sent to a RIA queue for processing.
The barcode on the barcoded cover sheet must be configured to contain enough metadata to allow a RIA queue to import the scanned document and use the information contained in the barcode to register the scanned document into the correct location in the back-end system (usually without requiring any user interaction).
When the document is saved to the back-end system, the barcoded cover sheet is removed and only the actual document content pages are retained.
The purpose of the barcoded cover sheet is to basically pass across all required indexing metadata to RIA so the document can be automatically indexed into the back-end system without needing to verify the document+metadata in the RIA queue.
Creating a New BCG Page
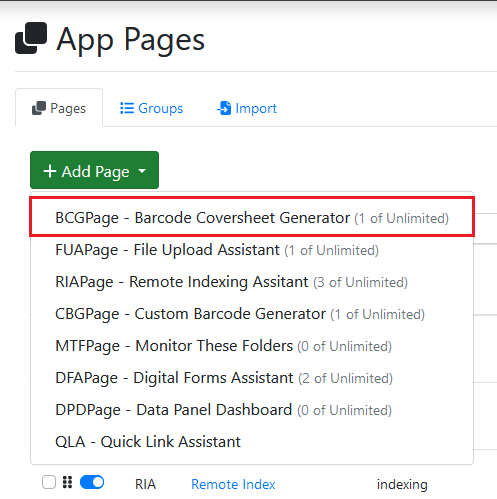
To create a new BCG App, select BCGPage from the Add Page drop down menu on the App Page.
General Tab

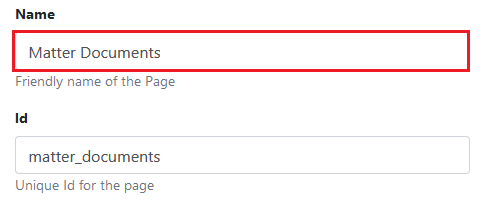
Name Field
Type a name of the App page in the first text box. As you write this name in, WebApps will simultaneously created a unique ID for the page in relation to that name you have submitted.
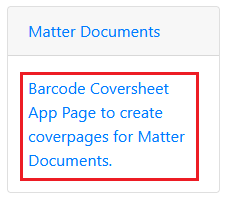
Description Field
Enter a brief description for this app page into this text box. The description field displays on the homepage app tiles and in your list of app pages


Setting Permissions
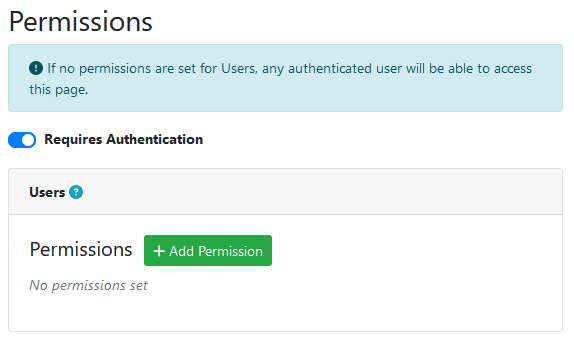
Admins have the ability to generate permissions for app pages. By default, new App pages have the requires authentication toggled on. If no users are set in the users panel, any authenticated user will be able to access this app page. To add user permissions, click the add permission button.
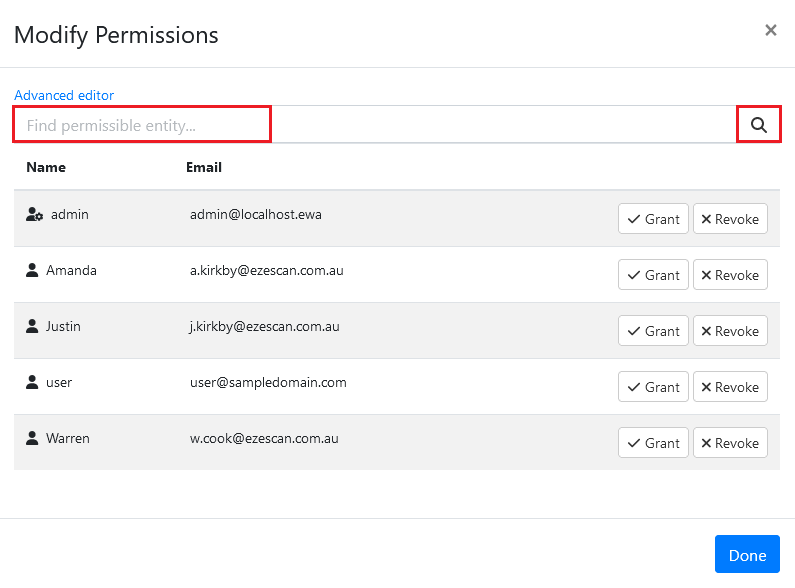
In the browser, search for a user in the text box or click the search icon to show all users.
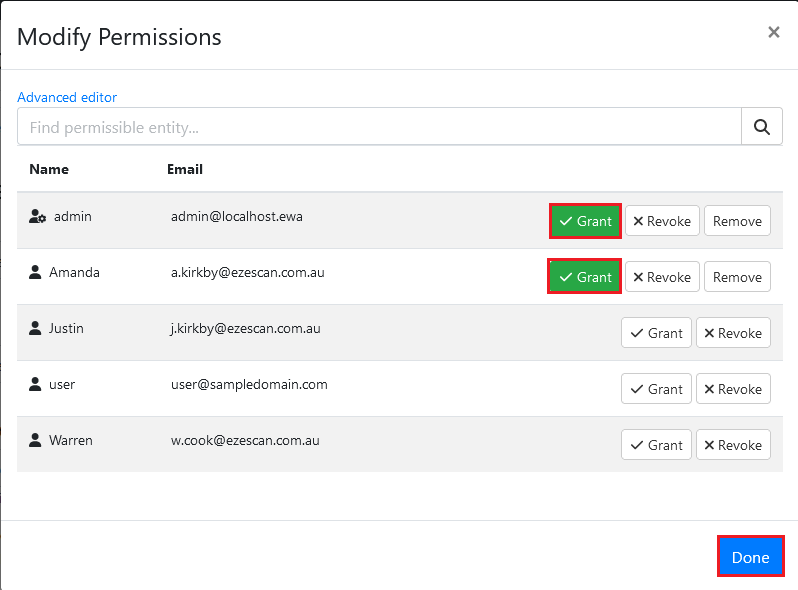
Click the grant button to give a user permission to the app page. Once a user has permission the grant button will appear green. To remove access click the remove button and the grant button will return to white. Click the done button to return to the app page.
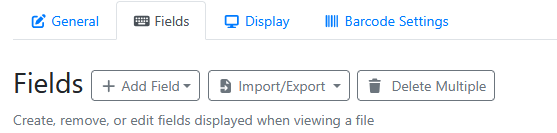
Fields Tab
Create, remove, or edit fields to be displayed on the barcode coversheet. Users have the ability to create a field or import from another page or JSON.
Adding a Field
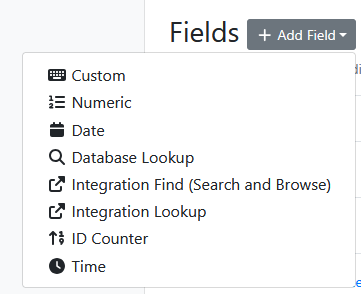
To add a new field, select the add field button and select a field from the drop down menu.
|
ID Counter |
Use Case |
|---|---|
|
Custom |
This field type is a string field, that accepts nearly any character generated by the keyboard. |
|
Numeric |
The field type allows a numeric field value to be entered. It includes options to specify a number of decimal places (so it can be used to enter currency values). |
|
Date |
This field type allows a date to entered in a valid data format (e.g. like DD/MM/YYYY) or chosen from a date picker. |
|
Database Lookup |
This field runs a database query to help populate the field value. |
|
Integration Find |
This field type displays an integration find dialog to search for a value to to populate the field value with. |
|
Integration Lookup |
This field type runs an an integration lookup to display a drop down list to choose a value from, to populate the field value. |
|
ID Counter |
This field type retrieves the next incrementing value of an ID Counter hosted on EzeScan Authority Server. |
|
Time |
This field type allows a time to be entered in a valid time format (e.g. HH:MM). |
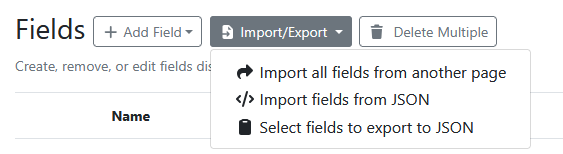
Import/Export
|
Field Types |
Use Case |
|---|---|
|
Import all fields from another page |
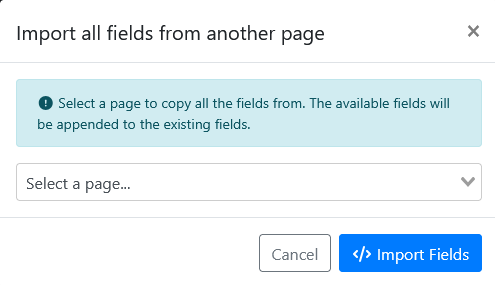
Choose the page that you want to import the fields from. Then press the Import Fields button. The imported fields should now appear at the bottom of the fields list. |
|
Import fields from JSON |
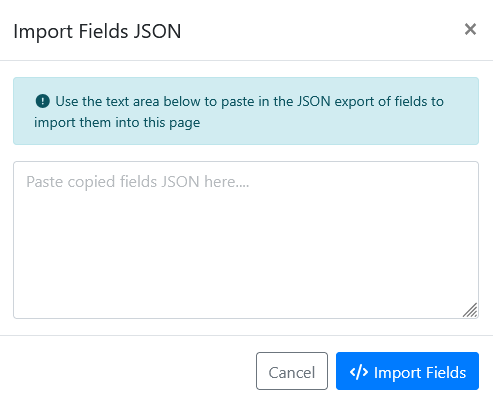
Paste in the JSON data from the clipboard (that you had previously exported to the clipboard), then press the Import Fields button. The imported fields should now appear at the bottom of the fields list. |
|
Select Fields to export to JSON |
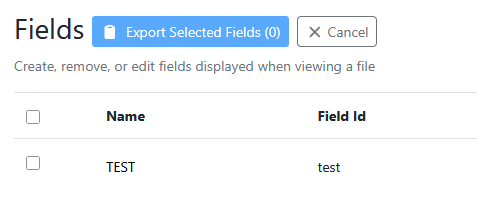
Tick the field(s) you want to export. Press the Export Selected Fields button. The selected field(s) are exported in JSON to the clipboard. |
Delete Multiple
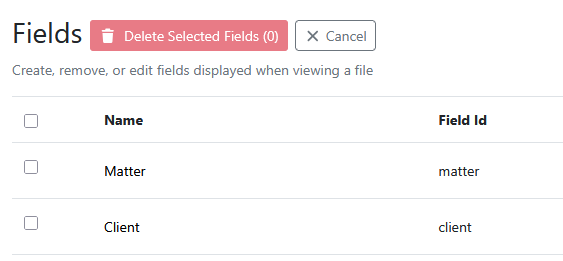
Tick the field check boxes that you want to delete, and then press the Delete Selected Fields button.
Display Tab
|
Setting |
Description |
|---|---|
|
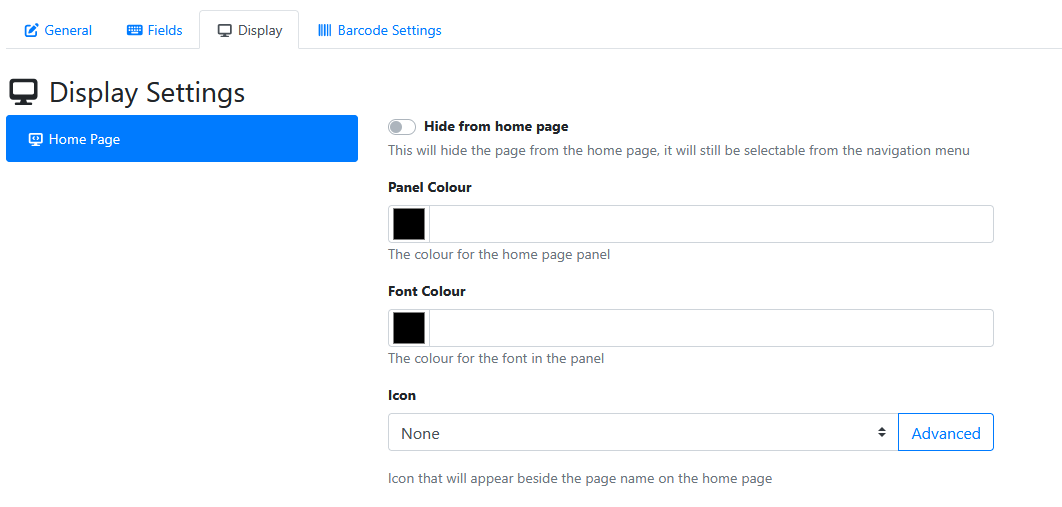
Hide from home page |
This will hide the page tile from the home page, but it will still be selectable from the navigation menu. |
|
Panel Colour |
This changes the background colour of the tile. It is white by default. To change the colour you can click the black square to select a colour from the colour picker or type a hex code into the text box. 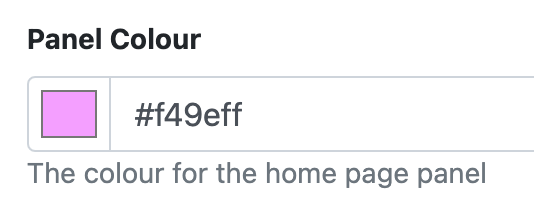
|
|
Font Colour |
This changes the font colour of the text inside the tile. It is blue by default. To change the colour you can click the black square to select a colour from the colour picker or type a hex code into the text box. 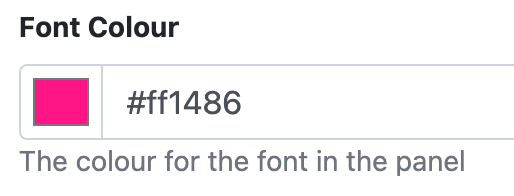
|
|
Icon |
Allows you to select an icon that will appear beside the page name on the tile. This can be done in 1 of two ways:
The selected icon will appear in the grey box. 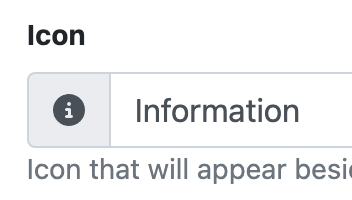
|
Barcode Settings Tab


|
Barcode Settings |
|
|---|---|
|
Barcode Type |
Select the barcode font type to use on the coversheet from the drop down menu. The default barcode is PDF417. 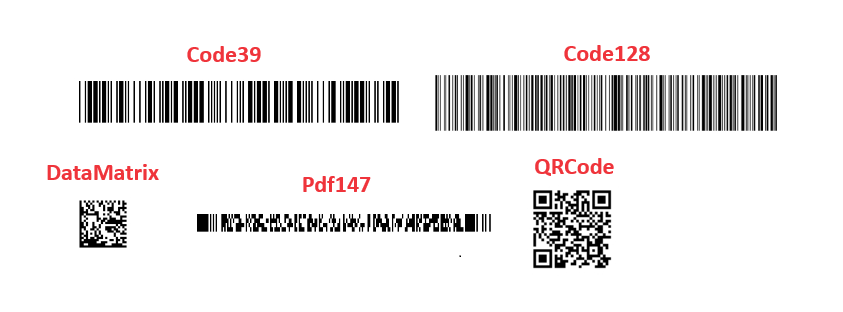
|
|
DPI |
Type in the DPI value to use for the generated barcode. Otherwise use the up/down arrow keys towards the right of the text down to increase or decrease the default value of 96. |
|
Columns |
Type in a value for the number of columns to use in supported barcode types. Alternatively use the up/down arrow keys towards the right of the text down to increase or decrease the default value of 8. |
|
Generated By Field |
Add the coversheet creators username or email address to the barcode data. This will also appear in the list of field on the coversheet. 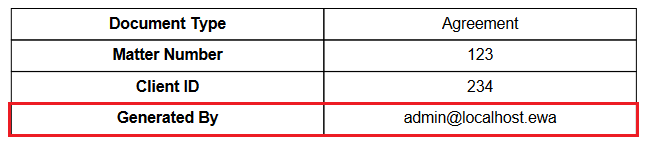
|
|
Data Format |
Select how the barcode data is generated from the drop down menu. Values is selected as the default option. Values Example output: value 1%value 2%value 3. Key Value pairs example output: field1=value 1%field2=value 2%field3=value 3 |
|
Output Display |
|
|
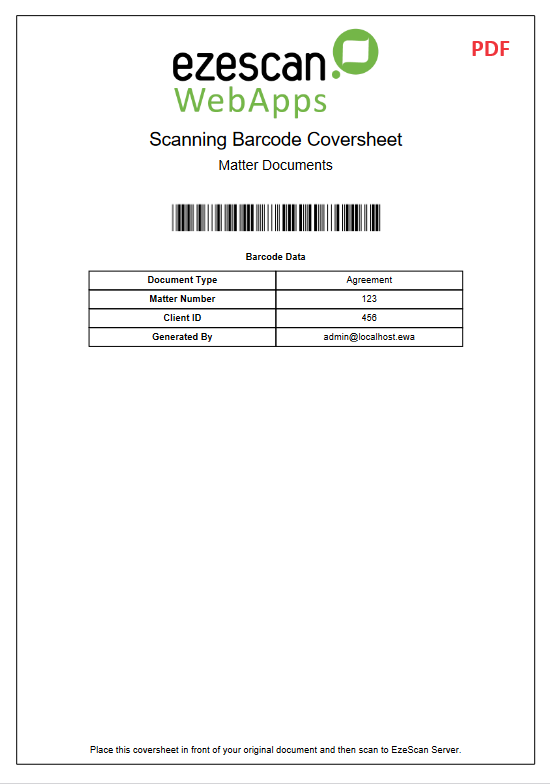
Output Format |
Select whether you would like to output the barcode coversheet as a PDF or Webpage. 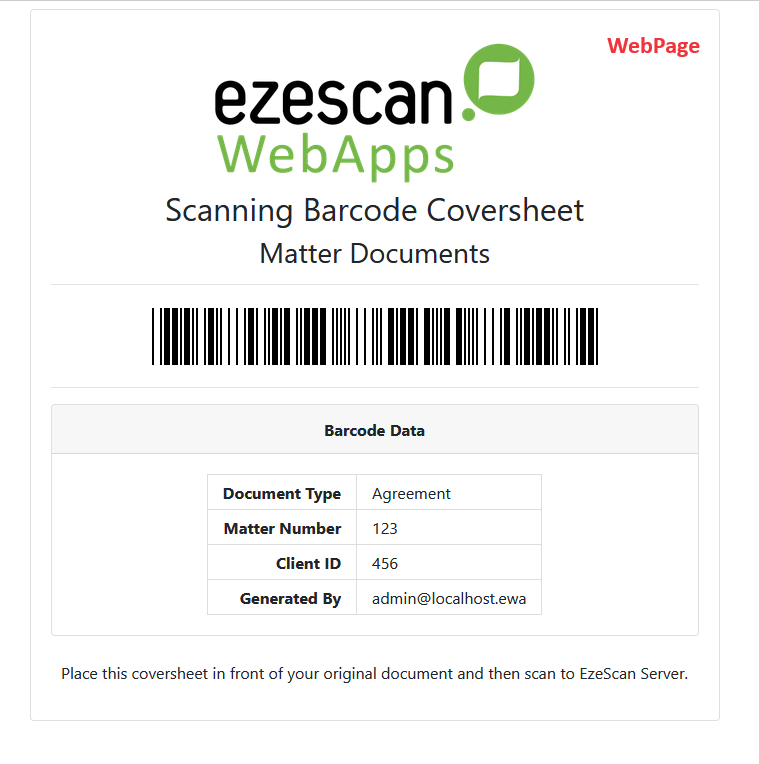
|
|
Title |
Enter a title that will appear at the top of the coversheet. If left blank, the title will appear as “Scanning Barcode Coversheet”. 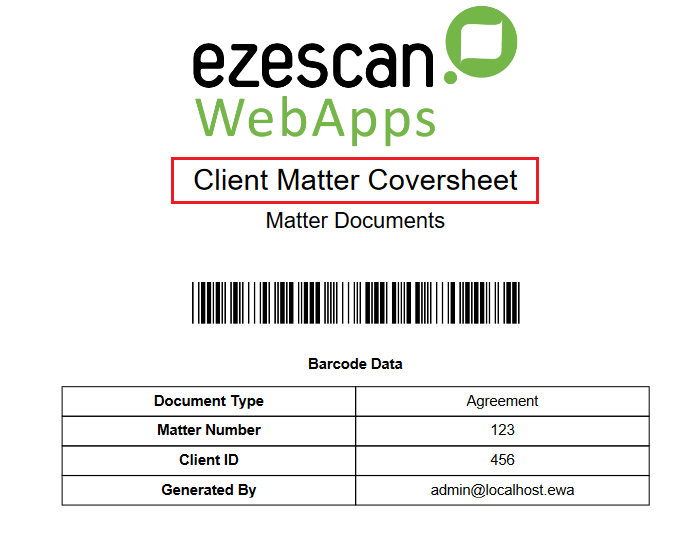
|
|
Barcode Data Label |
Enter text to display above the table of barcode data values. If left blank, the default “Barcode Data” will be used. 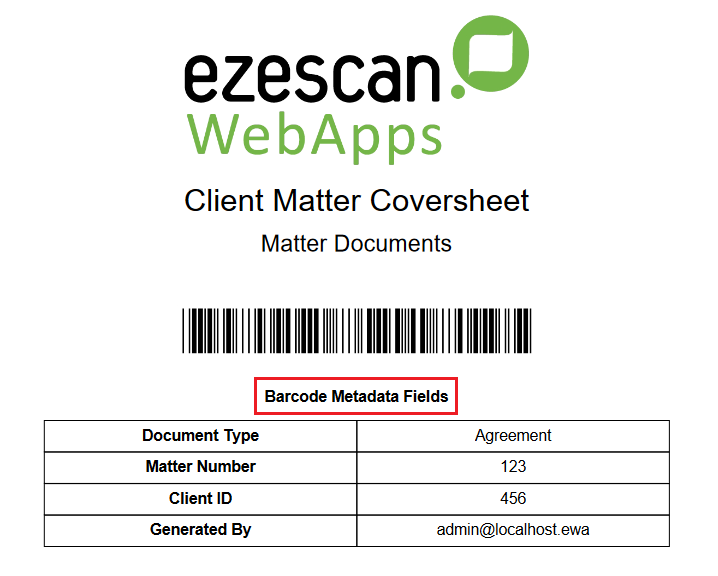
|
|
Footer Text |
Enter text to display at the bottom of the coversheet. If left blank, the default text “Place this coversheet in front of your original document and then scan to EzeScan Server” will be used. 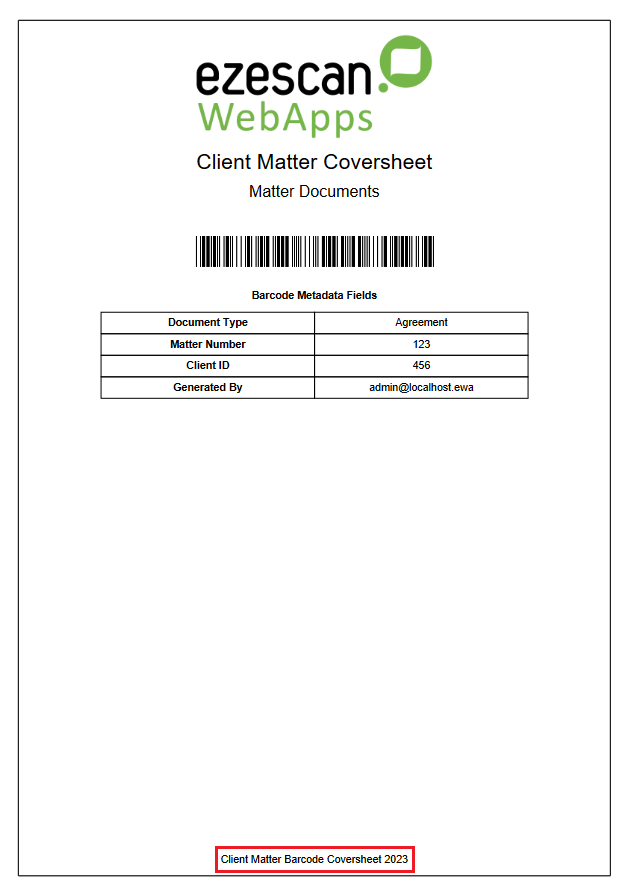
|
|
Generate Page Display |
|
|
Generate Button Text |

Enter custom button text for generating the coversheet. If left blank, the default “Generate Coversheet” will be used. 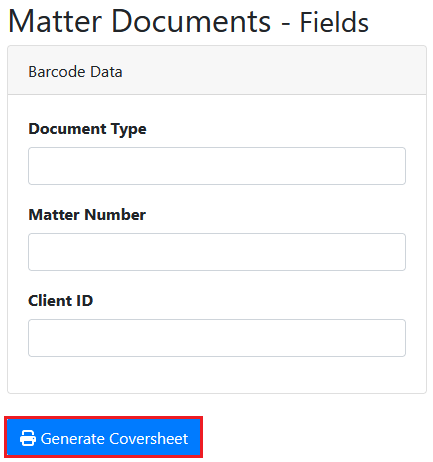
|
|
Included Fields |
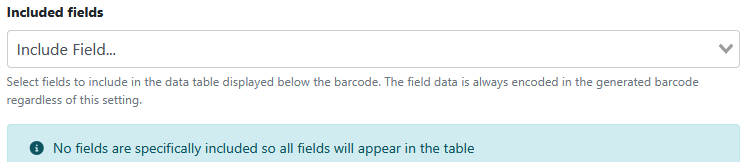
When blank, the default behaviour is to include all fields in the grid displayed below the barcode font on the printed cover sheet. If you want only a subset of fields add the field names to include here.
|
|
Excluded Fields |
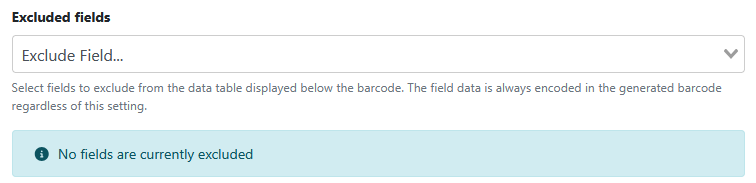
When blank, the default behaviour is to not exclude any fields in the grid displayed below the barcode font on the printed cover sheet. If you want only a subset of fields add the field names to exclude here. |