Use these steps to use the EzeScan WebApps Indexing tool to successfully migrate all indexing items from one EWA install to another.
Prerequisites
Please ensure the following:
-
Server running the tool has .NET Core 3.1 Runtime installed.
-
Source EWA installation is running 3.0.0 or above using SQLite.
-
Target EWA installation is running version 3.3.2 or above and has been configured to use SQL Server.
Step-by-step guide
Export the items from the source EWA installation.
The export verb supports the following options:
|
Option |
Description |
|---|---|
|
--ewa-dir |
Required. Root directory of EWA installation to run export on |
|
--out-dir |
(Default: C:\Temp\EWA-Export) Directory to export to |
|
--ewa-version |
Override detected version with specified version |
|
--help |
Display this help screen. |
|
--version |
Display version information. |
-
Download and extract the EzeScan.WebApps.Indexing.Tool.1.x.x.zip file.
-
Open Powershell and navigate to the directory where the extracted EzeScan.WebApps.Indexing.Tool.exe is located.
-
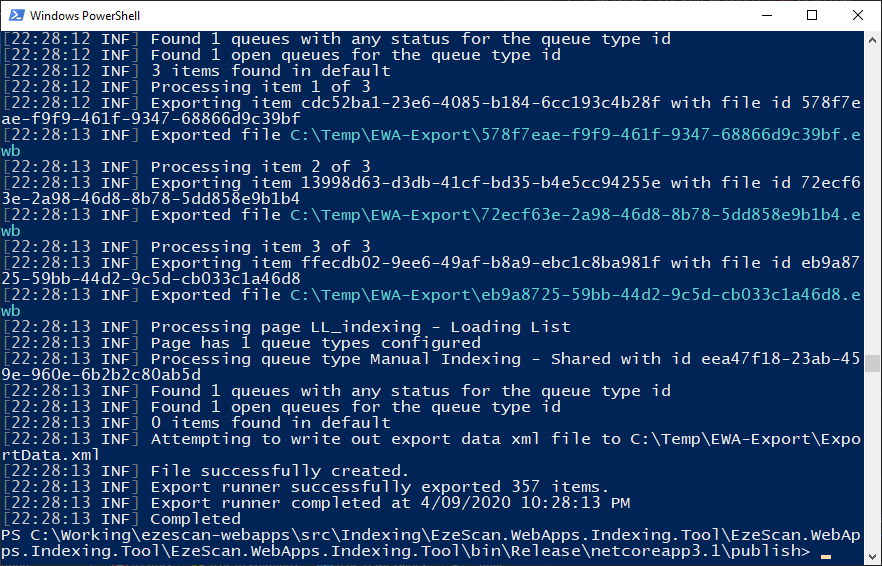
Run the following command to export the indexing items in the source installation.
.\EzeScan.WebApps.Indexing.Tool.exe export --ewa-dir "C:\EzeScanWebApps"
-
Confirm you see a success message at the end of the export. "Export runner successfully exported xxx items"
The export process can take a long time if you have a large number of items in the source EWA installation.
Import the items into the target EWA installation.
The import verb supports the following options:
|
Option |
Description |
|---|---|
|
--url |
Required. Url of EWA instance to upload items into |
|
--api-key |
Required. API Key of target EWA instance |
|
--in-dir |
(Default: C:\Temp\EWA-Export) Location of the exported items you wish to import |
|
--force |
(Default: false) Upload all items regardless of their Status value |
|
--help |
Display this help screen. |
|
--version |
Display version information. |
-
Before you start ensure you have copied your settings.xml and license.xml files from the source EWA installation.
-
Log into the target EzeScan WebApps installation and navigate to the admin panel.
-
Select Authentication on the left menu and then note the configured Service Key value which can be found on the Service Key tab.

-
Download and extract the EzeScan.WebApps.Indexing.Tool.1.x.x.zip file.
-
Open Powershell and navigate to the directory where the extracted EzeScan.WebApps.Indexing.Tool.exe is located.
-
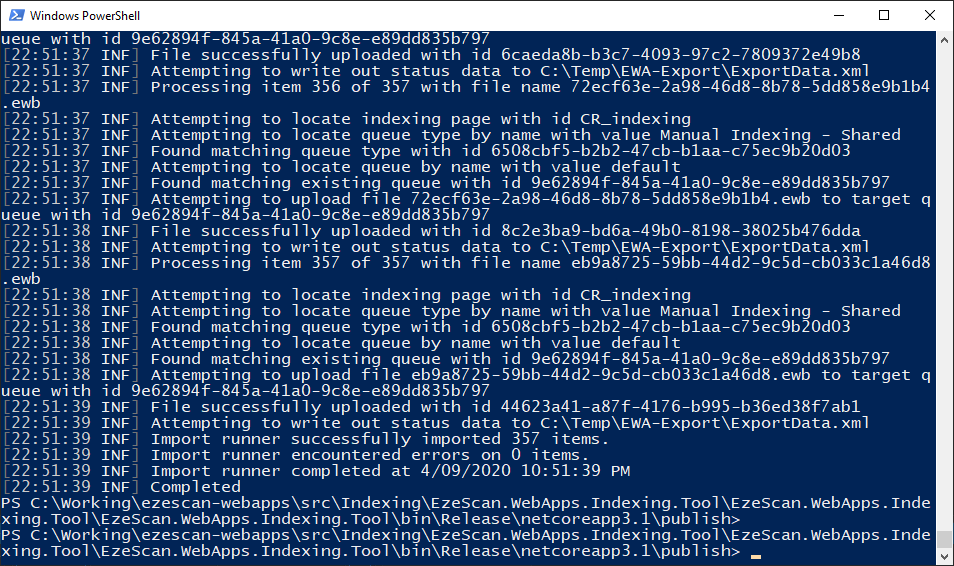
Run the following command to import the indexing items into the target installation.
.\EzeScan.WebApps.Indexing.Tool.exe import --url "http://ewa-server.domain.com/" --api-key "38832c83-16fd-47a0-b017-93ac433abe69"
-
Confirm you see a success message at the end of the import. "Import runner successfully imported xxx items"
-
Confirm you see no errors at the end of the import. "Import runner encountered errors on 0 items."