ADFS Configuration
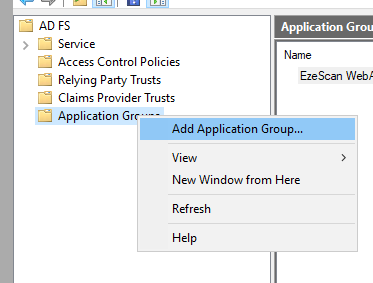
Add Application Group
-
In AD FS Management right click Application Groups then select Add Application Group.
-
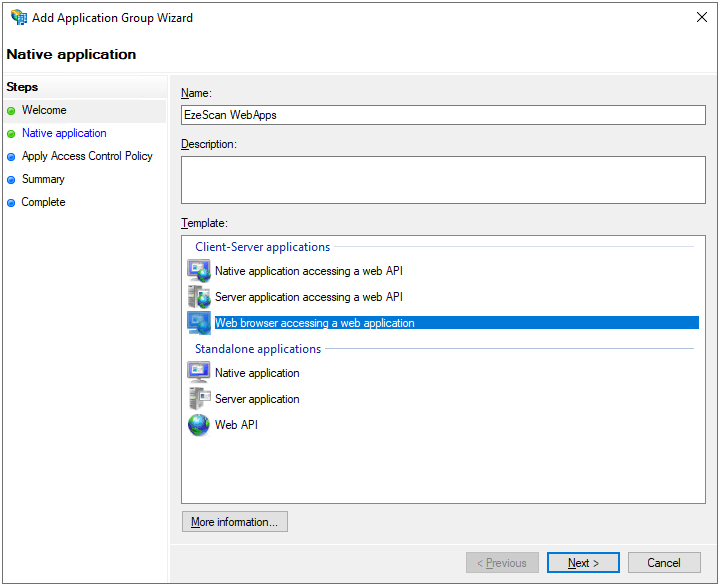
Enter the following details and then click the Next button:
Option
Value
Name
EzeScan WebApps
Template
Web browser accessing a web application
-
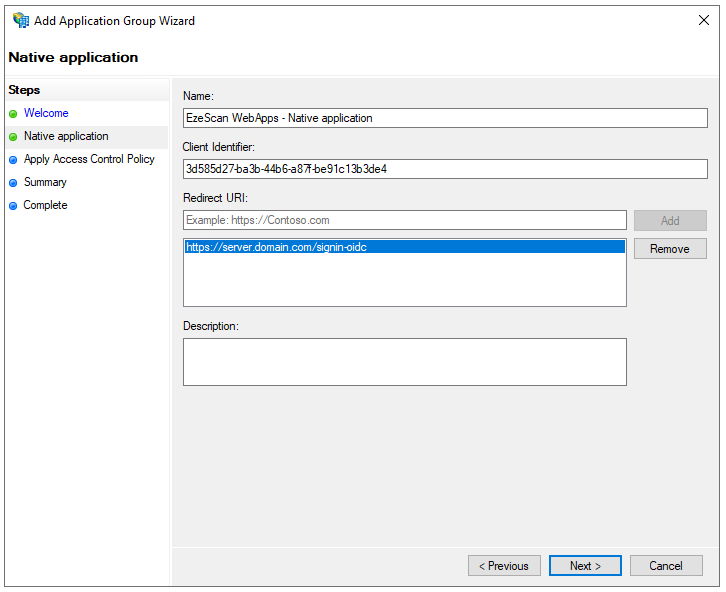
Enter the following details and then click the Next button:
Option
Value
Name
EzeScan WebApps - Native application
Redirect URI
https://server.domain.com/signin-oidc
This should be the URL you use to access EWA with a "/signin-oidc" on the end.
Note: Be sure to click the "Add" button!
-
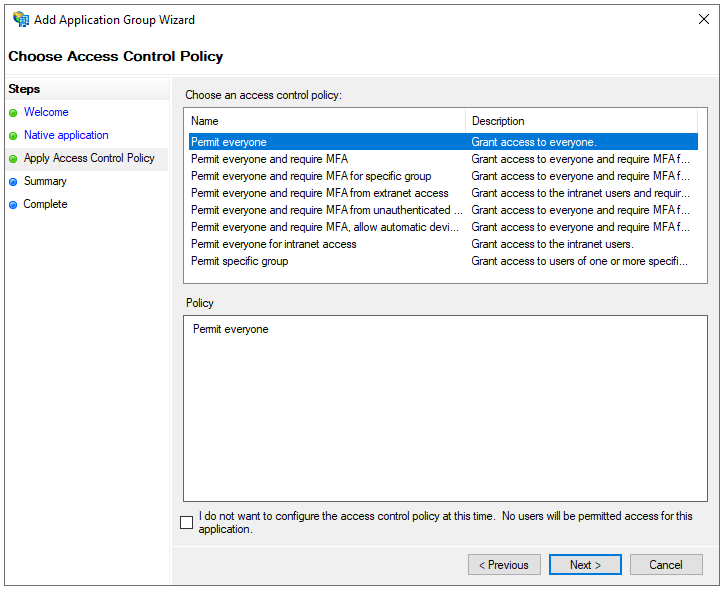
Select your relevant access control policy and then click the Next button.
-
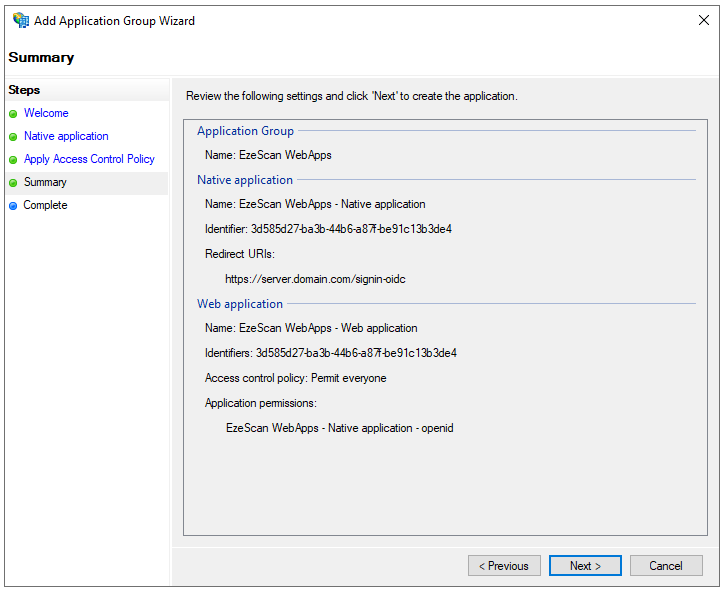
Review the information and then click the Next button.
-
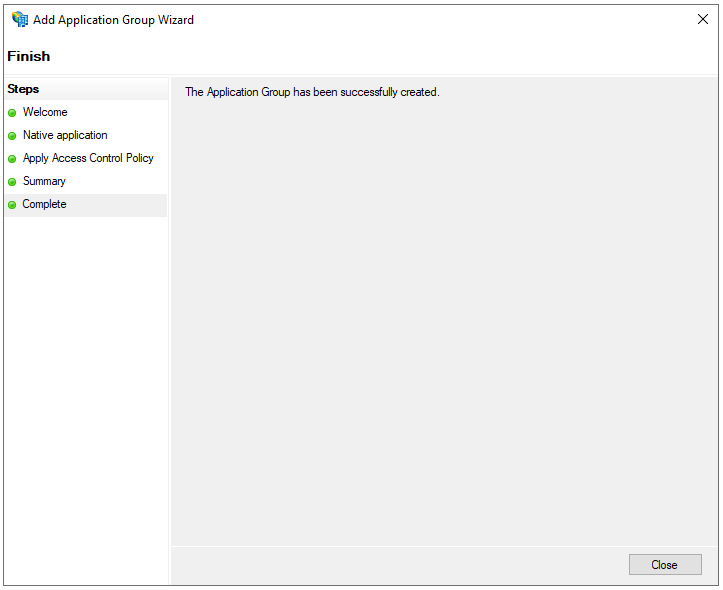
Click the Close button.
Map Claims
-
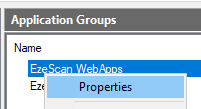
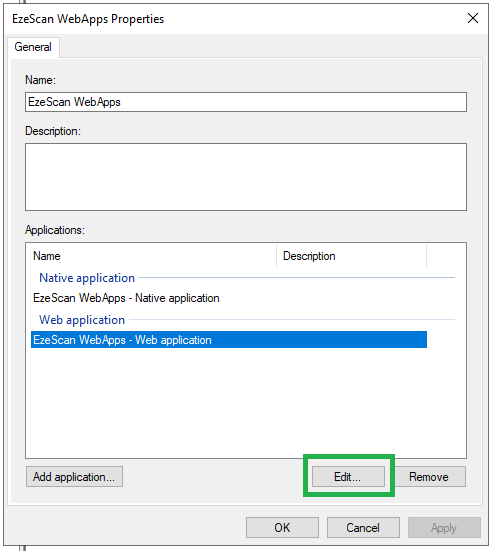
Right click the created Application Group and select Properties.
-
Select the Web Application and click the Edit button.
-
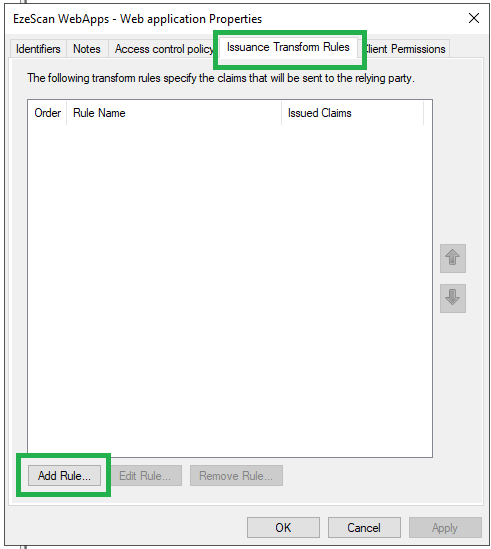
Select the Issuance Transform Rules tab and then click the Add Rule... button.
-
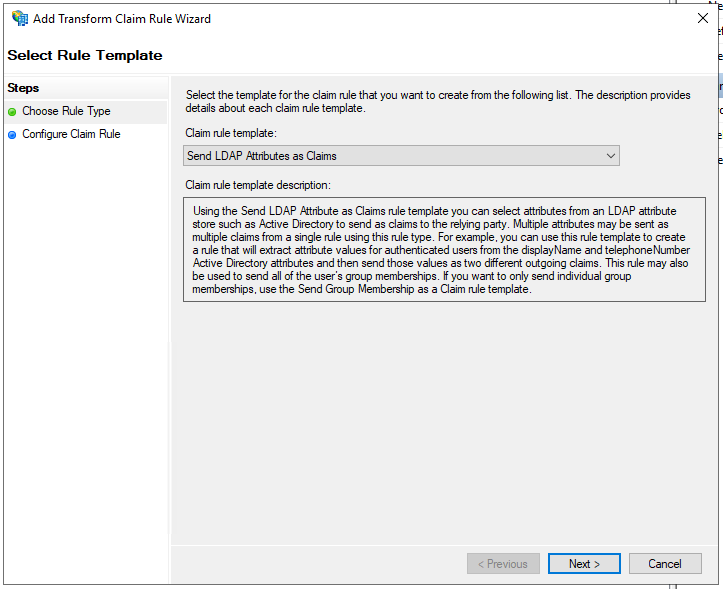
Leave the default Send LDAP Attributes as Claims option and click the Next button.
-
Enter the following details and then click the Finish button:
|
Option |
Value |
||||||||||||||
|---|---|---|---|---|---|---|---|---|---|---|---|---|---|---|---|
|
Name |
User Info |
||||||||||||||
|
Attribute Store |
Active Directory |
||||||||||||||
|
Mapping of LDAP attributes to outgoing claim types |
|

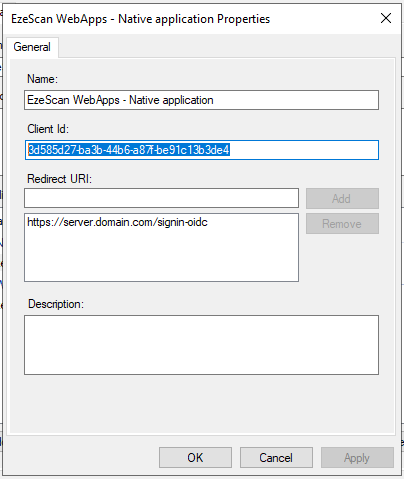
Locating the Client Id
-
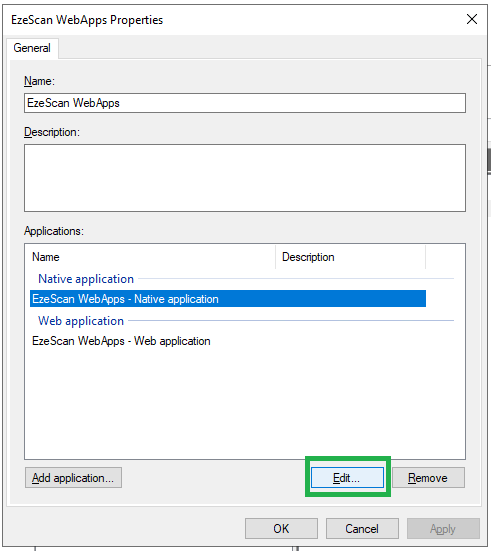
Right click the created Application Group and select Properties.
-
Select the Native Application and click the Edit button.
-
Note down the Client Id
EzeScan WebApps Configuration
-
Locate the appsettings.json file found in the root directory of your EzeScan WebApps installation directory.
-
Edit the appsettings.json file using your favorite text editor and modify the Authentication section to contain the following:
appsettings.json
JavaScript"Authentication":{ "EnableApiKey":true, "Providers":{ "OpenIdConnect": { "Authority": "https://adfs-server.domain.com/adfs", "ClientId": "3d585d27-ba3b-44b6-a87f-be91c13b3de4", "MetadataAddress": "https://adfs-server.domain.com/adfs/.well-known/openid-configuration", } } }You will need to substitute "adfs-server.domain.com" with your ADFS servers fully qualified domain name (FQDN).
Be sure to substitute the value of "ClientId" with the "Client Id" set in ADFS. If you're unsure then see Authenticating with ADFS via OpenID Connect | Locating the Client Id
-
Save the appsettings.json file.
-
Restart the IIS App Pool that runs EzeScan WebApps.
-
Navigate to your EzeScan WebApps site and click the Login button.
-
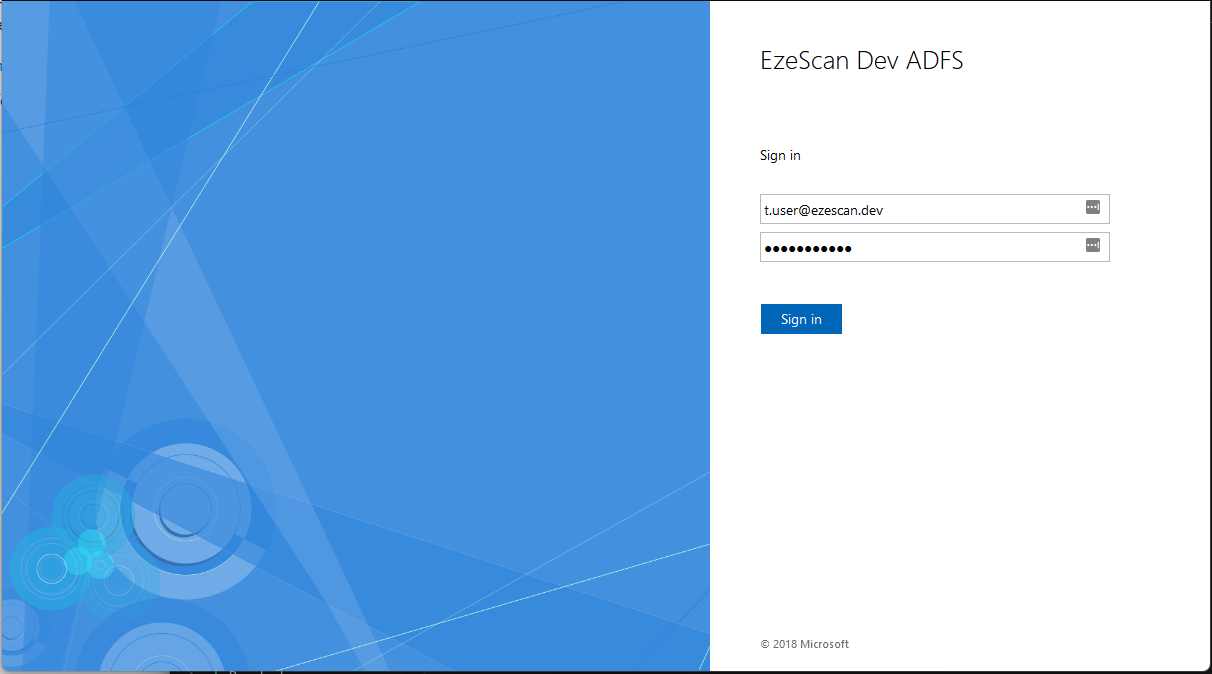
Try logging in as a valid ADFS user.
-
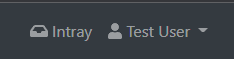
After successfully logging in you will be redirected back to EzeScan WebApps and in the top right hand corner you should see your display name.