
The backup and restore process may differ based on your database configuration.
Step-by-step guide
Backup application files
-
Open the Internet Information Services (IIS) Manager Application and locate the site that hosts your EzeScan WebApps Installation.
-
Right-click on the site and select Advanced Settings.
-
Take note of the Application Pool and Physical Path location.

-
Navigate to your application pools in IIS and stop the corresponding application pool to bring the site offline.
-
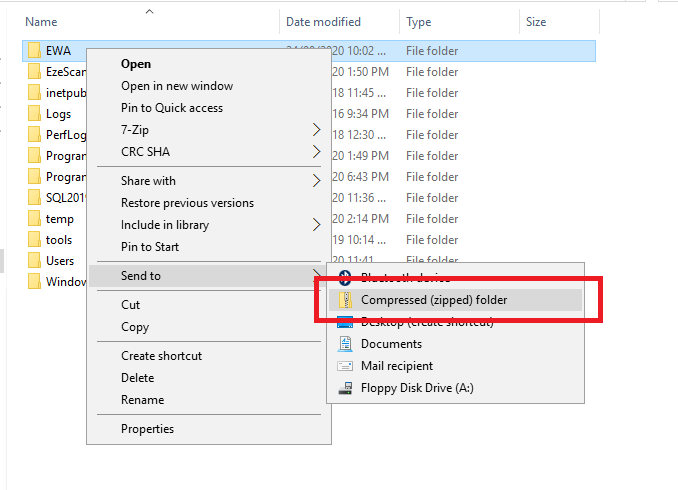
Now browse to the physical path location and then right-click > Send to > Compressed (zipped) folder.
-
This will create a zip file you can then move to a safe location
Note: If your installation is using Microsoft SQL server then you must backup the database separately.
Backup Microsoft SQL Server databases
-
Navigate back to your folder path and within the application folder find the appsettings.json file.
-
Open the appsettings.json file and locate one of the connection strings in order to determine where your SQL server is located.
-
Ensure the Application Pool hosting EzeScan WebApps has been stopped.
-
Connect to that specified SQL Server using Microsoft SQL Server Management Studio
-
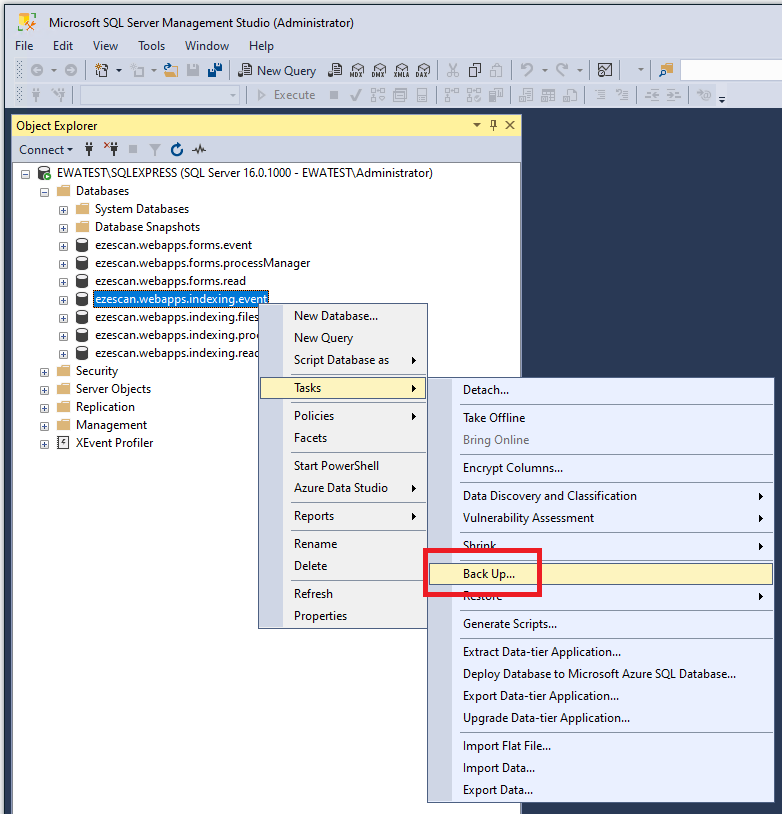
Right click the database and select Tasks > Backup
-
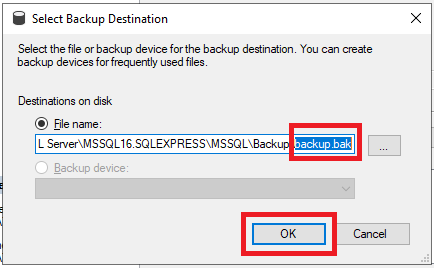
Ensure there is no destinations and then click the Add button.

-
Locate a suitable backup destination and give the file a name such as backup.bak. Then click the OK button.
-
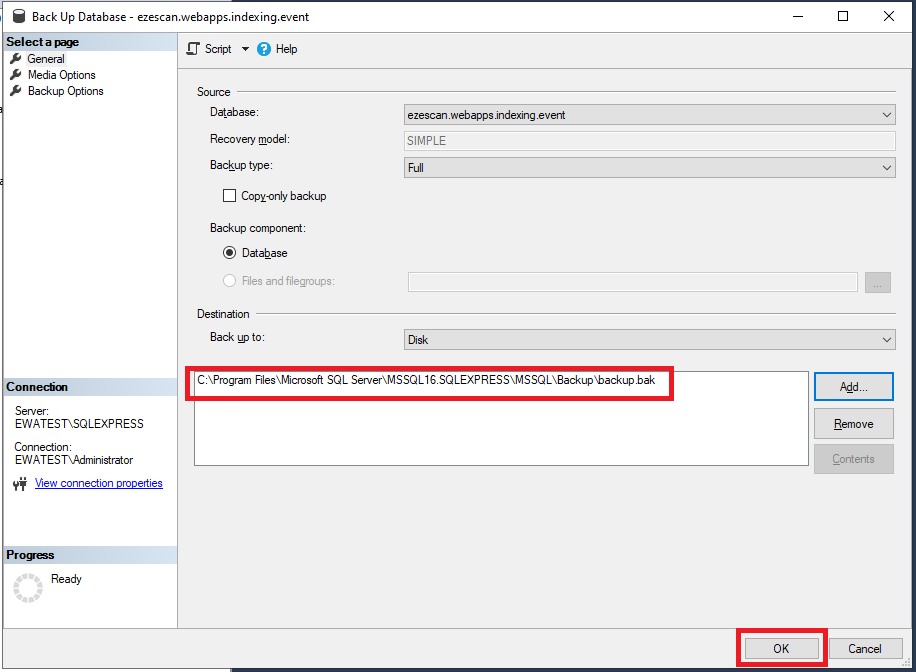
Confirm the backup destination and then click the OK button.
-
You should then see a completed successfully message.
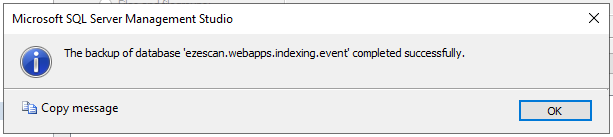
-
Repeat the above steps (4-8) again for the rest of the EzeScan WebApps databases.
Note: You can use the same filename for all of the individual databases. This will combine all of the database backups into a single file.