
OKTA Configuration
|
1 |
Click the create App Integration button. 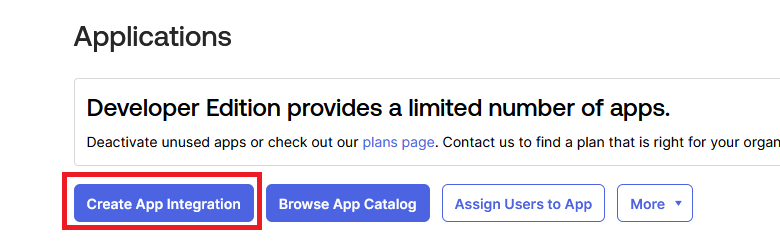
|
|
2 |
Select the following options and then click Next. 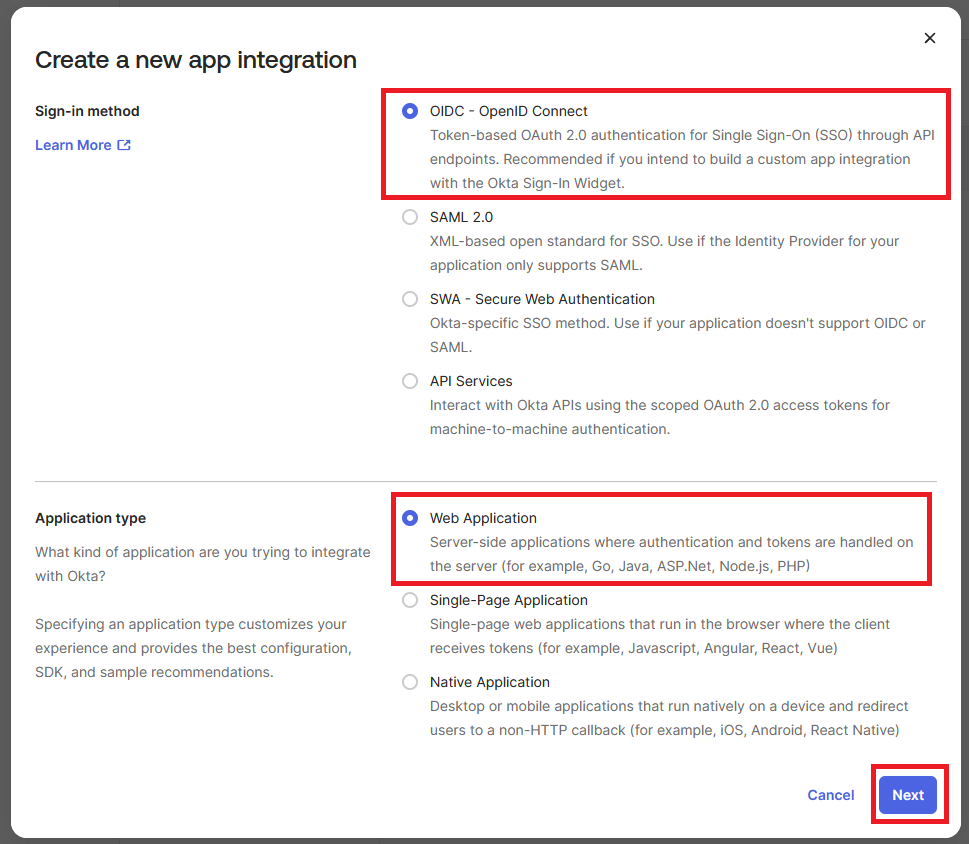
|
|
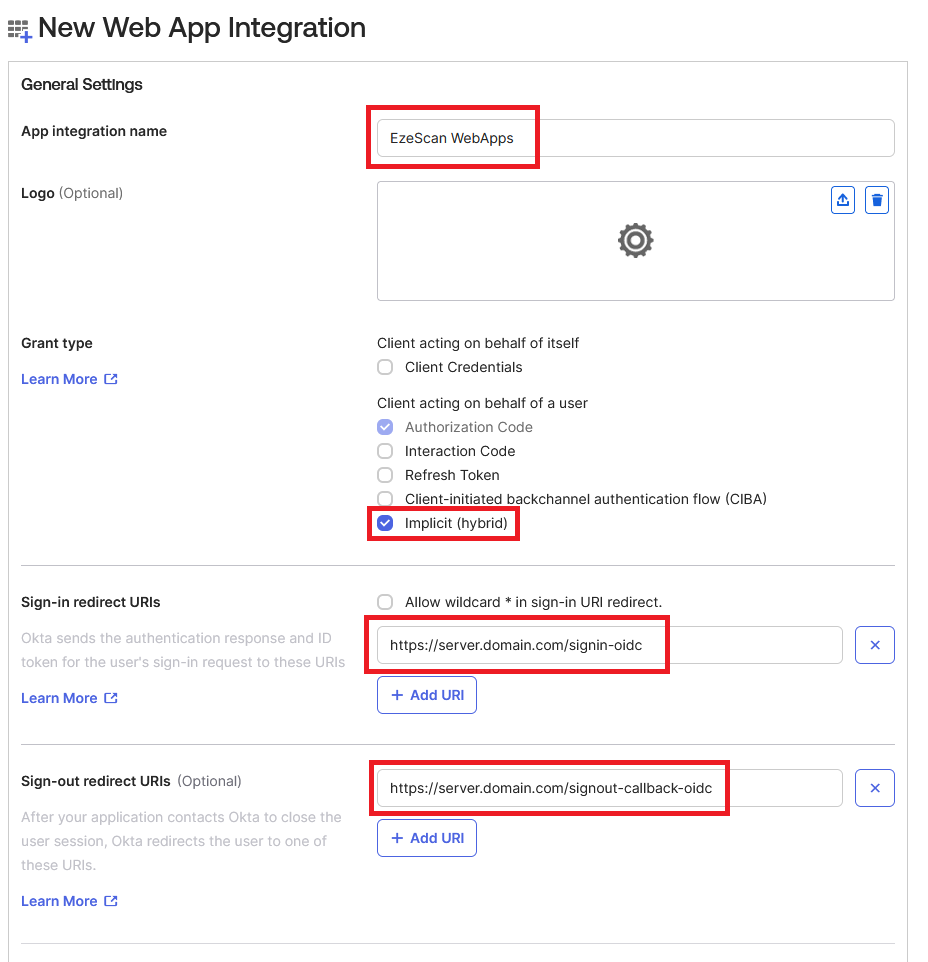
3 |
Enter the following information and then click the Save button. App Integration Name:
Grant Type:
Sign-in redirect URIs:
Sign-out redirect URIs:
Controlled Access:
|
|
4 |
After the application has been created click the copy button next to the Client ID and record this down for later use. 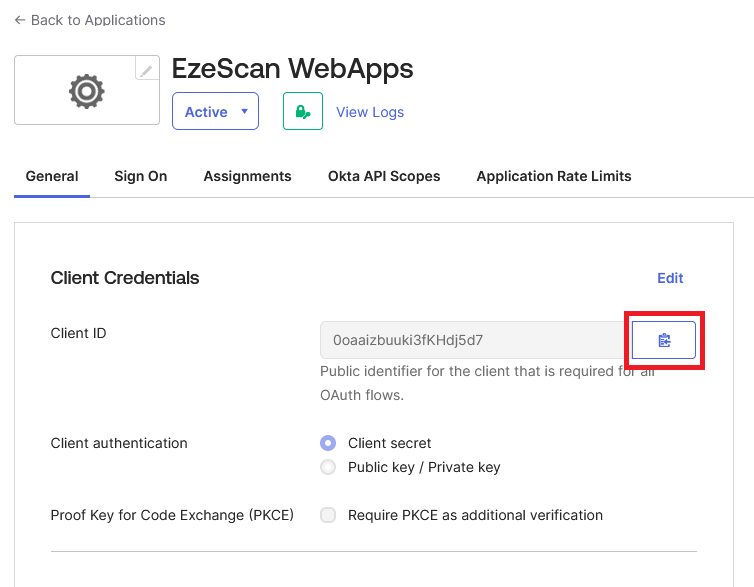
|
EzeScan WebApps Configuration
|
1 |
Locate the appsettings.json file found in the root directory of your EzeScan WebApps installation directory. |
|
2 |
Edit the appsettings.json file using your favorite text editor and modify the Authentication section to contain the following: JavaScript
You will need to substitute the value of "ClientId" with the "Client Id" from your application setup in OKTA. You will need to substitute “dev-56650000.okta.com” with your OKTA domain. |
|
3 |
Save the appsettings.json file. |
|
4 |
Restart the IIS App Pool that runs EzeScan WebApps. |
|
5 |
Navigate to your EzeScan WebApps site and click the Login button.
|
|
6 |
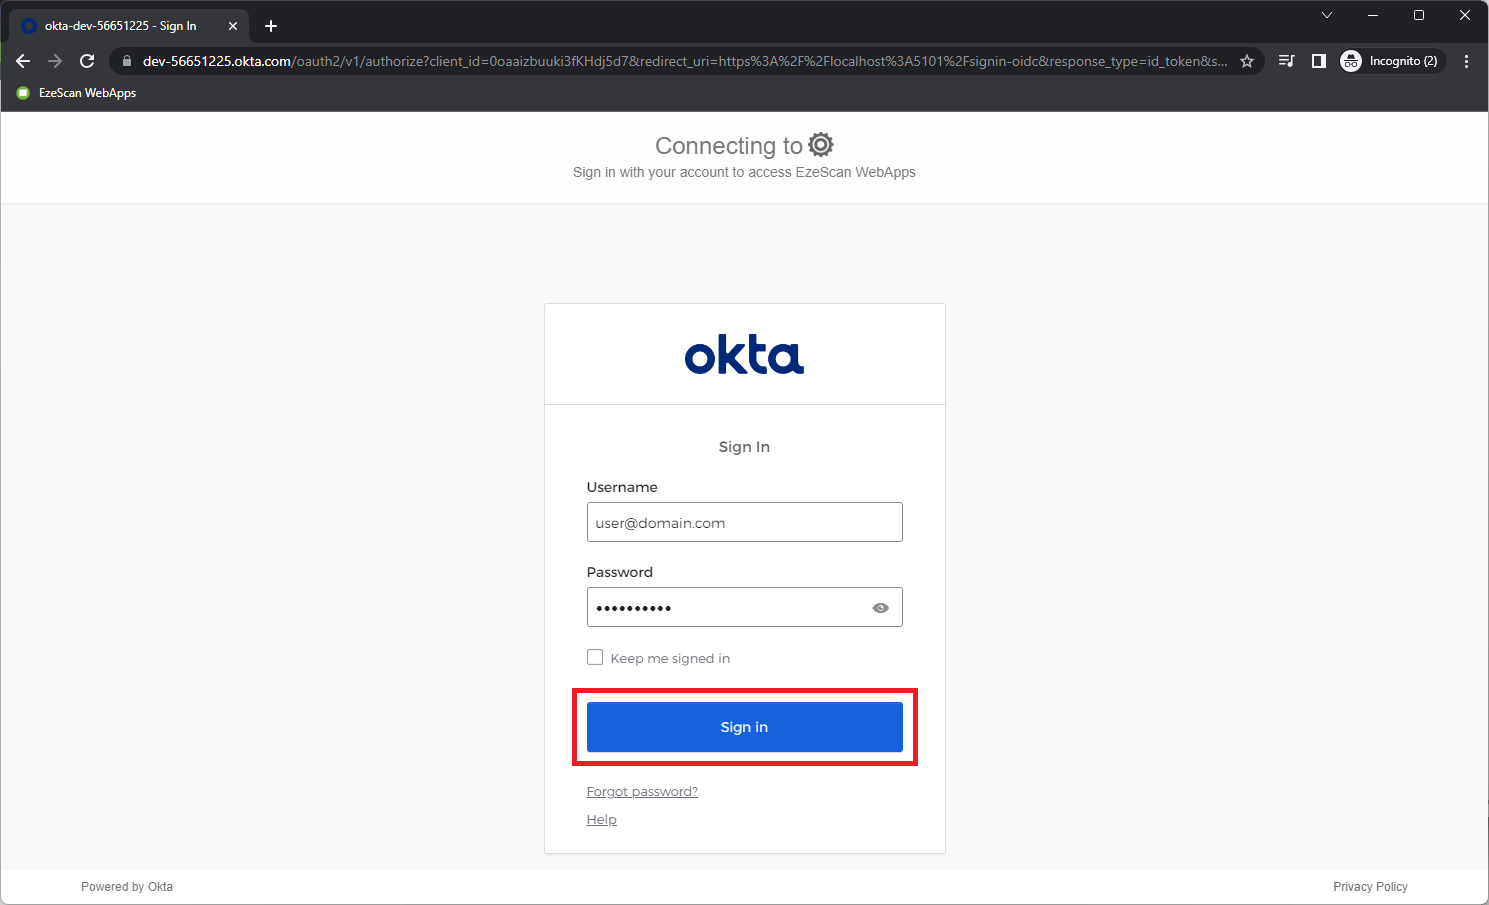
Try logging in as a valid OKTA user.
|
|
7 |
After successfully logging in you will be redirected back to EzeScan WebApps and in the top right hand corner you should see your display name. 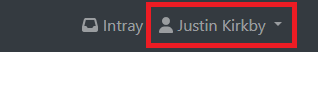
|
|
8 |
Navigate to the user settings by clicking on the username in the top right and clicking the Settings option in the drop down. 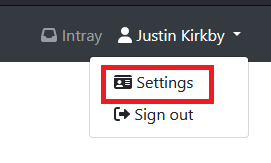
|
|
9 |
Confirm that the users email address is displaying correctly. 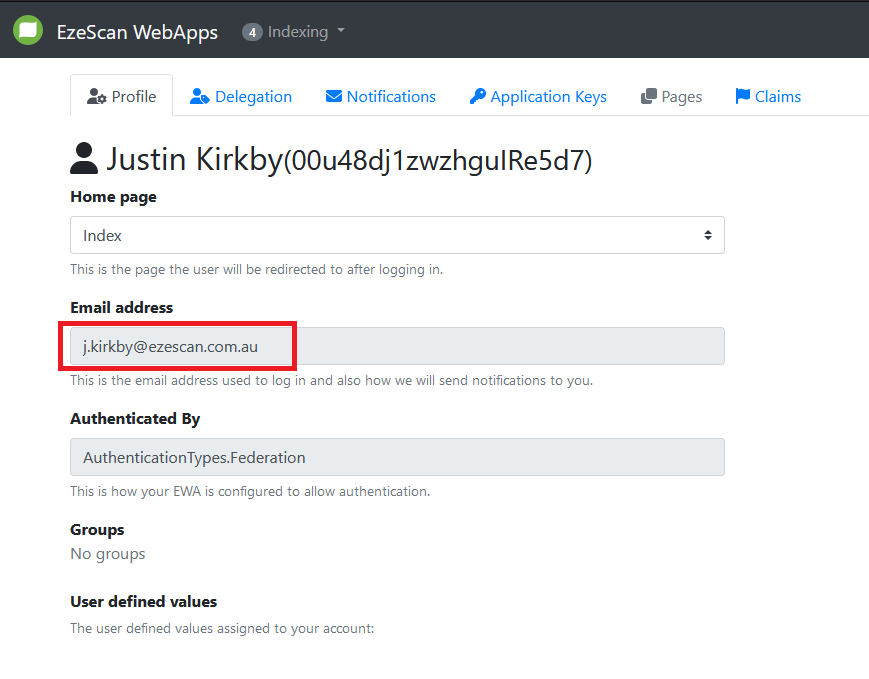
|