
EzeScan WebApps supports Microsoft SQL Server and by extension Azure SQL.
Create the SQL Database Server
-
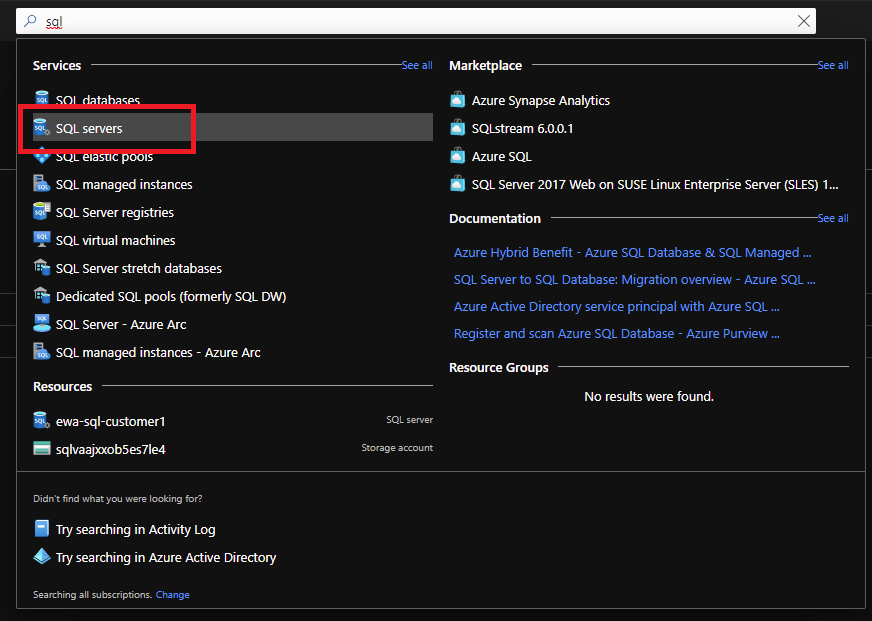
Log into the Azure Portal and select the SQL servers option.
-
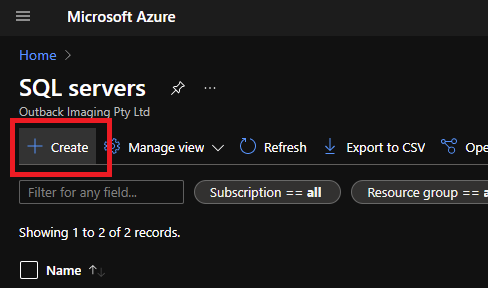
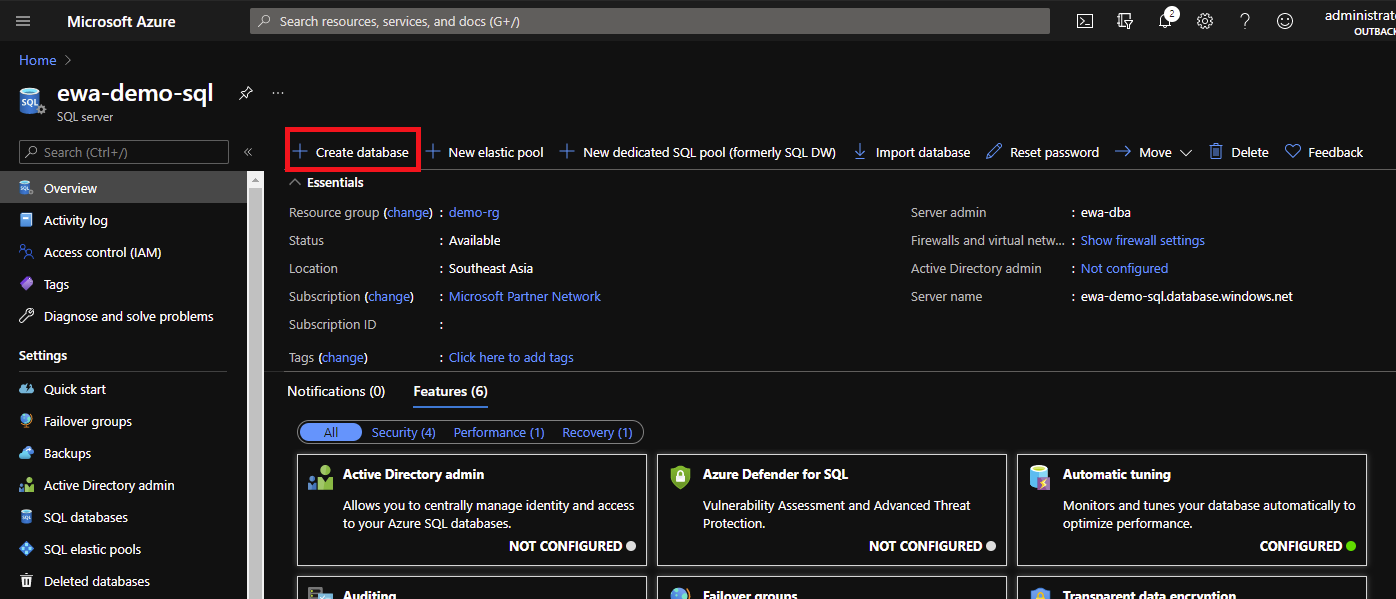
Click the Create button in the top left.
-
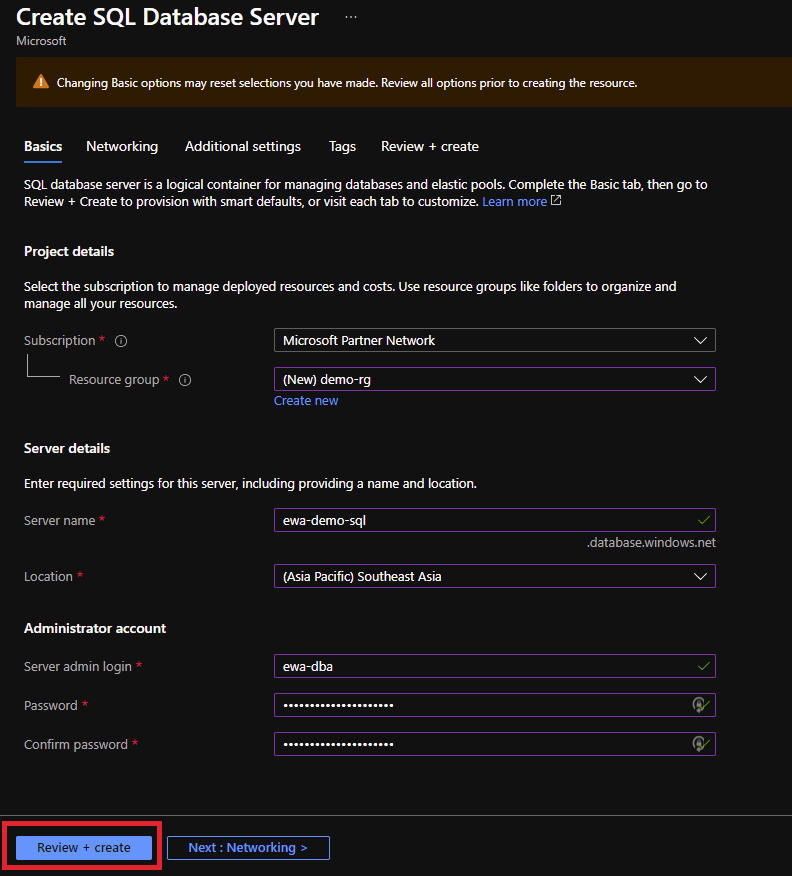
Enter the details for your SQL server and click Review + Create.
-
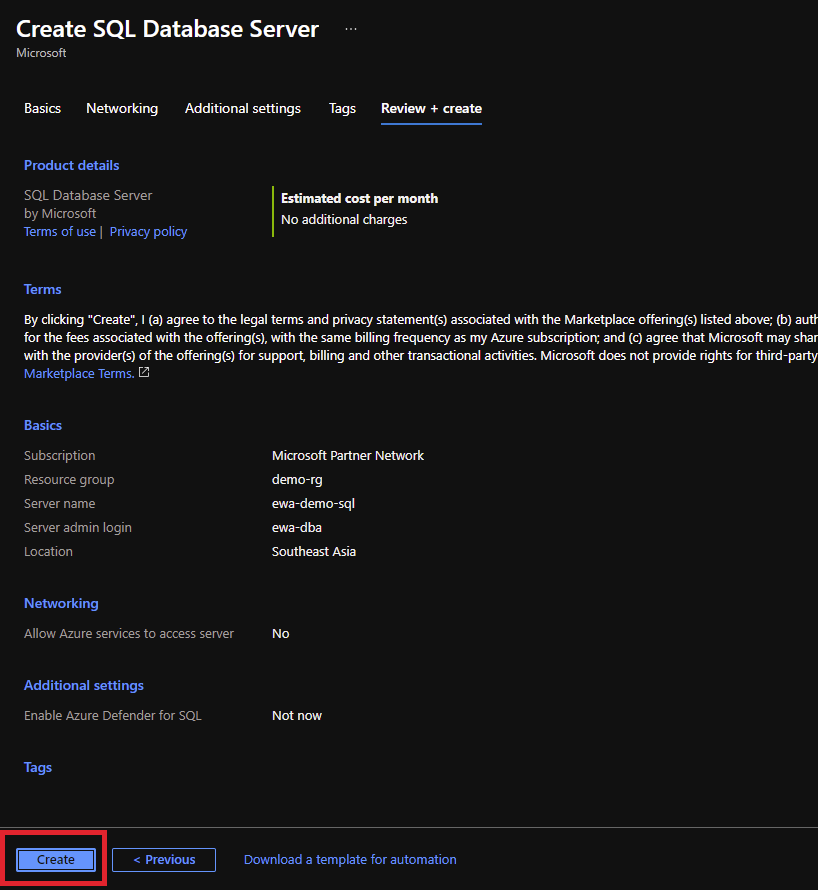
Review the settings and click the Create button.
-
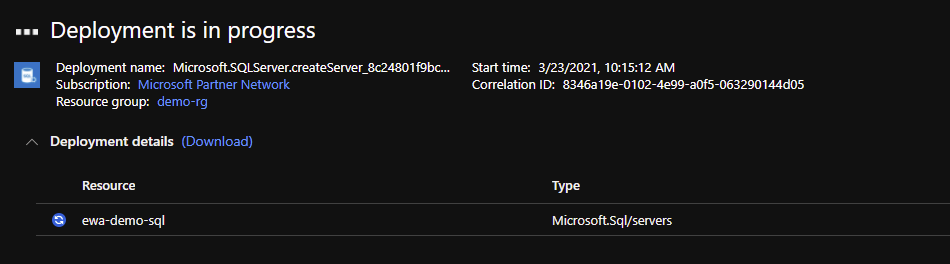
Wait for the SQL Server to be deployed.
-
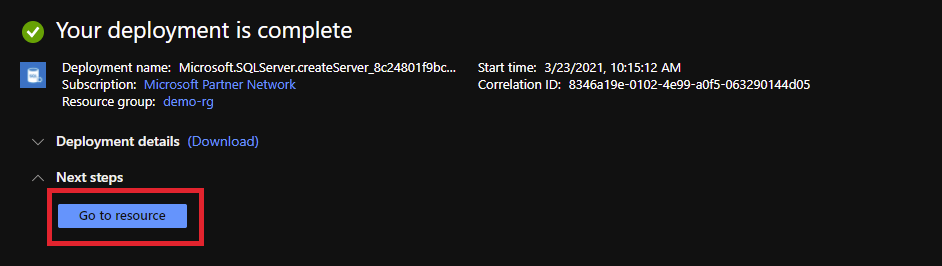
Once the deployment is complete click Go to resource.
Allow network traffic from EWA to Azure SQL server
This documentation covers talking to the Azure SQL server over a public IP address. Where possible using a virtual network to keep traffic off the internet is preferable.
-
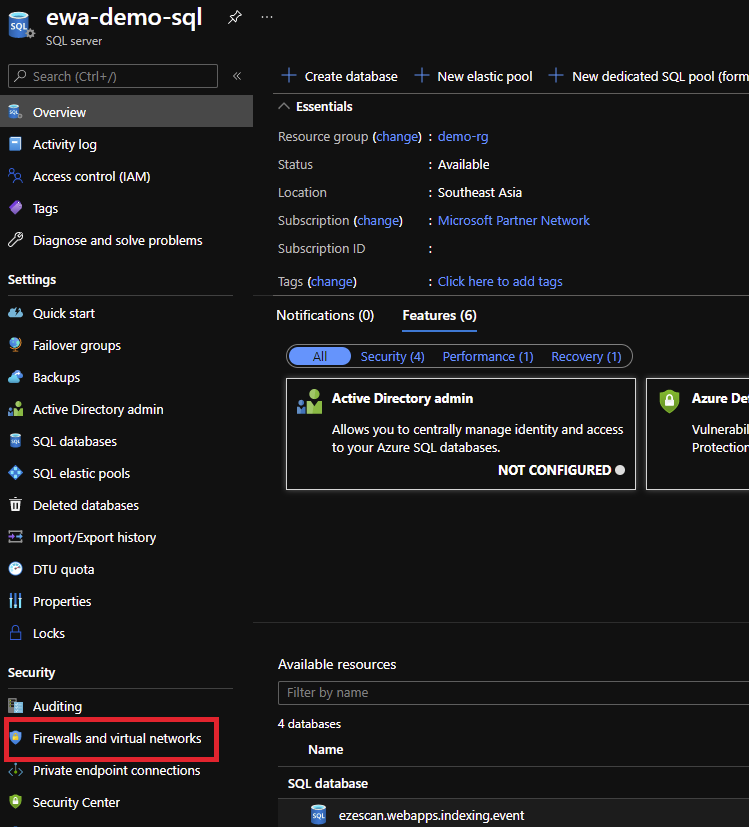
Navigate to your Azure SQL server in Azure Portal.
-
On the left menu select the Firewalls and virtual networks option.
-
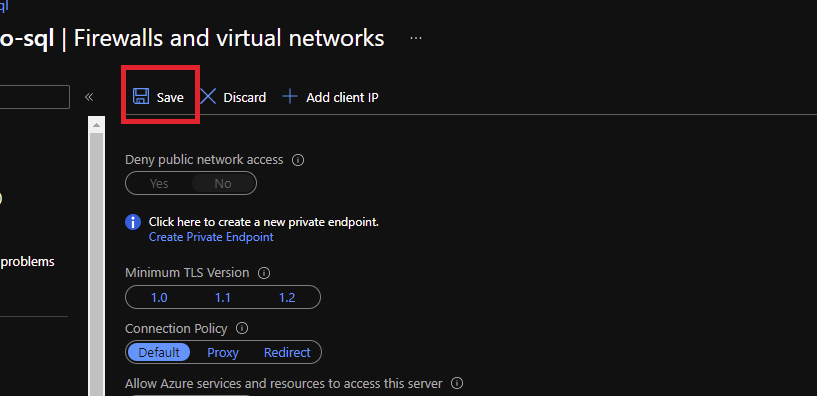
Set Allow Azure services and resources to access this server to Yes.
-
Add a rule with the IP address of your EWA Server that will connect to the Azure SQL server.

-
Click the Save button.
Create the databases
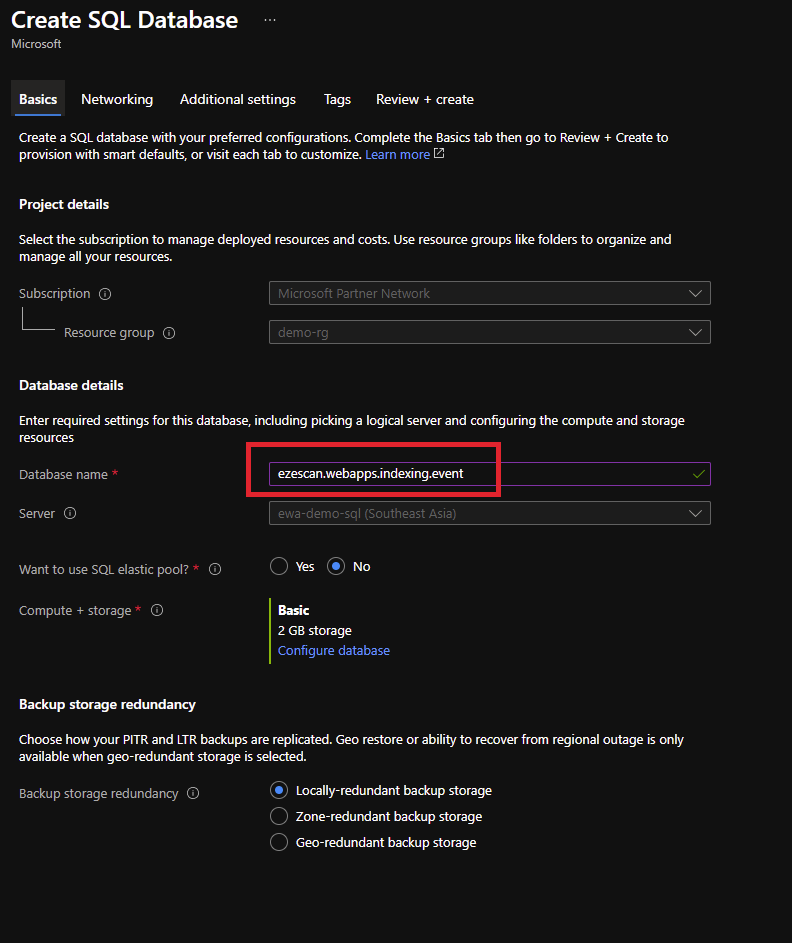
EzeScan WebApps requires 4 databases to be created:
ezescan.webapps.indexing.event
ezescan.webapps.indexing.read
ezescan.webapps.indexing.processManager
ezescan.webapps.indexing.files
Please repeat the process below for each database.
-
Navigate to your Azure SQL server in Azure Portal.
-
Click Create database
-
Enter the Database name and configure the additional settings you require.
-
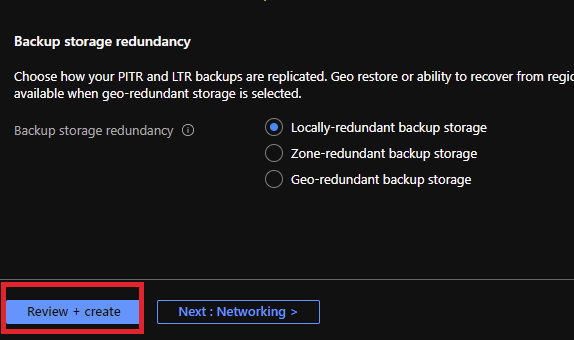
Click the Review + Create button.
-
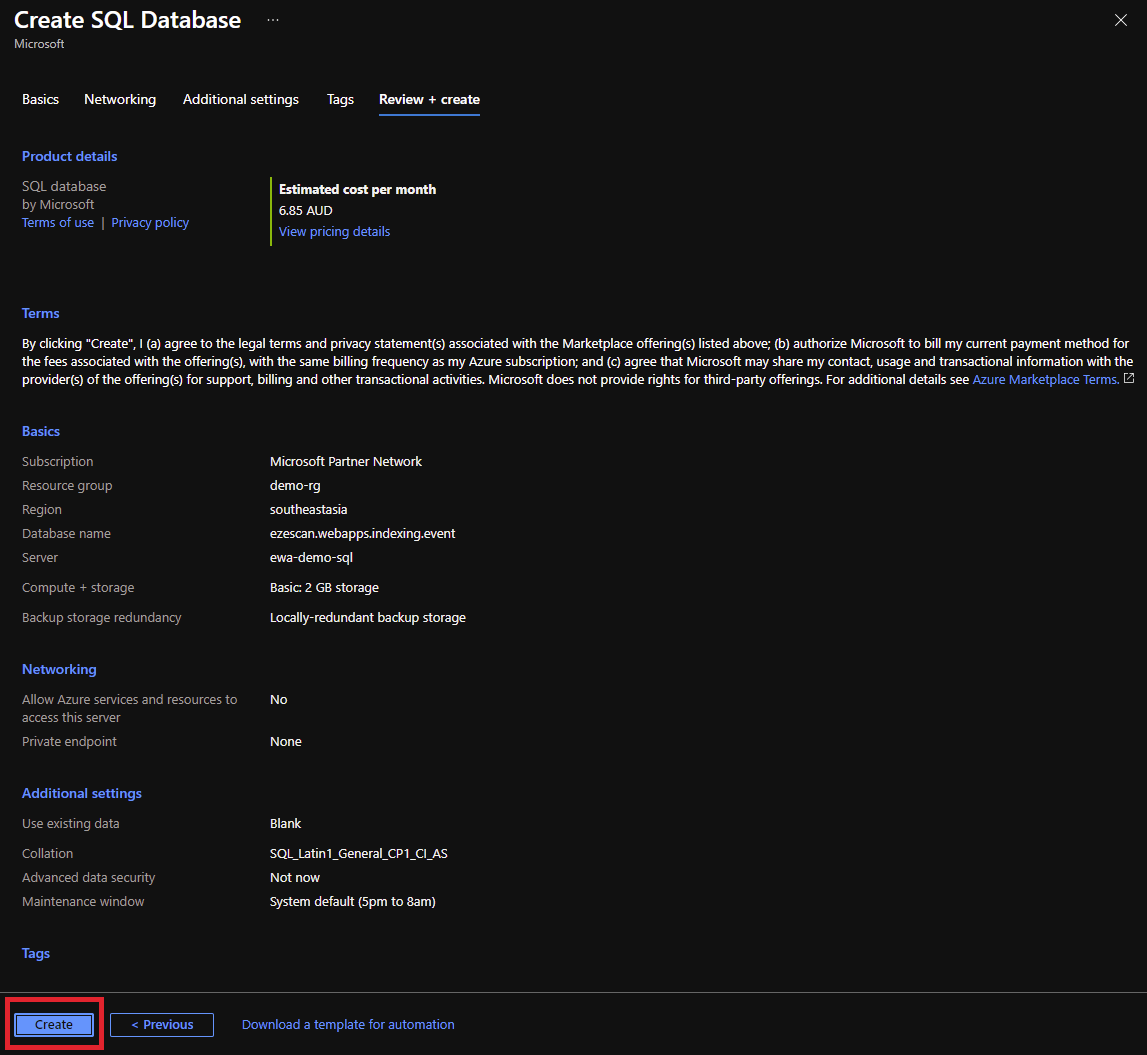
Review your settings and then click Create.
-
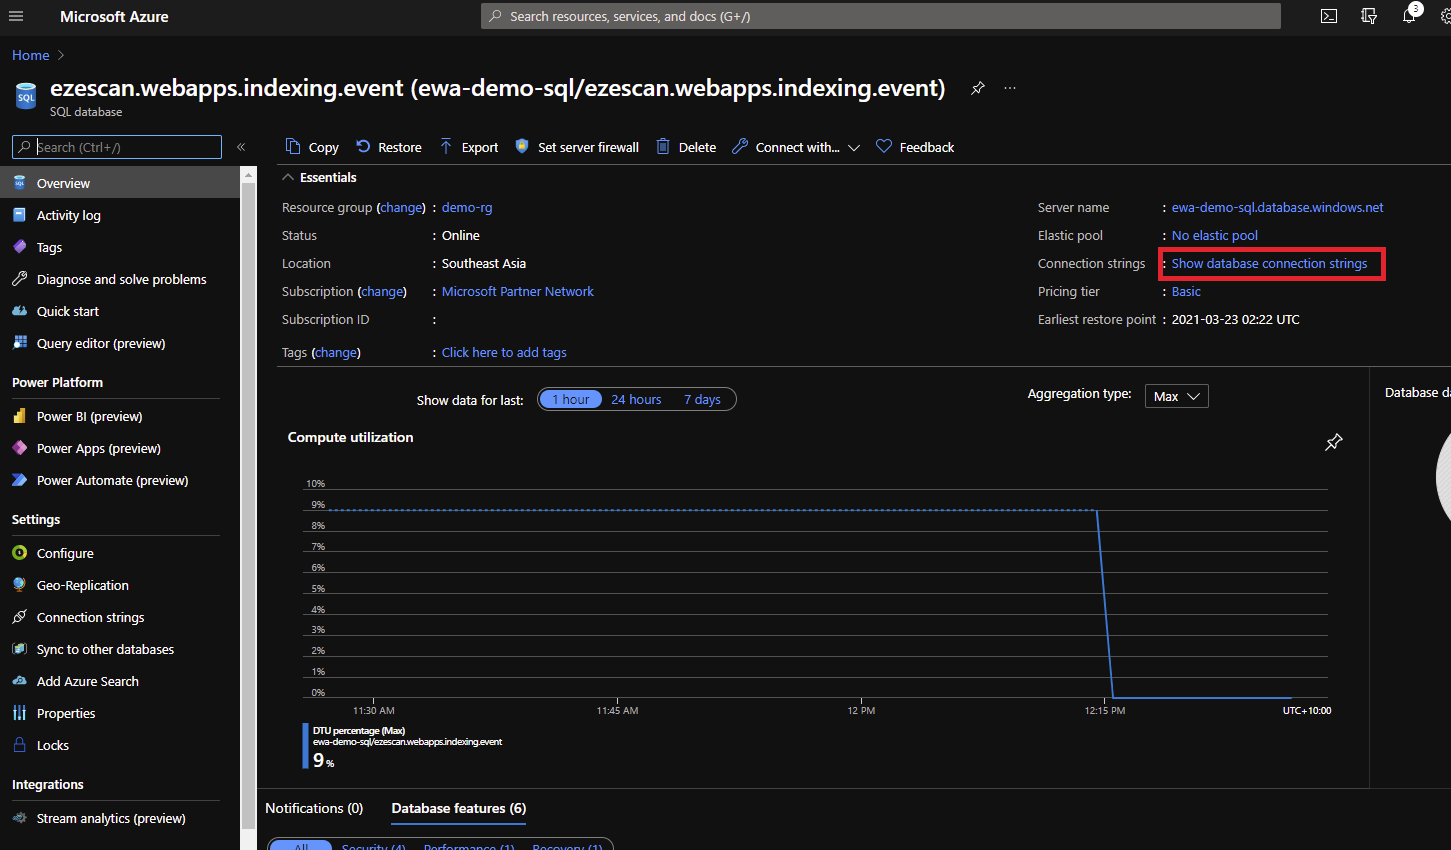
Once the deployment is finished click Go to resource

-
Click the Show database connection strings link.
-
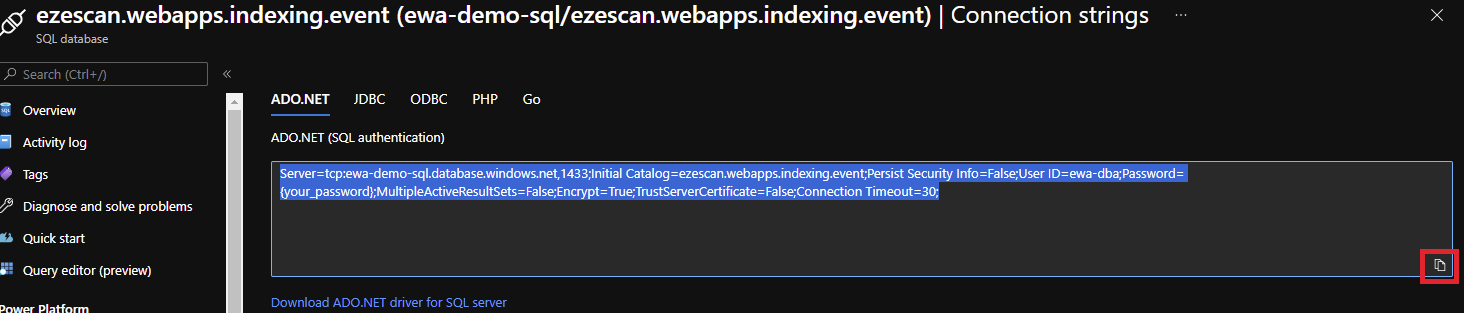
Copy the connection string using the copy to clipboard button and save it somewhere safe for future use in the next steps.
Configure EWA to use the Azure SQL databases
-
Stop IIS.
-
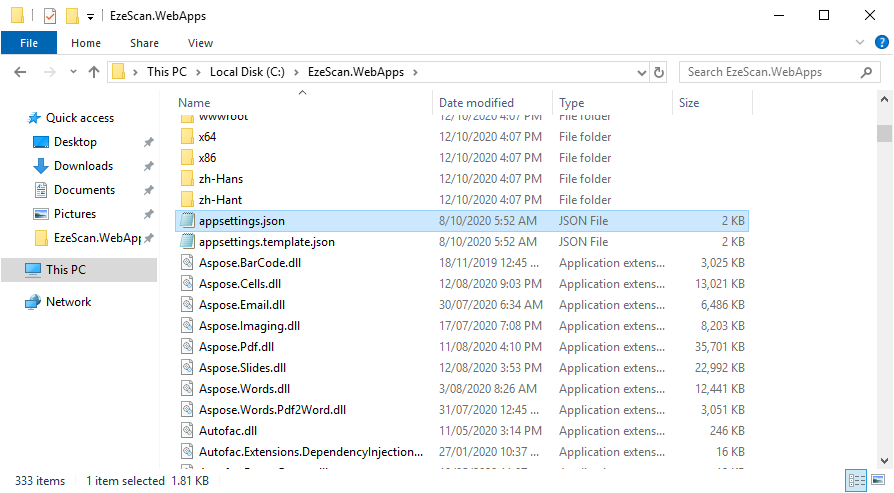
Navigate to the installation directory of EWA.
-
Locate the appsettings.template.json file and copy it to appsettings.json
-
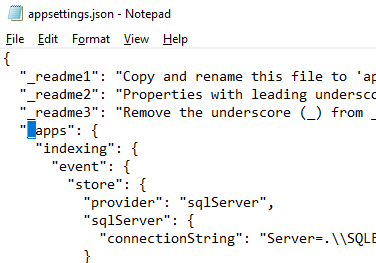
Open the appsettings.json in a text editor and remove the underscore in front of the word apps.
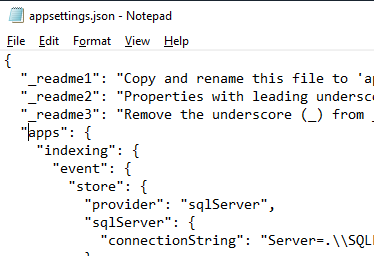
-
Find and adjust the 4 connection strings using the values copied from the Azure portal in the previous step.
Be sure to replace {your_password} with the actual password for the user you created when setting up the Azure SQL server.
Example Connection String
"connectionString": "Server=tcp:ewa-demo-sql.database.windows.net,1433;Initial Catalog=ezescan.webapps.indexing.event;Persist Security Info=False;User ID=ewa-dba;Password={your_password};MultipleActiveResultSets=False;Encrypt=True;TrustServerCertificate=False;Connection Timeout=30;" -
Start IIS and then load the EzeScan webpage. Confirm the page loads without errors and then confirm in SQL Server Management Studio that the databases have been created.