
The Job Button Interface is a user friendly interface to allow an operator to run an EzeScan job.
The operator can simply click the job they require which will begin the predefined process.
By default, there are no jobs displayed on the page.
A total of 14 pages of jobs can be assigned, each column or page can have its own heading and there also can be a logo on the top left of the page, or on each above each column.
When the job button interface is enabled a screen like this will appear:
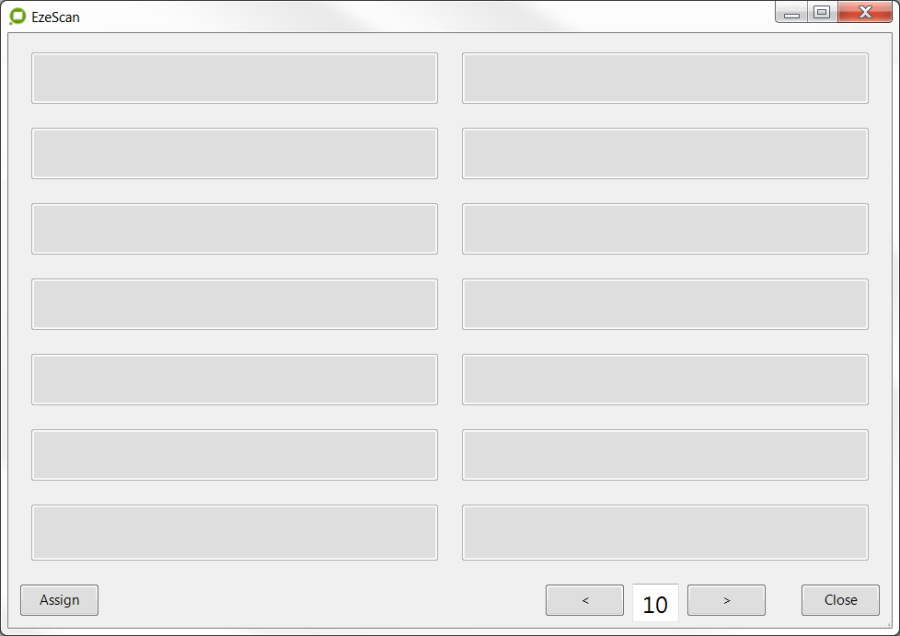
Default button page with any jobs yet to be selected
Configuring Job Buttons
To display jobs on the page click the "Assign" button (bottom LH corner of screen).
-
Click on the specific button you would like to assign a task to, the following form will appear:
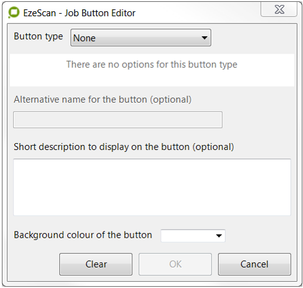
Button editor window -
To select the type of task to run, select the from the following options in the dropdown menu:
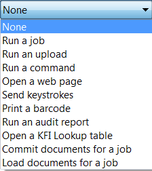
Task drop down window -
The following pages outline each of the tasks in the above list.
-
Click on the Save button (bottom LH corner of screen) once you have finished "assigning buttons"
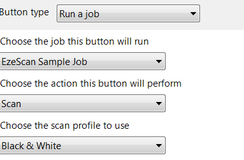
Run a Job
This option will allow the operator to run a preconfigured job, as well as the action to be performed for the process. E.g. Scan, Import a file or Import a folder of files
-
If using a Scan action the operator can also default a scan profile to use.
Setting a "Scan" task will create a button like the one below

Run an Upload
This option will allow the operator to select a preconfigured upload to run independently of a job.
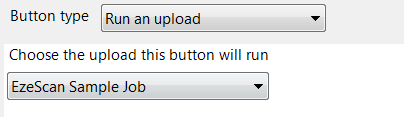
Setting an "Upload" task will create a button like the one below

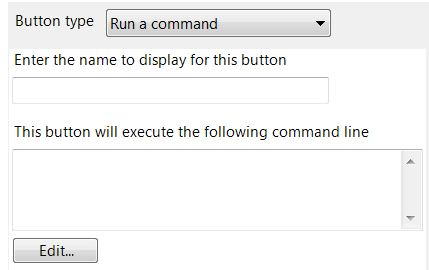
Run a Command
This option will allow the operator to execute a command directly through the button.
-
To open the Command Line Editor, where the operator can insert placeholders or edit the command line press 'Edit' the following screen will appear:
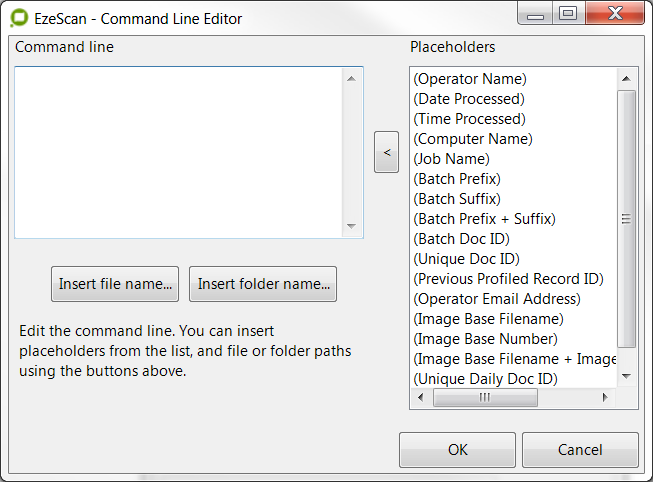
Build the command as required

Setting a "Run Command" task will create a button like the one above
Open a web page
This option will allow the operator to get to a web page.
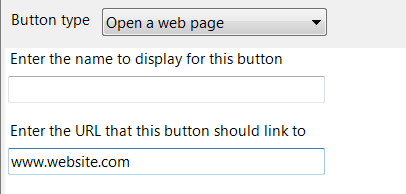
Setting an "Open a web page" task will create a button like the one below

Send Keystrokes
This option will allow the operator to execute certain hotkeys or keystrokes when the specified job is run.
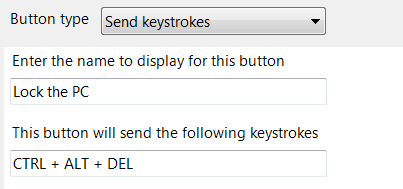
Setting a "Send Keystrokes" task will create a button like the one below

Print a Barcode
This will allow the user to print a barcode directly from a button. To learn more about how to setup Print Barcode refer to the Barcode Settings section on page .
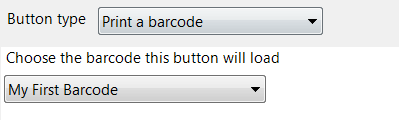
Setting a "Print a Barcode" task will create a button like the one below

Run an Audit Report
This will allow the operator to run a preconfigured audit report. To learn how to set up Audit reporting refer to the Audit Options section on page .
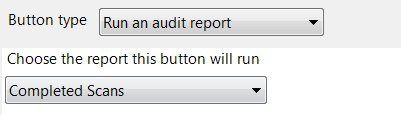
Setting a "Run an audit report" task will create a button like the one below

Open a KFI Lookup Table
This will allow the operator to open a KFI lookup table to allow for lookup data to be managed.

Setting a "Run an audit report" task will create a button like the one below

Commit Documents for a Job
This option will allow the operator to commit documents from a previous profiled batch.
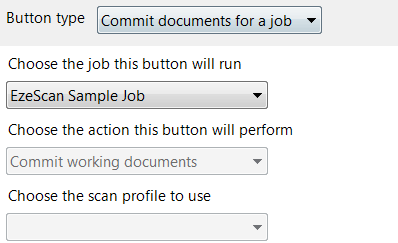
Setting a "Commit documents for a job" task will create a button like the one below

Load documents for a job
This option will allow the operator to select a folder of documents which EzeScan will then copy into the import folder for processing.
-
This setting is recommend for loading documents from a CD.
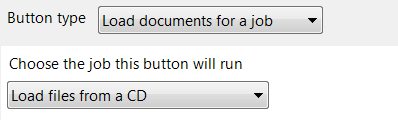
Setting a "Load documents for a job" task will create a button like the one below

Alternative Name on button
The operator can also display an optional alterative name, a short description and the colour of the button.
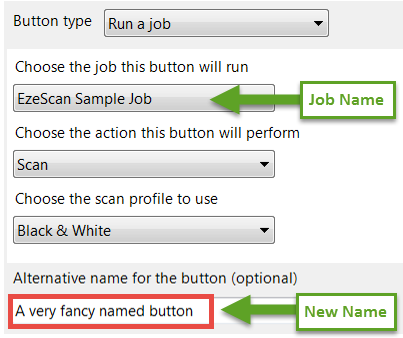
Setting an "Alternative name for a button" task will create a button like the one below

Colour of the button
The operator can also change the colour of the buttons
-
Click on the button
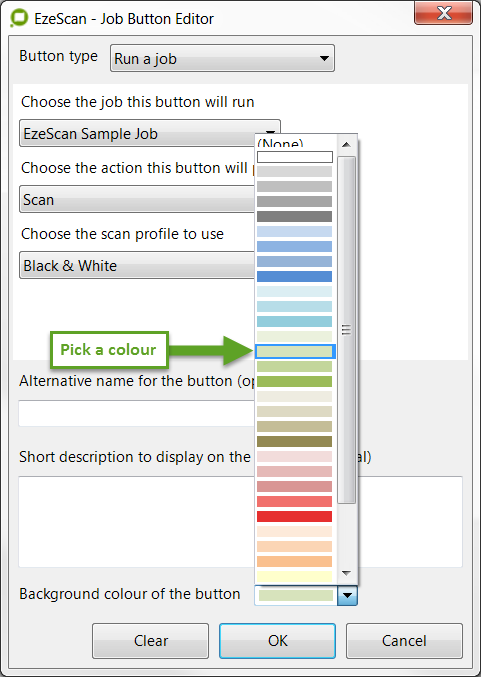
Select a colour for your buttons so they appear like the one below

-
Click "Save". The job button will now be viewable on the page.
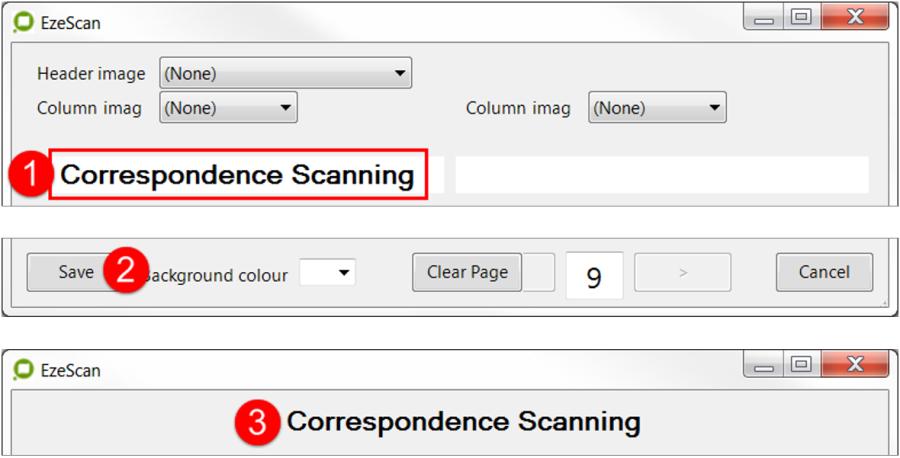
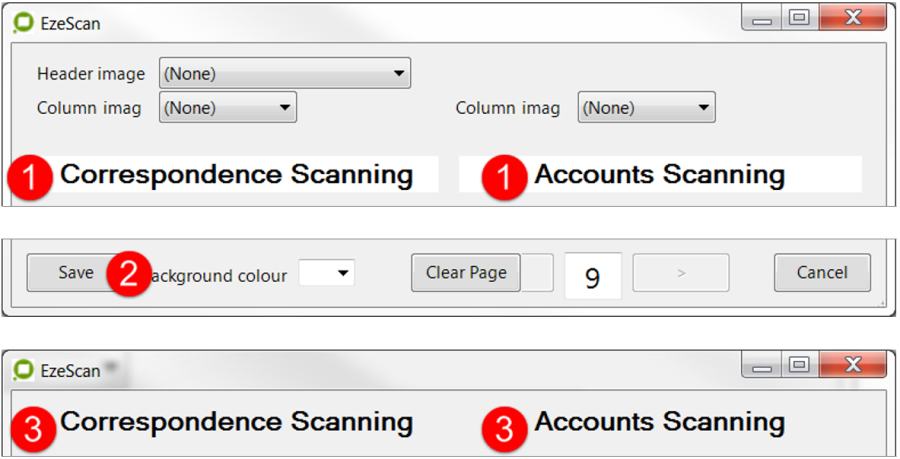
Configure Page Headers
Configuring Header descriptions - centre of page
To display a heading for a column or page, click the Assign Button.
-
A white box will appear above each column of buttons, the operator can then enter a title (step 1 below).
-
Click the "Save" button to apply the changes (step 2 below).
-
The title will now appear in the centre of the Job button page (step 3 below).
Configuring Header descriptions - above each column
A separate column name can also be added; instead of one for the whole page.
-
Repeat the steps as shown above but fill out the white box above both columns to display a separate heading for each column.
Configuring logo's - centre of page
A custom logo can be added to for all pages on the job button interface.
-
To add a header logo for all job button pages, click on the Assign button.
-
Use the dropdown box next to "Header Image".
-
Select 'browse' to navigate and select an image.

Select a banner image - use the browse function
-
Using .png format images with a clear background looks a lot better that using a .jpg as the .jpg will always have a white background.
-
Below is how the sample header logo looks in the job button interface.
-

A single image in the middle of the page - will be the same on all pages
Configuring logo's - top of columns
A custom logo can be added to each of the two columns for all pages on the job button interface.
-
To add column logos, click on the Assign button.
-
Make sure the header image is set to '(None)'.
-
Use the dropdown box next to "Column Image".
-
Select 'browse' to navigate and select an image.
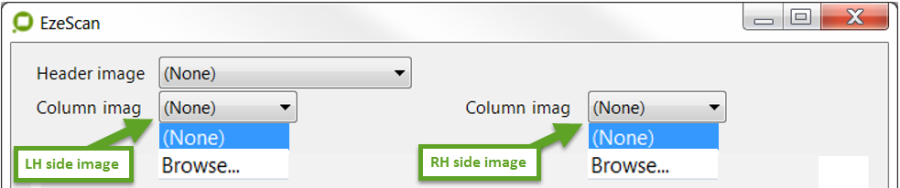
Select a different image for each column
-
Below is how the sample column logo will look in the job button interface.

A different image above each column - will be the same on all pages
-
It is recommended to try not to have the logo any higher than 350 pixels as it will move the Job buttons down or may not display on the page.
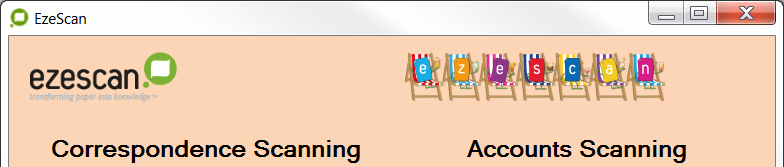
Configuring the job button interface background colour
The job button interface can have a background colour displayed.
To do this, click the Assign button. At the bottom of the page, there is a drop down list which allows the selection of a background colour.

Selecting a colour for the page background as shown below
-
Once a colour has been selected, click the "Save" button.
-
The background colour of the Job Button Interface will now be changed to the colour that was selected.
Clearing job button settings
There is an option to clear the entire job button interface page that is currently selected.
-
To do this, click on the Assign button, and select "Clear Page".

-
A dialog to confirm the clearing will appear.
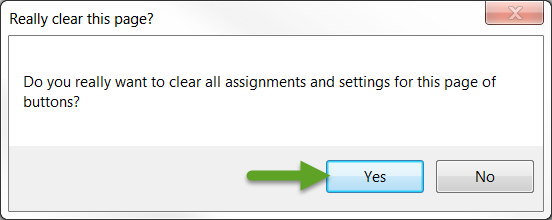
-
Select "Yes" and click the "Save" button to apply the changes.
Job Button "Main Menu" Page
If using a large amount of jobs over multiple pages, EzeScan can be configured with a menu page.
For example if the Batch Scanning jobs are on page 1, Utilities Invoices jobs on page 2, and Training jobs on page 3, etc. the menu page will have links to the respective pages.
To enable the menu page:
-
Go to the Admin > Workstation Options,
-
Select the Jobs tab,
-
Tick the "Show Menu Page" box.

The default EzeScan screen will be set to a menu page.
-
To do this detail the header of each job button page respectively. Then the menu page will display the respective headers.
The operator can then click on their respective page button which will take them to their respective EzeScan jobs.
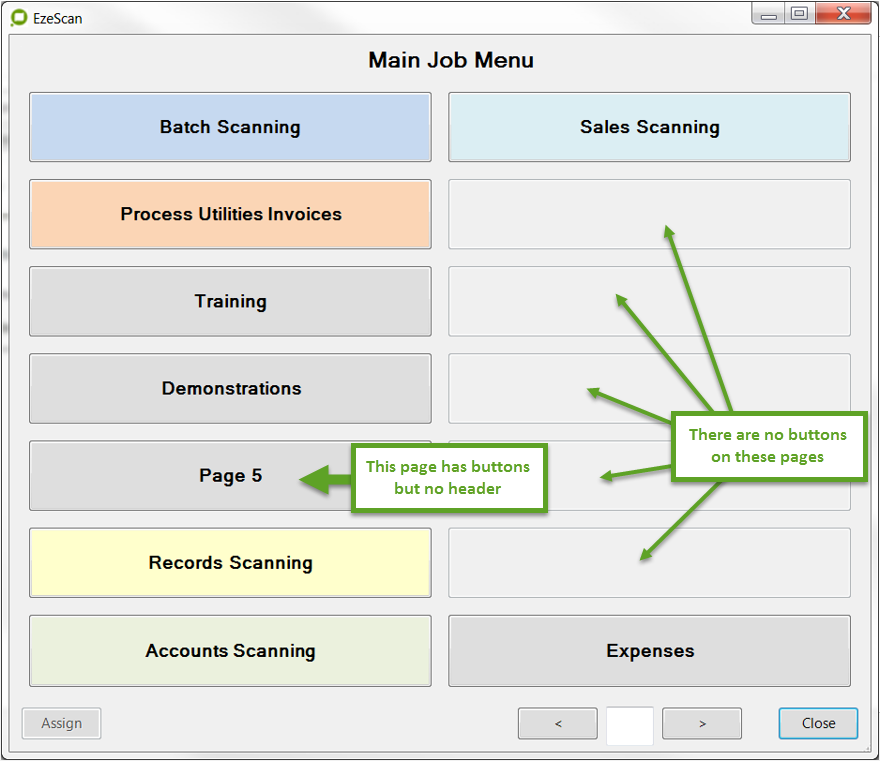
Main Job Menu - click a button to jump to respective page
-
To turn off the Main Job Menu; go back to Workstation Options > Jobs tab and untick the Show Menu Page box.