
The following information details the connectivity and functionality offered by the EzeScan integration with the iManage Work solution. It details the available options and how to configure an EzeScan job into iManage Work.
For information on iManage Work please refer to the iManage website - https://imanage.com/products/work/
Requirements
EzeScan WebApps
EzeScan WebApps 3.11.x or higher.
iManage Cloud
-
iManage Work Cloud account
-
Network access to https://oauth.services.ezescan.net for OAuth redirects
-
The
EzeScan - Serverapplication must be installed in iManage Control Center.
Refer to How to Register Application in iManage Control Center (Cloud)
iManage On-Premise
-
iManage Work server (on-premise), version 10.1 or higher
-
A custom application must be registered in iManage Control Center.
Refer to How to Register Application in iManage Control Center (On Premise)
Configuration
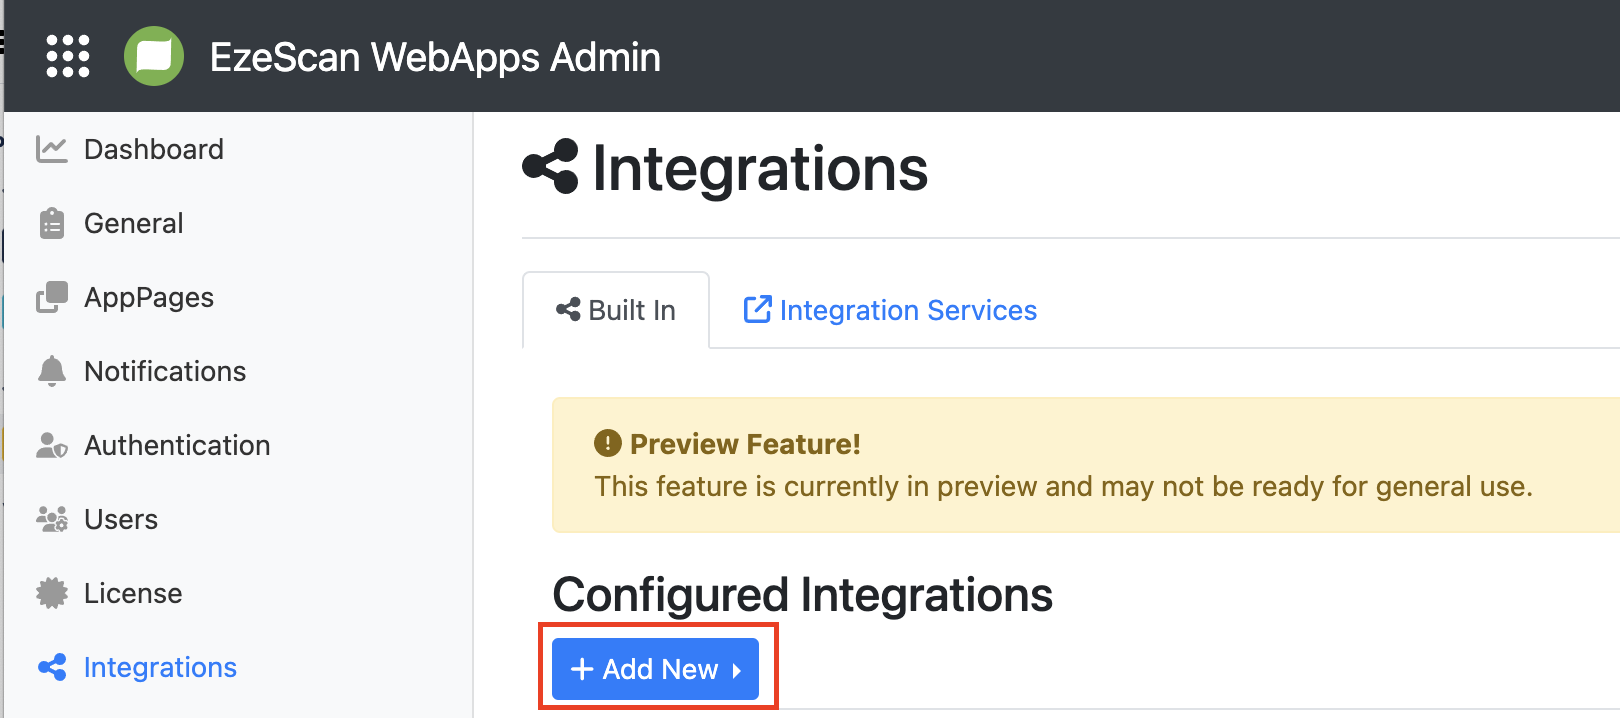
To add a new built-in integration, go to the Integrations Tab on the Admin Panel and on the Built-in tab select Add New. Then select iManage Work from the drop-down menu.
Give your connector a name and description. Below you will find the information required to fill out the Connection Settings Section.
Cloud
|
Setting |
Description |
|---|---|
|
Connector API Version |
Select the |
|
Service URL |
If you are using a custom subdomain please enter the URL (e.g. |
|
Customer ID |
The customer ID assigned to your organisation in iManage Cloud (e.g. This can be found by logging into the iManage cloud in a web browser and then navigating to https://cloudimanage.com/work/web/startup/session-info. 
|
|
Library ID |
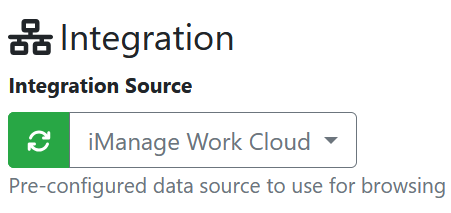
The database to connect to (e.g. This can be found in iManage Work Cloud web page as per below. 
|
|
Access Level |
Type of access level:
|
|
Redirect URI |
The URL used for callback to obtain the login result when the browser navigates away from the login web page and should be formatted as follows:
For example,
The virtual directory can be omitted if not configured. For example,
|
|
Grant Type |
Select the |
|
Ignore SSL Certificate Errors |
Leave unticked, unless using a self signed certificate. |
On-Premise
|
Setting |
Description |
|---|---|
|
Connector API Version |
Select the |
|
Service URL |
Specify the Service URL of the organisation’s iManage Work server (e.g. |
|
Customer ID |
The customer ID assigned to your organisation in iManage Work Server. This should be 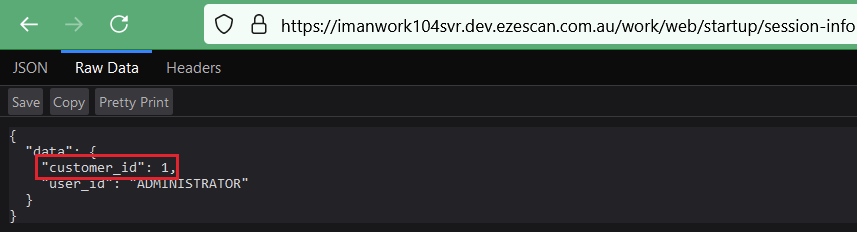
|
|
Library ID |
The database to connect to (e.g. This can be found in iManage Work Cloud web page as per below. 
|
|
Access Level |
Type of access level:
|
|
Client ID |
The Client ID of the application registered in iManage Control Center (e.g. Refer to iManage Work | How to Register Application in iManage Control Center (On Premise) . |
|
Client Secret |
The Client Secret of the application registered in iManage Control Centre. Refer to iManage Work | How to Register Application in iManage Control Center (On Premise) . |
|
Redirect URI |
The URL used for callback to obtain the login result when the browser navigates away from the login web page where formatted as follows:
For example,
For example,
|
|
Grant Type |
Select the The Implicit authorisation type is not recommended due to possible security vulnerabilities and should be used with caution. |
|
Ignore SSL Certificate Errors |
Leave unticked, unless using a self signed certificate. |
Testing Connection Settings
The Test Login button can be used to confirm the connection is working as expected. You should see a login prompt open in a pop-up window after clicking on the button. If not, you may need to configure the browser to allow pop-ups for the EWA website.
Search Functions
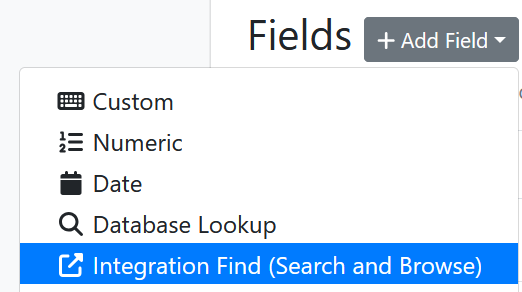
The integration provides search capabilities via the Integration Find field type in BCG, DFA, and RIA modules.
To configure the search function:
-
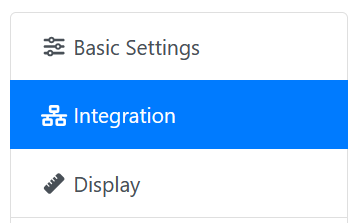
Navigate to the
Integrationtab of the respective field.
-
Select the iManage connection from the list.
-
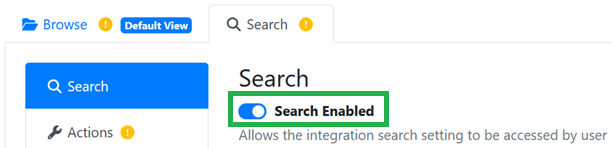
Navigate to
Search → Actions. -
Enable the
Search Enabledoption.
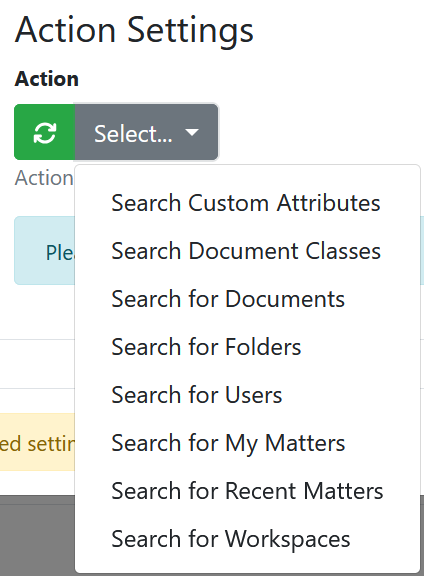
-
Select the search action to use (for example,
Search Custom Attributes. Refer to following sections for more details regarding the available actions.
-
Add and configure any action specific settings.
-
Navigate to
Valuestab. -
Select Type
Recordto configure specific properties to display in the field vs return as the value. -
Enter the
Included propertiesto return as the hidden value of the field (for example,Id). -
Enter the
Display propertyto return as the display value of the field (for example,Id;Description;Custom1). -
Finally save the field.
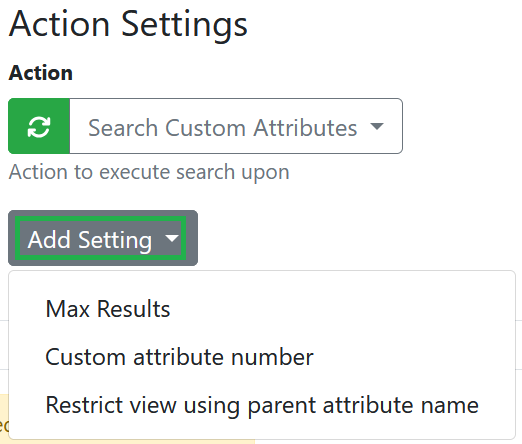
Search Clients List
The Clients list can be searched using the Search Custom Attributes action with the Custom attribute number set to 1 as per below screenshot.
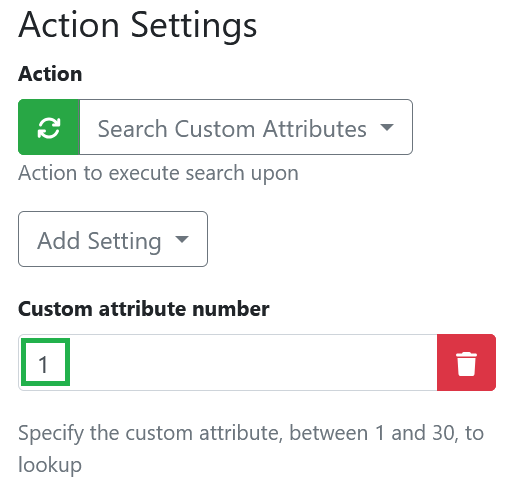
The following properties can be returned to the EWA field when the user selects a search result.
-
Id
-
Description
The following search criteria can be used to automatically match a client by id.

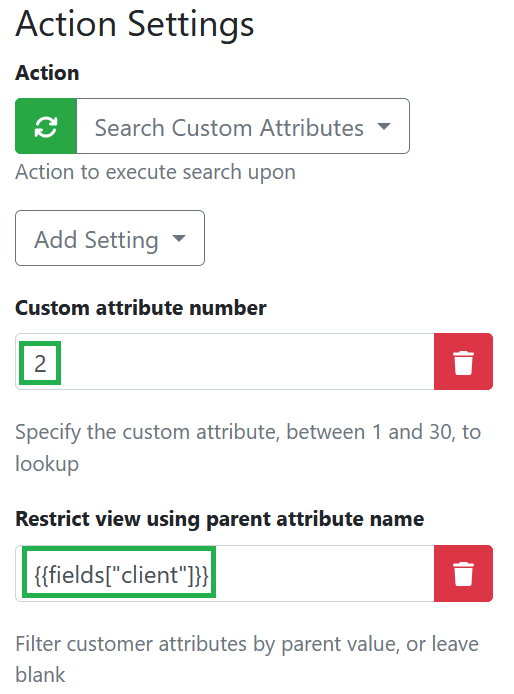
Search Matters List
The Matters list can be search using the Search Custom Attributes action with the Custom attribute number set to 2 as per below screenshot.
A field placeholder can be used to restrict the list of matters to those belonging to a specific client.
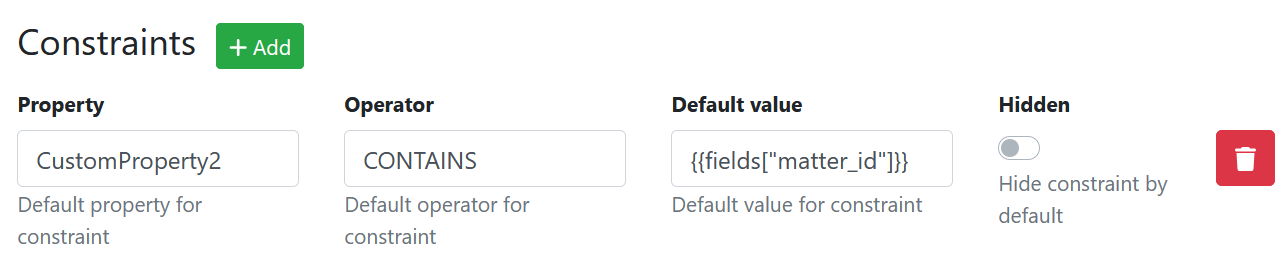
The following search criteria can be used to automatically match the matter by id.
Configuring Upload to iManage Work
Adding an action button
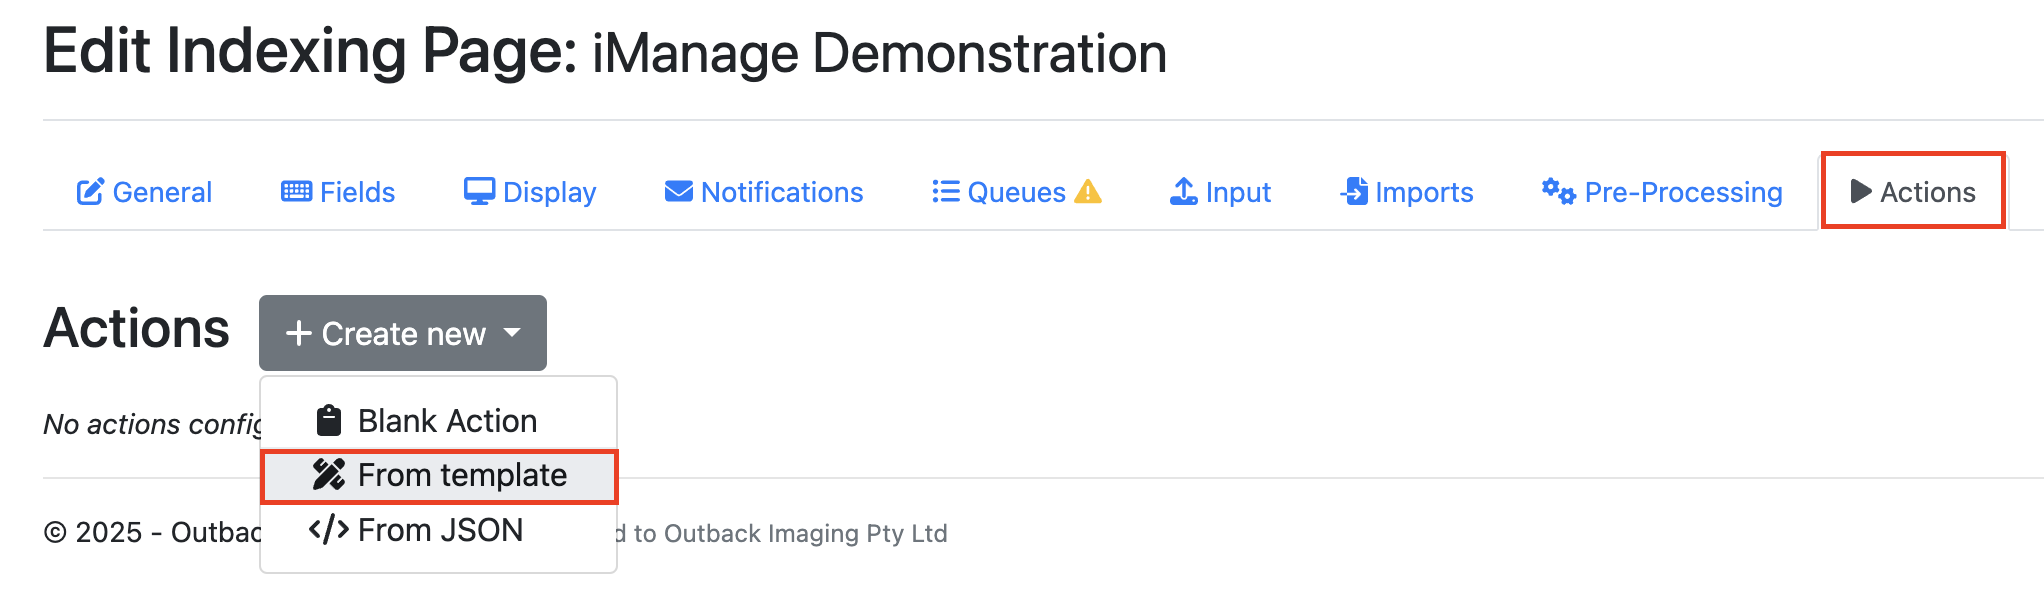
-
Go to Actions tab on your RIA page > Create New > From Template > Submit
-
Go to the Stages tab > Add Stage > Integration Upload
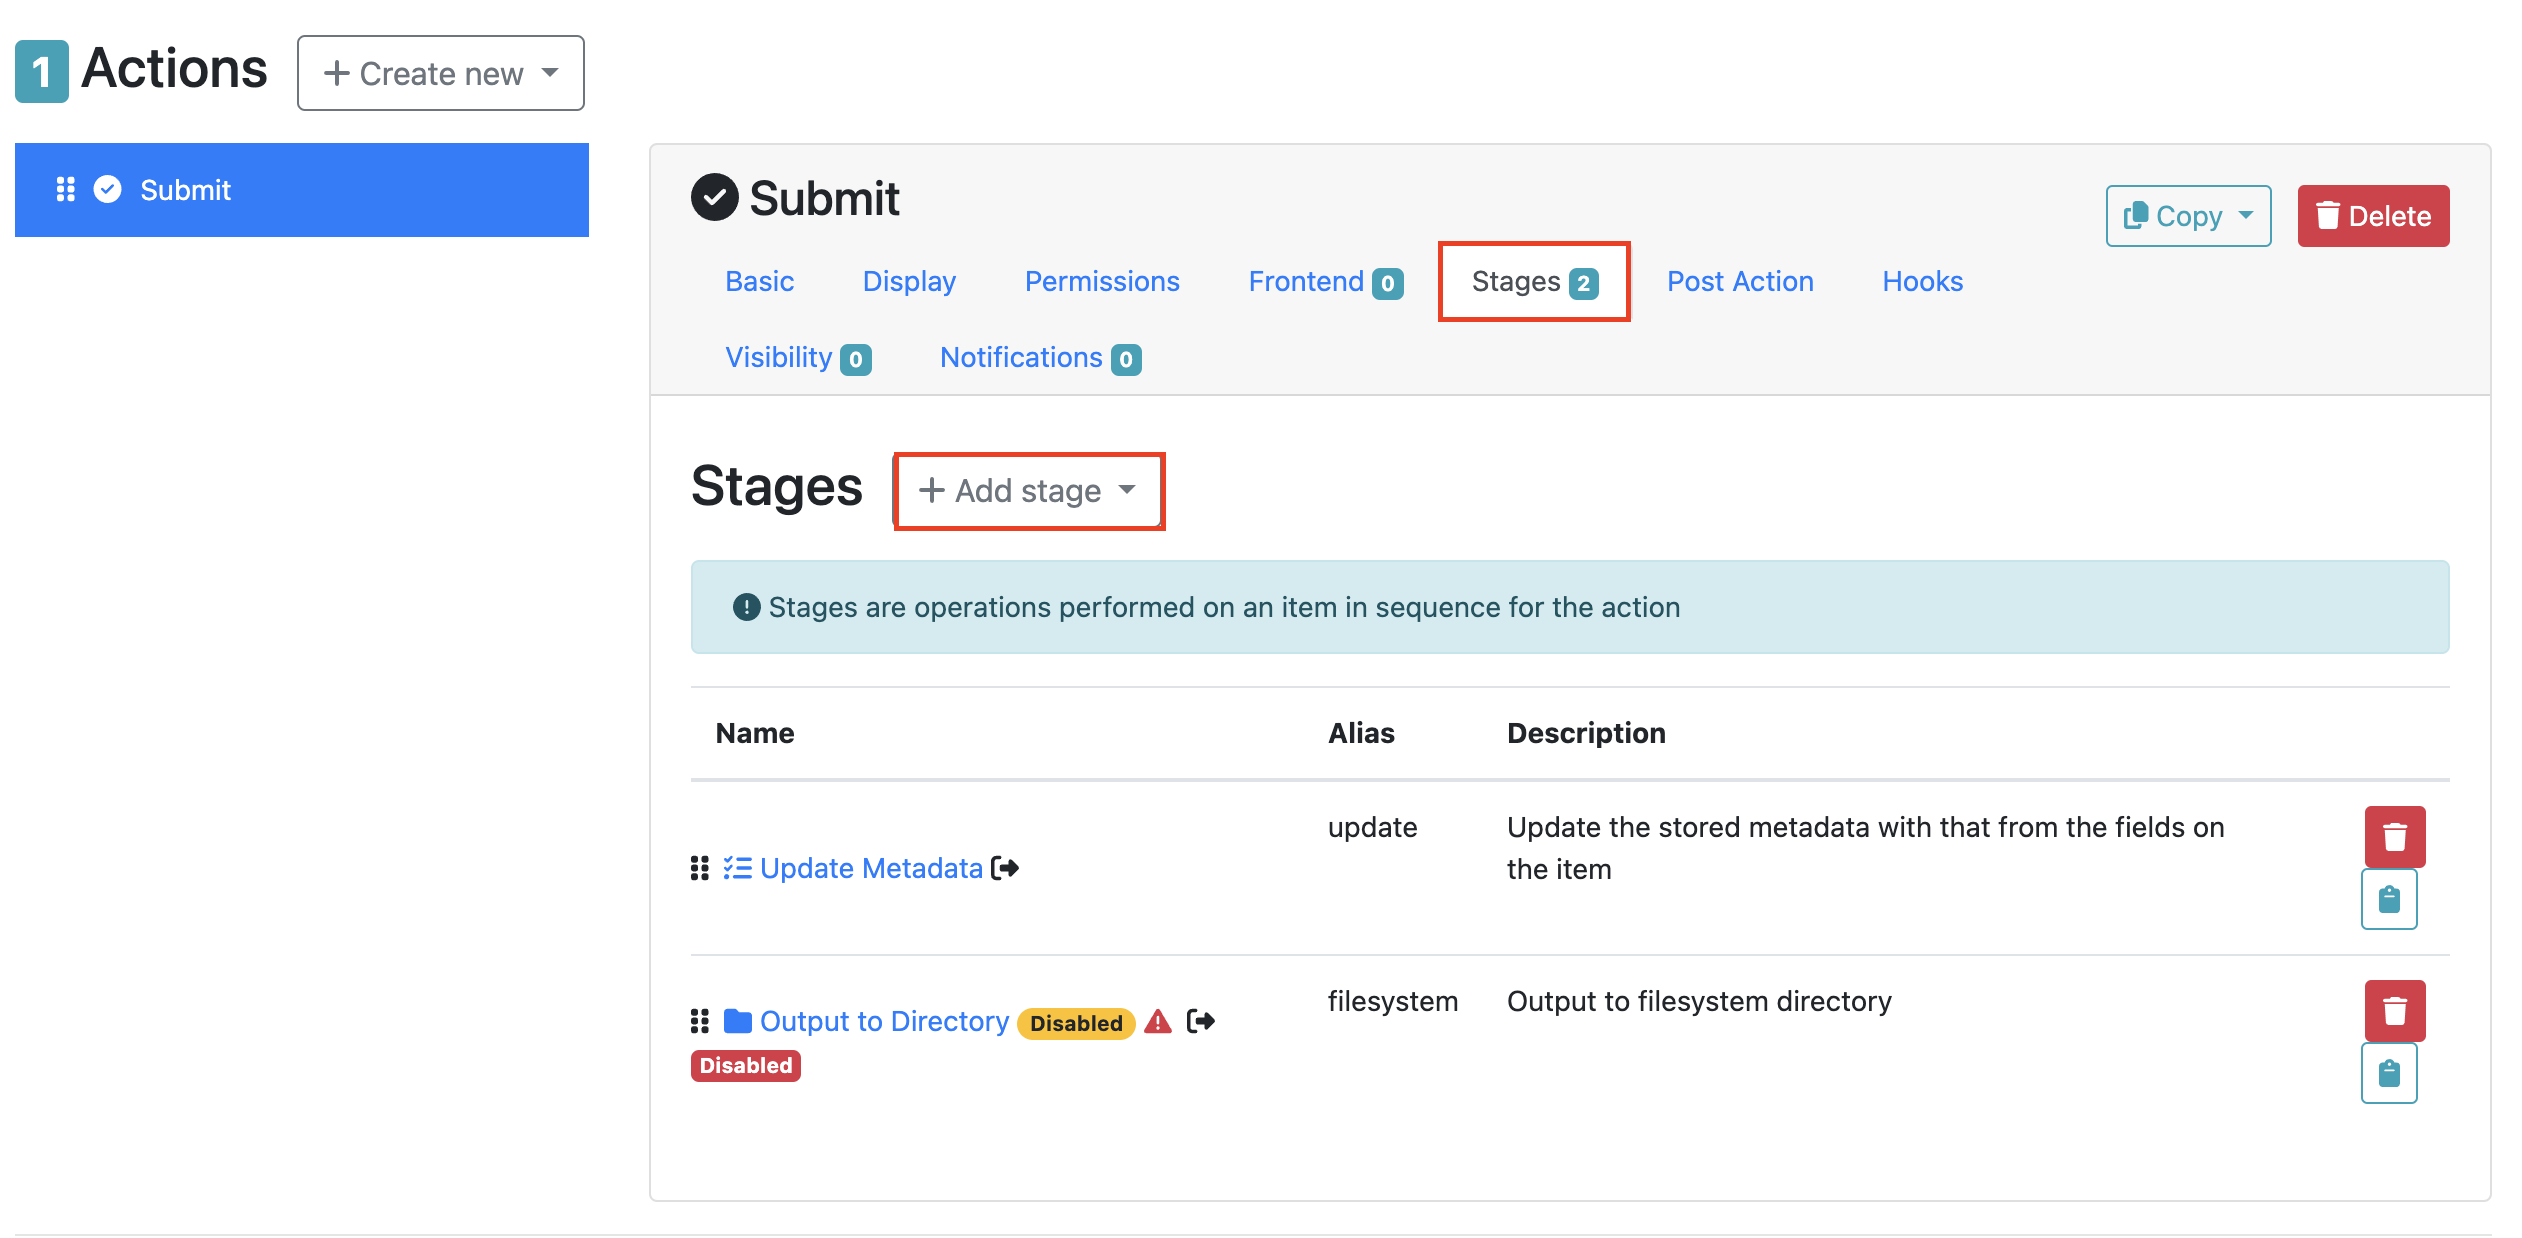
Configuring the Integration Upload Stage
Basic Settings
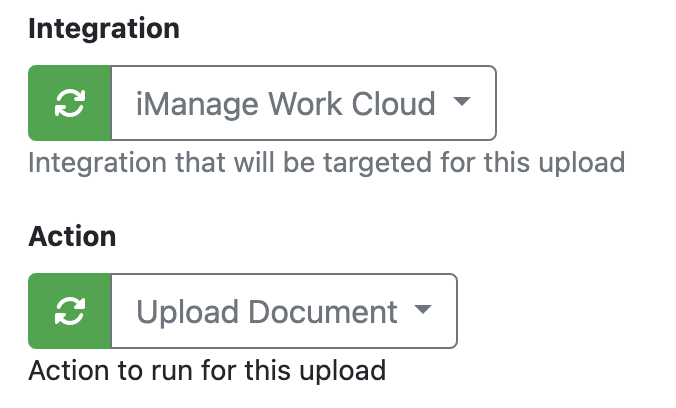
On the Integration field and select your iManage Work Integration Connection (the name of this will vary depending on what you called it during configuration). This will also default the Action field to Upload Document.
Upload Settings
|
Setting Name |
Description |
|---|---|
|
Client Attribute |
Enter the value of the Client Attribute in your iManage Environment. By default the this is set to 1. |
|
Matter Attribute |
Enter the value of the Matter Attribute in your iManage Environment. By default the this is set to 2. |
|
Create Missing Folders |
Check this option to automatically create missing sub folders, or leave unchecked to force the upload to fail when a sub folder is missing. This is off by default. |
|
Bypass Document Upload |
Set this option to not upload the document. This option is intended for chaining together Uploads for creating sub folders. This is off by default. |
|
Auto Search |
Check this option to automatically run a search when this field is browsed. This is on by default. |
|
Max Results |
Specify the maximum number of results that search can return. This is defaulted to 200. |
|
Supervisor Mode |
Upload document to folder in supervised import mode. Allows readonly properties such as Operator to be overriden. The authenticated user must have NRTADMIN access permission to use this feature. This is off by default. |
Upload Fields
In order to upload successfully to imanage you will need to configure at least following 3 fields:
|
Fields |
Description |
|---|---|
|
Class |
This is defaulted to DOC. |
|
Description |
Name of the document. |
|
Folder |
Folder location where the document is to be uploaded to. |
These fields can be populated using field or metadata placeholders.
For example, if you have an integration lookup field for the folder you can use the field or metadata placeholder for the folder location.
FAQs
How to Register Application in iManage Control Center (Cloud)
This integration requires an application be added in iManage Control Center.
To add the application:
-
Open iManage Control Center in a web browser (e.g. https://cloudimanage.com/work/cc)
-
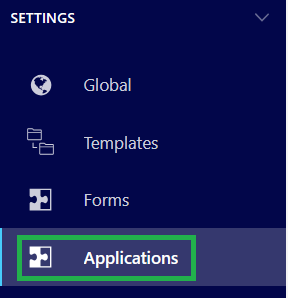
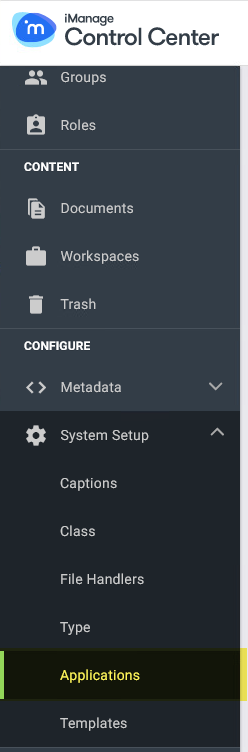
Navigate to Settings → Applications as shown below.
-
Click
Add Applicationto choose from the available applications.
-
Select the
EzeScan - Serverapplication.
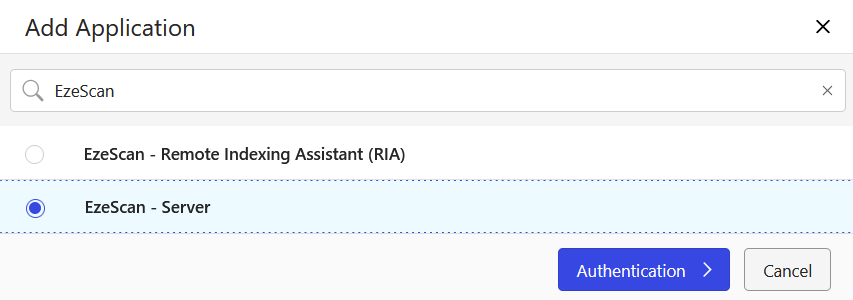
If the application does not appear in the list, it may have already been installed and no further steps are required.
-
Click
Authentication
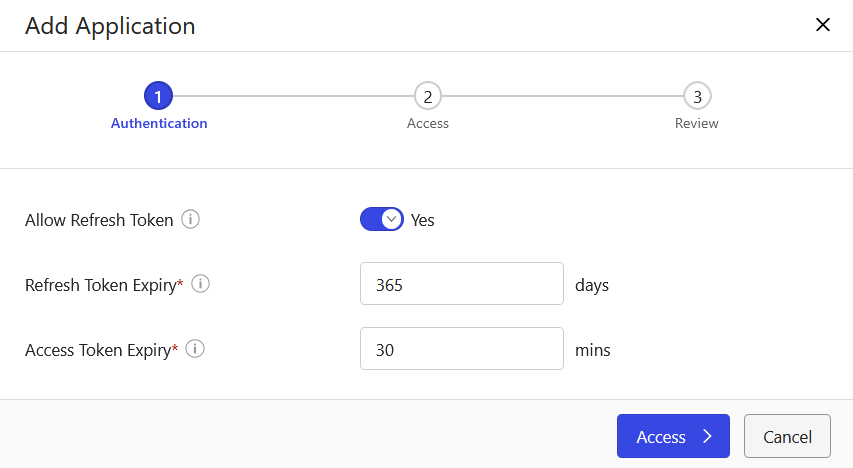
-
Ensure
Allow Refresh Tokenis enabled and configure the expiry options as desired. -
Click
Access
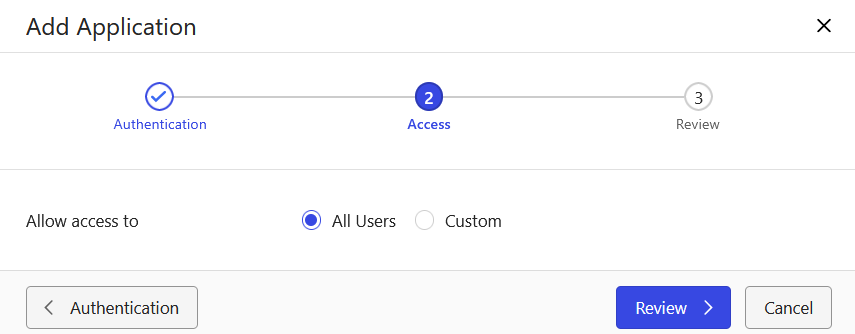
-
Select
All Usersif any user should be allowed to sign-in using this integration, otherwise selectCustomand choose the desired users. -
Click
Review
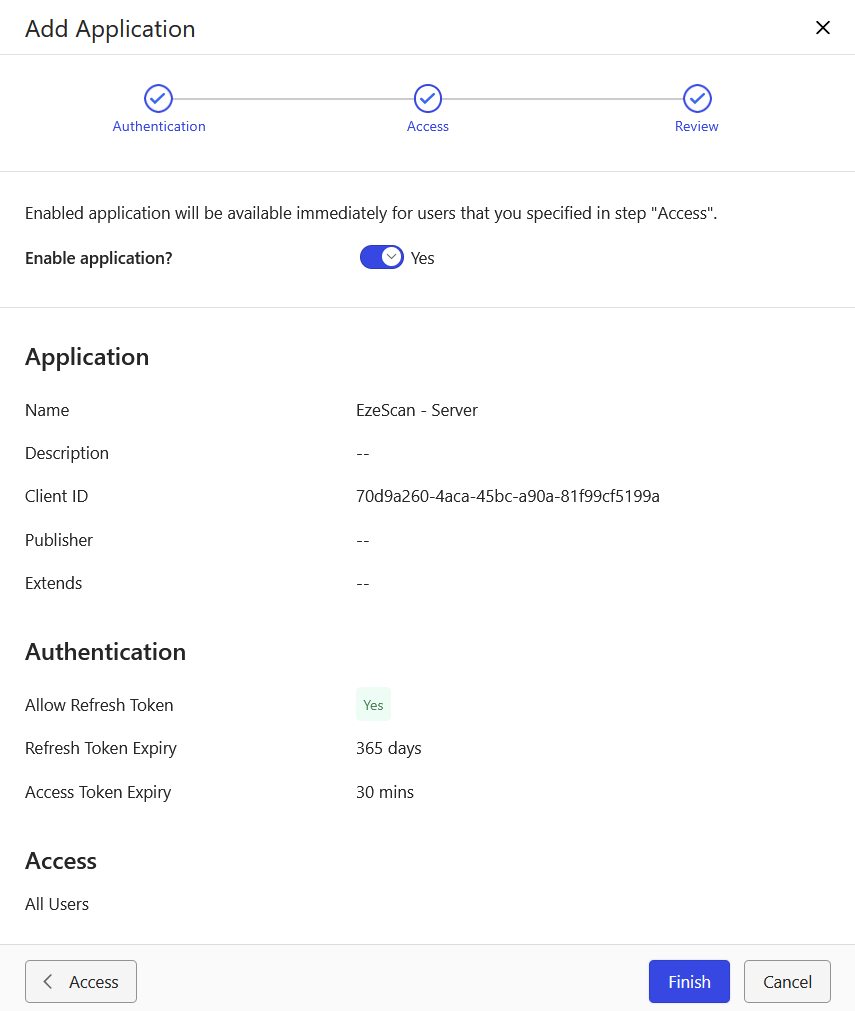
-
Ensure
Enable Applicationis on. -
Finally click
Finish
How to Register Application in iManage Control Center (On-Premise)
This integration requires an application be registered in iManage Control Center in order for user’s to sign-in using the OAuth authentication.
To register an application open in iManage Control Center in a web browser (e.g. https://imanage.company.com.au/work/cc)
Navigate to System Setup → Applications as show below.
Search the list of available applications for EzeScan to ensure if has not already been configured. 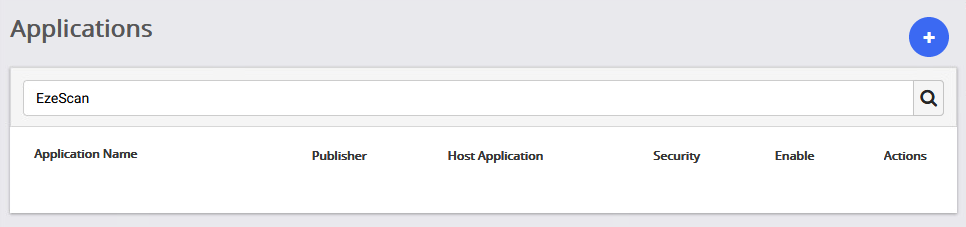
Click the Blue circle with the Plus symbol to add a new application registration.
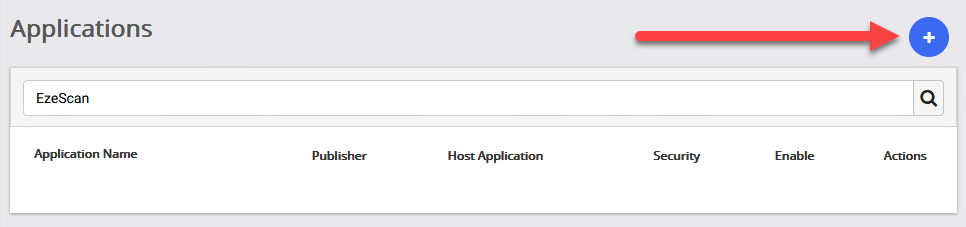
The Blue Button will open the Add Application modal.
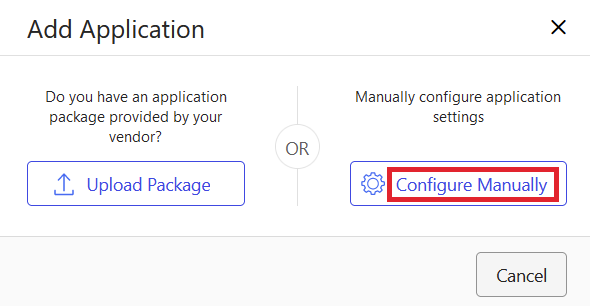
Click on Configure Manually
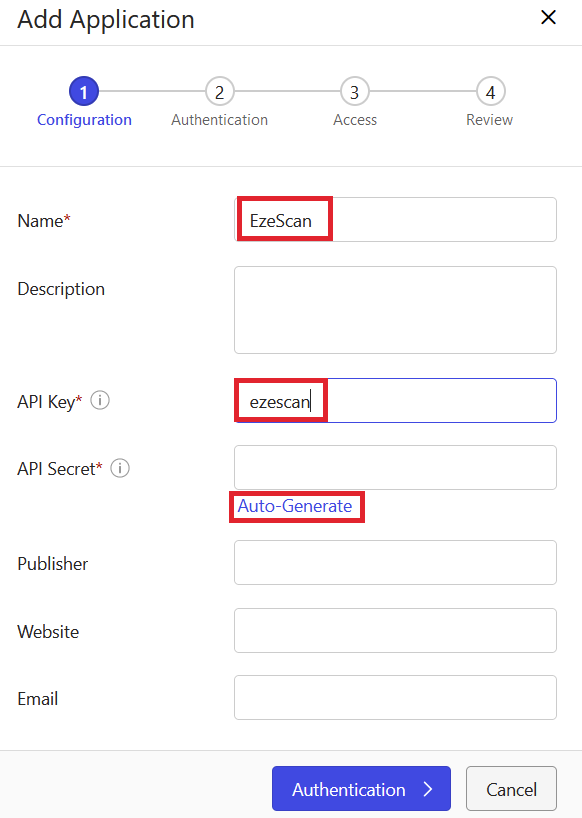
Enter a name, API Key, and auto generate an API Secret.
We recommend using ezescan as the API Key.
Click in Authentication
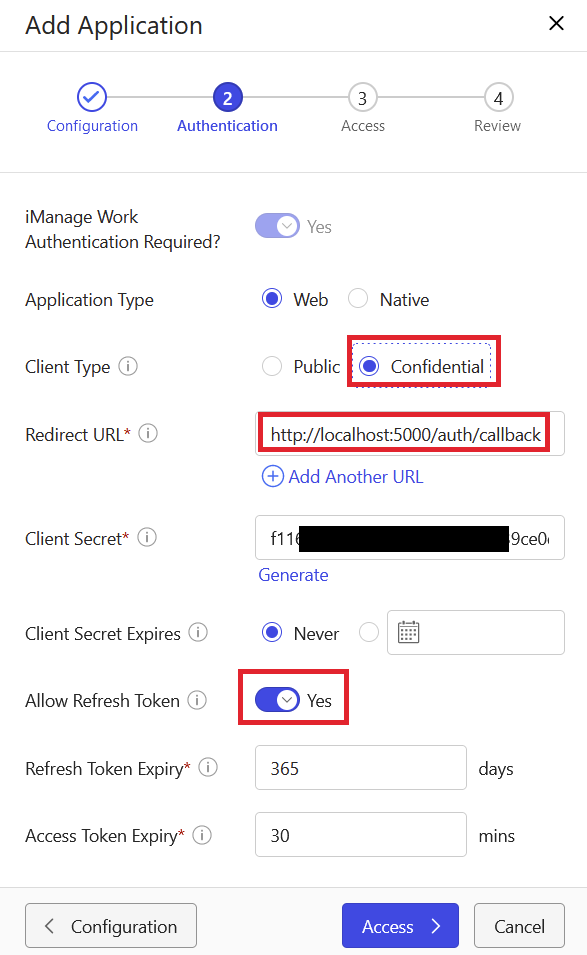
Configure the options highlighted above.
Confidential and Allow Refresh Token are required for background processing in EzeScan Server.
Without these options the access token would expire every 30 minutes and require a user manually sign-in again.
Click on Access

Select All users
Click on Review
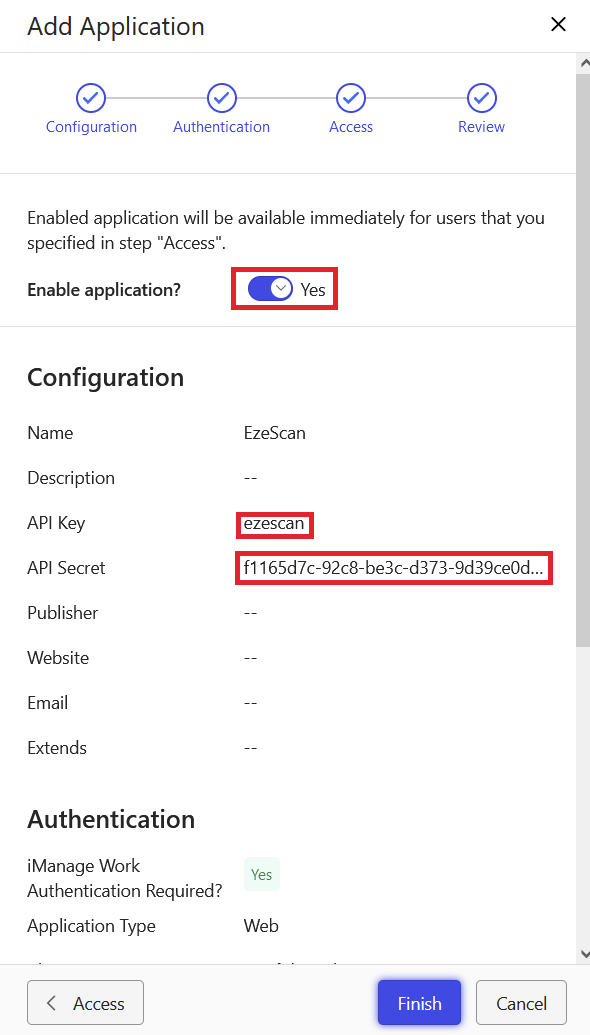
Ensure application is enabled.
Store the API Key and Secret somewhere safe - these will be needed when configuring the connection in EWA.