
The following information details the connectivity and functionality offered by the EzeScan integration with the InfoRouter EDRMS solution. It details the available options and how to configure an EzeScan job into InfoRouter.
For information on InfoRouter Document Management Software please refer to the InfoRouter website - https://www.inforouter.com/
For information on EzeScan please refer to the EzeScan website - https://ezescan.com.au
Developed for Ezescan Release: 4.3
 Configuring Connection Settings
When configuring a Job, KFI or Upload to use the InfoRouter connector the connection settings panel must be filled in. If only using a single Server, it is recommended that the InfoRouter connection settings are configured globally.
-
Click the Admin menu, choose Workstation Options.
-
Click the EDRMS tab and choose the InfoRouter option from the drop down list that appears.
-
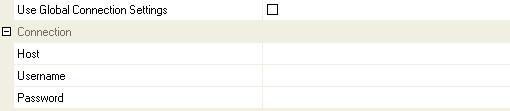
Enter the following information:
Field
|
Description
|
|---|---|
|
Host |
Specify the URL of the InfoRouter Server. |
|
Username |
Specify the username to access InfoRouter. |
|
Password |
Specify the password associated with the username. |
 Job Settings
There are two ways the EzeScan InfoRouter connector can integrate with InfoRouter:
-
Using a simple output to InfoRouter form. This can be created with a Job only, commonly used for low volume scanning or ad hoc type scanning.
-
Using the KFI and UPLOAD modules. This would be used for specific workflows that utilise EzeScan KFI to assist in minimal data entry, reusing data, forms extraction and setting workflow defaults.
The EzeScan to InfoRouter Profile Form functionality requires that the EzeScan Workstation be licensed with the EDRMS module.
Output documents using profile form
To enable InfoRouter output functionality on a Job:
-
Click Admin and choose Jobs (F6).
-
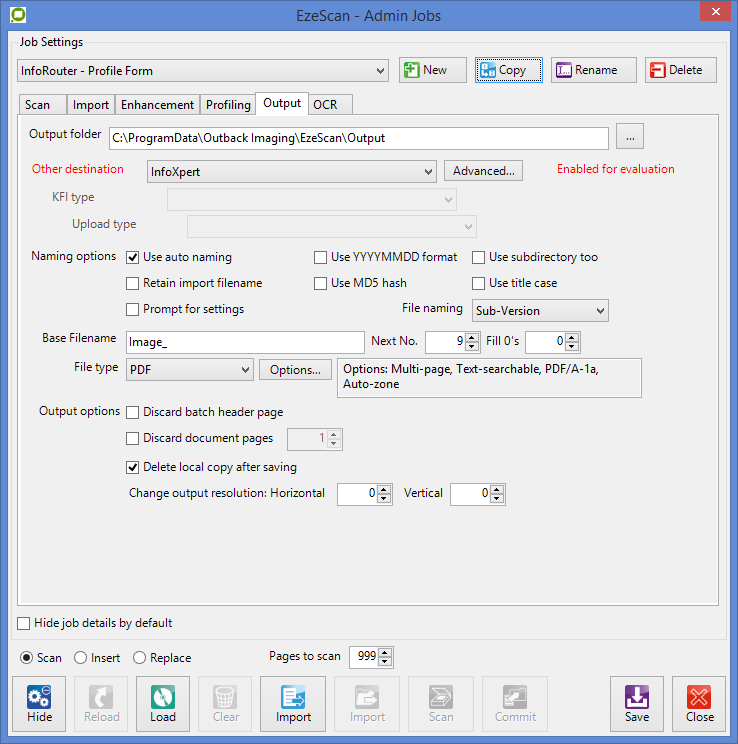
Click the Output tab and then choose the InfoRouter option from the Other Destination dropdown.
-
Click the Advanced button.

-
If using the global connection settings from the Workstation Options, tick the Use Global Connection Settings option, otherwise complete in the Connection settings.
-
Scroll down to the Output settings section.

-
Fill in the following details to change the defaults of the Profile Form that is shown when users profile (F4) documents using this Job:
Field
Description
Default Path
Type in or browse for the folder to display when the Profile Form is shown, or leave blank to force the user to select a folder.
-
After modifying these settings click the Save button, otherwise the changes will be lost.
-
The Job is now configured to save scanned documents into InfoRouter.
Import documents using browser
If there is a requirement to import documents from InfoRouter into EzeScan, (e.g. for markup/redaction purposes) an EzeScan job can be configured to do this.
This would usually be a separate EzeScan job - one job to scan and save to InfoRouter, then another to import from InfoRouter, markup/redact and save to InfoRouter.
InfoRouter Import functionality on a Job is only available when Output to InfoRouter is configured - please refer to the above section for details on how to enable this.
To enable Import File functionality on a Job:
-
Click Admin and choose Jobs (F6).
-
Select the Job you want to modify.
-
Click the Import tab, enable the Enable Import File Processing option and then enable the Import File from EDRMS option by ticking the box.

-
To change the import default settings, click the Output tab.
-
After modifying these settings click the Save button, otherwise the changes will be lost.
KFI Field Settings
The KFI Field Settings allow the operator to browse into InfoRouter during KFI indexing so the operator can then select folders and object types to be applied to the document.
The following functionality requires that the EzeScan workstation be licensed for the EDRMS as well as KFI and UPLOAD modules.
Enabling browse options
The InfoRouter settings must be configured before a KFI field can use the InfoRouter browse functionality.
-
Press F7 to display the KFI form.
-
Click the EDRMS tab.
-
If using the global connection settings from the Workstation Options, tick the Use Global Connection Settings box; otherwise fill in the Connection settings.

-
Click the Fields tab.
-
To enable a field to access InfoRouter you need to:
-
Click the edit link under Properties for the field.
-
Click the InfoRouter tab
-
Tick the Enable InfoRouter Browse Button box.
-
The browse parameters will become active.

-
Click OK.
-
Configuring browse parameters
This option determines the type of InfoRouter Browser that is shown when the Browse button (F3) is pressed during indexing.
Choose from one of the following five options:
Option
|
Description
|
|---|---|
|
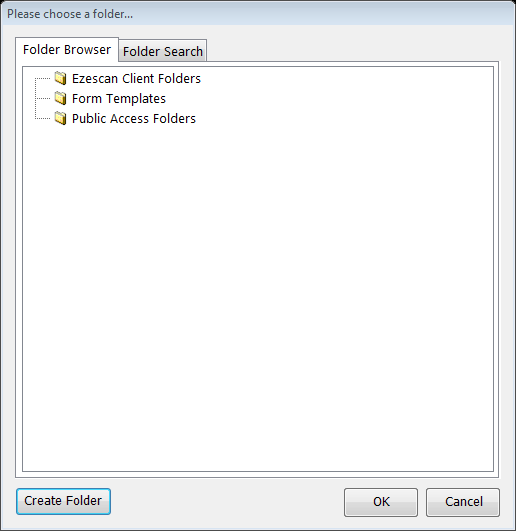
Folder |
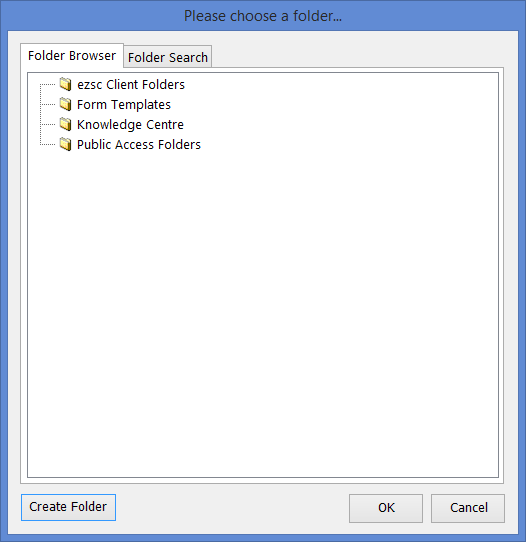
Enables the operator to browse the Domain/Folder structure of the InfoRouter Server. Use the ‘Default Path’ parameter to specify the starting Folder path of this browser.
When the OK button is clicked by the operator, the full path of the selected item is returned as the value. |
|
File |
Enables the operator to browse the Domain/Folder structure of the InfoRouter Server. Use the ‘Default Path’ parameter to specify the starting Folder path of this browser.
When the OK button is clicked by the operator, the full path of the selected document is returned as the value. |
|
Lookup |
Enables the operator to select from a list of values for a Property Set Lookup Field. Use the ‘Lookup Field’ parameter to specify which field will be used to retrieve these values.
When the OK button is clicked by the operator, the selected item is returned as the value. |
|
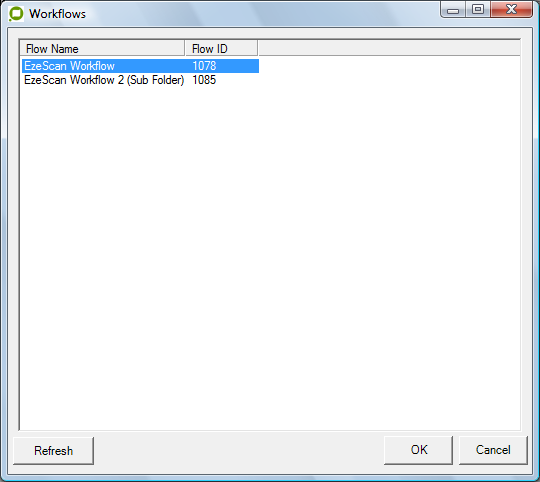
Workflow |
Enables the operator to select from a list of available Workflows. Noting that this requires a value to be specified in the ‘Default Path’ parameter.
When the OK button is clicked by the operator, the selected Workflow’s Name and ID is returned as the value. |
|
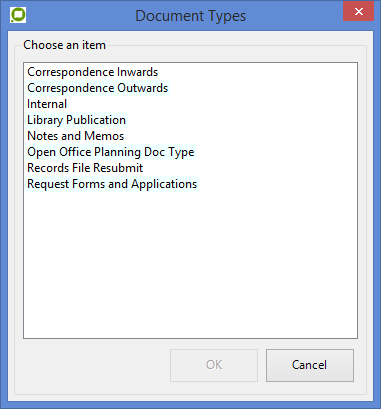
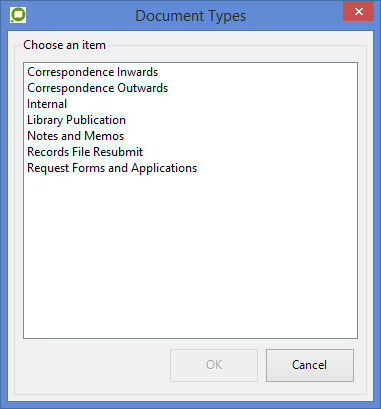
Document Type |
This option enables the operator to choose a document type of the document. The following screen will be displayed with the respective document types configured on the server. The value returned will need to then be applied to the Document Type mapping in the EzeScan upload. |
|
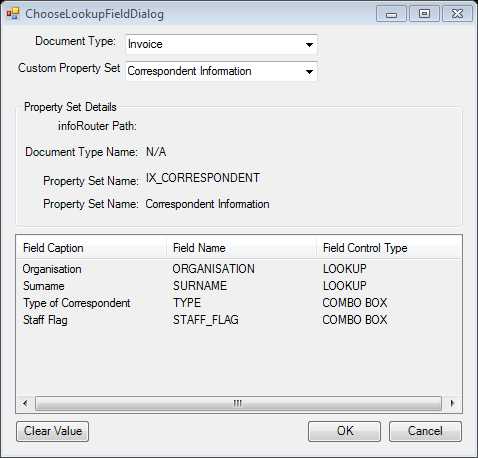
Lookup Field |
This option is used to specify the List or Combo Property Set field that will be used when the Browse Methods is set to Lookup. To set the value click inside the text box, and then click on the … button that appears. When an item is selected from the Document Type or Custom Property Set drop down list, a list of available Combo and List fields will appear. Select the required field and press the OK button. When the OK button is pressed the details of the selected item will be returned as the parameter value.
|
|
Default Path |
This option determines the root path to display when using the Folder Browse Method, or the path to find workflows in when the Workflow Browse Method.
The root path can either be typed in, or browsed for by clicking on the ... button that appears in the value cell after clicking on it. |
|
Return All Columns From Lookup |
This option will return all the columns from the looked up value. This may be so the operator can then use the custom extract option in following fields to split up the values to be applied to respective fields in the upload. |


Upload Settings
The UPLOAD module will obtain the KFI output data to pass into InfoRouter saving the document into the respective folder and applying metadata information.
The following functionality requires that the EzeScan Workstation be licensed for the EDRMS and KFI and UPLOAD modules.
Configuring connection parameters
-
Open the Upload Form (F8).
-
Choose the Upload Type you want to configure.
-
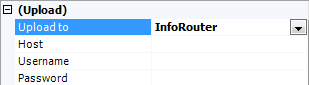
On the left hand side in the Upload Properties pane choose InfoRouter in the Upload To list.
-
If using the global connection settings from the Workstation Options. Tick the Use Global Connection Settings option; otherwise fill in the Connection settings.
Configuring built-in upload fields
The following fields will appear after choosing Upload To InfoRouter option in the Upload Properties pane. These are the default InfoRouter fields.
Each field can have its input set using the Source Field cell, noting that the Folder and Document Name fields can’t be set to ignore. 
Target Field
|
Description
|
|---|---|
|
Folder |
Use this field to specify the InfoRouter folder path that the upload document will be saved to. To browse for a folder, set the Source Field to Static Value, click into the Field Value cell and click the ... button that appears. |
|
Document Type |
Use this field to specify the Document Type that will be assigned to the uploaded document.
To select a Document Types, set the Source Field to Static Value, click into the Field Value cell and click the ... button that appears. When the OK button is pressed the selected Document Types’ Name and ID is returned as the value. For example:
|
|
Run Workflow |
Use this field to specify the Workflow that should be started when the upload document is saved to InfoRouter. |
|
Property Set |
Use this field to specify the Custom Property Set that should be used to populate custom upload fields when the Auto Populate button is pressed. |
|
Author |
Use this field to specify the Author of the upload document. |
|
Completion Date |
Use this field to specify the Completion Date of the upload document. |
|
Description |
Use this field to specify the Description of the upload document. |
|
Document Language |
Use this field to specify the Language of the upload document. |
|
Document Source |
Use this field to specify the Source of the upload document. |
|
Importance |
Use this field to specify the Importance of the upload document. This field accepts the following values – 0 = Low; 1 = Average; 2 = High |
|
Percent Complete |
Use this field to specify the Percent Complete of the upload document. This field accepts a value of 0 to 100. |
|
Retention Date |
Use this field to specify the Retention Date of the upload document. |
|
Retention Status |
Use this field to specify the Retention Status of the upload document. This field accepts the following values – 0 = No Retention; 1 = Forever; 2 = Until Specified Date |
|
Update Instructions |
Use this field to specify the Update Instructions of the upload document. |
|
Version Comments |
Use this field to specify the Version Comments of the upload document. |
|
Owner |
Use this field to specify the Owner of the upload document. |
|
Keywords |
Use this field to apply keywords into the keywords field of the upload document. |
|
Comments |
Use this field to specify the Comments of the upload document. |
|
Allow Version Control |
Use this field to allow if the document can have a new version applied to it. To set to Yes put a Y in the field. To set to No put an N in the field or leave the source value on ignore. |
|
Publish |
This option will set the document to a published status. To set to Yes put a Y in the field. To set to No put an N in the field or leave the source value on ignore. |
|
Parent Document |
This option is used if a document needs to be updated as a new revision. The full path of the document must be supplied. E.g. \scans\scan.pdf |

Configuring custom property fields
After selecting the Document Type (Document Type Field) or Property Set (Property Set Field) to assign to the uploaded document, click the Auto Populate button at the bottom of the screen.
This will result in the InfoRouter connector returning a list of custom fields that relate to that Document Type/Property Set.
It is then a matter of setting the source values of those fields to the target values of the custom fields.
The Auto Populate button appears under the Field Mappings grid. 
Applying KFI output data to target field data
To pass through the KFI output data into the Upload module the operator is required to set the source field data to the target field data.
-
In the Upload type, set the Column names from option to the name of the KFI job Type.

-
In the Field Mappings Grid the operator can apply the Source Field settings to the Target Field settings.
In the example below the InfoRouter Target Field Document Name is being populated by the KFI Source Field Title.
-
When all the mappings are complete, click Apply.
-
Click OK to save the changes.
Running a Job using Profile Form
-
To run a job to InfoRouter with the profile form, confirm that the Other Destination is set to InfoRouter. Please refer to Output documents using profile form section for how to set this up.
-
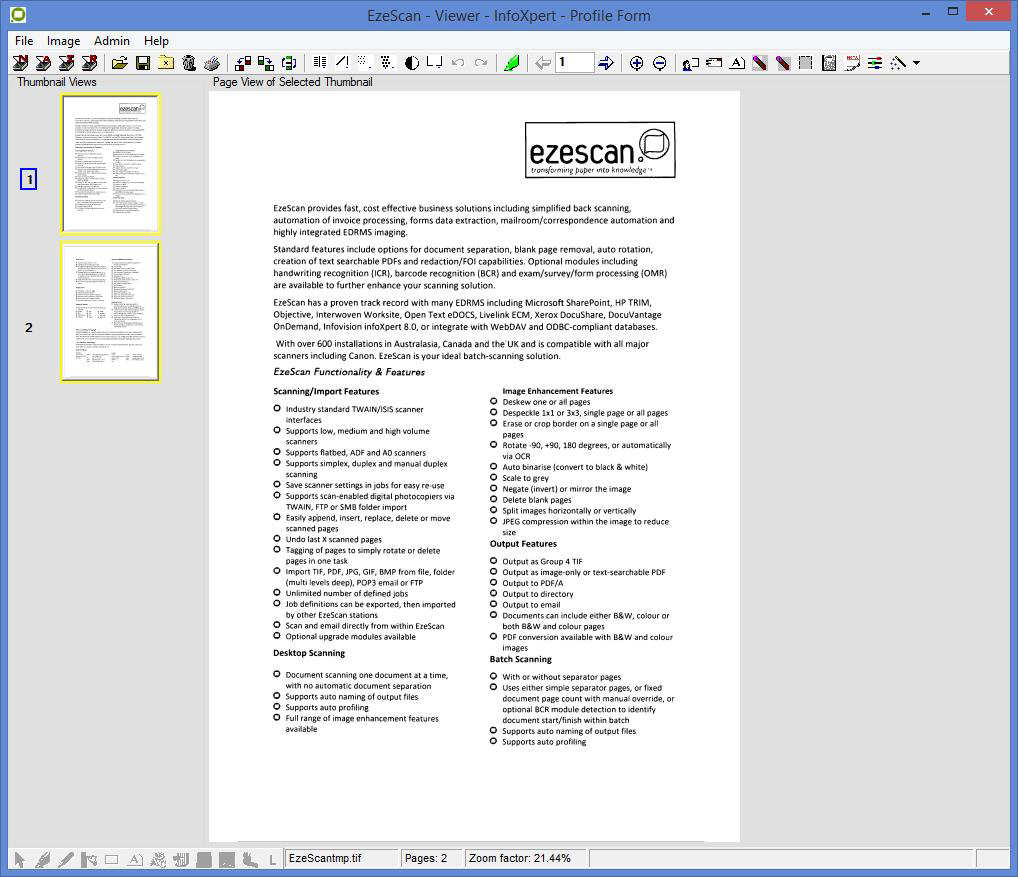
Click the scan/import or job button to load the image into the EzeScan viewer.
-
Press the F4 key or click the Profile button

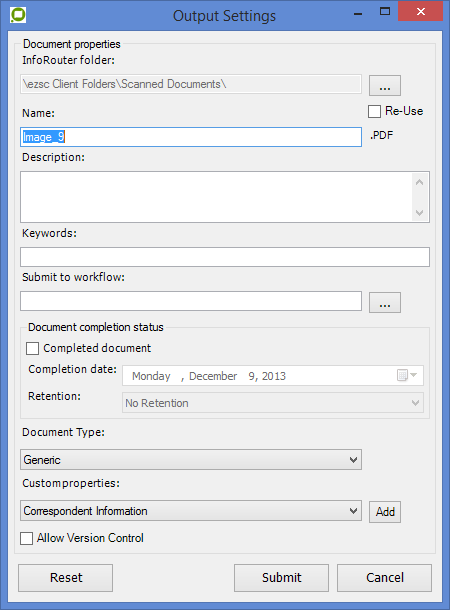
-
Click OK and the document will be saved into InfoRouter.
There is a sample InfoRouter profile form job in the downloads section on the EzeScan web site.
Running a Job Using KFI and Upload
To run a job to InfoRouter using the KFI and UPLOAD modules, confirm that the Other Destination is set to KFI and the respective KFI and UPLOAD Types are selected. Please refer to the KFI and UPLOAD sections for details on how to set this up.
In the example below the KFI\UPLOAD types have been configured for a:
-
Document Name (Name of document)
-
Folder (Folder path in InfoRouter)
The image below shows a job using the KFI and upload modules. 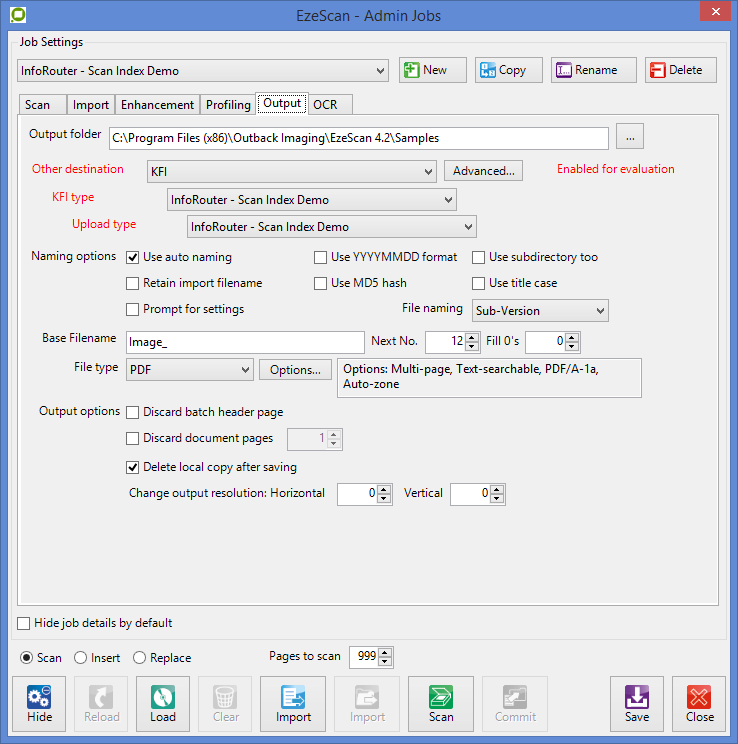
To run a job to InfoRouter using the KFI and UPLOAD modules:
-
Click the scan/import or job button to load the image into the EzeScan viewer.
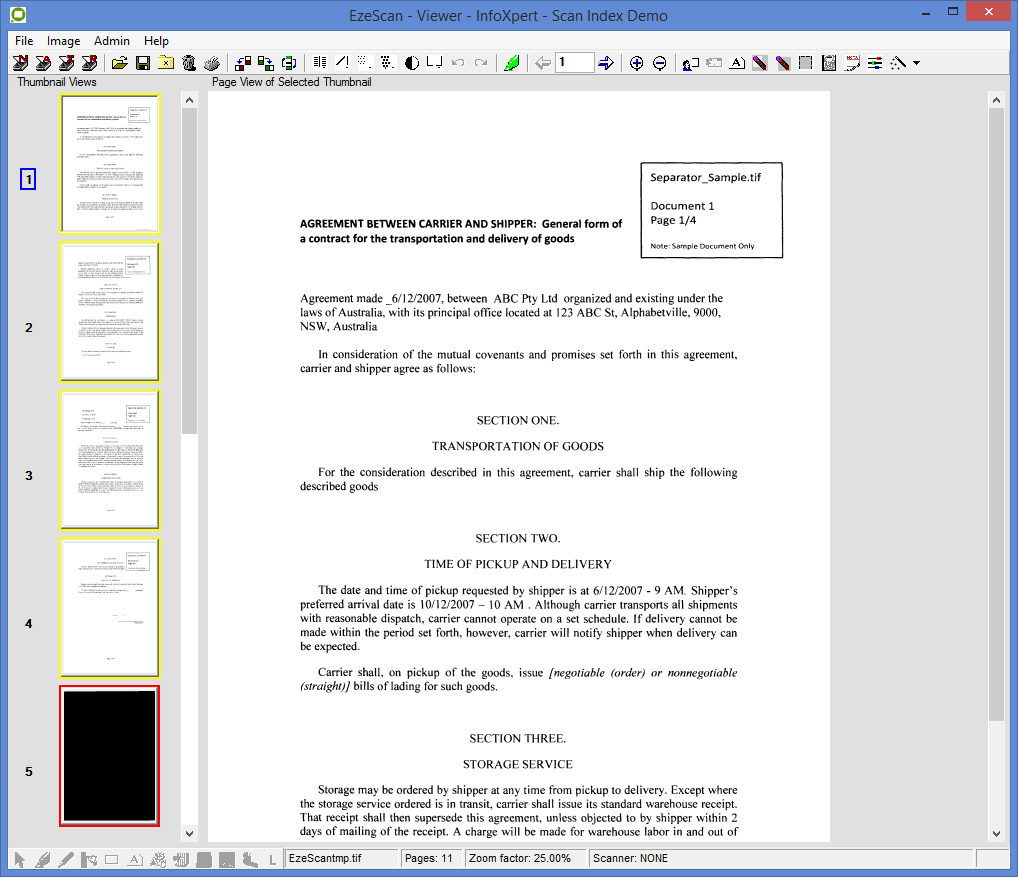
-
Press the F4 key or click the Profile button

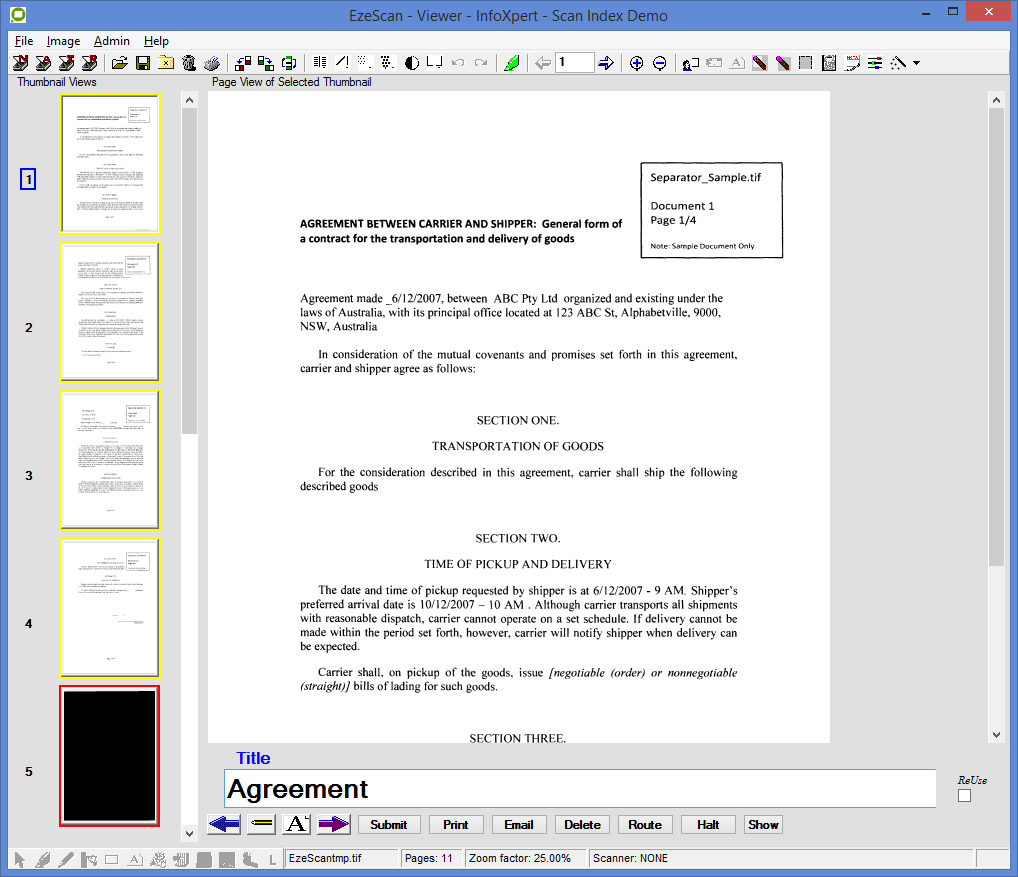
-
The operator can enter the Title.
-
When complete the operator can press Enter or click the

-
After the operator has completed the Document Name field, the next field will appear.
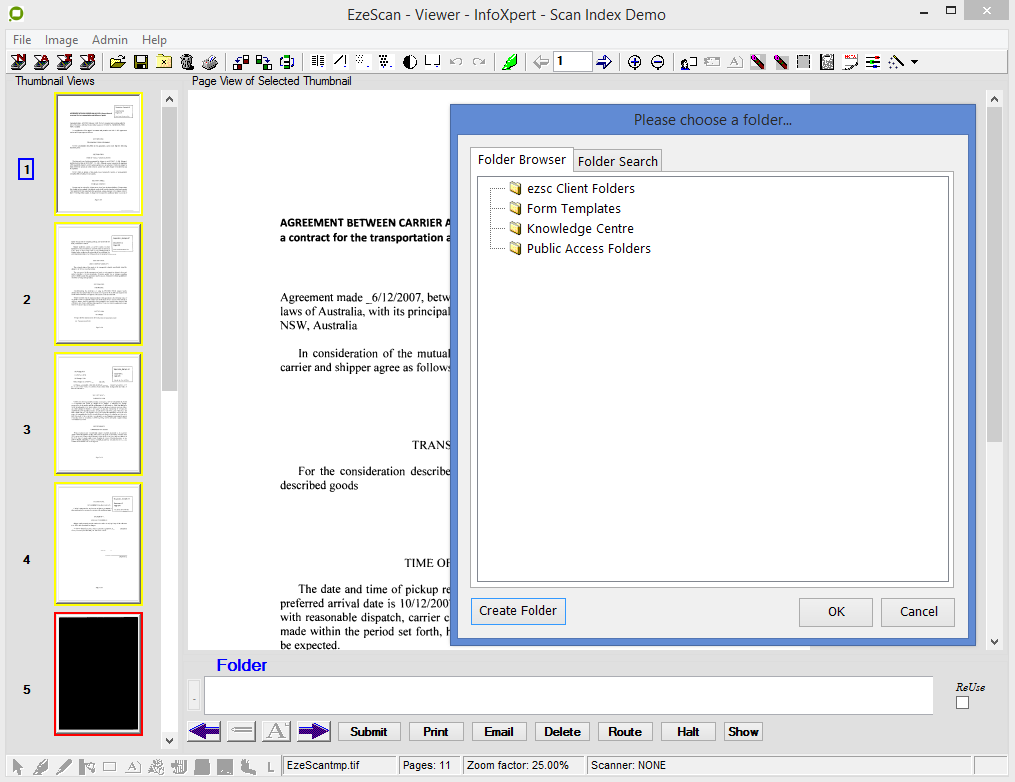
-
The operator will be prompted to select a folder.
-
When complete, press Enter and the submit button will highlight.
-
Press Enter or click Submit.
-
The document will be saved into the respective InfoRouter folder and metadata applied.
There is sample InfoRouter KFI / UPLOAD jobs in the downloads section on the EzeScan web site.
Display Record Number After Saving Record
To enable this setting, please refer to the How to articles.