Google Drive
Currently our Google Drive integration only supports uploading files with user interaction and not as an automated background process.
1. Configure settings in Google Admin Panel
| 1 | Navigate to the Google Cloud Console and login as an account that has permissions to manage the Google Workspace. |
| 2 | Create a new project named “EzeScan WebApps” 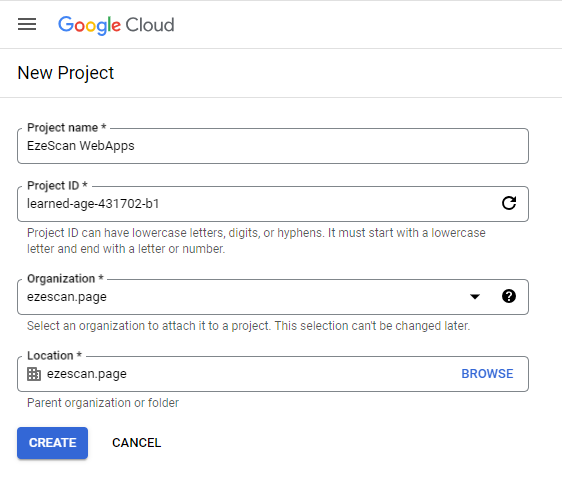 |
| 3 | On the left menu select APIs & Services > Library 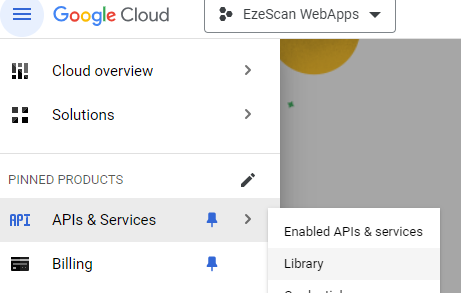 |
| 4 | Scroll down and click on the Google Drive API tile and then click the Enable button 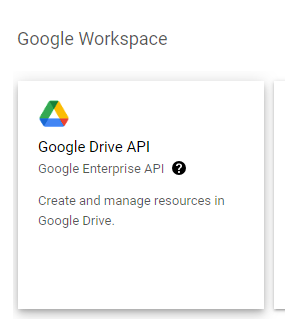 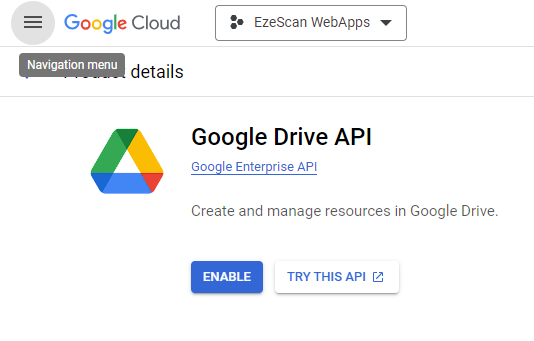 |
| 5 | On the left menu Select OAuth consent screen 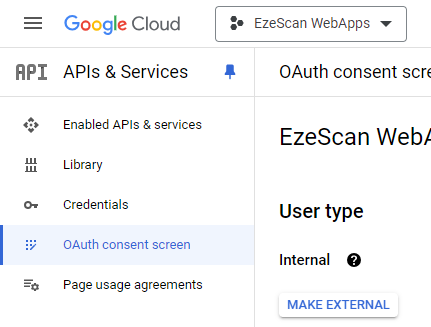 |
| 6 | Select the Internal option and then click Create 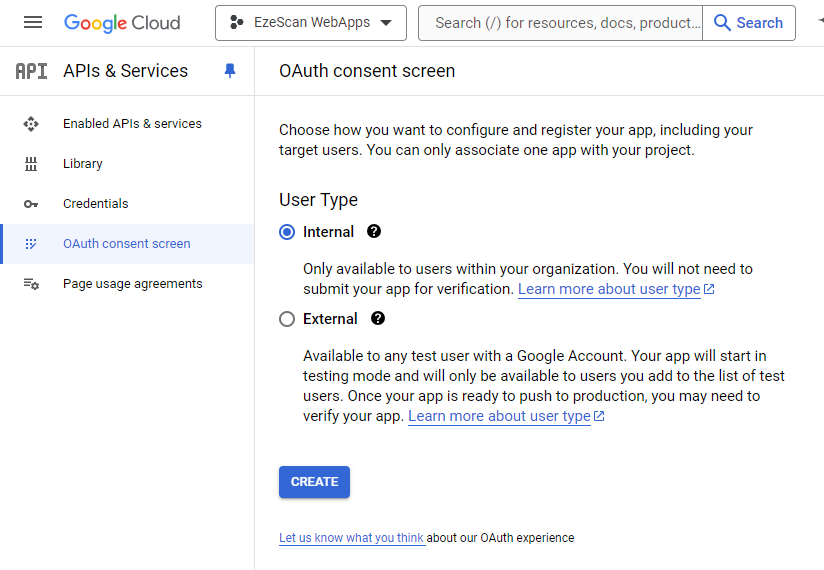 |
| 7 | Enter the required information and then scroll down and click the Save and Continue button App Name: EzeScan WebApps User support email: Select an email address in the dropdown. Email addresses: Same email address as above 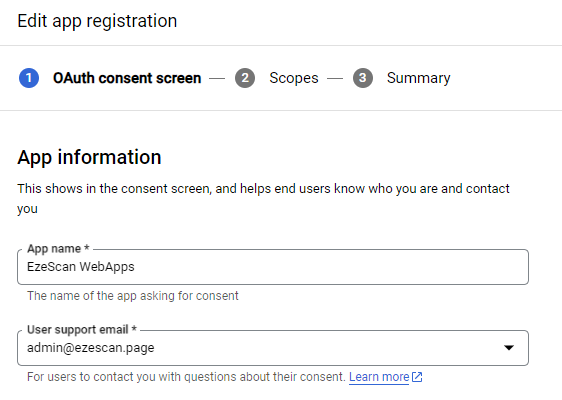  |
| 8 | Click the Add or Remove Scopes button 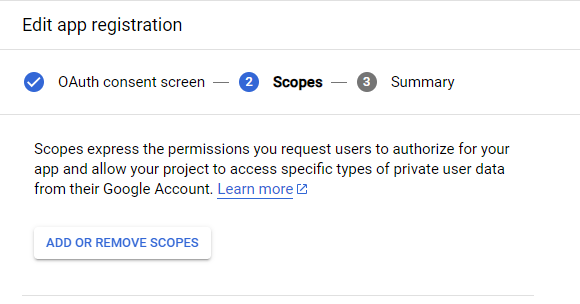 |
| 9 | Add the following scopes and then click Save and Continue API: Google Drive API Scope: …/oauth/drive 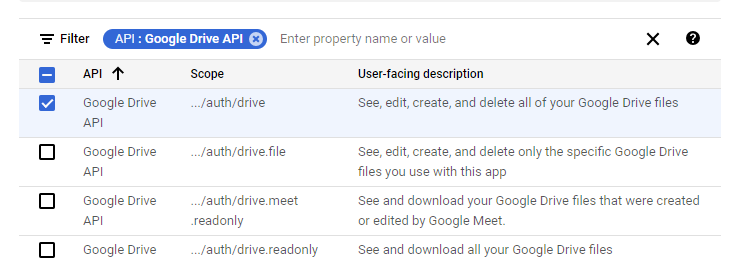 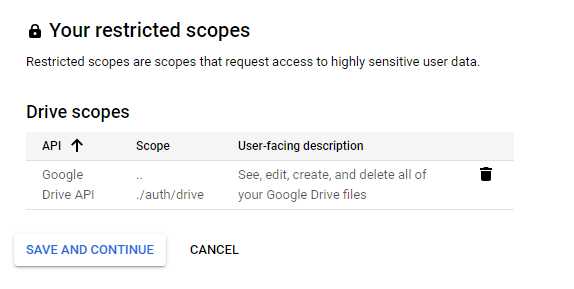 |
| 10 | Confirm all of the information and then click the Back to Dashboard button 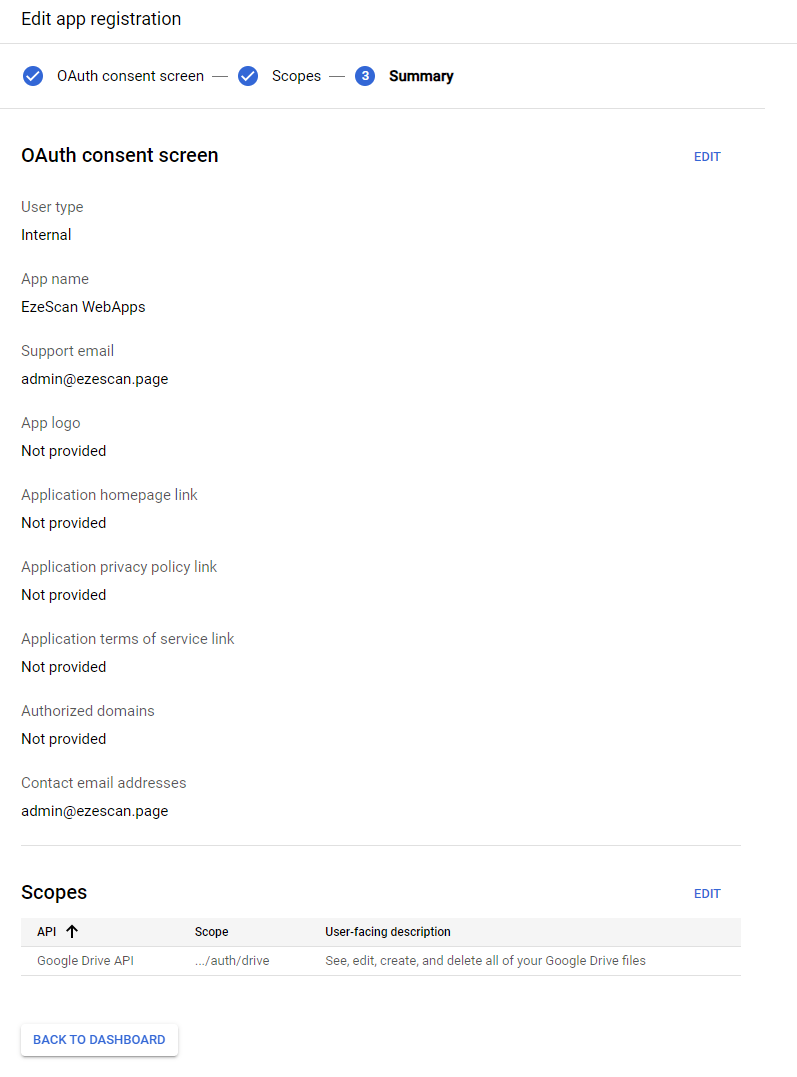 |
| 11 | On the left menu click Credentials 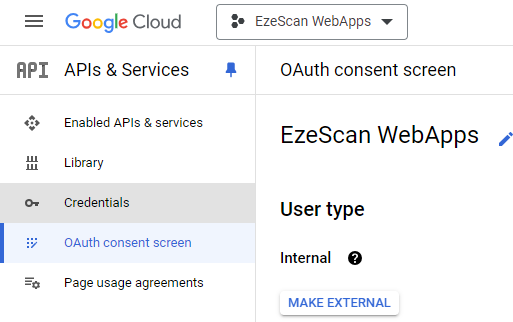 |
| 12 | Click the Create Credentials button and select the OAuth client ID option 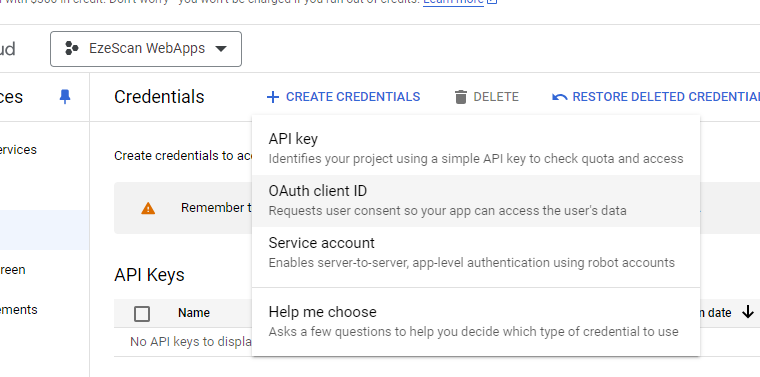 |
| 13 | Enter the following information and then click Create Application Type: Web application Name: EzeScan WebApps Authorized redirect URIs: https://{hostname_for_ewa_installation}/api/integrations/oAuthCallback For EzeScan Cloud the redirect URI would be: https://{tenant}.ezescan.cloud/ewa/api/integrations/oAuthCallback where you would replace {tenant} with your tenant name. 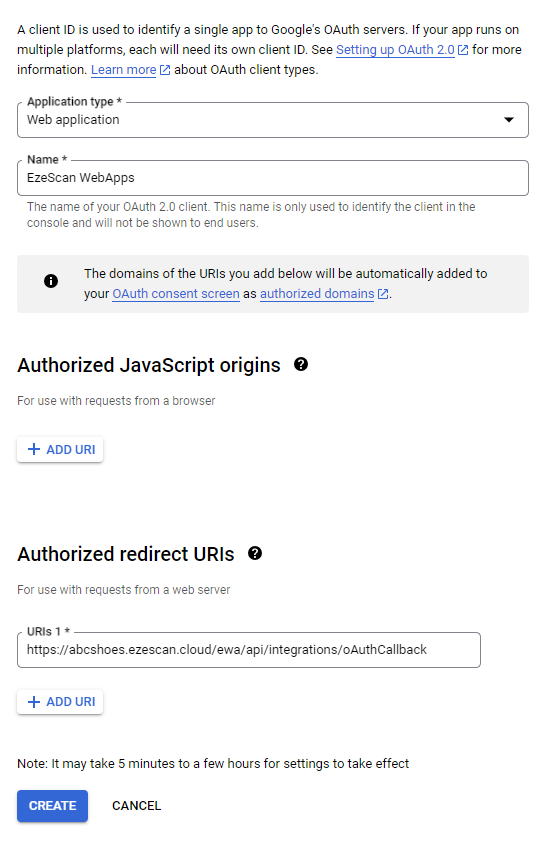 |
| 14 | Write down the Client ID and Client secret to somewhere safe for use in later steps. 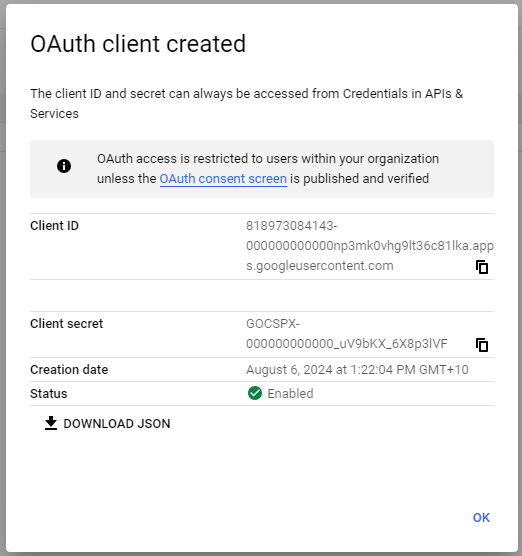 |
2. Configure Google Drive Connector in EzeScan WebApps
| 1 | Navigate to the Admin panel of your EzeScan WebApps installation  |
| 2 | On the left menu select Integrations 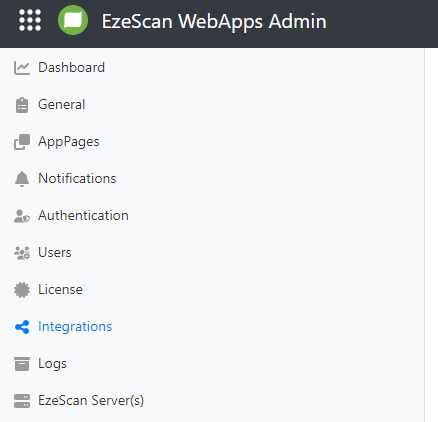 |
| 3 | Select the Integration Services tab 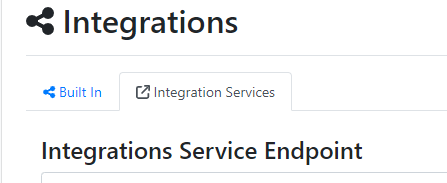 |
| 4 | Click Add New > Googe Drive 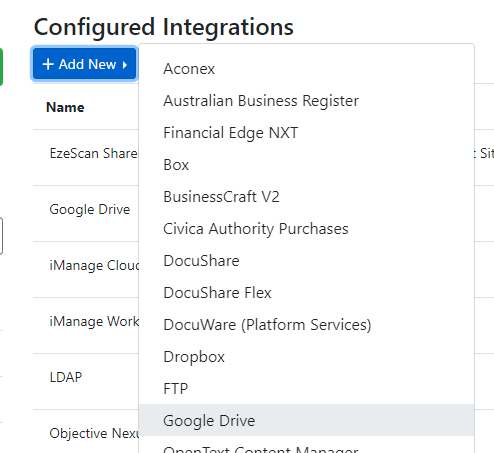 |
| 5 | Enter the following information and click the Create button Name: Google Drive Description: Connection to Google Drive Client ID: Client ID that was generated in the Google Cloud Console in the steps above Client Secret: Client ID that was generated in the Google Cloud Console in the steps above Redirect URI: https://{hostname_for_ewa_installation}/api/integrations/oAuthCallback For EzeScan Cloud the redirect URI would be: https://{tenant}.ezescan.cloud/ewa/api/integrations/oAuthCallback where you would replace {tenant} with your tenant name. 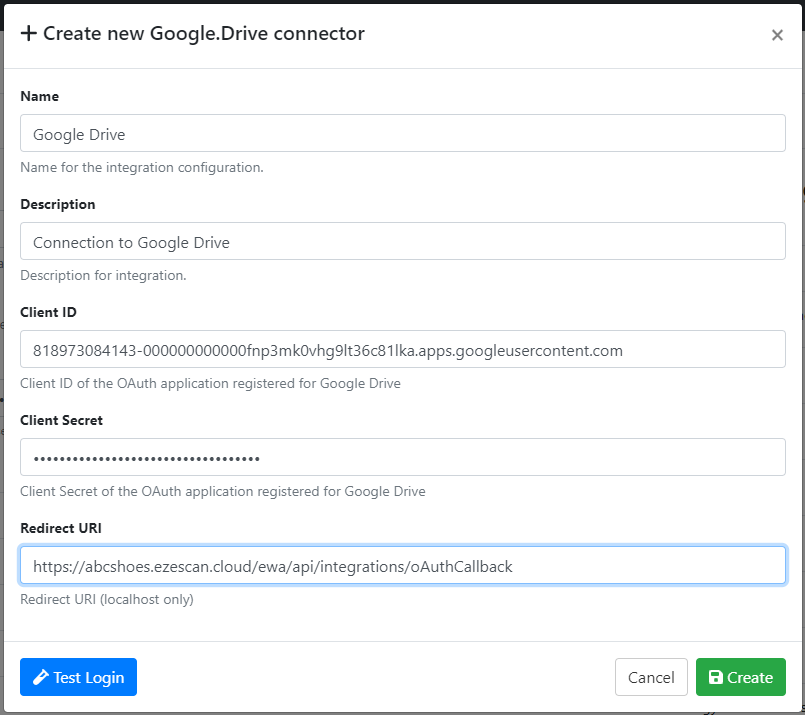 |
| 6 | Click the Edit button to open the connection you just created which will reopen the modal |
| 7 | Click the Test Login button and the following modal will appear. Click the Sign In button.  |
| 8 | A Sign in with Google window will appear, please sign in with your administrative user. 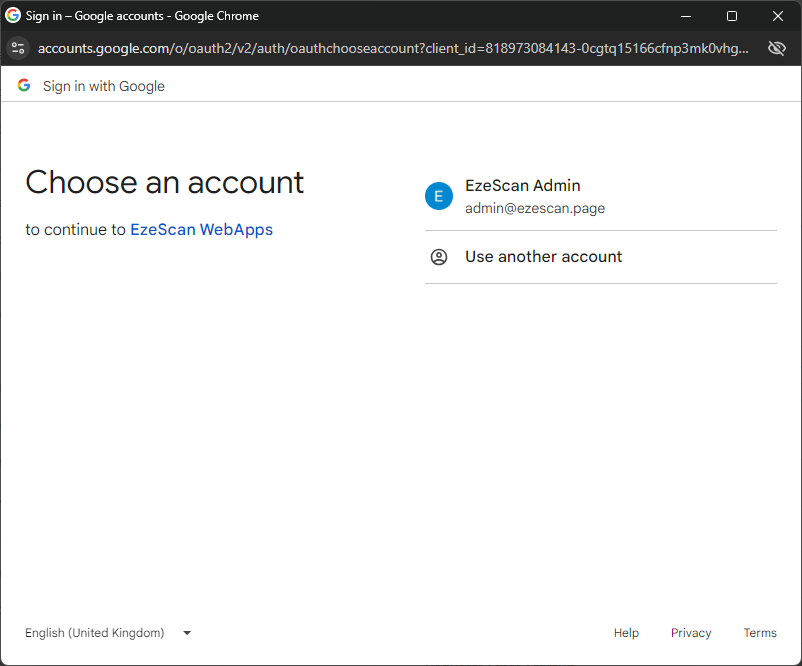 |
| 9 | Click Allow on the consent window 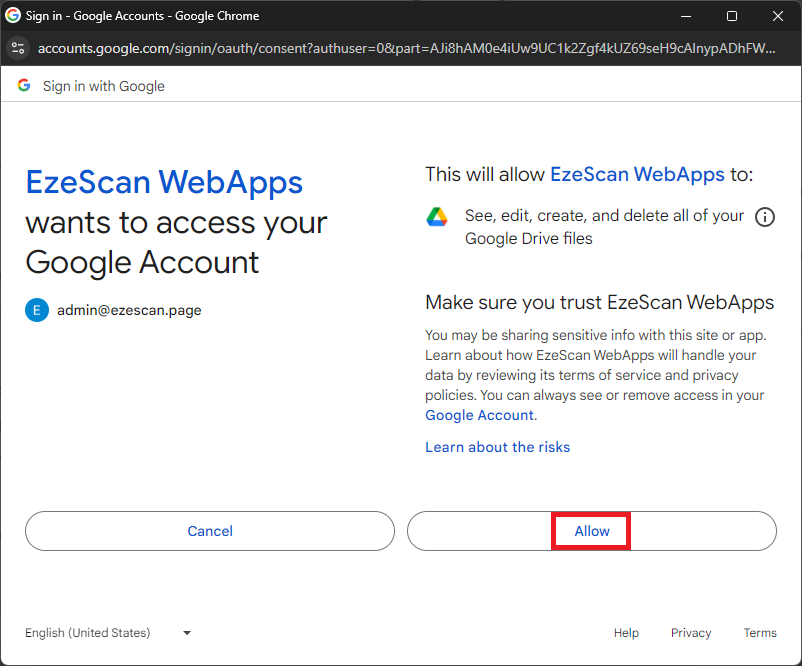 |
| 10 | Confirm you see a success message in the top right of the admin panel  |
How to upload into a shared drive
| 1 | Navigate to the Share Drive in the Google Drive webpage and then copy the Id of the share from the URL. 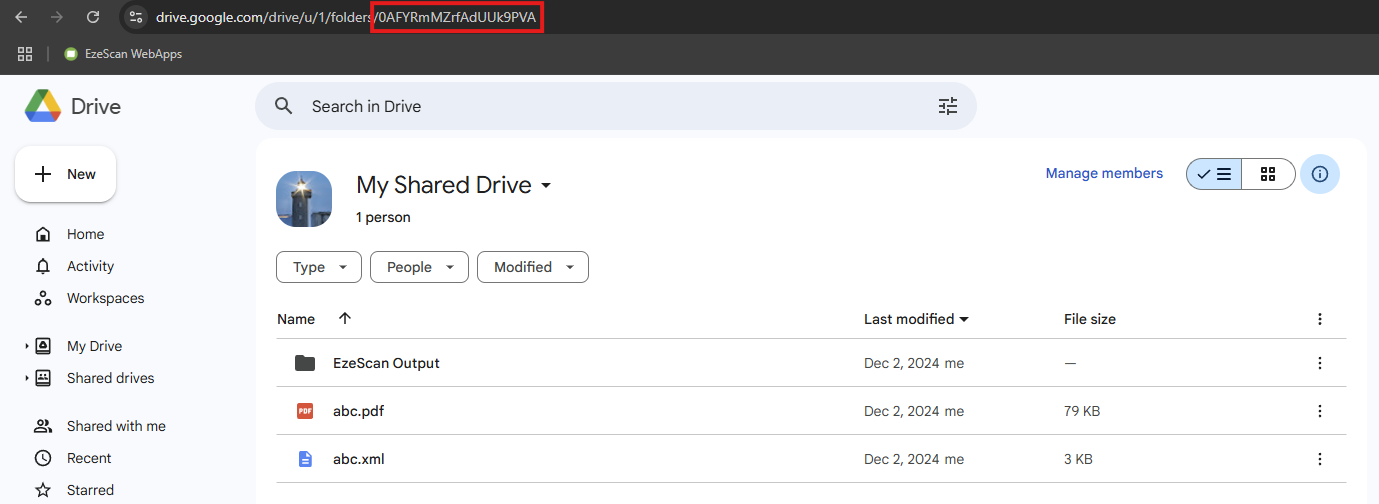 |
| 2 | Configure your Integration Upload stage with the following: Folder: The Id of the share drive from above. Sub Folder Name: Name of any sub folders to build a desired folder path. Leave blank to keep files at the root. Name: Name of the file (the extension will automatically be added). Be sure to add the optional setting for “Create Missing Folders” if you want the folders in the sub folder path to be created on upload. 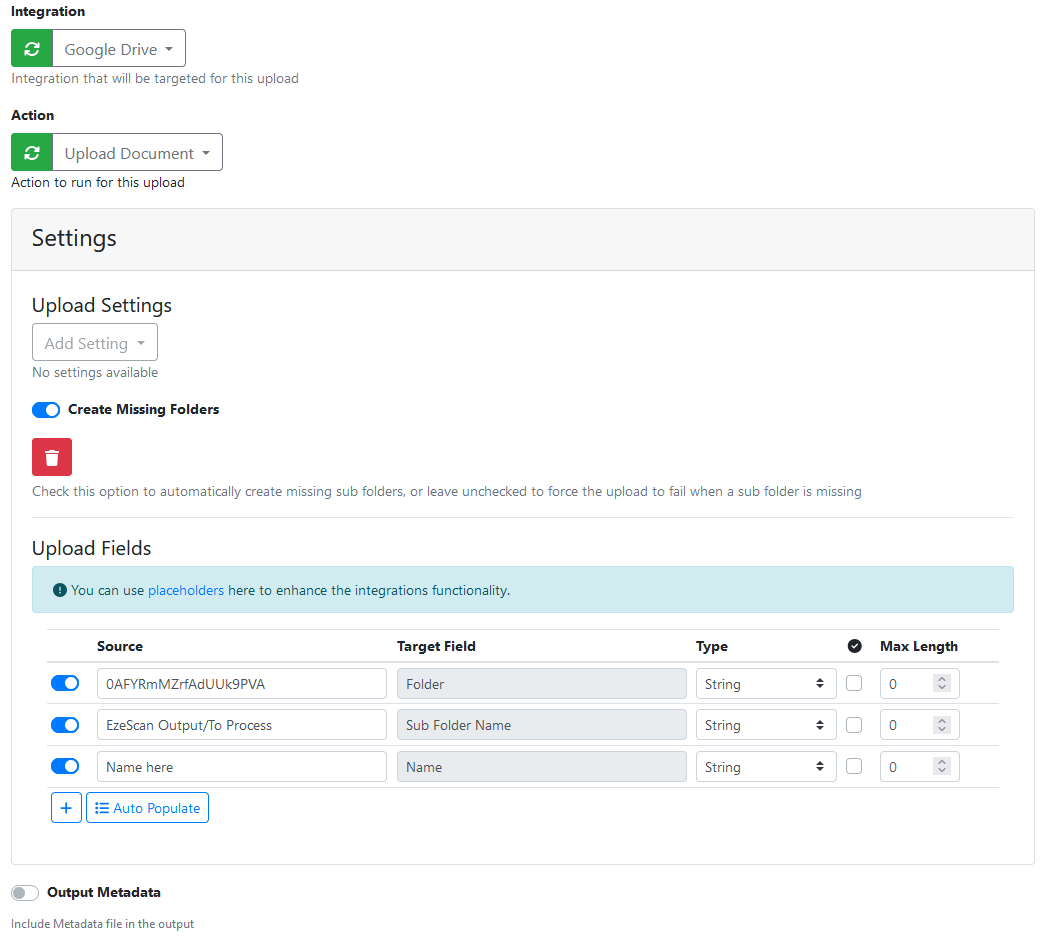 |

