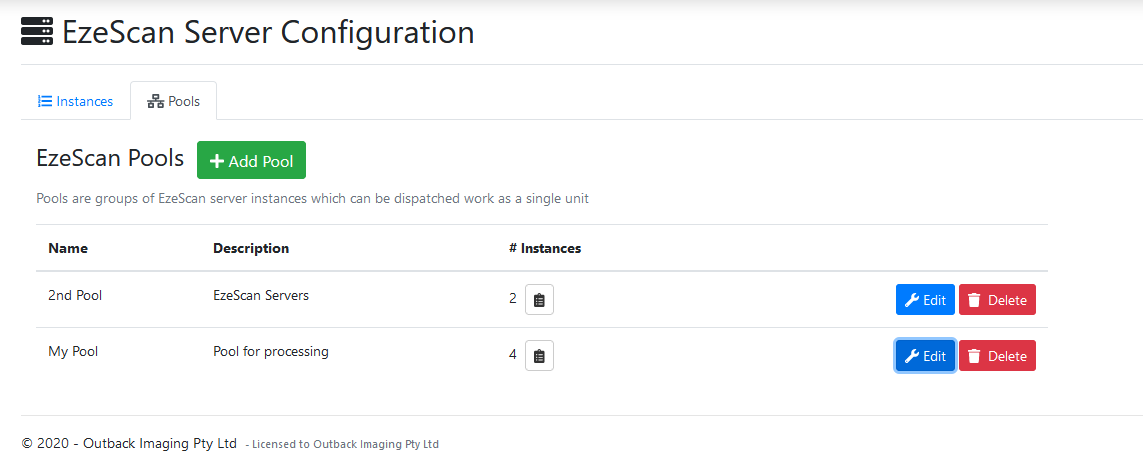
This page displays your configured EzeScan Pools.
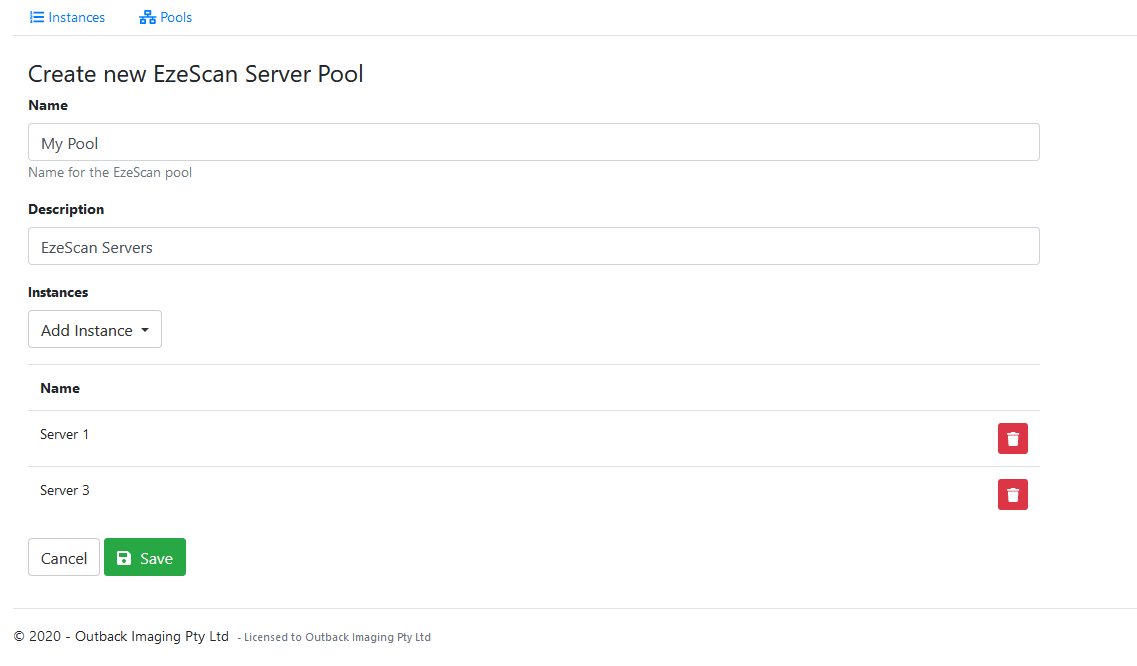
Adding a pool
-
Click the App Pool button.
-
Fill out the pool information and add your selected instances to the pool.
-
Click Save
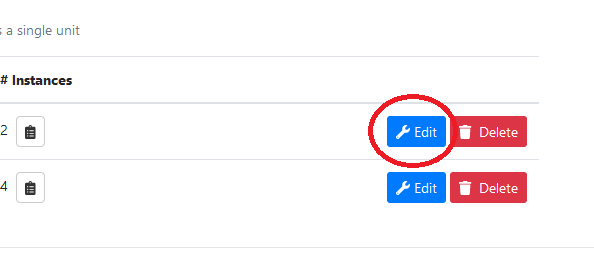
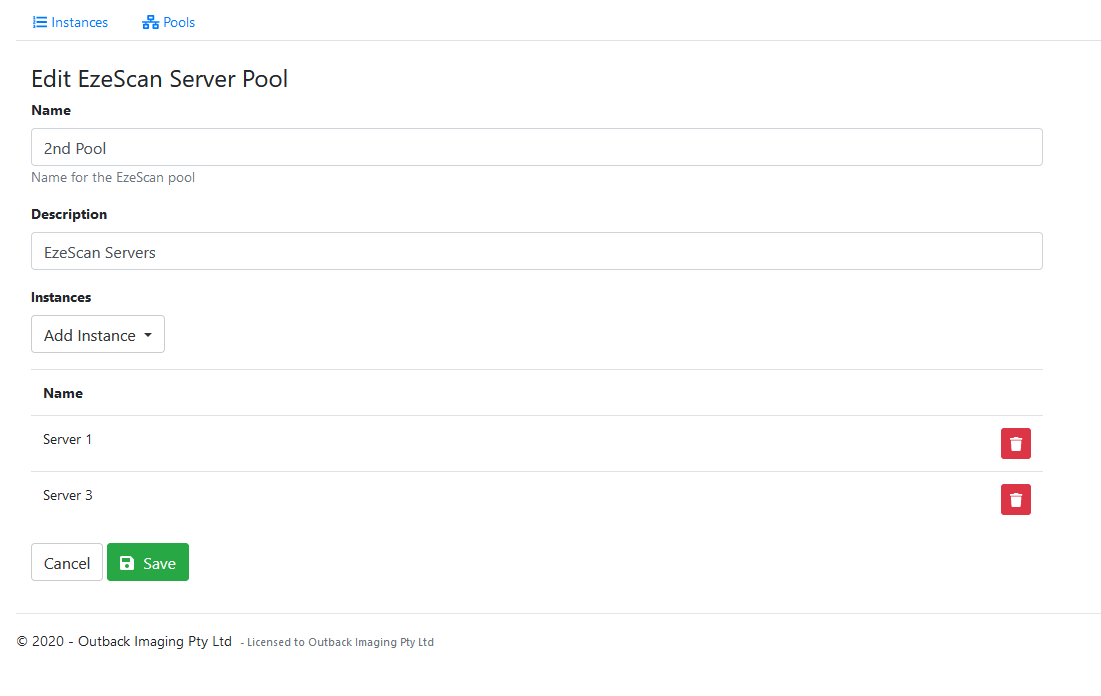
Editing a pool
-
Click the Edit button for a configured pool.
-
Edit any fields that are required and then click Save.
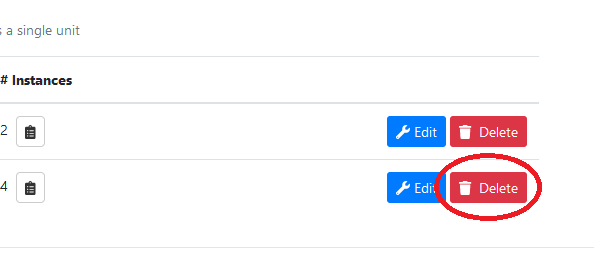
Deleting a pool
-
Click the Delete button for the pool you wish the delete.
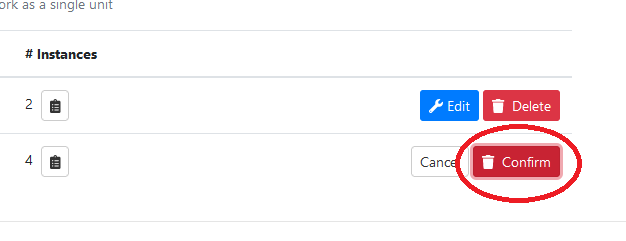
-
Click the Confirm button.
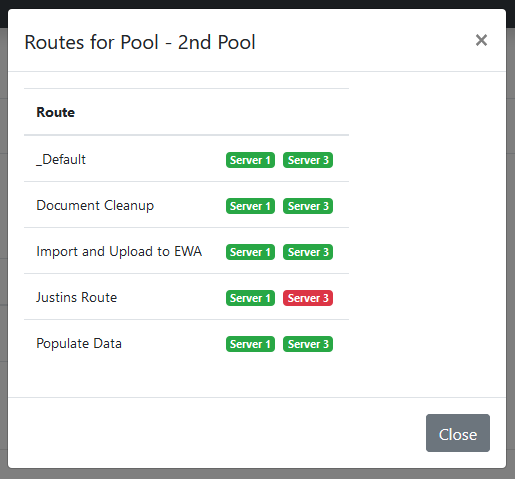
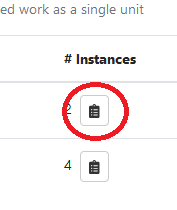
View route information for pool
-
Click the Show route information (clipboard) button on a configured pool.
-
Green badges represent routes that exist on a specific instance and red badges show which routes are not present on that instance.