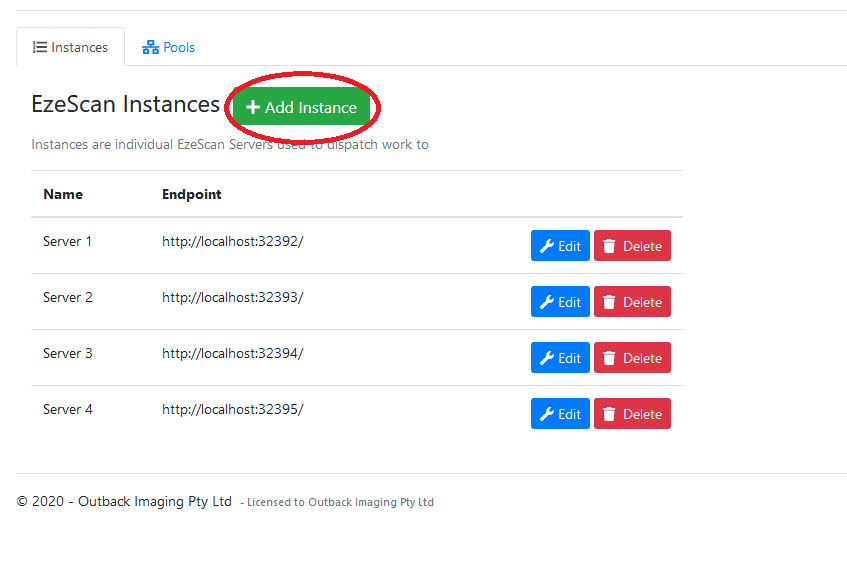
This page displays your configured EzeScan Instances.
Adding an instance
-
Click the App Instance button.
-
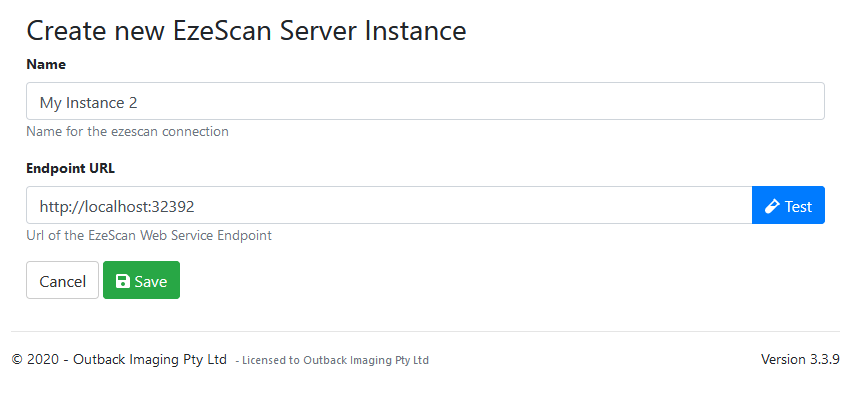
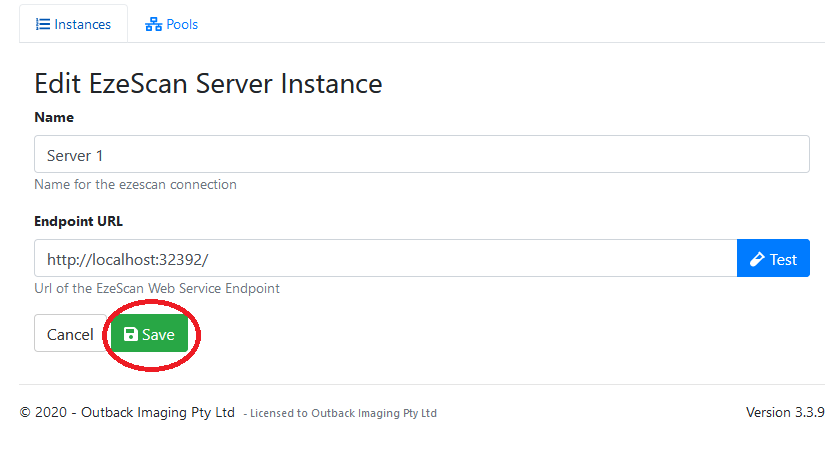
Fill out the instance information and click the Test button.
-
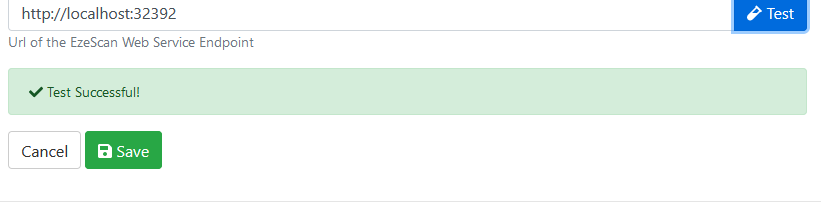
Confirm you see a success message and then click Save
Editing an instance
-
Click the Edit button for a configured instance.

-
Edit any fields that are required and then click Save.
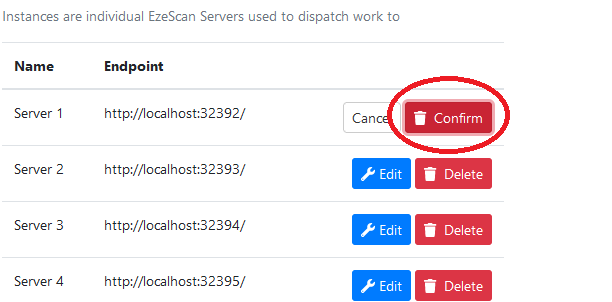
Deleting an instance
-
Click the Delete button for the instance you wish the delete.
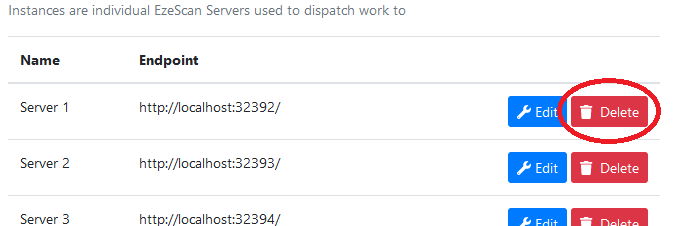
-
Click the Confirm button.