OKTA Configuration
-
Configure using the OKTA admin panel.
EzeScan WebApps Configuration
-
Locate the appsettings.json file found in the root directory of your EzeScan WebApps installation directory.
-
Edit the appsettings.json file using your favorite text editor and modify the Authentication section to contain the following:
appsettings.json
JavaScript"Authentication":{ "EnableApiKey":true, "Providers":{ "OpenIdConnect": { "Scope": ["openid", "profile", "email", "groups"], "Authority": "https://dev-56650000.okta.com", "ClientId": "0o2344325dsfsdfdsfsdsf7", "MetadataAddress": "https://dev-56650000.okta.com/.well-known/openid-configuration", "TokenValidationParameters": { "NameClaimType": "name", "RoleClaimType": "groups" } } } }
You will need to substitute "dev-56650000.okta.com" with your OKTA domain.
Be sure to substitute the value of "ClientId" with the "Client Id" set in OKTA. If you're unsure then see Authenticating with OKTA via OpenID Connect | Locating the Client Id
-
Save the appsettings.json file.
-
Restart the IIS App Pool that runs EzeScan WebApps.
-
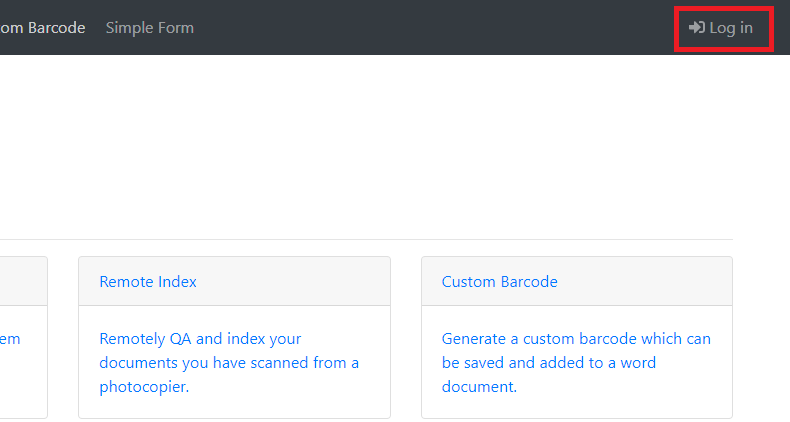
Navigate to your EzeScan WebApps site and click the Login button.
-
Try logging in as a valid OKTA user.
-
After successfully logging in you will be redirected back to EzeScan WebApps and in the top right hand corner you should see your display name.