
Use these steps to configure buttons on MFD's (using PaperCut MF) to send scans to EzeScan WebApps.
Prerequisites
This guide assumes you have completed the following steps:
-
Have installed and licensed PaperCut MF.
-
Have configured at least one Multi Function Device (MFD) to use PaperCut MF.
-
Have installed and licensed EzeScan WebApps.
-
Have created and configured at least one RIA page in EzeScan WebApps.
Step-by-step guide
Enable the SMTP Server in EzeScan WebApps
-
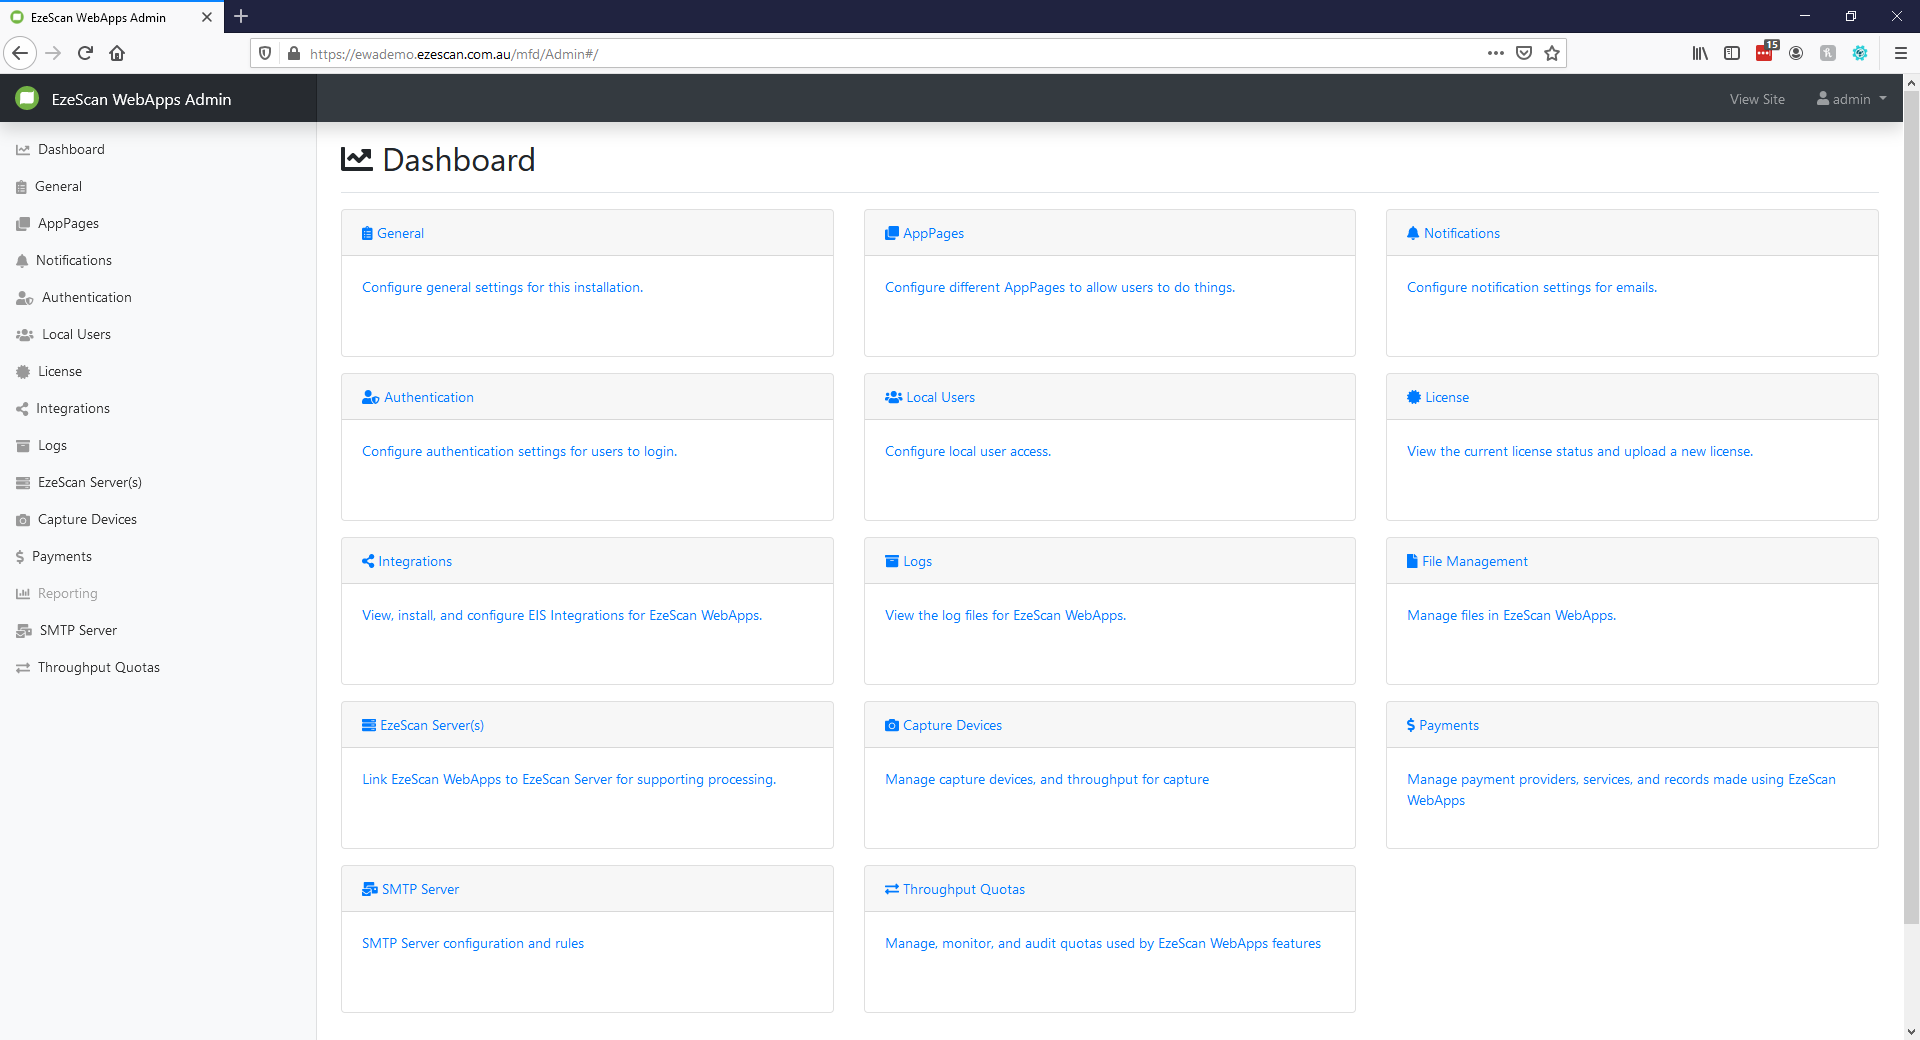
Log into EzeScan WebApps and navigate to the admin panel.
-
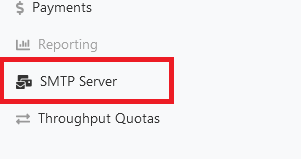
Select the SMTP Server option from the menu on the left.
-
Set the following options and click Save
Option
Value
Enable SMTP Server
Enabled
Port
25
Require Authentication
Enabled
Username
smtprelay
Password
(enter a password and be sure to remember it)
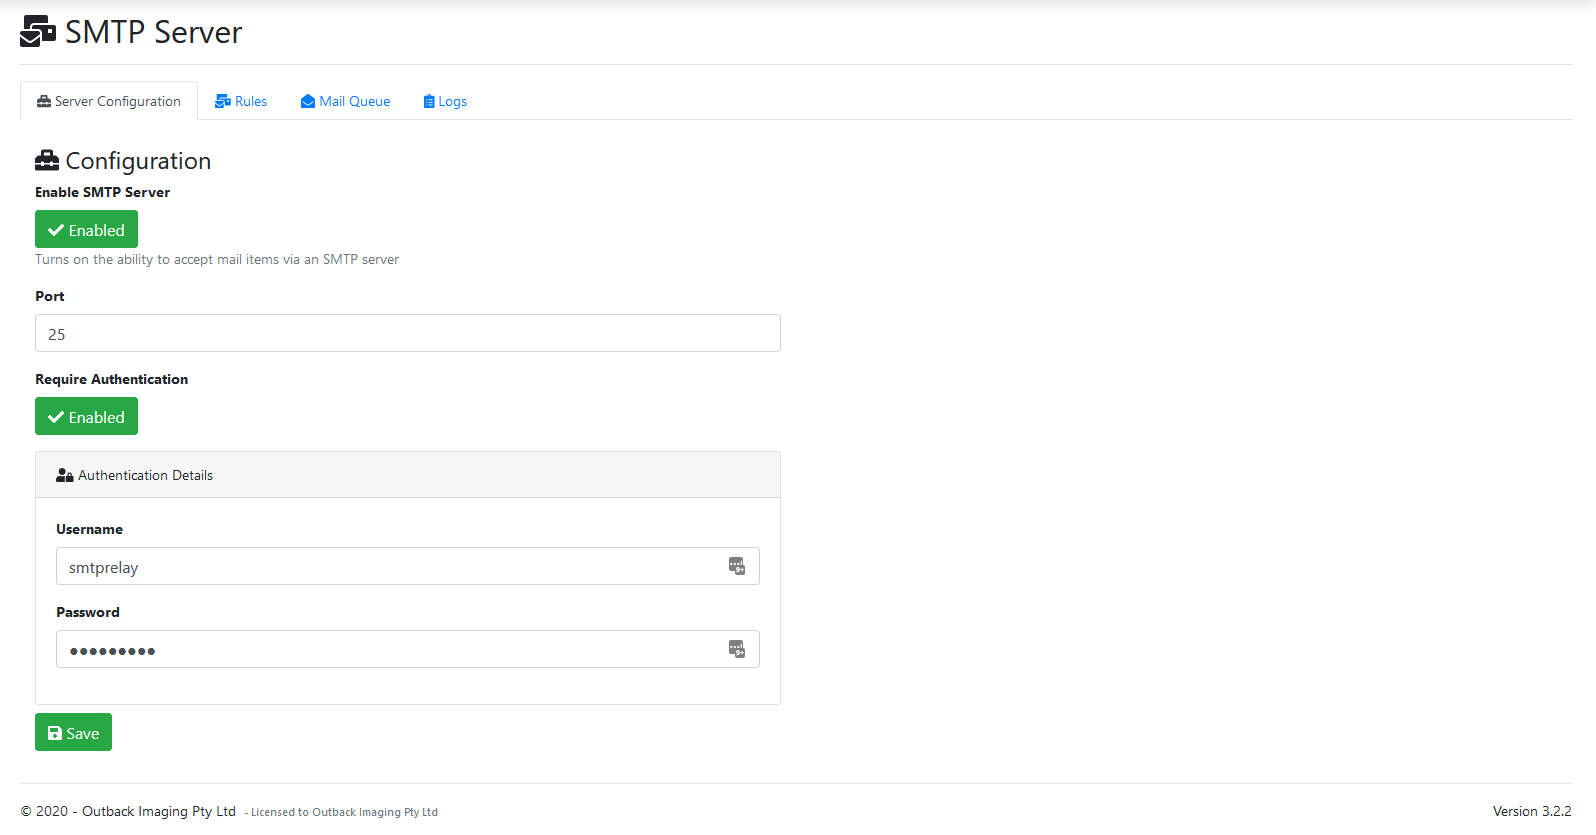
We set up authentication so that our EzeScan WebApps SMTP server can't be used as an open relay.
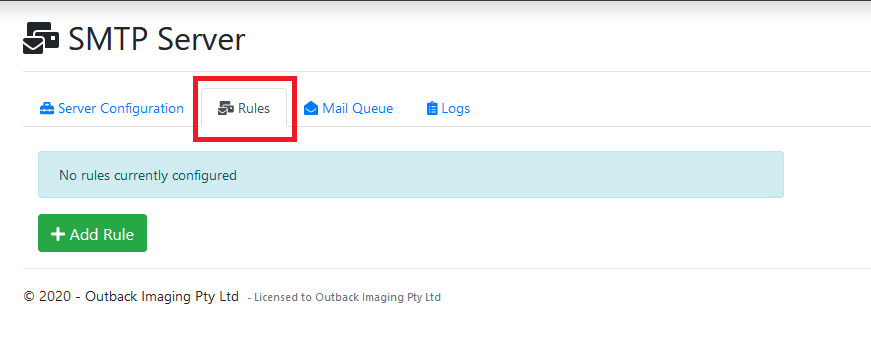
Create rule for indexing page in EzeScan WebApps SMTP Server
Rules in the EzeScan WebApps SMTP server can be configured to either send the scanned document to an indexing queue or forward/delete it. Read more
-
Select the Rules tab in the SMTP Server configuration options within the admin panel.
-
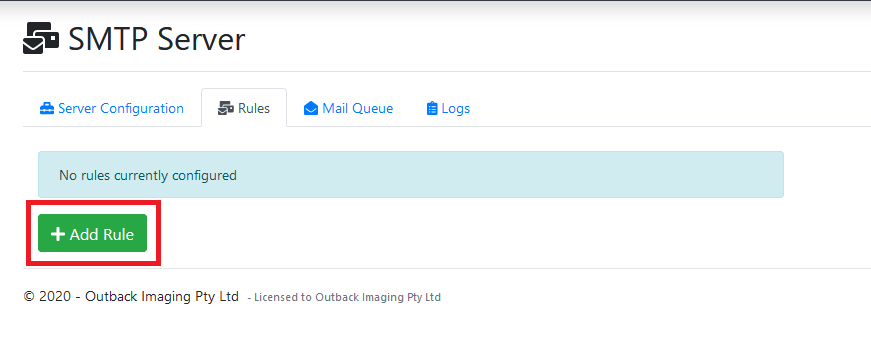
Click the Add Rule button.
-
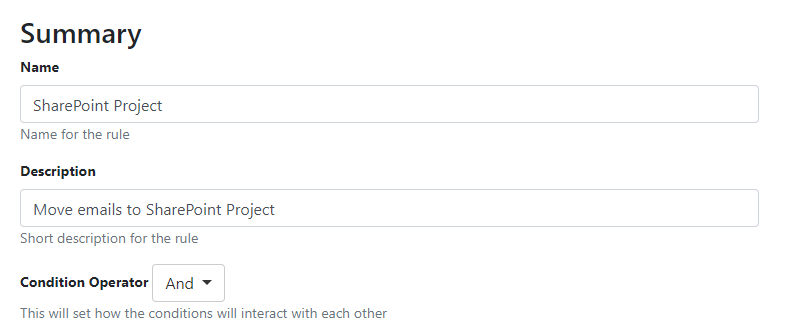
Enter the following options into the Summary section.
For the purpose of this example we will be using an indexing page that has been set up to index files relating to a SharePoint Project.
Option
Value
Name
SharePoint Project
Description
Move emails to SharePoint Project
Conditional Operator
And
-
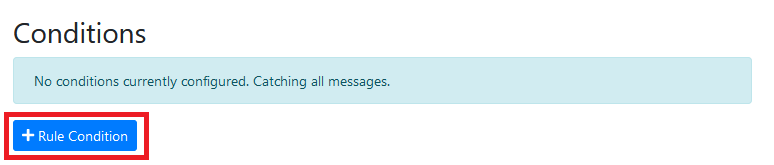
Click the Add Rule Condition button.
-
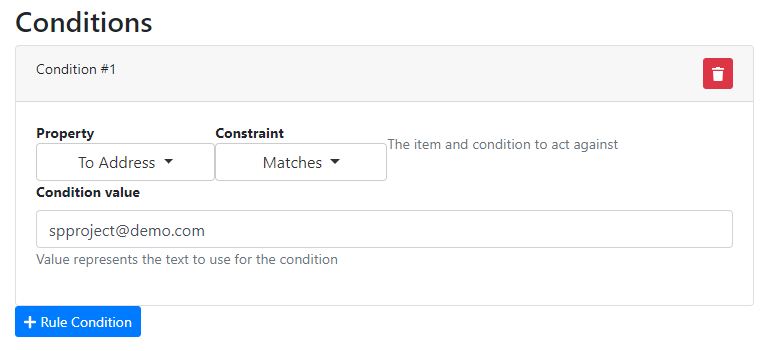
Enter the following options into the condition.
Option
Value
Property
To Address
Constraint
Matches
Condition Value
spproject@demo.com
-
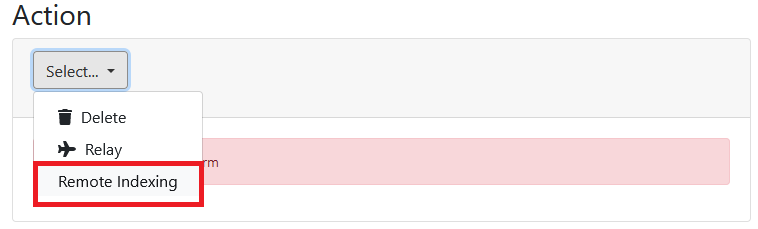
In the Action drop down select the Remote Indexing option.
-
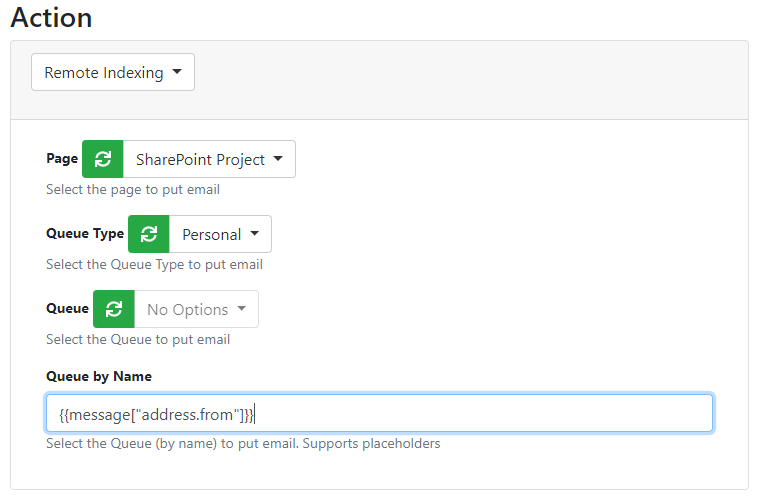
Enter the following options into the action.
Option
Value
Page
SharePoint Project
QueueType
Personal
Queue
Queue by Name
{{message["address.from"]}}
-
Click Save to save the newly configured rule.
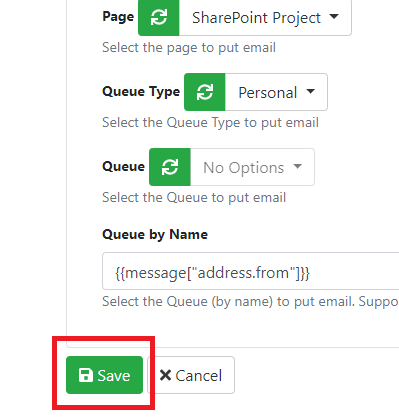
In summary this rule takes any attachments that are sent to spproject@demo.com and then puts them into the sending users personal queue (which is found via the from address on the email) on the the SharePoint Project indexing page.
Create rule for forwarding unmatched emails in EzeScan WebApps SMTP Server
Rules in the EzeScan WebApps SMTP server can be configured to either send the scanned document to an indexing queue or forward/delete it. Read more
-
Select the Rules tab in the SMTP Server configuration options within the admin panel.
-
Click the Add Rule button.
-
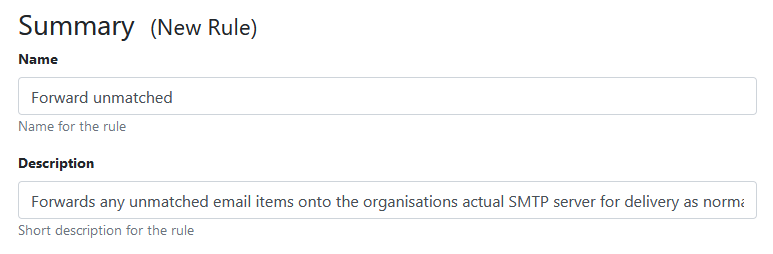
Enter the following options into the Summary section.
Option
Value
Name
Forward unmatched
Description
Forwards any unmatched email items onto the organisations actual SMTP server for delivery as normal.
Conditional Operator
And
-
Don't create any rules as we want this rule to catch all messages.

-
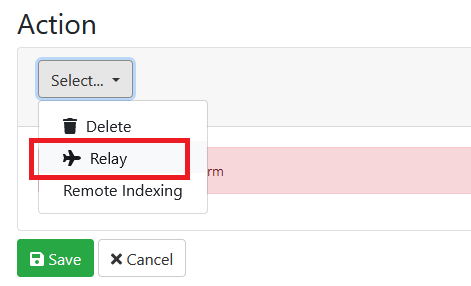
In the Action drop down select the Relay option.
-
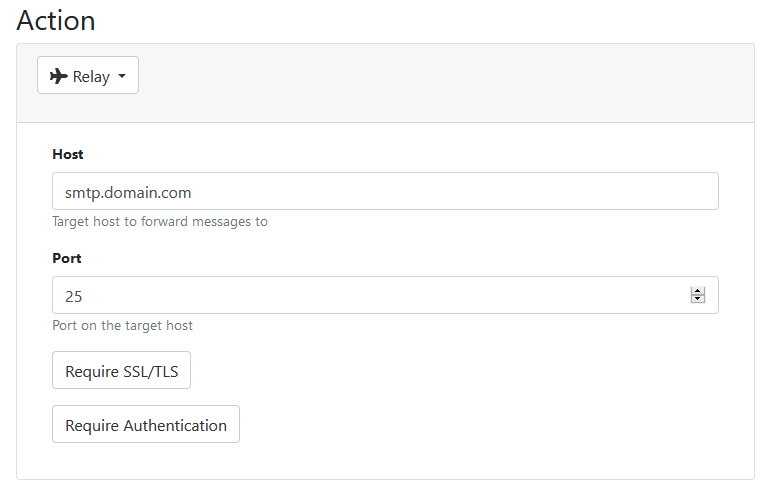
Enter the following options into the action.
Option
Value
Host
(IP or hostname of your organisations SMTP server)
Port
(Port your SMTP server uses, usually 25, 465 or 587)
Require SSL/TLS
(Enable if your SMTP server requires it)
Require Authentication
(Enable if your SMTP server requires it)
Username - Username for user with relay permissions.
Password - Password for user with relay permissions.
-
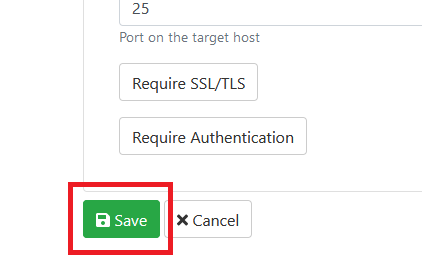
Click Save to save the newly configured rule.
Configure a Scan Action in PaperCut MF
-
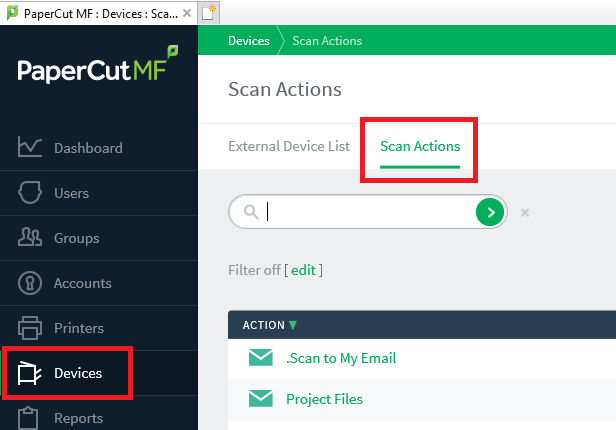
Open PaperCut MF Admin then Select Devices on the left menu and then the Scan Actions tab.
-
Create a new Action by clicking the Create new button.

-
Enter the following options into the Destination section.
Option
Value
Type
Email
Label
SharePoint Project
To
Custom email address
From
User's email address
Subject
Scan SharePoint Project
Untick User can edit
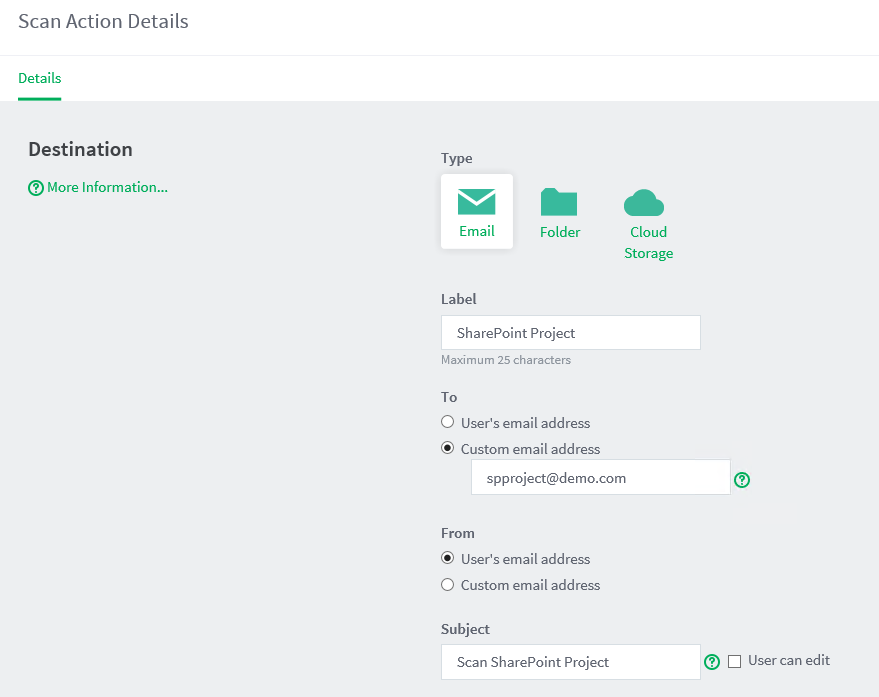
We set the From address to the logged in users email address so that in our EWA SMTP Rule we can work out which queue we should put the scanned document in.
-
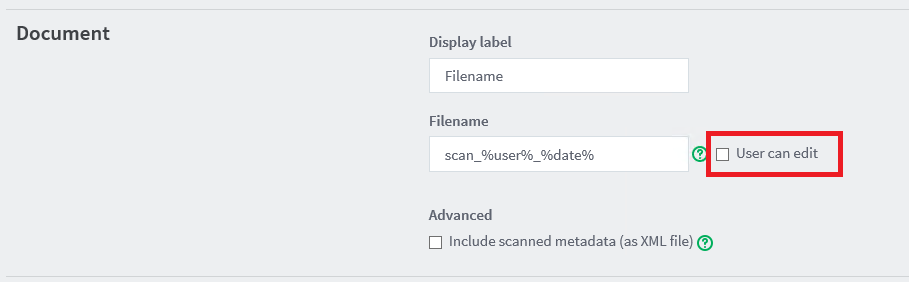
Untick the User can edit checkbox in the Document section.
-
Enter the following options into the Input settings section.
Option
Value
Orientation
Portrait
Duplex mode
2-sided
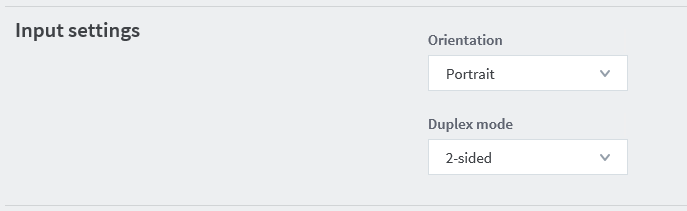
We set the Duplex mode to 2-sided because we can remove any blank pages once the document arrives in EzeScan WebApps during cleanup.
-
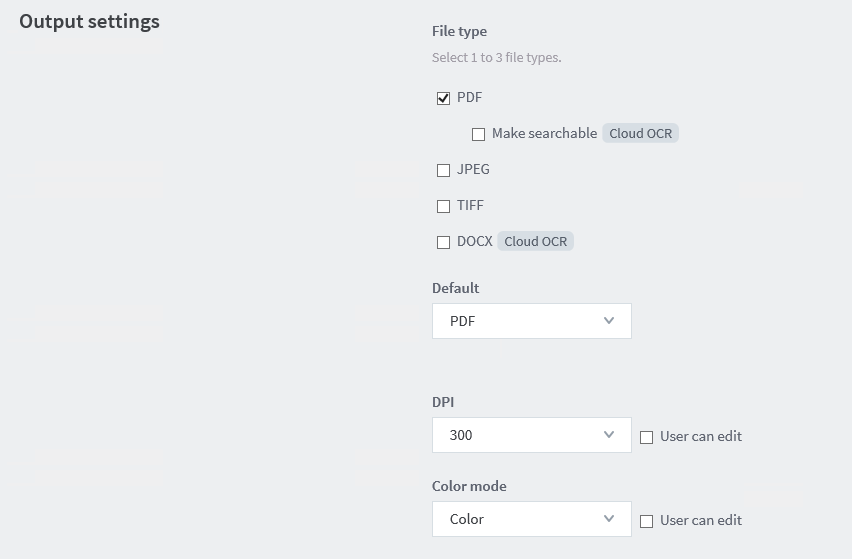
Enter the following options into the Output settings section.
Option
Value
File type
PDF
Default
PDF
DPI
300
Untick User can edit
Color mode
Color
Untick User can edit
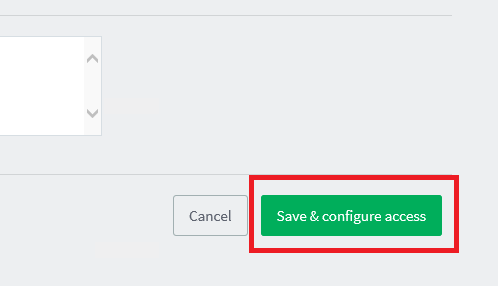
-
Click the Save & configure access button
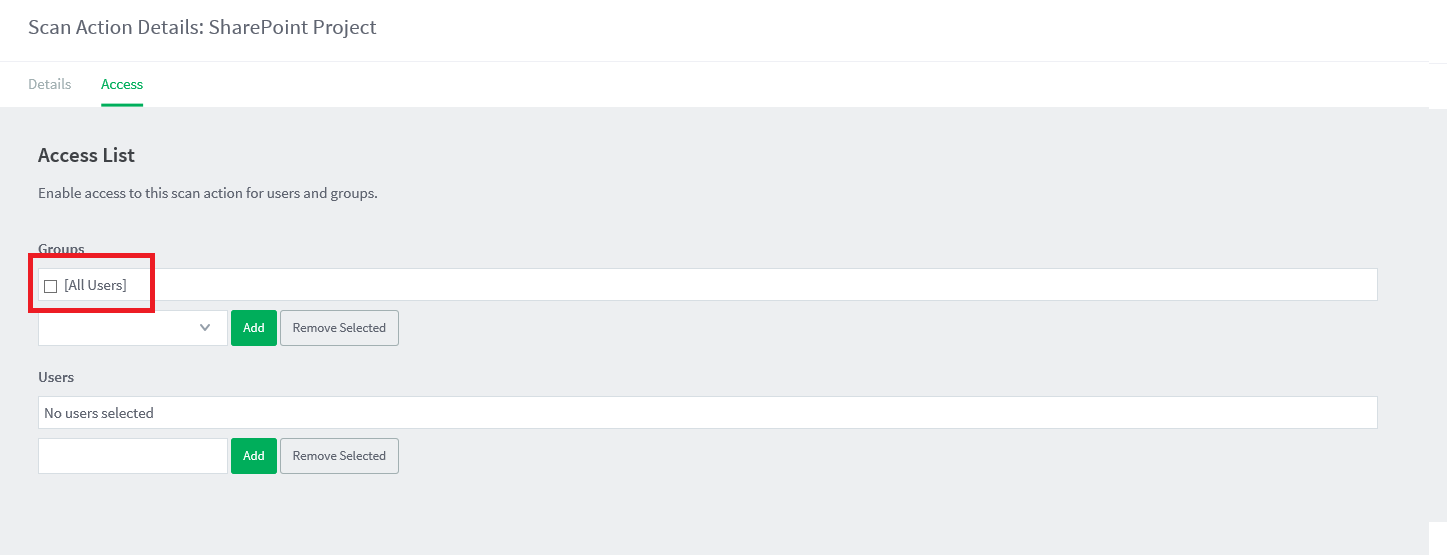
-
In the groups drop down select the [All Users] option and click the Add button.

-
Confirm you can now see the [All Users] option in the Access List.
-
If you now log into a device that is running the PaperCut MF application you should see your new button!

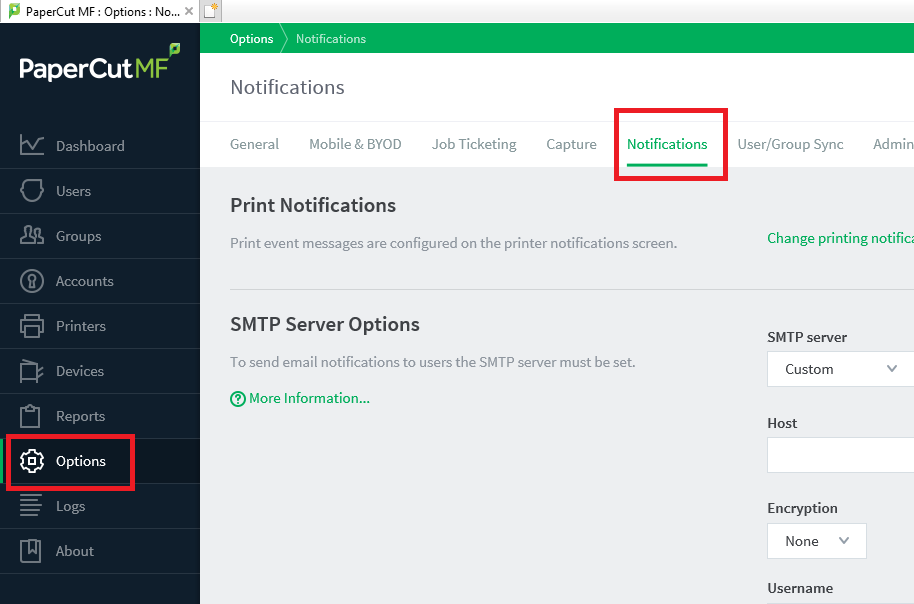
Configure PaperCut MF to use the EzeScan WebApps SMTP server
-
Open PaperCut MF admin then select Options on the left menu and then the Notifications tab.
-
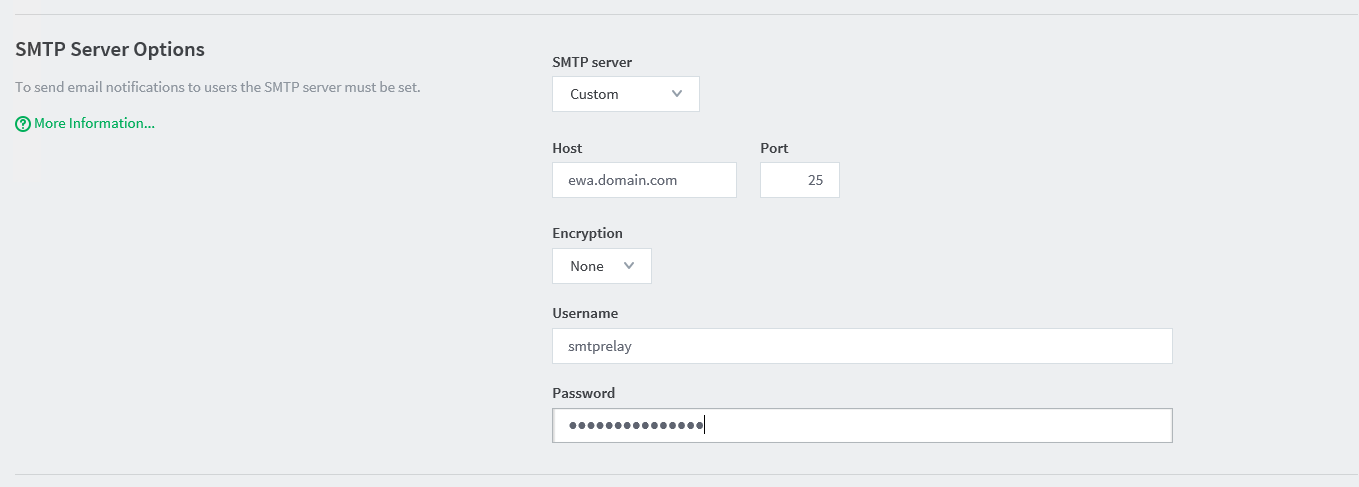
Enter the following options into the Output settings section.
Option
Value
SMTP Server
Custom
Host
(IP address or hostname of your EWA server)
Port
25
Encryption
None
Username
smtprelay
Password
(Password you set in the first part of this guide on the EWA SMTP server)
-
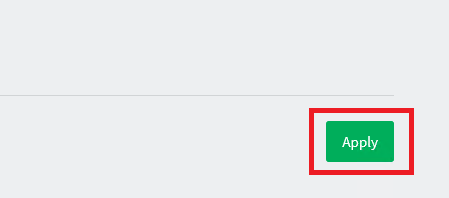
Scroll down and click the Apply button to save the settings.
Testing scanned documents successfully end up in EzeScan WebApps
-
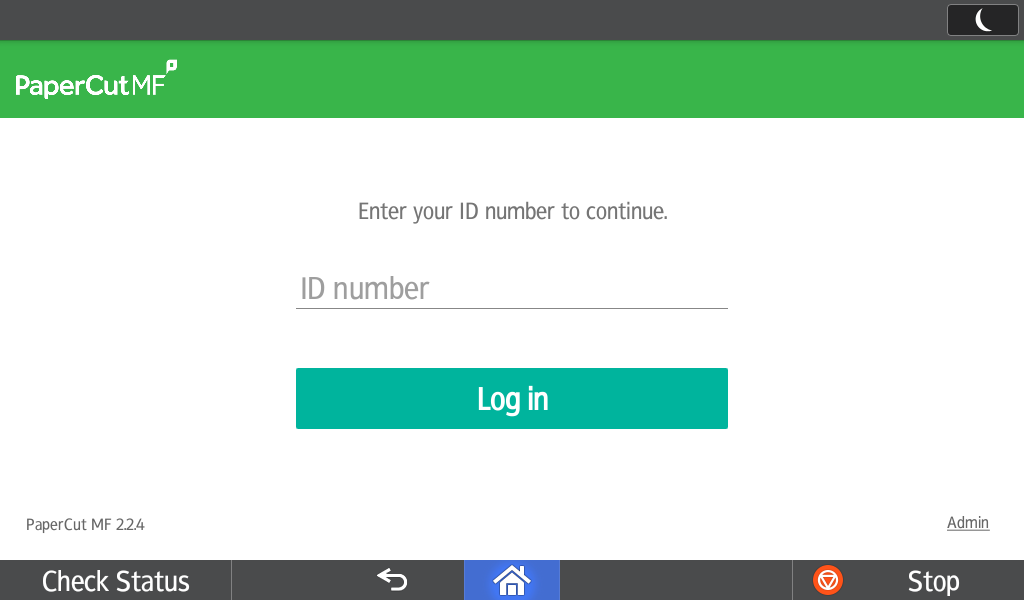
Log into the MFD.
-
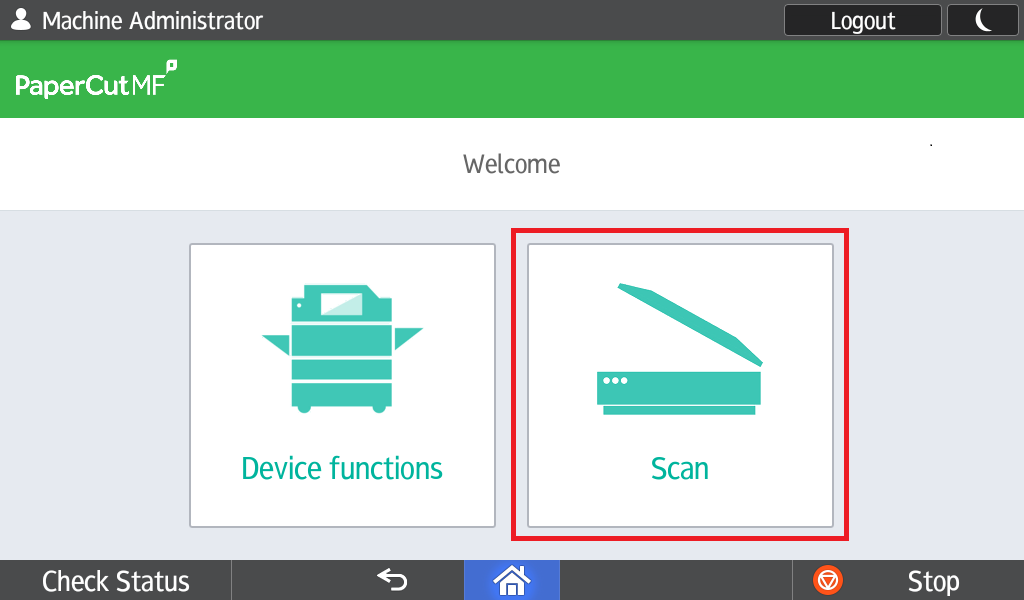
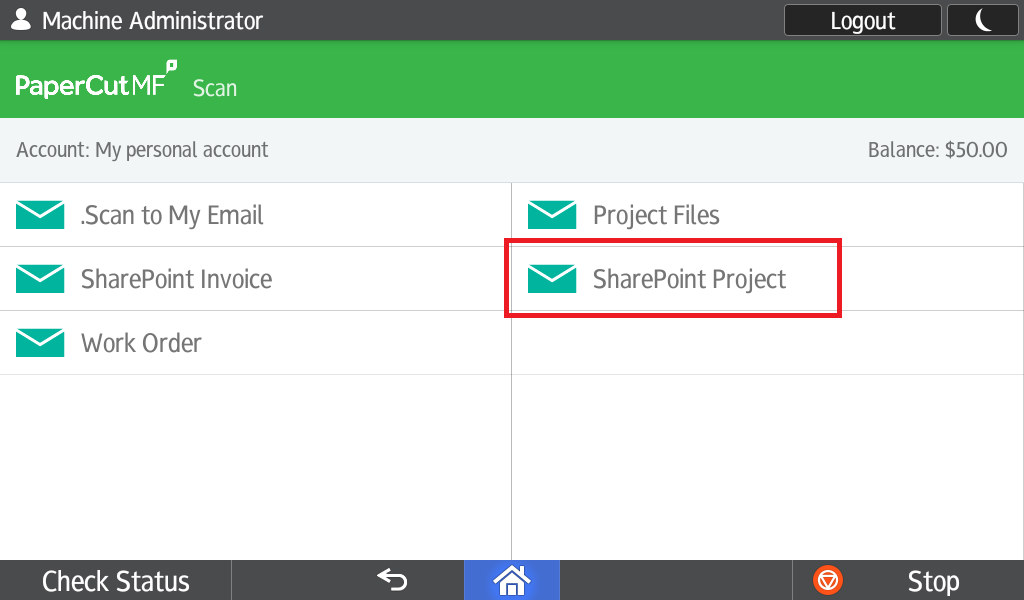
Select the Scan button in PaperCut.
-
Tap the SharePoint Project button.
-
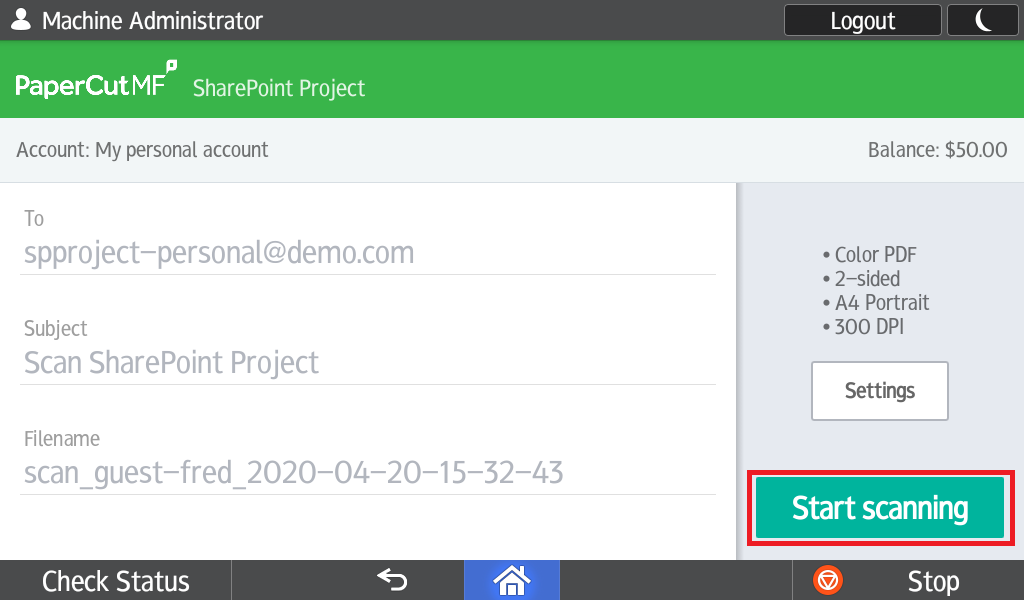
Click the Start scanning button in the bottom right.
-
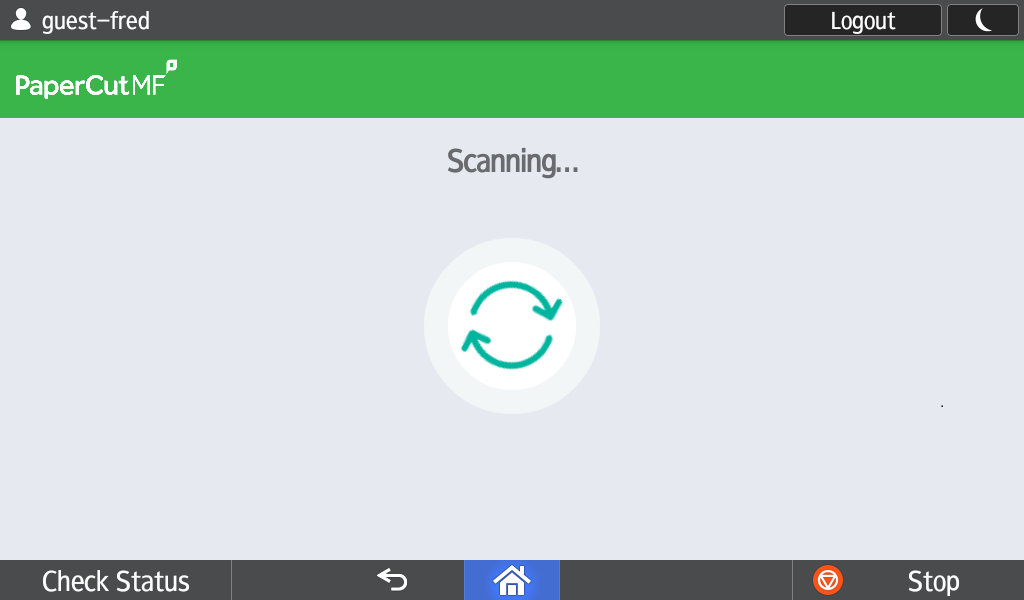
Wait for the scan to complete.
-
Log into EWA Admin Panel.
-
Navigate to the SMTP Server > Mail Queue and check if there is any items listed.
-
If you see any items then they are waiting to be processed or the rules don't match.
-
-
Navigate to the SMTP Server > Log and check if you can see your test item listed.
-
Navigate back to the EWA home page.
-
Click on the Sharepoint Project indexing page and confirm your item is in the correct queue.