
Contents
Overview
This guide provides information on the EzeScan connectivity with the Therefore integration. It details the available options on how to configure an EzeScan job into Therefore.
Please note: It is assumed that the operator has read about, or is familiar with EzeScan Job, KFI and UPLOAD modules. If not please refer to the EzeScan PRO, KFI and UPLOAD documentation.
It is also assumed that the operator is experienced with the Therefore product.
System Requirements
Therefore Navigator 2014 Update 3 or higher, up to 2015 Update 1, must be installed on the EzeScan workstation.
Configuring the Connection Settings
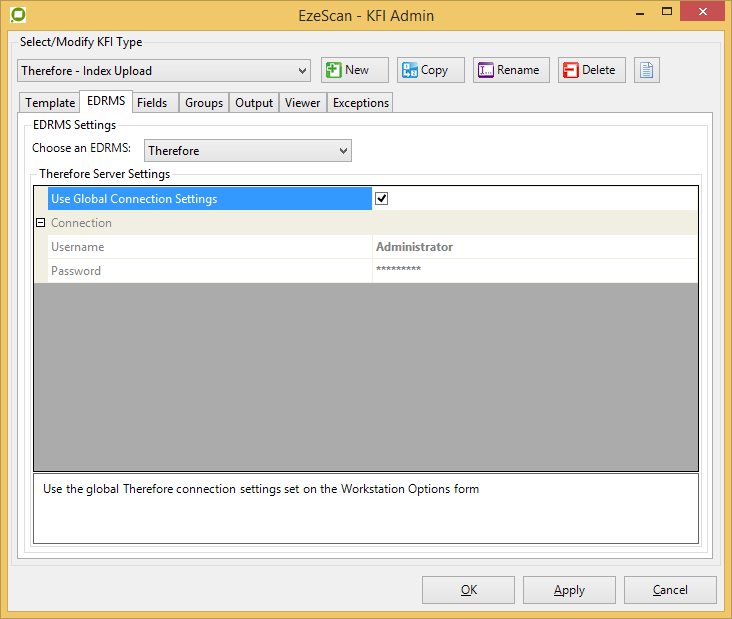
When configuring a Job, KFI or Upload to use the Therefore integration the connection settings panel must be filled in. If only connecting to the one server, it is recommended that the Therefore connection settings are configured globally.
Click the Admin menu, choose Workstation Options.
Click the EDRMS tab and choose the Therefore option from the drop down list that appears.
Enter the following information:
|
Field |
Description |
|
Username |
Enter the name of the user to connect, or leave blank to use the current Windows login. |
|
Password |
Enter the user password, or leave username and password blank to use the current Windows login. |
Job Settings
There are two ways the Therefore integration can integrate with Therefore.
Using a simple Therefore profile form. This can be created with a Job only, commonly used for low volume scanning or ad hoc type scanning.
Using the KFI and UPLOAD modules. These are detailed further in sections 0 and Error! Reference source not found.. This would be used for specific workflows that utilise EzeScan KFI to assist in minimal data entry, reusing data, forms extraction and setting workflow defaults.
Please note: The EzeScan to Therefore Profile Form functionality requires that the EzeScan Workstation be licensed with the INDEX module.
Output documents using Therefore Profile Form
To enable Therefore output functionality on a Job:
Click Admin and choose Jobs (F6).
Click the Output tab and then from the Other Destination dropdown choose the Therefore option.
Click the Advanced button.
Complete the connection settings.
Click the Save button.
Import documents using Therefore Browser
If there is a requirement to import documents from Therefore into EzeScan, (e.g. for markup/redaction purposes) an EzeScan job can be configured to do this.
This would usually be a separate EzeScan job - one job to scan and save to Therefore, then another to import from Therefore, markup/redact and save to Therefore.
Please note: Therefore Import functionality on a Job is only available when Output to Therefore is configured - please refer to for details on section 4.1 on how to enable this.
To enable Import File functionality on a Job:
Click Admin and choose Jobs (F6).
Select the Job you want to modify.
Click the Import tab, enable the Enable Import File Processing option and then enable the Import File from EDRMS option by ticking the box.
Click the Save button.
KFI Field Settings
The KFI Field Settings allow the operator to browse into Therefore during KFI indexing so the operator can then select values to be applied to the document.
Please note: The following functionality requires that the EzeScan workstation be licensed for the INDEX and UPLOAD modules.
Enabling the Therefore Browse Options
The Therefore settings must be configured before a KFI field can use the Therefore browse functionality.
Press F7 to display the KFI form.
Click the EDRMS tab.
If using the global connection settings from the Workstation Options, tick the Use Global Connection Settings box; otherwise fill in the Connection settings. (Refer to Section 3)
Click the Fields tab.
To enable a field to access Therefore you need to:
-
Click the edit link under Properties for the field.
-
Click the Therefore tab.
-
Tick the Therefore Browse Button box.
-
The browse parameters will become active.
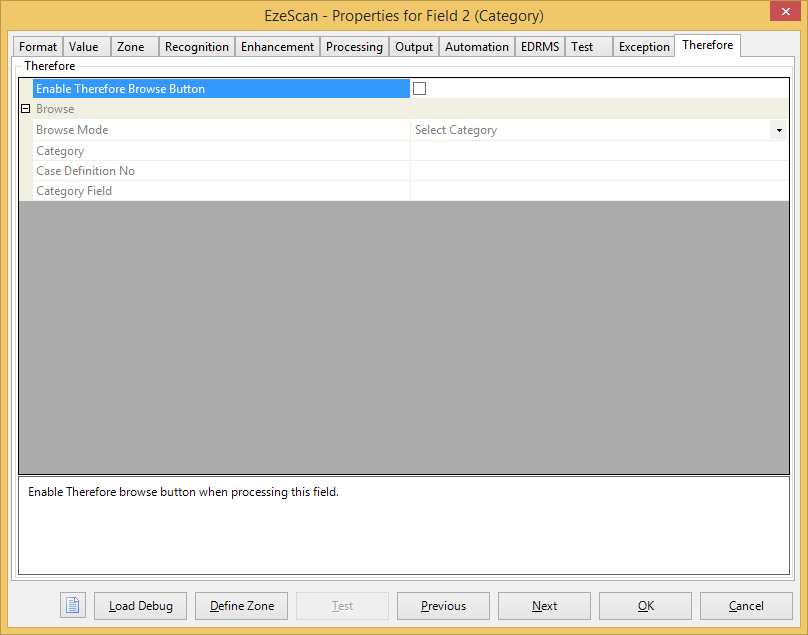
See section 5.2 for details on configuring these parameters.
Click OK.
Click OK to save the changes.
Configuring the Browse Parameters
|
Option |
Description |
||||||
|
Browse Mode |
Select the browse mode to use when F3 is pressed on this field –
|
||||||
|
Category |
Select the category of the field to retrieve keywords from. |
||||||
|
Case Definition No |
Select the case definition of the field to retrieve keywords from. |
||||||
|
Category Field |
Enter the column name of the category field to retrieve keywords from, or select it using the […] button. Note: Category or Case Definition No must be filled in prior to browsing this parameter. |
Upload Settings
The UPLOAD module will obtain the KFI output data to pass into Therefore for saving the document and populating its category fields.
Please note: The following functionality requires that the EzeScan Workstation be licensed for the INDEX and UPLOAD modules.
Configuring the Connection Parameters
1. Open the Upload Form (F8).
2. Choose the Upload Type you want to configure.
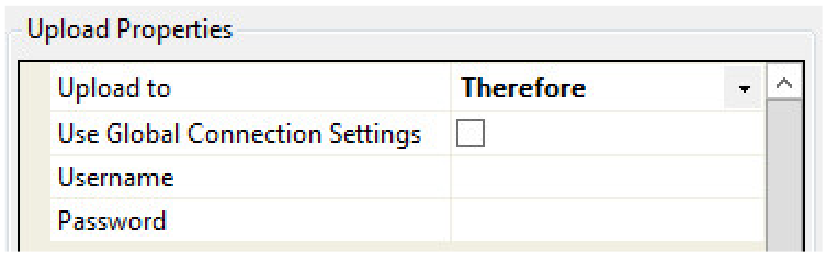
3. On the left hand side in the Upload Properties pane choose Therefore in the Upload To list.
4. If using the global connection settings from the Workstation Options. Tick the Use Global Connection Settings option; otherwise fill in the Connection settings.
Configuring the Built-in Upload Fields
The following fields will appear after choosing Upload to Therefore option in the Upload Properties pane. These are the default Therefore fields.

|
|
Description |
|
Category
|
This is the category to use for the upload document. Set the Source Field to static value then click on the […] button to browse the available categories. 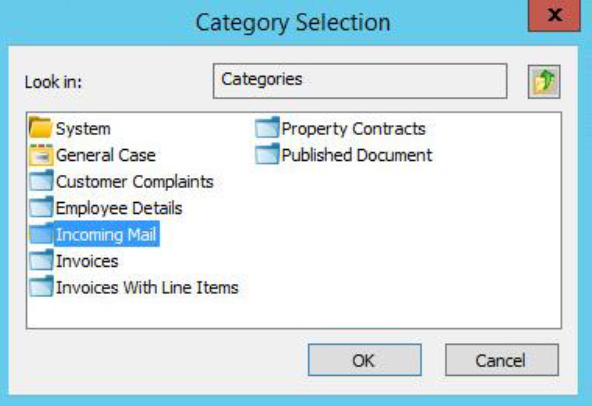
The selected category name will be returned as the field value.
Note: The Category upload field is not required to be set when upload a new version using the Parent Document field. |
|
Parent Document
|
To upload the upload document as a new version of an existing document in Therefore, set this field to pass through the document number from the source KFI field, or set the Source Field to static value and click the […] button to select a document. 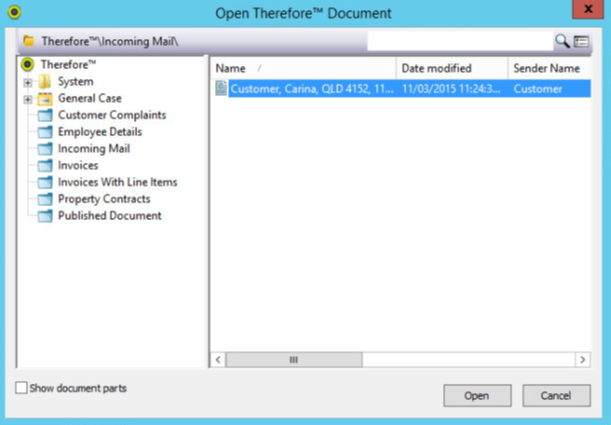
Note: The upload document must be the same file type as the existing document otherwise the upload will fail.
|
|
Comment
|
If uploading a new version of an existing document using the Parent Document upload field, set this field to pass through the comments from the source KFI field, or set a static comment in the Field Value column.
|
|
Line Items Index Path
|
Set this to the path of the Line Items CSV file that is to be used to populate the rows of a table. The CSV file must have a header row and the header column names must be entered into the category table fields that are to be populated.
|
Configuring the Custom Category Fields
The Therefore integration can obtain all custom fields from the category specified in the Category upload field when the Auto Populate button is pressed. The Auto Populate button appears under the Field Mappings grid.
The Target Name of the returned fields will be set to their column name, except for table fields which will appear as {TableCaption}:{RowNumber}:{ColumnName}. To add more than one row of table field use [+] to manually add the fields.
Applying KFI Output Data to the Target Field Data
To pass through the KFI output data into the Upload module the operator is required to set the source field data to the target field data.
-
In the Upload type, set the Column names from option to the name of the KFI job Type.
2. In the Field Mappings Grid the operator can apply the Source Field settings to the Target Field settings.
3. In the example below the Therefore Target Field Sender_Name is being populated by the KFI Source Field Sender Name.
4. When all the mappings are complete, click Apply.
5. Click OK to save the changes.
Running a Job for saving to Therefore using the Profile Form
To run a job to Therefore with the profile form, confirm that the Other Destination is set to Therefore. Refer to section 4.1 for more details.

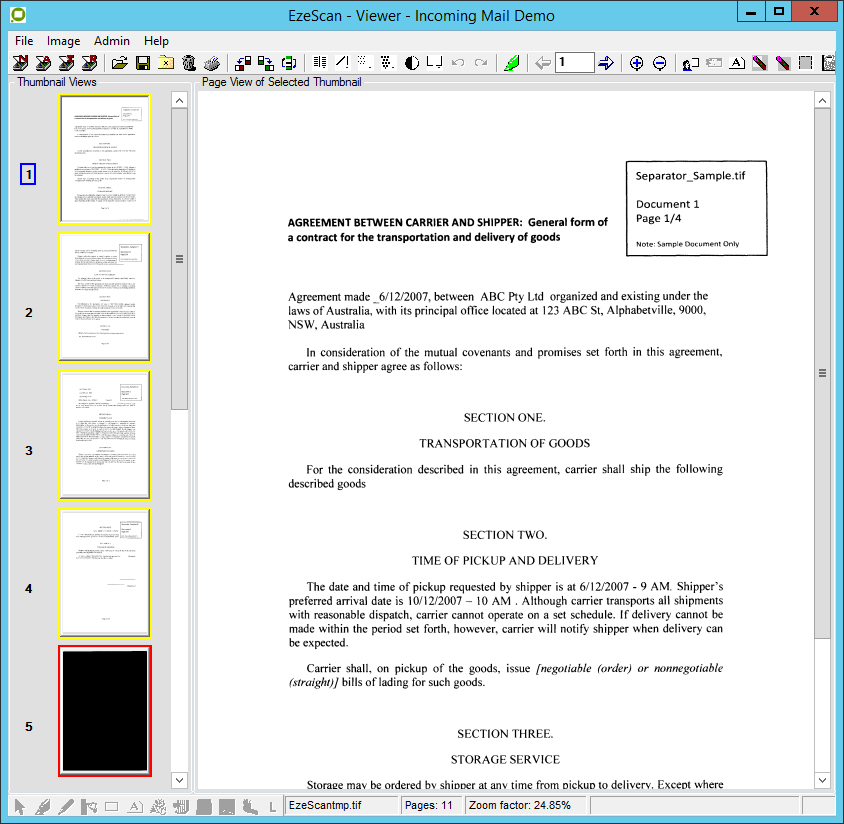
Click the scan/import or job button to load the image into the EzeScan viewer.
Press the F4 key or click the Profile button to index the document.
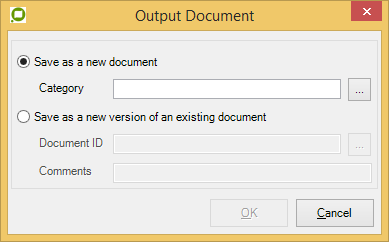
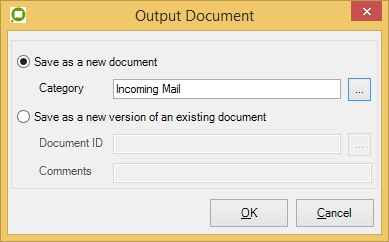
Save as a new document
In the Output Document window select the Save as new document option.
Click on the […] button to select a Category to use for the new document.
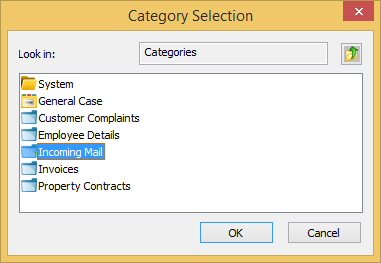
Click on the OK button to display the profile form for the selected Category.
Fill in the Category fields as required.
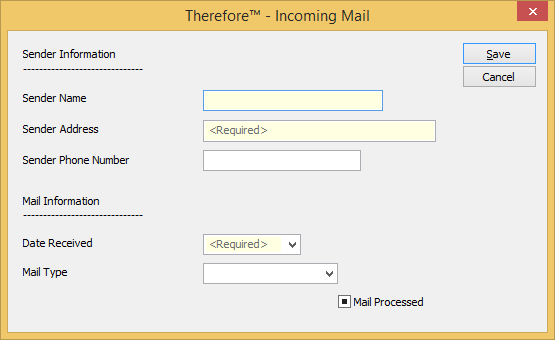
Click the Save button to save the document.
Save as a new version of an existing document
Select the Save as a new version of an existing document option.
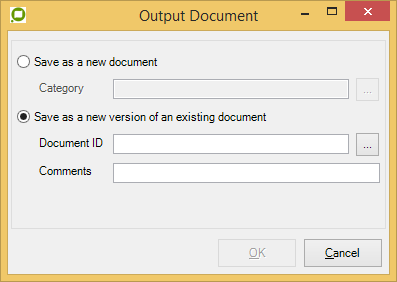
If the document was imported using Import from EDMRS functionality the Document ID should already be populated with the imported document’s ID. Skip to step 4 if this is the document you are wanting to add a new version to.
Click the […] button to select the existing document to add a new version to.
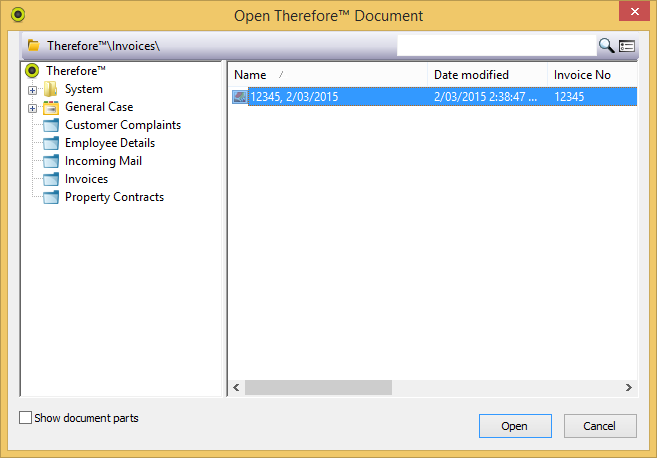
Enter a comment for the new version (this is optional).
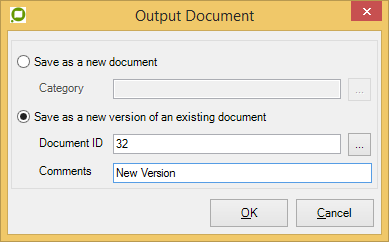
Click the OK button to save the document as a new version.
Please note: If the selected document is a compound document (as in contains multiple files) only the first file will be modified by the output of this Job. The output file type must also match that of the compound document’s first file, if not the output will fail.
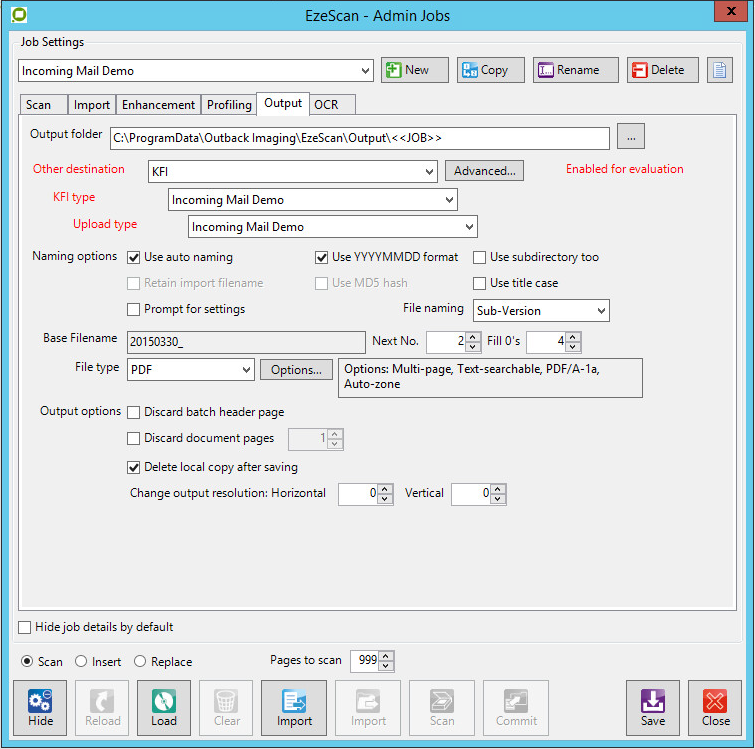
Running a job for saving to Therefore using KFI and UPLOAD
To run a job to Therefore using the KFI and UPLOAD modules, confirm that the Other Destination is set to KFI and the respective KFI and UPLOAD types are selected. Please refer to section 5 on page 8 and section 6 on page 10 for details on how to set this up.
In the example below the KFI\UPLOAD types have been configured for a:
-
Sender Name
-
Sender Address
-
Sender Phone No
-
Date Received
-
Mail Type
-
Mail Type No
-
Mail Processed
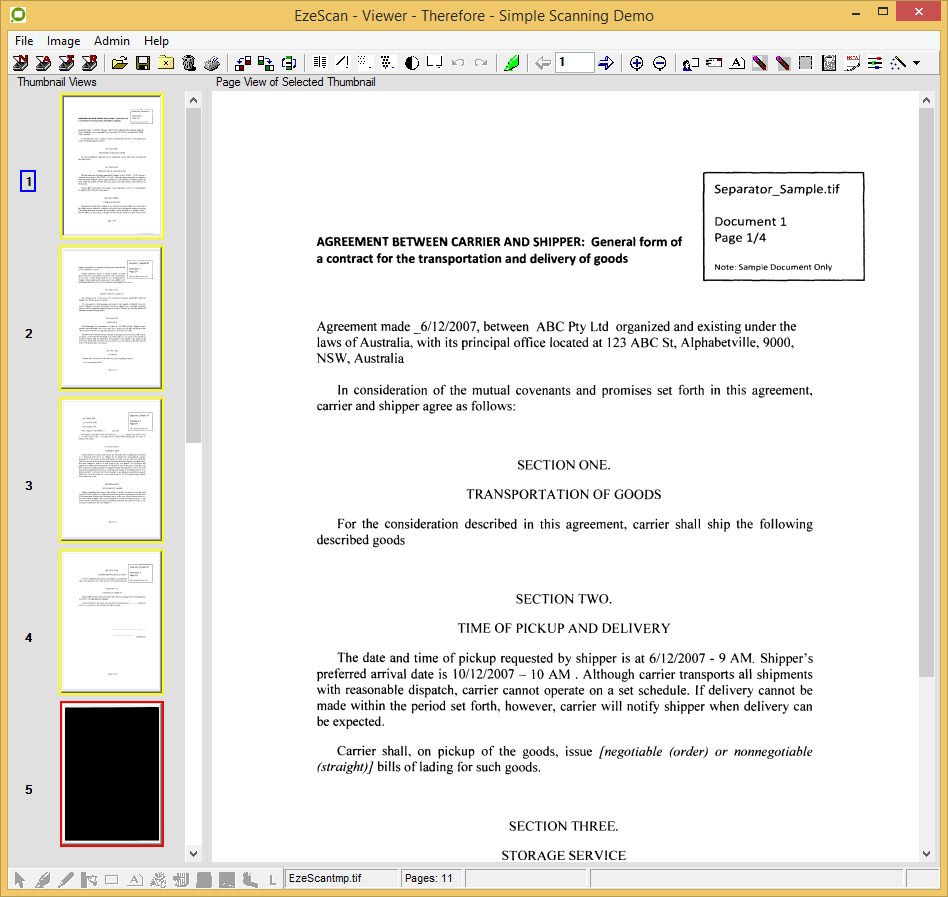
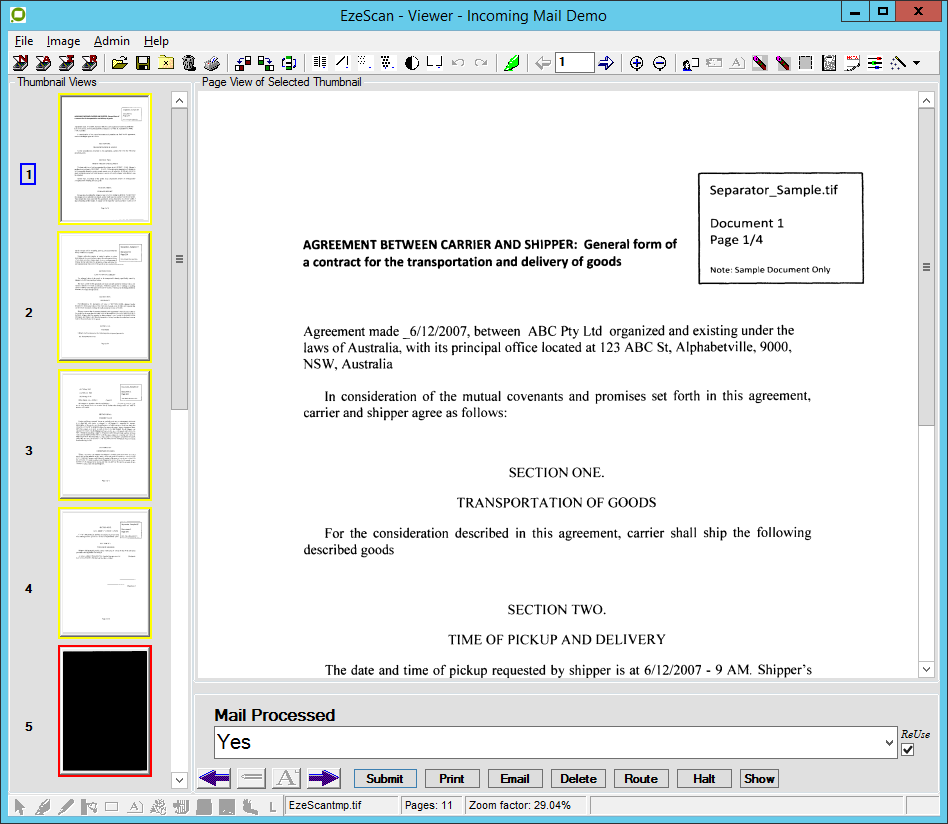
The image below shows a job using the KFI and upload modules.
To run a job to Therefore using the KFI and UPLOAD modules:
Click the scan/import or job button to load the image into the EzeScan viewer.
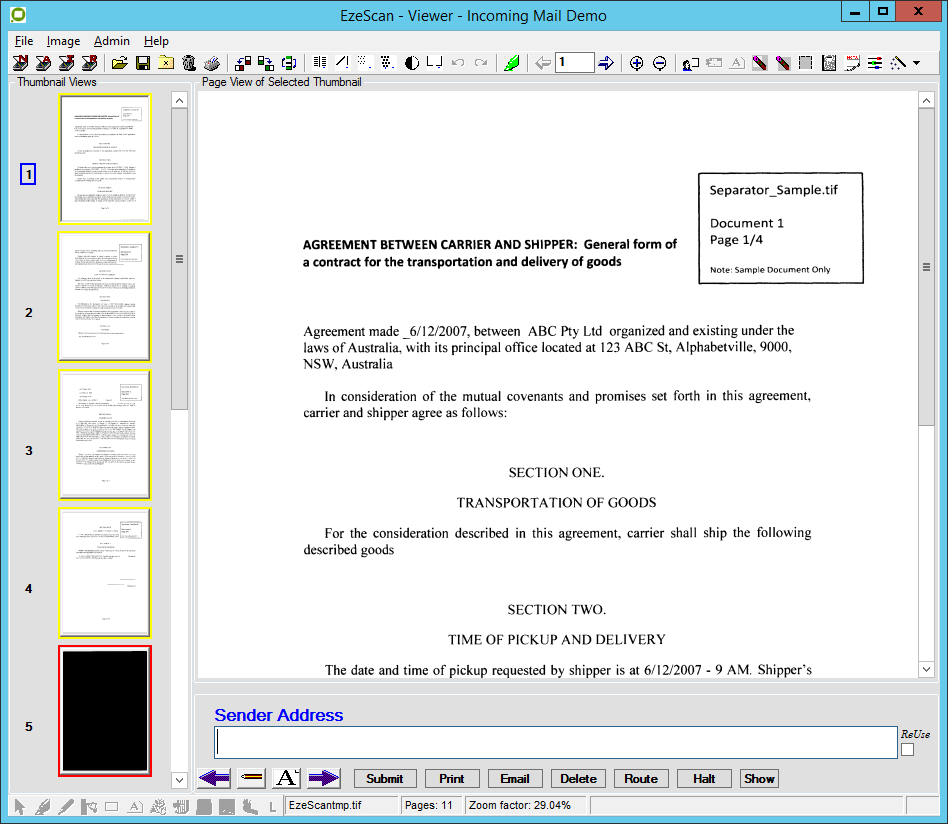
Press the F4 key or click the Profile button
to index the document. The KFI screen will appear with the fields to process.

The operator can enter the field information.
When complete the operator can press Enter or click the
to move to the next field.
After the operator has completed the first field, the next field will appear.
When complete the operator can press Enter or click the
to move to the next field.
After the all the fields are completed cursor will focus to the submit button.
Press Enter or click
The document will be saved into Therefore with all the metadata applied.