
The following information details the connectivity and functionality offered by the EzeScan integration with the Laserfiche EDRMS solution. It details the available options and how to configure an EzeScan job into Laserfiche.
For information on Laserfiche Cloud please refer to the Laserfiche website - https://www.laserfiche.com/
For information on EzeScan please refer to the EzeScan website - https://ezescan.com.au
The minimum requirements for Laserfiche integration with EzeScan are:
The Laserfiche 10.2 SDK runtime must be installed on the EzeScan workstation. Supported versions of Laserfiche Server are 8.2 – 11.0. Laserfiche OCR engine must be installed to use the Generate Text Searchable functionality found in Job Output and Upload interfaces.

Configuring Connection Settings
When configuring a Job, KFI or Upload to use the Laserfiche connector the connection settings panel must be filled in. If only using a single Repository, it is recommended that the Laserfiche connection settings are configured globally.
-
Click the Admin menu, choose Workstation Options.
-
Click the EDRMS tab and choose the LaserFiche option from the drop down list that appears.
-
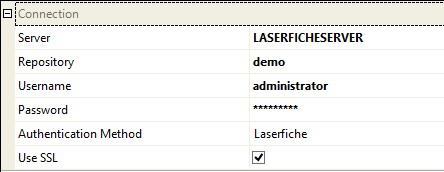
Enter the following information:
Field
|
Description
|
|---|---|
|
Server |
Specify the name or IP address of the Laserfiche Server. |
|
Repository |
Specify the name of the Repository to connect to. |
|
Username |
Specify the login name if using Laserfiche authentication or Windows user impersonation, otherwise leave blank. |
|
Password |
Specify the login password if using the Laserfiche authentication or Windows user impersonation, otherwise leave blank. |
|
Authentication Method |
Choose the authentication method:
Windows user impersonation requires the application be run as Administrator for elevated permissions.
|
|
Use SSL |
Use Secure Sockets Layer to connect to Laserfiche cloud servers with SSL security. |
Job Settings
There are two ways the EzeScan Laserfiche connector can integrate with Laserfiche.
-
Using a simple output to Laserfiche form. This can be created with a Job only, commonly used for low volume scanning or ad hoc type scanning.
-
Using the KFI and UPLOAD modules. These are detailed further in sections Running a Job Using KFI and Upload and Upload Settings. This would be used for specific workflows that utilise EzeScan KFI to assist in minimal data entry, reusing data, forms extraction and setting workflow defaults.
The EzeScan to Laserfiche Profile Form functionality requires that the EzeScan Workstation be licensed with the EDRMS module.
Output documents using profile form
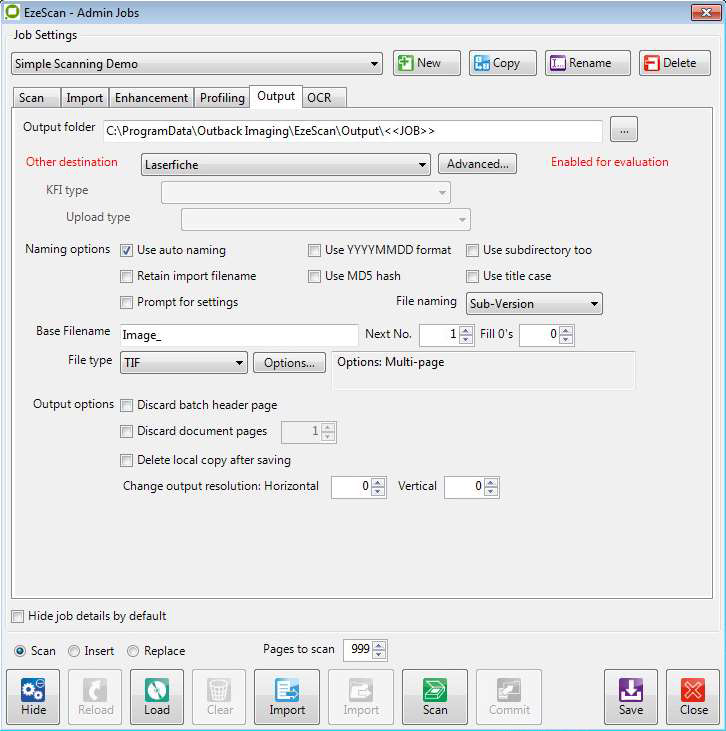
To enable Laserfiche output functionality on a Job:
-
Click Admin and choose Jobs (F6).
-
Click the Output tab and then choose the Laserfiche option from the Other Destination dropdown.
-
Click the Advanced button.

-
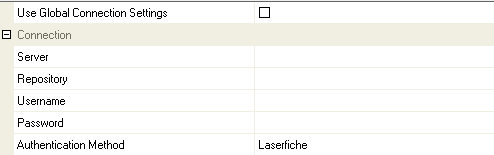
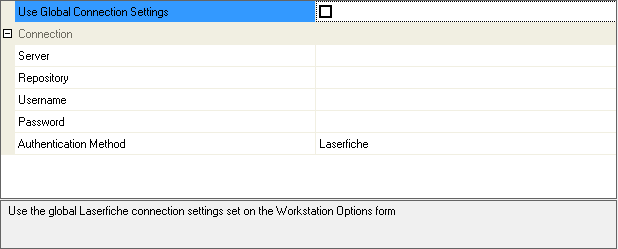
If using the global connection settings from the Workstation Options, tick the Use Global Connection Settings option, otherwise complete in the Connection settings.
-
Scroll down to the Output settings section.

-
Fill in the following details to change the defaults of the Profile Form that is shown when users profile (F4) documents using this Job:
Field
Description
Default Folder
Type in or browse for the folder to display when the Profile Form is shown, or leave blank to force the user to select a folder.
Default Volume
Type in or browse for the volume to display when the Profile Form is shown, or leave blank to use the default volume.
Default Template
Type in or browse for the default template to display when the Profile Form is shown, or leave blank to assign no template.
Generate Searchable Test
This option is used if saving the document as a TIF format and the operator wants to use the Laserfiche OCR engine to OCR the document.
Is Electronic File
Set this option to Yes to set the Laserfiche connector to upload as an electronic file. Setting to No will save the document as a Laserfiche Pages file. (output needs to be set to TIF)
-
After modifying these settings click the Save button, otherwise the changes will be lost.
-
The Job is now configured to save scanned documents into Laserfiche.
Import documents using browser
If there is a requirement to import documents from Laserfiche into EzeScan, (e.g. for markup/redaction purposes) an EzeScan job can be configured to do this.
This would usually be a separate EzeScan job - one job to scan and save to Laserfiche, then another to import from Laserfiche, markup/redact and save to Laserfiche.
Laserfiche Import functionality on a Job is only available when Output to Laserfiche is configured - please refer to the above section for details on how to enable this.
To enable Import File functionality on a Job:
-
Click Admin and choose Jobs (F6).
-
Select the Job you want to modify.
-
Click the Import tab, enable the Enable Import File Processing option and then enable the Import File from EDRMS option by ticking the box.

-
To change the import default settings, click the Output tab.
-
Click the Advanced button.
-
Scroll to the Import section of the Laserfiche Server settings.

-
Change the Default Folder, type in, or browse for, the folder to display when the Job’s Import File button is clicked. When the job is run EzeScan will default to the selected folder.
-
After modifying these settings click the Save button, otherwise the changes will be lost.
KFI Field Settings
The KFI Field Settings allow the operator to browse into Laserfiche during KFI indexing so the operator can then select folders and object types to be applied to the document.
The following functionality requires that the EzeScan workstation be licensed for the EDRMS as well as KFI and UPLOAD modules.
Enabling browse options
The Laserfiche settings must be configured before a KFI field can use the Laserfiche browse functionality.
-
Press F7 to display the KFI form.
-
Click the EDRMS tab.
-
If using the global connection settings from the Workstation Options, tick the Use Global Connection Settings box; otherwise fill in the Connection settings.
-
Click the Fields tab.
-
To enable a field to access Laserfiche you need to:
-
Click the edit link under Properties for the field.
-
Click the Laserfiche tab.
-
Tick the Enable Laserfiche Browse Button box.
-
The browse parameters will become active.

-
Click OK.
-
Configuring browse parameters
This option determines the type of Laserfiche Browser that is shown when the Browse button (F3) is pressed during indexing.
Choose from one of the following five options:
Option
|
Description
|
|---|---|
|
Folders |
Enables the operator to browse the folder structure of the Repository chosen in the KFI’s connection settings. Use the ‘Start At’ and ‘Show Documents’ parameters to modify the functionality of
When the OK button is clicked by the operator, the full path of the selected item is returned as the value. |
|
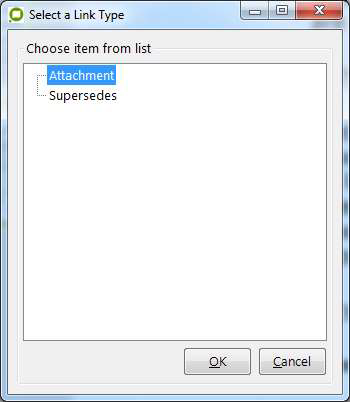
Link Types |
Enables the operator to select a Link Type from the connected Repository’s Link Types list.
When the OK button is clicked by the operator, the selected Link Type’s name is returned as the value. |
|
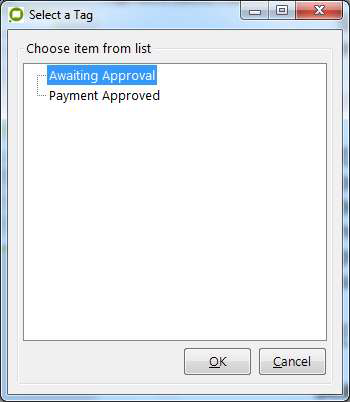
Tags |
Enables the operator to select a Tag from the connected Repository’s Tags list.
When the OK button is clicked by the operator, the selected Tag’s name is returned as the value. Note: Security Tags are currently not supported. |
|
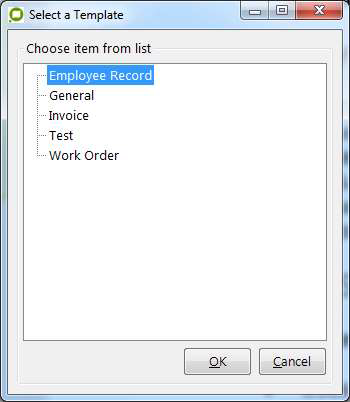
Templates |
Enables the operator to select a Template from the connected Repository’s Templates list.
When the OK button is clicked by the operator, the selected Template’s name is returned as the value. |
|
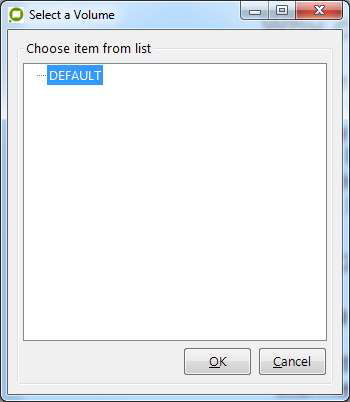
Volumes |
Enables the operator to select a Volume from the connected Repository’s Volumes list.
When the operator clicks the OK button, the selected Volume’s name is returned as the value. |
|
Start At Path |
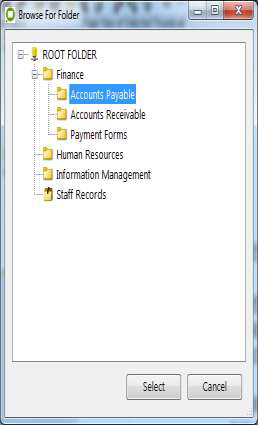
This option determines the root path to display when the Browse For Folders option is selected.
The root path can either be typed in, or browsed for by clicking on the ... button that appears in the value cell after clicking on it.
For example: |
|
Show Documents |
This option is used to specify whether or not the Browse For Folders option will display documents. Choose the No option to hide documents from the operator. |

Upload Settings
The UPLOAD module will obtain the KFI output data to pass into Laserfiche saving the document into the respective folder and applying metadata information.
The following functionality requires that the EzeScan Workstation be licensed for the EDRMS and KFI and UPLOAD modules.
Configuring connection parameters
-
Open the Upload Form (F8).
-
Choose the Upload Type you want to configure.
-
On the left hand side in the Upload Properties pane choose Laserfiche in the Upload To list.
-
If using the global connection settings from the Workstation Options. Tick the Use Global Connection Settings option; otherwise fill in the Connection settings.
Configuring upload settings
The following properties will appear in the Properties pane after choosing Upload To Laserfiche option:
Target Field
|
Description
|
|---|---|
|
Naming Conflict Action |
Select the action to use for document naming conflicts:
|
|
OCR Decolumnise |
Remove column layout when using Laserfiche OCR engine to OCR document pages. |
|
OCR Performance |
The performance option to use when using Laserfiche OCR engine to OCR document pages:
|
Configuring built-in upload fields
The following fields will appear after choosing Upload To Laserfiche option in the Upload Properties pane. These are the default Laserfiche fields.
Each field can have its input set using the Source Field cell, noting that the Parent Folder/Document can’t be set to ignore. 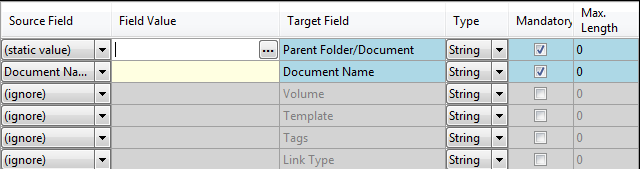
Target Field
|
Description
|
|---|---|
|
Parent Folder/Document |
Use this field to specify where the document will be created in the Repository. If the specified path does not exist the Laserfiche connector will attempt to create it on the fly.
To use a default folder for the job, set the Source Field to Static Value, and then click in the Field Value cell and click the... button that appears.
Note: If a document path is selected then the Laserfiche connector will create a new version of that document.
If the operator wishes to supply the Folder Entry ID instead of browsing for the folder, then this field must be set to ignore and use the Parent Entry ID mapping described below. |
|
Parent Entry ID |
Use this field to specify the ID of the Parent folder of where the document will be uploaded in the Laserfiche repository. |
|
Document Name |
Use this field to name the document when it is uploaded to the Laserfiche Repository.
To use the original file name set this field to ignore and un-tick the Mandatory option. |
|
Document To Append To |
Use this field to Append to a pre-existing document within a Laserfiche repository.
There are two ways a document can be appended to:
|
|
Document To Prepend To |
Use this field to Prepend to a pre-existing document within a Laserfiche repository
There are two ways a document can be appended to:
|
|
Document to Replace |
Use this field to Replace a pre-existing document within a Laserfiche repository.
There are two ways a document can be appended to
|
|
Volume |
Use this field to set the Volume that the document will be stored in when uploaded, or leave it blank to use the Repository’s default volume.
To browse from the list of available Volumes, set the Source Field to Static Value, click into the Field Value cell and click the... button that appears. |
|
Template |
Use this field to set the Template that will be assigned to the uploaded document, or leave blank.
To browse from the list of available Templates, set the Source Field to Static Value, click into the Field Value cell and then click the ... button that appears. |
|
Tags |
Use this field to set the Tags that will be assigned to the uploaded document - multiple tags can be separated using a comma.
To browse from the list of available Tags set the Source Field to Static Value, click into the Field Value cell and then click the... button that appears. |
|
Link Type |
Use this field to set the Link Type that will be used when the uploaded document is linked to the item at the path specified in the Link To field.
To browse from the list of available Link Types set the Source Field to Static Value, click into the Field Value cell and then click the ... button that appears. |
|
Link To |
Use this field to specify the path of the item that the uploaded document will be linked to.
To browse for the item to link, set the Source Field to Static Value, click into the Field Value cell and then click the ... button that appears. |
|
Is Electronic File |
Set this option to Y to set the Laserfiche connector to upload as an electronic file.
The default functionality of this field is to upload documents as "Laserfiche pages". If the job is set to save as PDF the document will be saved as an electronic file as "Laserfiche Pages" do not support PDF.
|
|
Generate Searchable Text |
This option is used if saving the document as a TIF format and the operator wants to use the Laserfiche OCR engine to OCR the document. To enable, set the source filed to static and the field value to Y. |
Configuring custom template fields
After selecting the Template to assign to the uploaded document (Template Field), click the Auto Populate button at the bottom of the screen.
This will result in the Laserfiche connector returning a list of custom fields that relate to that template.
It is then a matter of setting the source values of those fields to the target values of the custom fields.
The Auto Populate button appears under the Field Mappings grid. 
Template fields of type Data are not supported by the Laserfiche connector.
Applying KFI output data to target field data
To pass through the KFI output data into the Upload module the operator is required to set the source field data to the target field data.
-
In the Upload type, set the Column names from option to the name of the KFI job Type.

-
In the Field Mappings Grid the operator can apply the Source Field settings to the Target Field settings.
In the example below the Laserfiche Target Field Document Name is being populated by the KFI Source Field Title.
-
When all the mappings are complete, click Apply.
-
Click OK to save the changes.
Running a Job Using the Profile Form
-
To run a job to Laserfiche with the profile form, confirm that the Other Destination is set to Laserfiche. Please refer to the Output documents using profile form section for how to set this up.
-
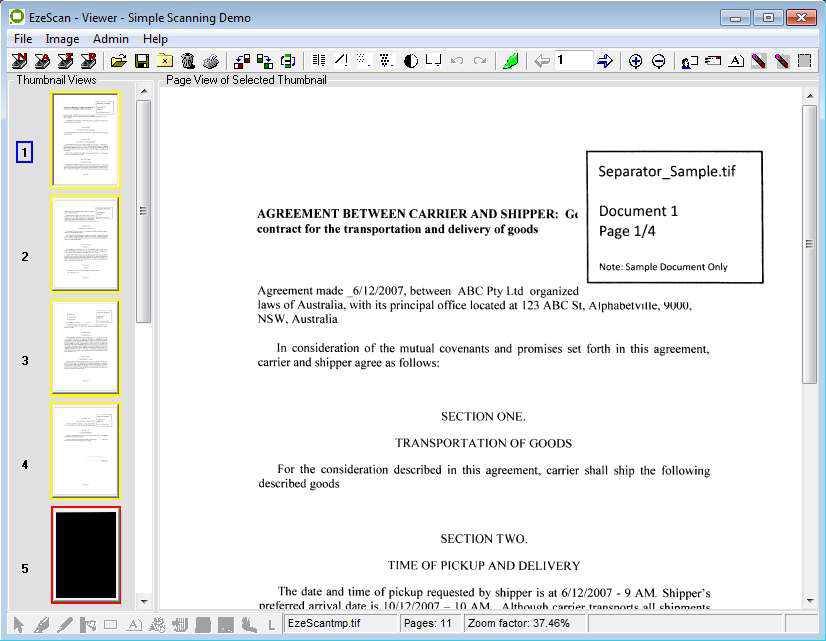
Click the scan/import or job button to load the image into the EzeScan viewer.
-
Press the F4 key or click the Profile button


-
Click OK and the document will be saved into Laserfiche.
There is a sample Laserfiche profile form job job in the downloads section on the EzeScan web site.
Running a Job Using KFI and Upload
To run a job to Laserfiche using the KFI and UPLOAD modules, confirm that the Other Destination is set to KFI and the respective KFI and UPLOAD Types are selected. Please refer to sections KFI Field Settings and Upload Settings for details on how to set this up.
In the example below the KFI\UPLOAD types have been configured for a:
-
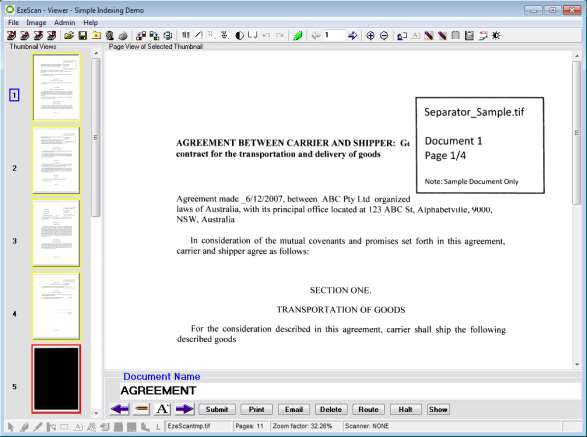
Document Name (Name of document)
-
Folder (Folder in the repository)
-
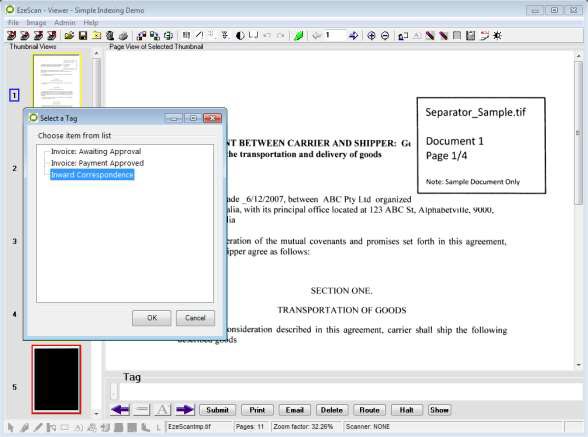
Tag (Tag assigned to the document)
-
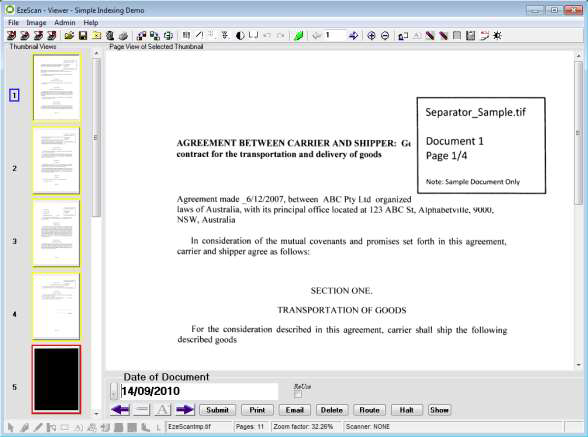
Date of Document (Field in the General Template)
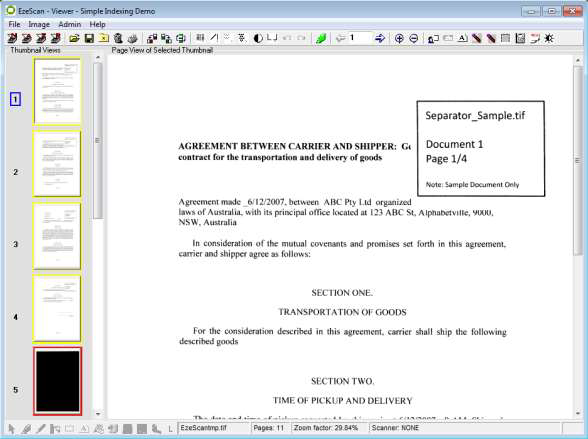
The image below shows a job using the KFI and upload modules: 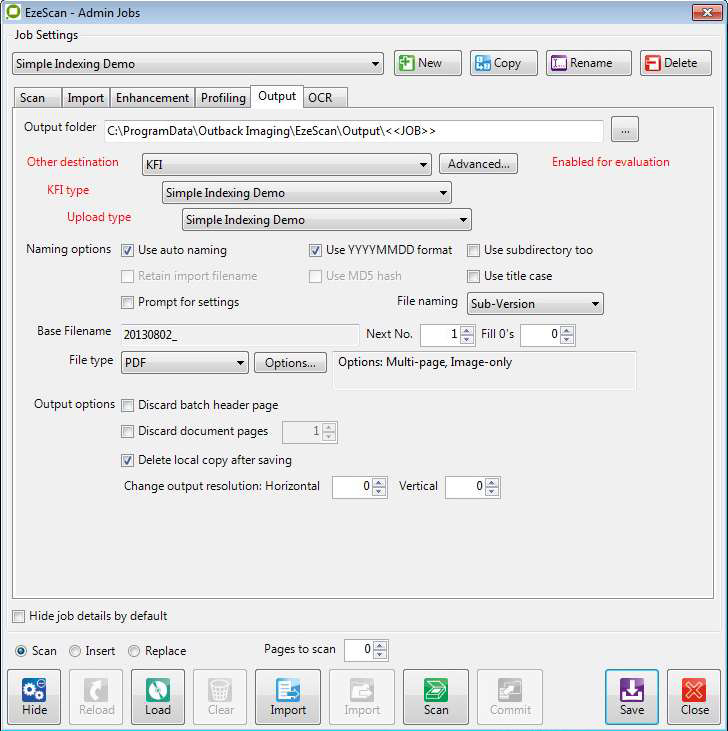
To run a job to Laserfiche using the KFI and UPLOAD modules:
-
Click the scan/import or job button to load the image into the EzeScan viewer.
-
Press the F4 key or click the Profile button

-
The operator can enter the Document Name.
-
When complete the operator can press Enter or click the

-
After the operator has completed the Document Name field, the next field will appear.

-
The operator will be prompted to select a folder.
-
When complete the operator can press Enter or click the
-
After the operator has completed the Folder field, the next field will appear.
-
The operator will be prompted to select a Tag.
-
When complete the operator can press Enter or click the
-
After the operator has completed the Tag field, the next field will appear.
-
The operator will be prompted to enter a date.
-
When complete, press Enter and the submit button will highlight.
-
Press Enter or click Submit.
-
The document will be saved into the respective Laserfiche folder and metadata applied.
There is sample Laserfiche KFI / UPLOAD jobs in the downloads section on the EzeScan web site.
Display Record Number After Saving Record
To enable this setting, please refer to the How to articles.