
EzeScan provides three methods for importing and exporting settings:
-
Import / Export All Items
This option imports or exports all EzeScan jobs.
-
Import / Export Selected Items
This option allows you to select specific jobs for import or export.
-
Backup / Restore Entire EzeScan Configuration
This option imports or exports the entire EzeScan configuration on the EzeScan PC, including workstation settings, KFI templates, job button settings, and more. It is ideal for transferring or rebuilding the EzeScan PC
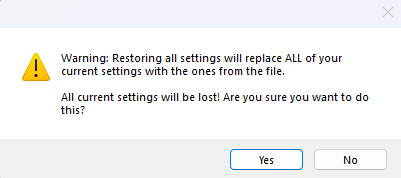
If Restore entire EzeScan configuration option is selected all existing settings will be cleared. A warning prompt is displayed first to cancel the operation if needed
📘 How to Backup Your Configuration (Export Config)
-
Open EzeScan
-
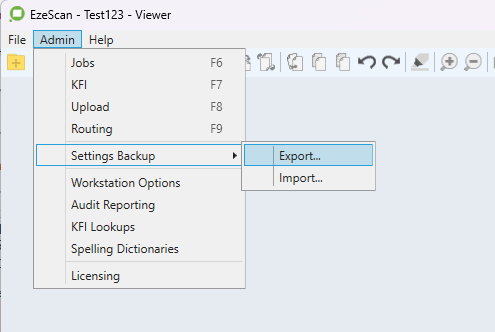
Select Admin → Settings Backup → Export
-
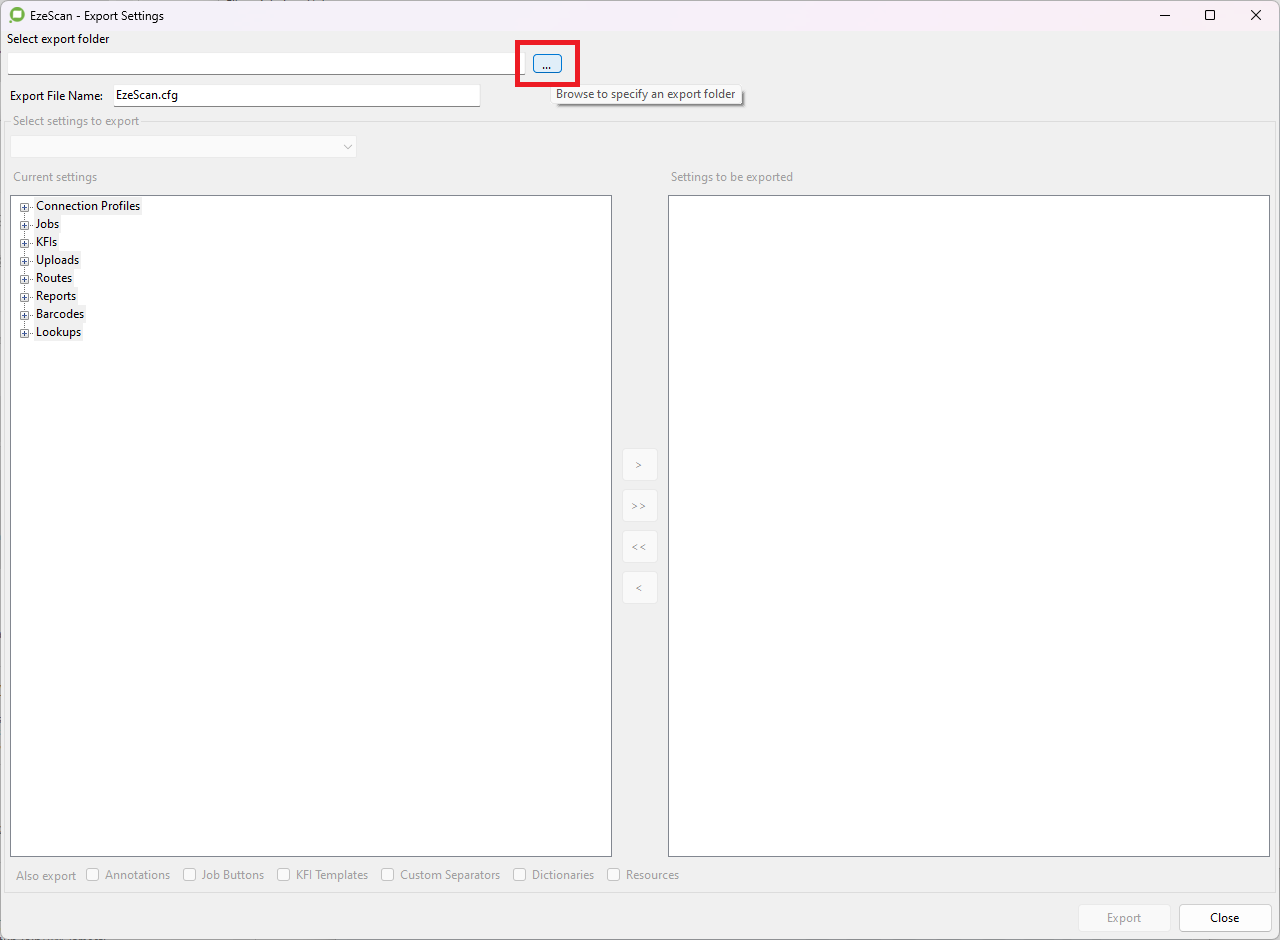
Click the "..." button and choose a folder where you want to save your EzeScan settings.
-
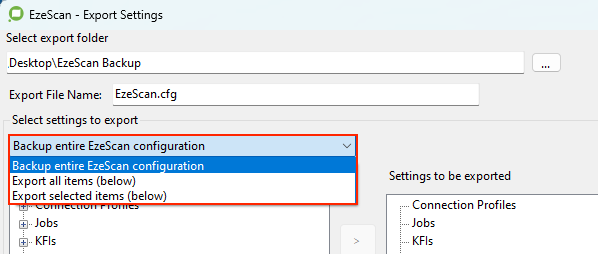
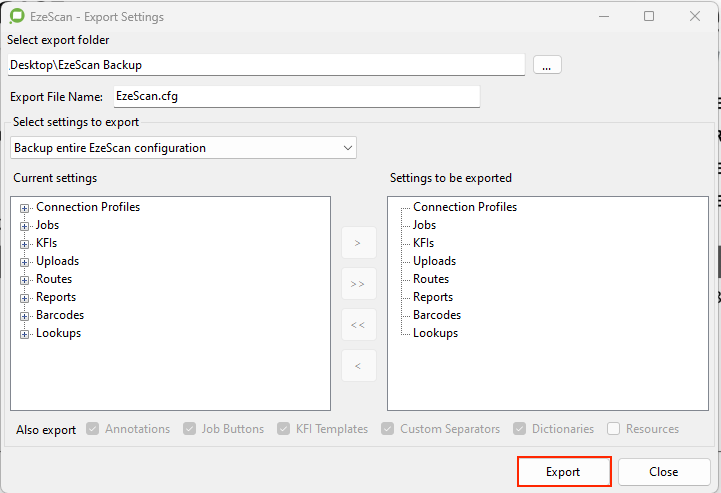
From the Select Settings To Export drop-down menu list select your option of which settings to export. If you are unsure then select the Backup entire EzeScan configuration option.
-
If you have selected Backup entire EzeScan configuration, you will not be able to select anything and will just need to click Export.
-
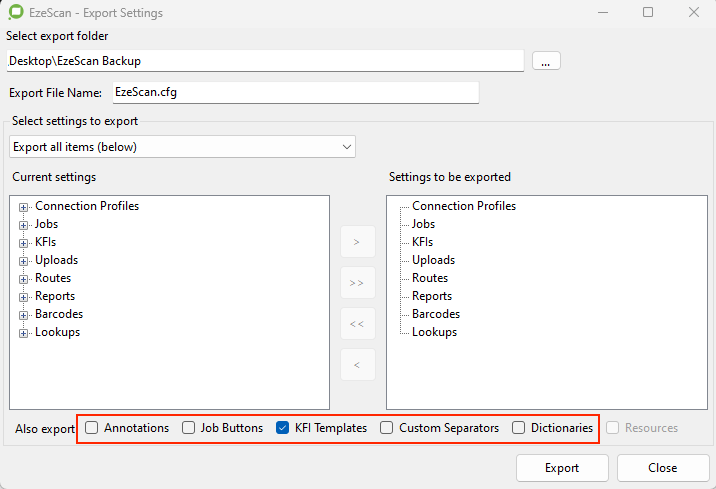
If you have selected Export all items (below) you will not be able to select anything in the Current settings list but you can choose whether to include annotations, job buttons, KFI templates, custom separators, dictionaries, and resources (default includes only KFI templates).
-
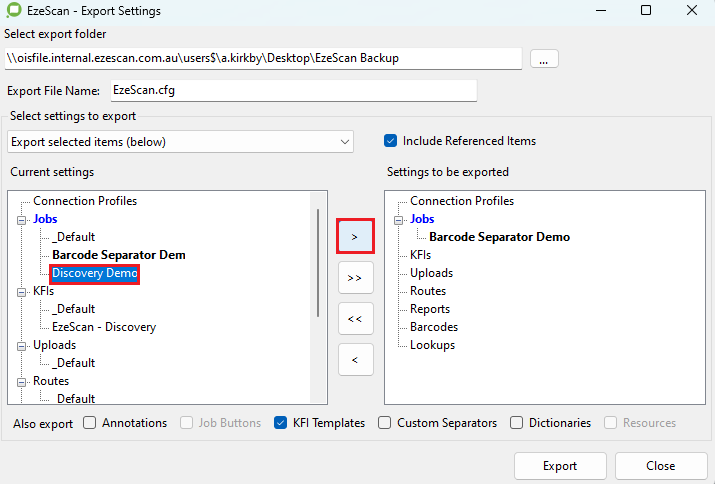
If have selected Export Selected Items (below) you will need to manually select a job and click the “>” icon to move it over to the Setting to be Exported list. Double-clicking on the job will also copy the job and any associated Lookups or KFIs.
-
When Complete, EzeScan will display an "Export Successful" message.
How to Restore Your Configuration (Import Config)
-
Load EzeScan
-
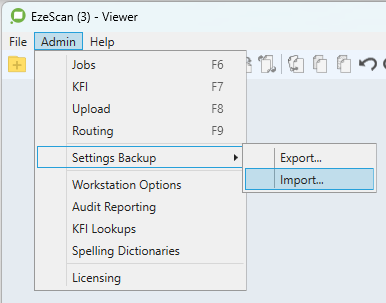
Navigate to Admin → Settings Backup → Import.
-
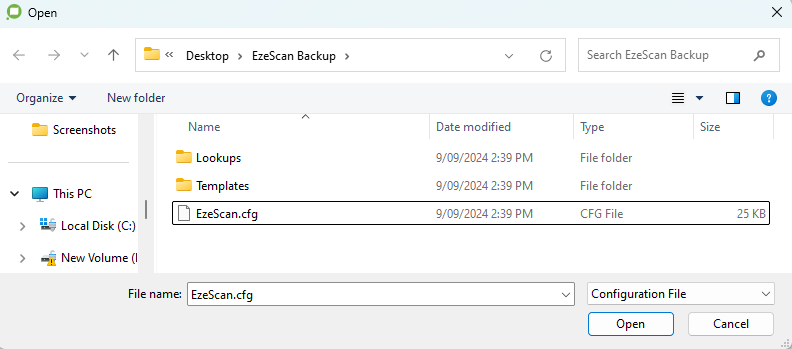
Click the "..." button and browse to the location where your
EzeScan.cfghas been previously saved, then select Open.
-
From the Select Settings To Import drop-down list, Select how you would like to import your settings.
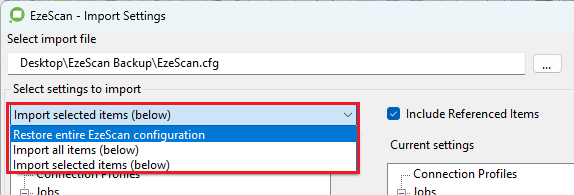
-
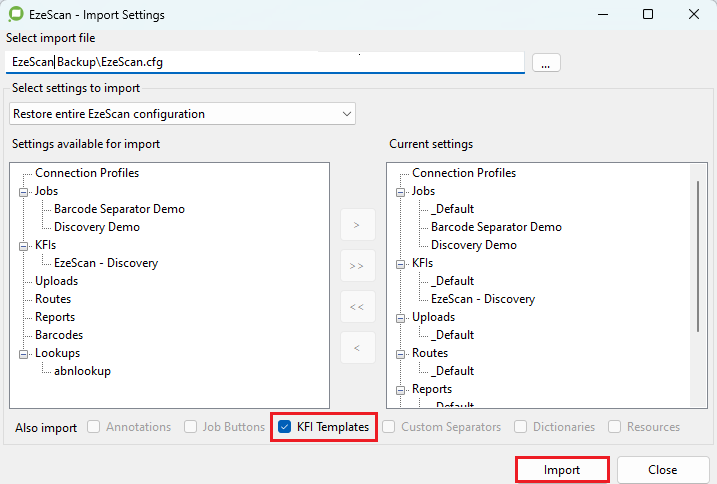
If you select Backup entire EzeScan configuration or Import all items, you will only have the option to decide whether to import KFI templates (checked by default). Then, click Import.
-
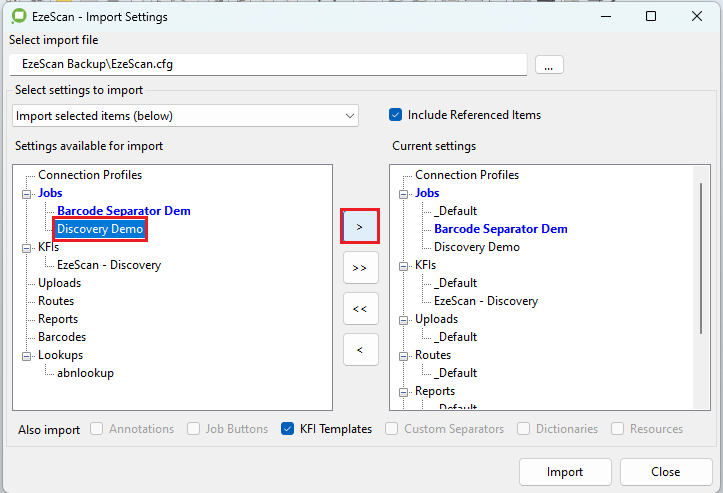
If you have selected Import Selected Items (below) you will need to manually select a job and click the “>” icon to move it over to the Setting to be Imported list. Double-clicking on the job will also copy the job and any associated Lookups or KFIs.
-
When Complete, EzeScan will display an "Import Successful" message.
Your EzeScan configuration will now be restored.