
EzeScan 4.3.197 (Version 4 platform) or 5.0.28 (Version 5 platform) or above is required.
Follow the instructions below to configure an EzeScan Job or Route to use Microsoft Office 365.
📘 Instructions
Firstly an App Registration is to be performed in the Azure Portal. This is to allow EzeScan to be able to connect to the mailbox to download email items.
Note: A registration by default will allow access to all mailboxes. Upon completion of the registration follow this link to restrict access to the mailbox (or mailboxes) that EzeScan requires.
Part 1 - Performing App Registration
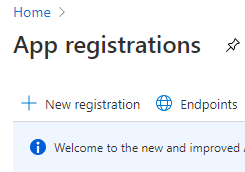
-
The administrator would choose the account type (this needs to be noted for EzeScan configuration later). We would recommend using Single Tenant.
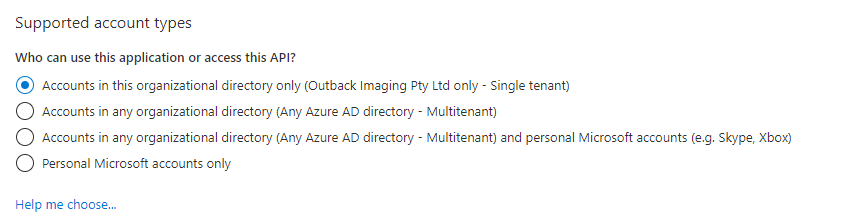
-
The redirect URI needs to be configured. We recommend http://localhost (this needs to be noted for EzeScan configuration later)

-
The client secret needs to be created this needs to be noted for EzeScan configuration later.
Please note: When creating the secret, we require the secret value, not the secret ID. This needs to be copied upon creation as it can’t be retrieved again. If in error, delete and create a new secret.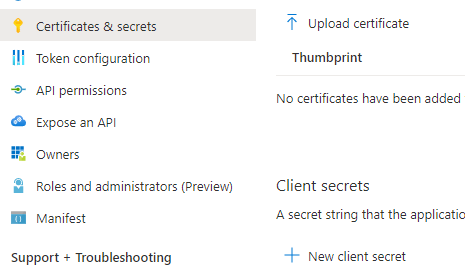
-
The API permissions are to be configured.
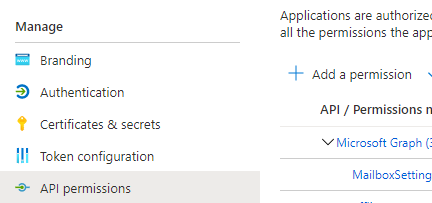
-
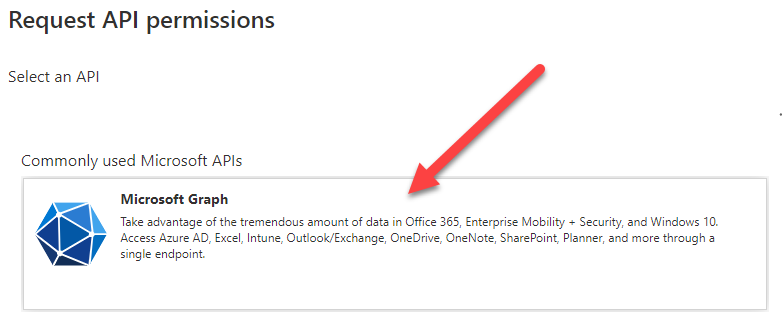
Select Microsoft Graph
-
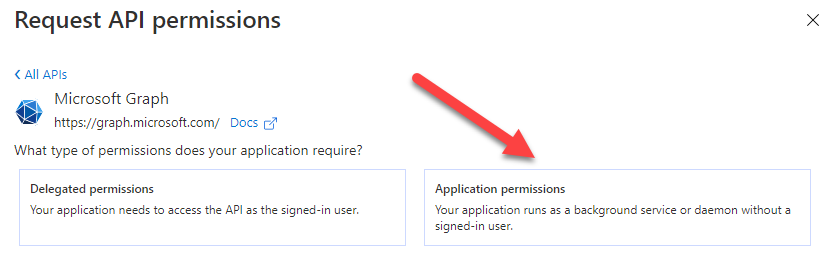
Select Application permissions and choose:
-
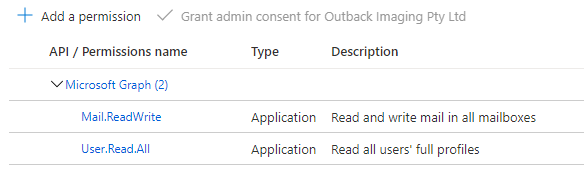
Mail.ReadWrite
-
User.Read.All
-
-
Configured permissions
-
Once all this is completed the EzeScan configuration can be performed. The following information needs to be noted to be passed on to whoever is responsible for configuring in EzeScan:
-
Tenant ID (If Single-Tenant ID)
-
Client ID
-
Client Secret (It is a good idea to internally document when this secret will expire so you can update EzeScan in the future with the next one generated).
-
Redirect URI (should be http://localhost)
-
If possible. The Azure administrator can approve the registration. Otherwise, it will be performed later in the EzeScan connection.
PART B - EzeScan Configuration
The next step is to configure EzeScan to connect to the mailbox.
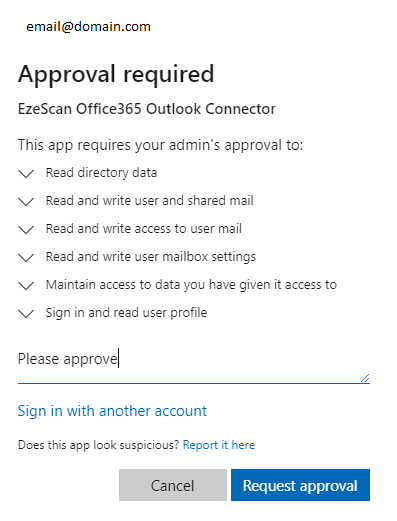
This step will also require an Azure Administrator to grant consent to the new app registration (if not yet approved).
Note: If an Azure administrator is not configuring EzeScan, the person configuring EzeScan will provide a URL link for the Azure administrator to approve.
-
Load EzeScan as an administrator
-
Select Admin → Jobs → Import Tab or Admin → Routing Import Tab
-
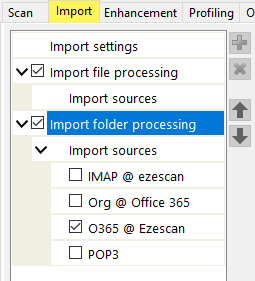
Functionality is added as Import Folder “Import Sources” as shown at right and is applicable to both an EzeScan Client and EzeScan Server configurations. Note: Previously you may have a IMAP Import Profile, and may be migrating to Office 365. Untick the IMAP profile (for now) and click and plus icon to add a new connection
-
Click the plus icon to add a new connection and select Microsoft Office 365 outlook from the pull-down list.
-
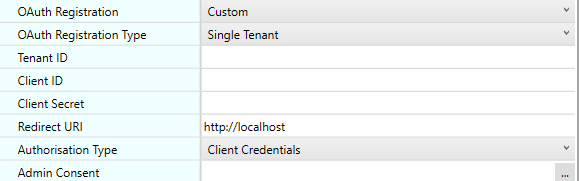
Change the OAuth Registration to Custom
-
Change the OAuth Registration Type to Single Tenant
-
Set the Authorisation Type to Client Credentials
-
Complete the Tenant ID, Client ID, Secret and Redirect URI (from the registration process).
-
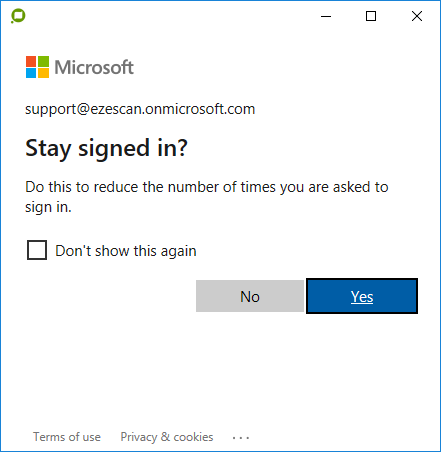
Then click on the ... for the admin consent. A web page will display asking for approval.
-
Once the wizard above has been completed this screen may return the following error
This page isn’t working
localhost didn’t send any data.
ERR_EMPTY_RESPONSE -
Close the tab and the connection has been completed.
-
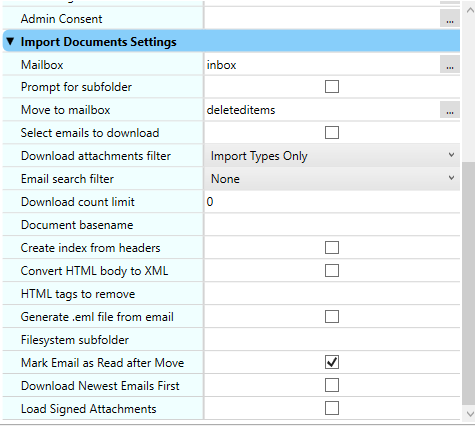
The operator can then configure the rest of the Import Documents Settings below.
-
Note: If migrating from IMAP to Office 365, you can flick between the profiles to note the previous settings and then apply to the newly created Office 365 connection.
-
When complete you can leave the IMAP settings unticked or remove that profile completely.
For more information about this connection method please see the below Microsoft links which provide more information:
-
https://docs.microsoft.com/en-us/graph/auth-limit-mailbox-access (we recommend this link for restricting the app registration to the mailboxes only required for EzeScan use)