📘 How to install EzeScan Pro 4.3
CD INSTALLATION
For the CD media please run the setup.exe program located under the CD’s D:\setup.exe.
ZIPPED INSTALLATION SET
The zipped installation set is available from either:
-
Provided by an EzeScan consultant
-
Downloaded from the EzeScan website → Downloads → Software Downloads → EzeScan Installers (https://www.ezescan.com.au/downloads/software-downloads/ezescan-installers/ezescan-full-installation)
Installing Zipped file
-
Save the zipped installation set to a suitable location on the PC being used
-
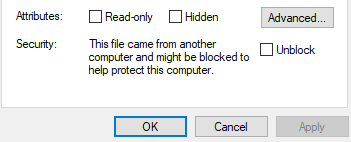
Right click properties on the zip file and check if the file is blocked. If so, click unblock → apply → ok.
-
Unzip the file and run the setup.exe program
INSTALLATION WIZARD
-
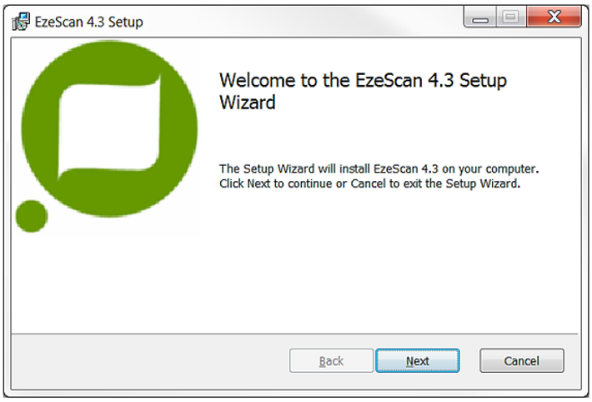
This will launch the EzeScan installer. The main installation screen displays:
-
Select Next to continue.
-
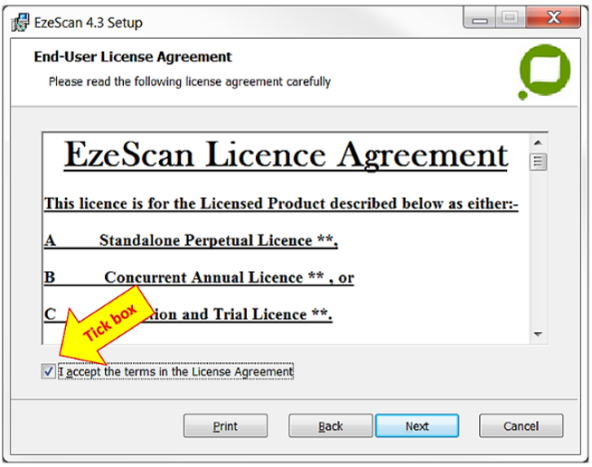
You must agree to the license agreement before proceeding. Select “I Accept” → Next
-
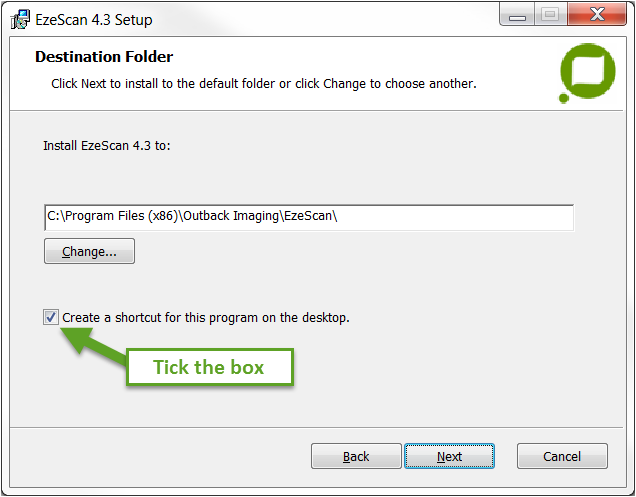
Ensure the “Create a shortcut” box is ticked before clicking Next
-
Select Next to accept the default installation directory of C:\Program Files (x86)\Outback Imaging\EzeScan. (If required: Tick to create a shortcut on the desktop)
-
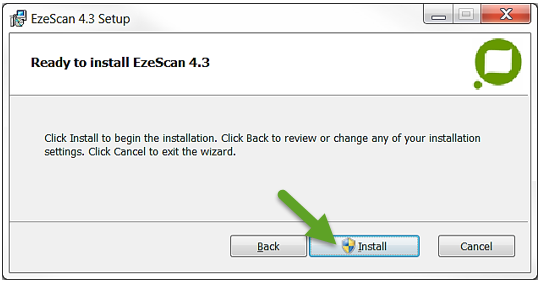
Click the Install button
-
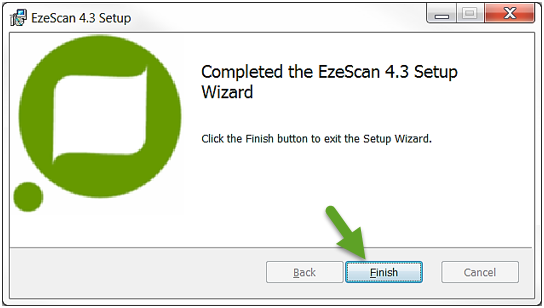
Click Finish to close the setup wizard.