Embedded mode is designed to be used on a Windows PC or Windows AIO (All In One) device with a touch screen display with a USB connected TWAIN /ISIS-compliant scanner attached.
When properly configured the general user is prevented from:
-
Editing the workstation configuration settings (requires an admin password).
-
Exiting the application (requires an admin password).
-
Browsing the local C: drive of the PC.
This guide will help you get the Embedded Mode setup on your EzeScan installation (please click any of the images below to zoom in).
It is assumed that you have read the EzeScan Job, Indexing and Upload User Guides and are familiar with navigating around in EzeScan between the various Admin menus.
📘 Instructions
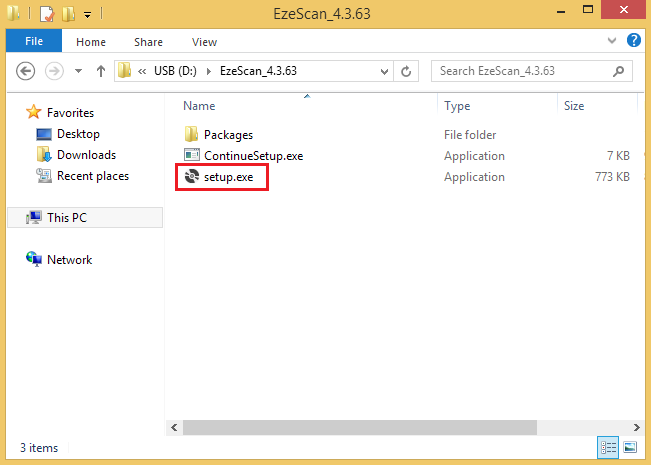
1. Install EzeScan from the installation files by opening setup.exe
2. Once the software is installed you will need to install a license to activate it.
Evaluation licenses are available from our support team via email (support@ezescan.com.au)
Production licenses must be purchased from our Resellers or directly from our sales team (sales@ezescan.com.au)
Once you have a license (evaluation or production) then use the Admin → Licensing menu option to launch the following form.
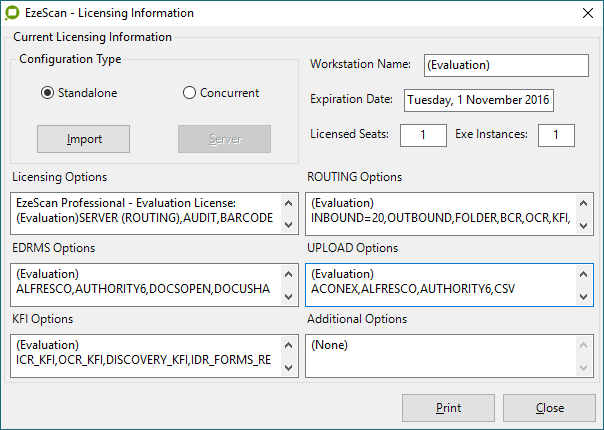
Use the import button to import the license file.
Then restart the software to activate the license.
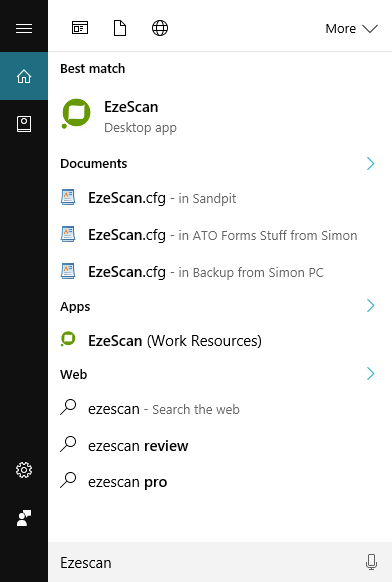
3. Once installed and licensed, Open EzeScan from either the Windows Start Menu or by using the Desktop shortcut icon
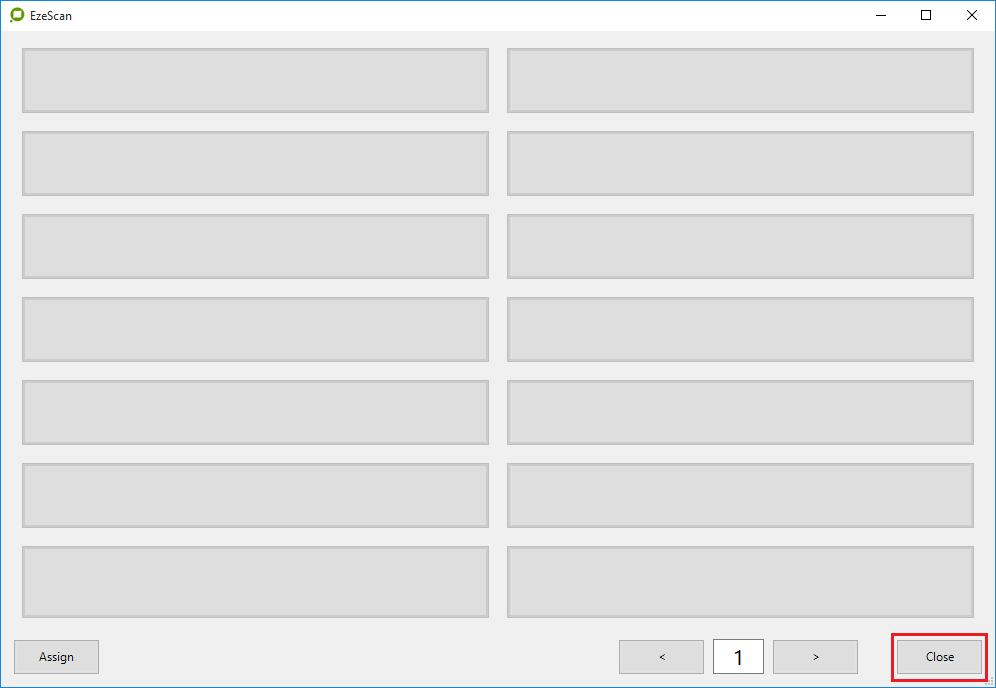
4. If the job button screen is open, click the close button in the bottom right corner.
5. Now you'll want to enable embedded mode.
This can be found under Admin → Workstation Options → Security tab.
Select Embedded from the “Kiosk Mode” dropdown list.
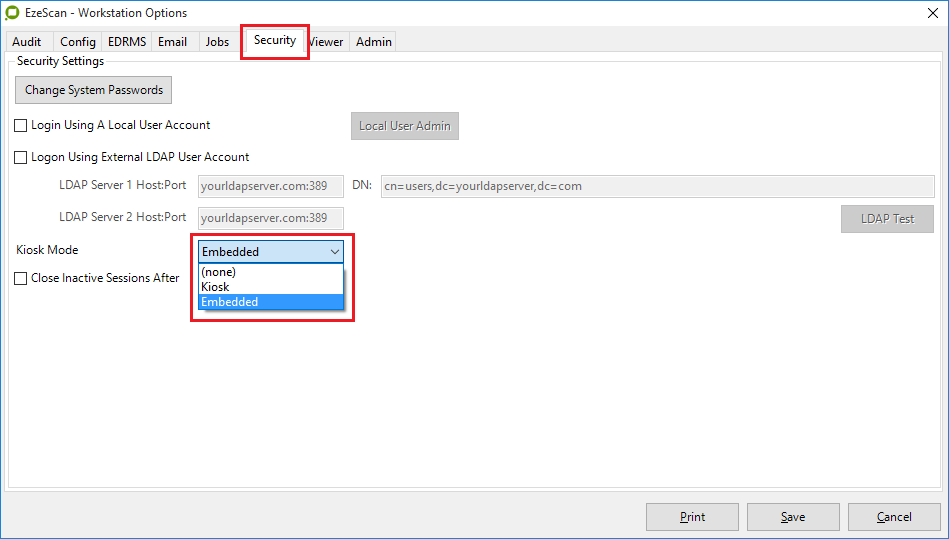
The Embedded mode features a secure interface allowing the user to access job buttons only.
It also features larger buttons as well as the ability to open the On Screen Keyboard, this is essential for touch-screen devices.
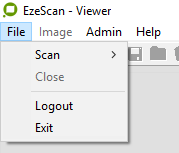
6. Close and open the EzeScan.exe again
Use File → Exit to close EzeScan → Restart EzeScan
7. You'll now notice that when you try to access the assign button or click the close button on the jobs page that a password prompt will appear.
By default, there is no password set for admin so clicking OK will allow you to access the admin features of EzeScan.
You will need to set an Admin password to stop your general users from changing the configuration settings.
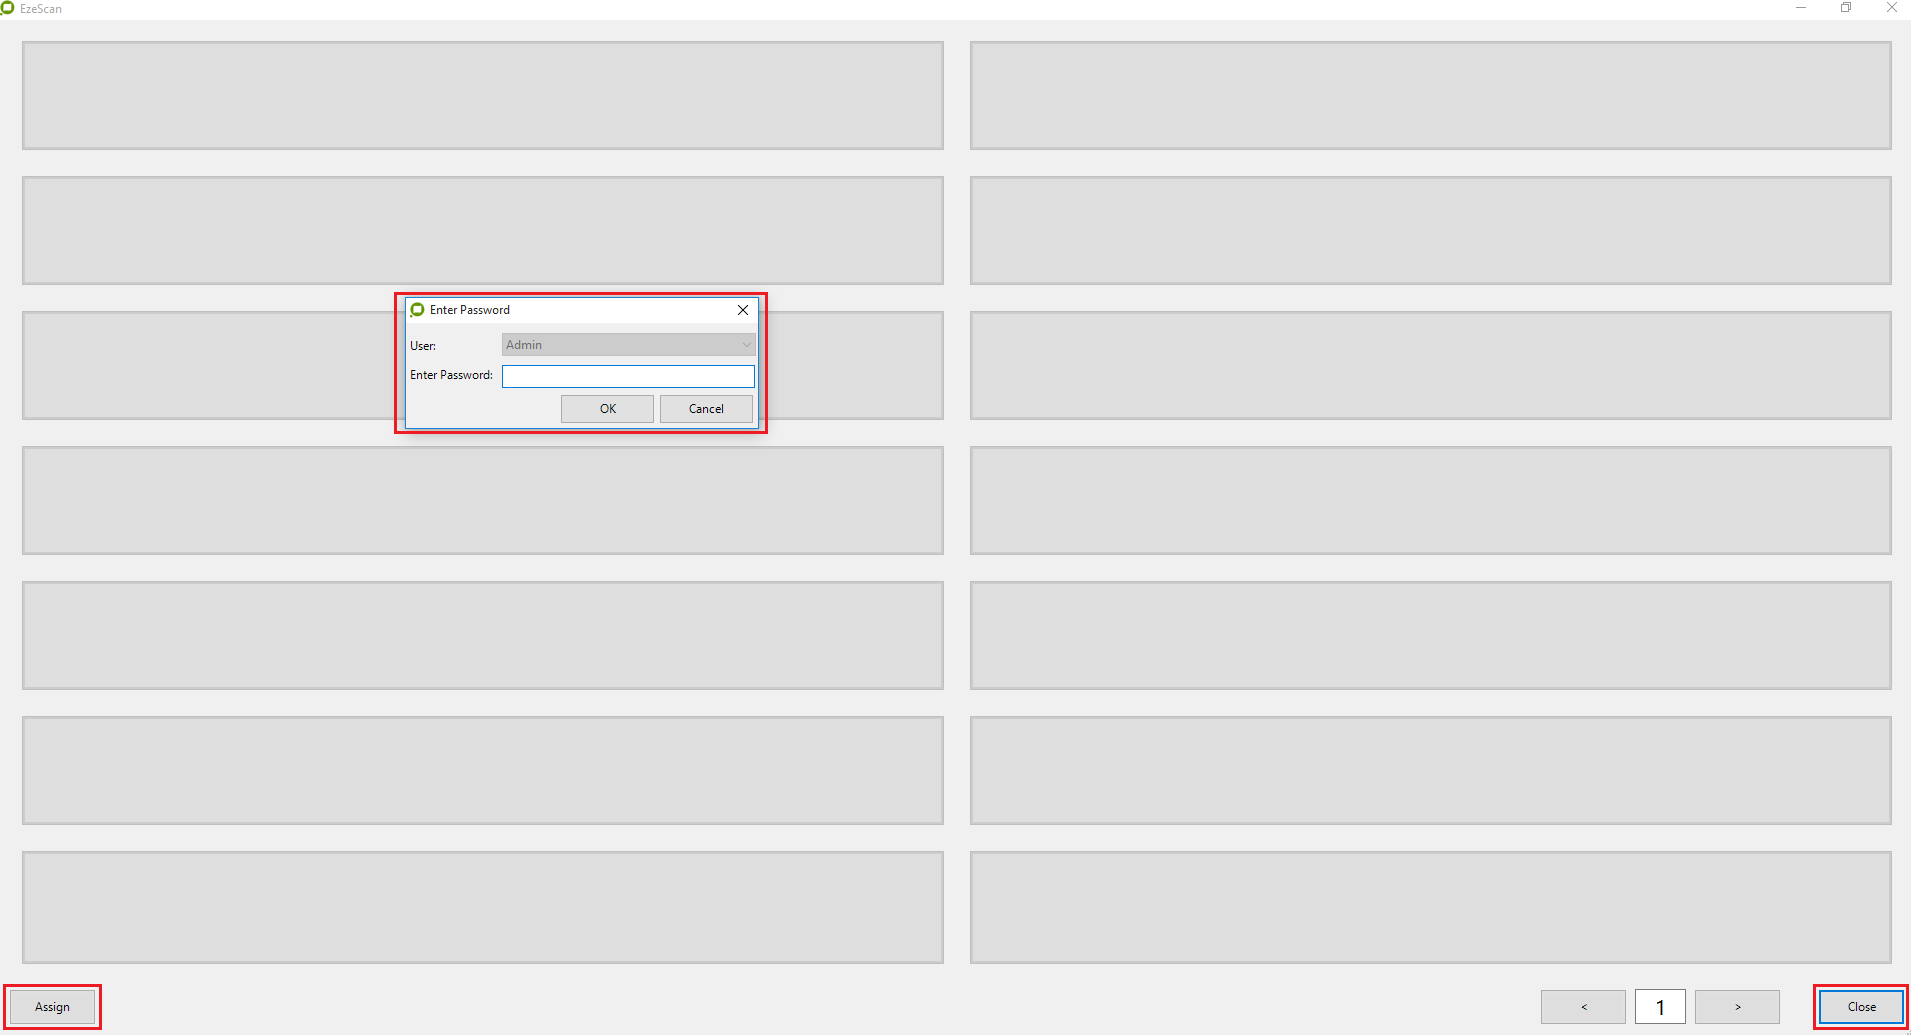
You must set an Admin password to prevent your general users from changing the configuration settings
8. To change the password for the admin account
Go into Admin → Workstation Options → Security Tab then click the “Change System Passwords” button.
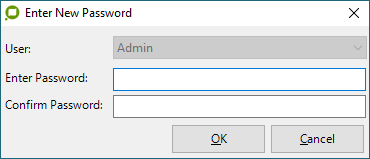
There’s a button to Change the Admin password, click it then enter in your new password in both fields.
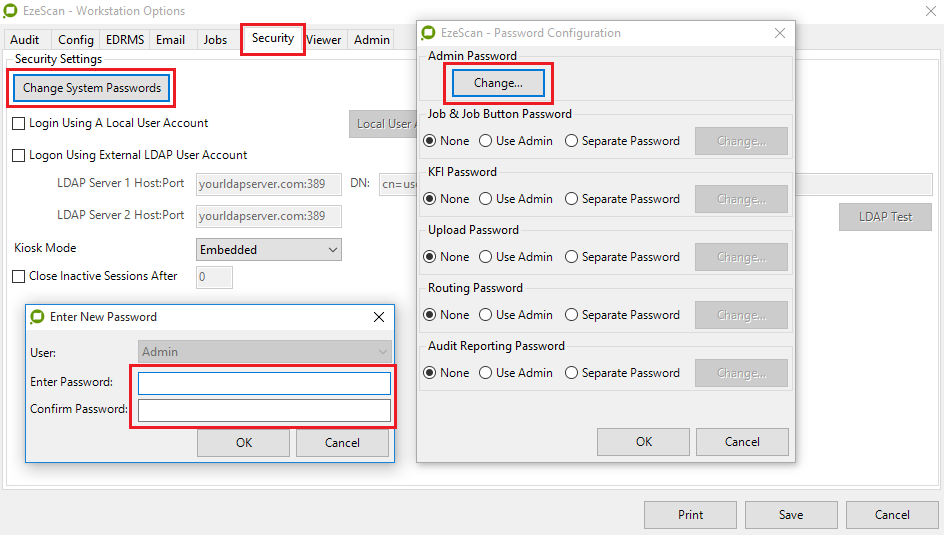
Enter the required passwords in the form shown below:
Press OK to save the new password.
Press OK to close the Password Configuration form.
Press OK to close the Workstation Options form.
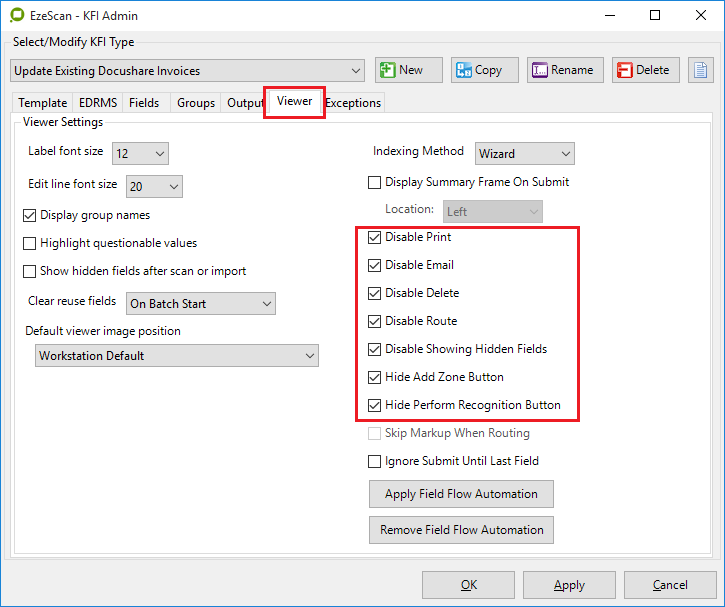
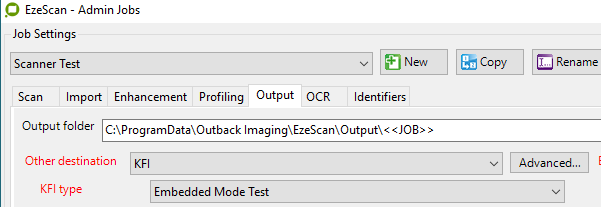
9. When you’re processing a scanned document and running key field index (kfi) on it, the user should not have access to some of the options while in embedded mode.
To access the KFI settings, go to Admin → KFI → Viewer tab.
The following screenshot is the recommended KFI viewer settings that should be in place while EzeScan is in embedded mode:
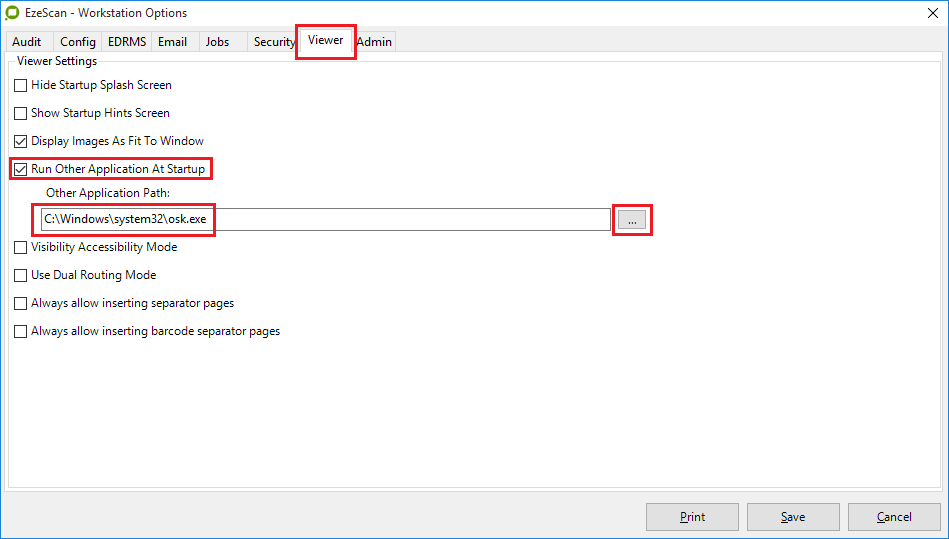
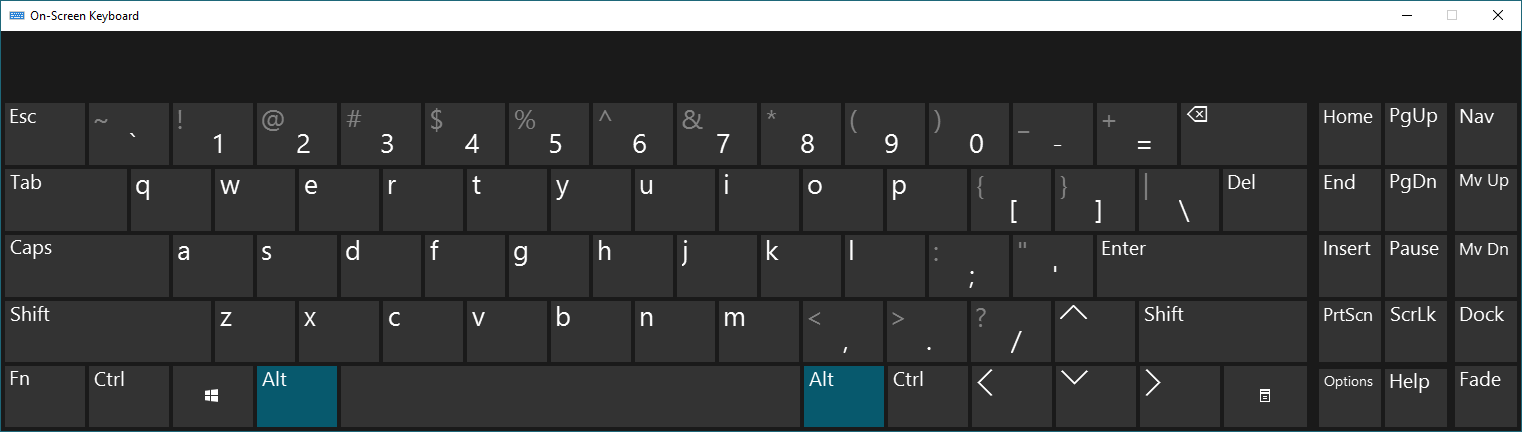
10. Enable the on-screen keyboard (osk)
When EzeScan starts up in Embedded mode and the device doesn't have a keyboard present, the On-Screen Keyboard (OSK) should be used.
EzeScan can be set to start up the OSK by launching EzeScan. To do this go to Admin → Workstation Options → Viewer tab and tick "Run Other Applications at Startup".
This will allow the "Other Application Path" field underneath to be modified, click the button with the three dots beside this field to find the executable to launch. In the browse window after clicking this button, navigate to "C:\Windows\system32\osk.exe" and click "Open".
Once this path is set in the field, click the "Save" button on the workstation options page.
The following button will appear on the main viewer toolbar.

Pressing that button will display the on-screen keyboard as follows:
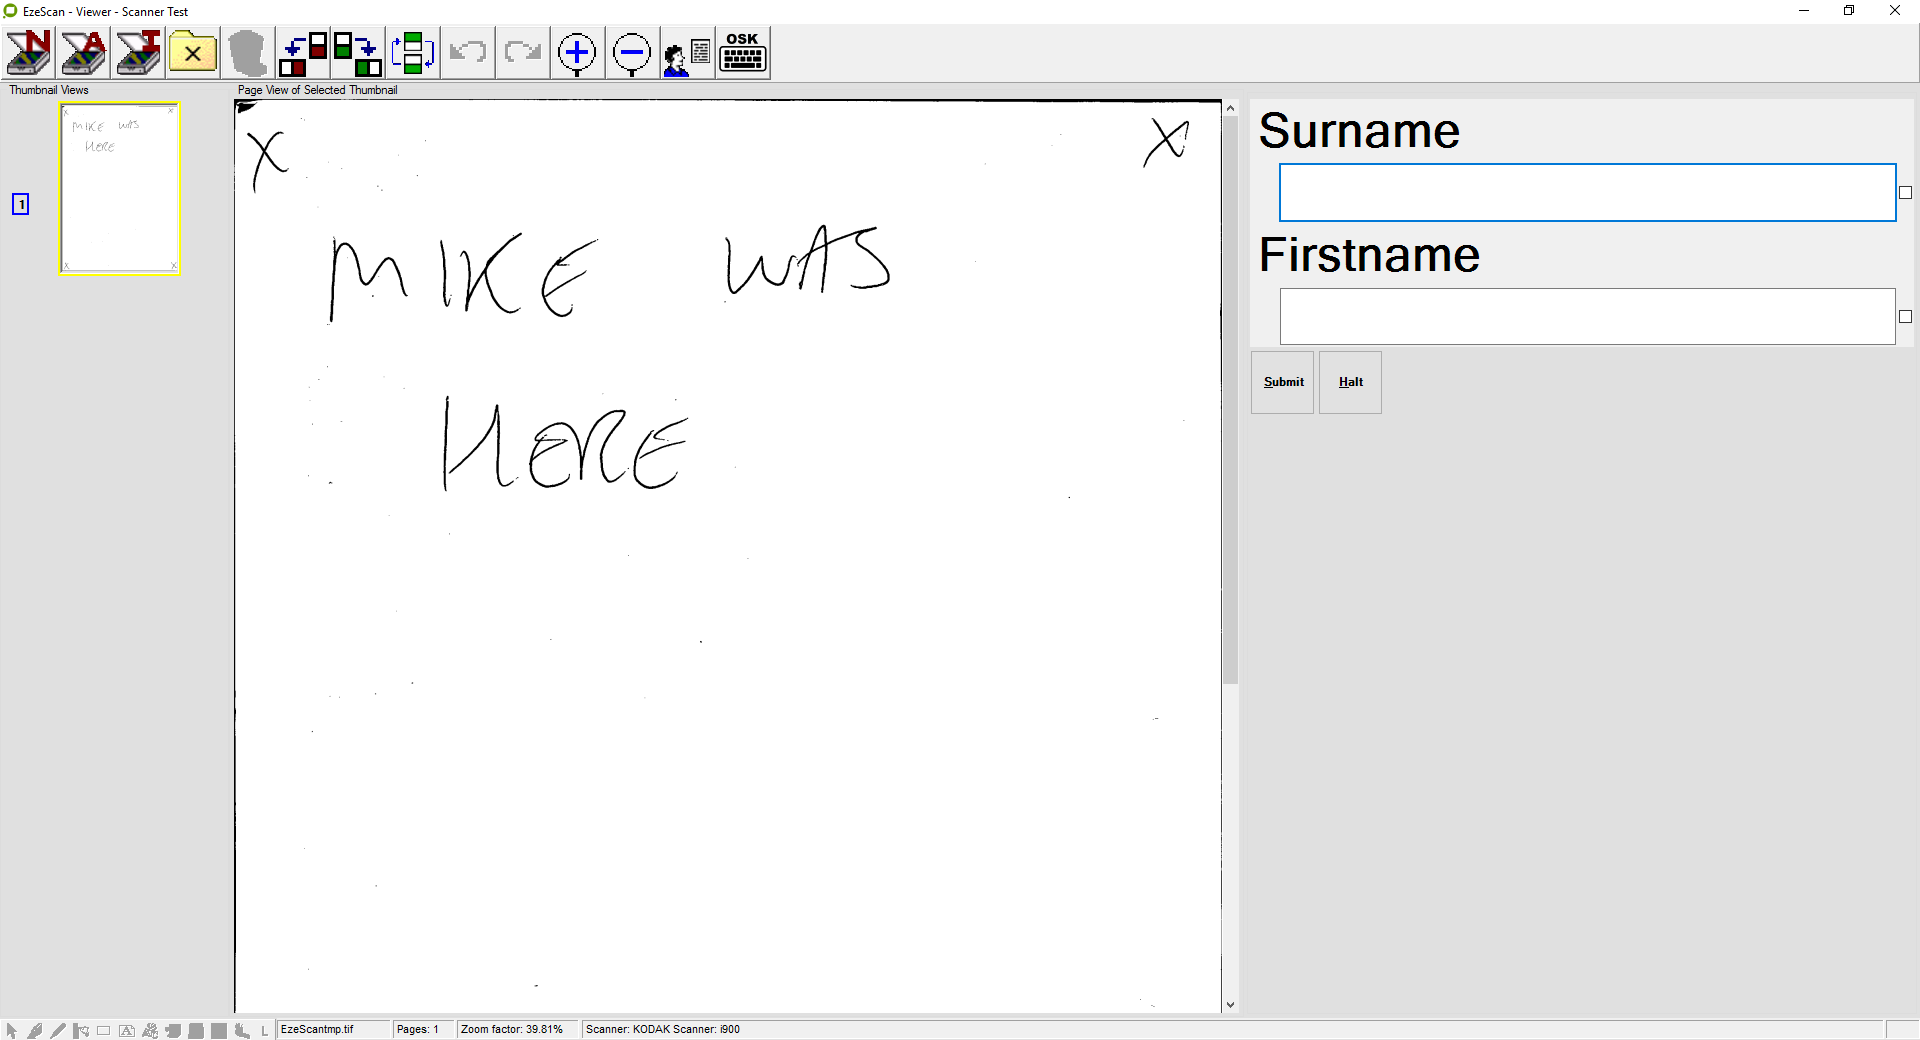
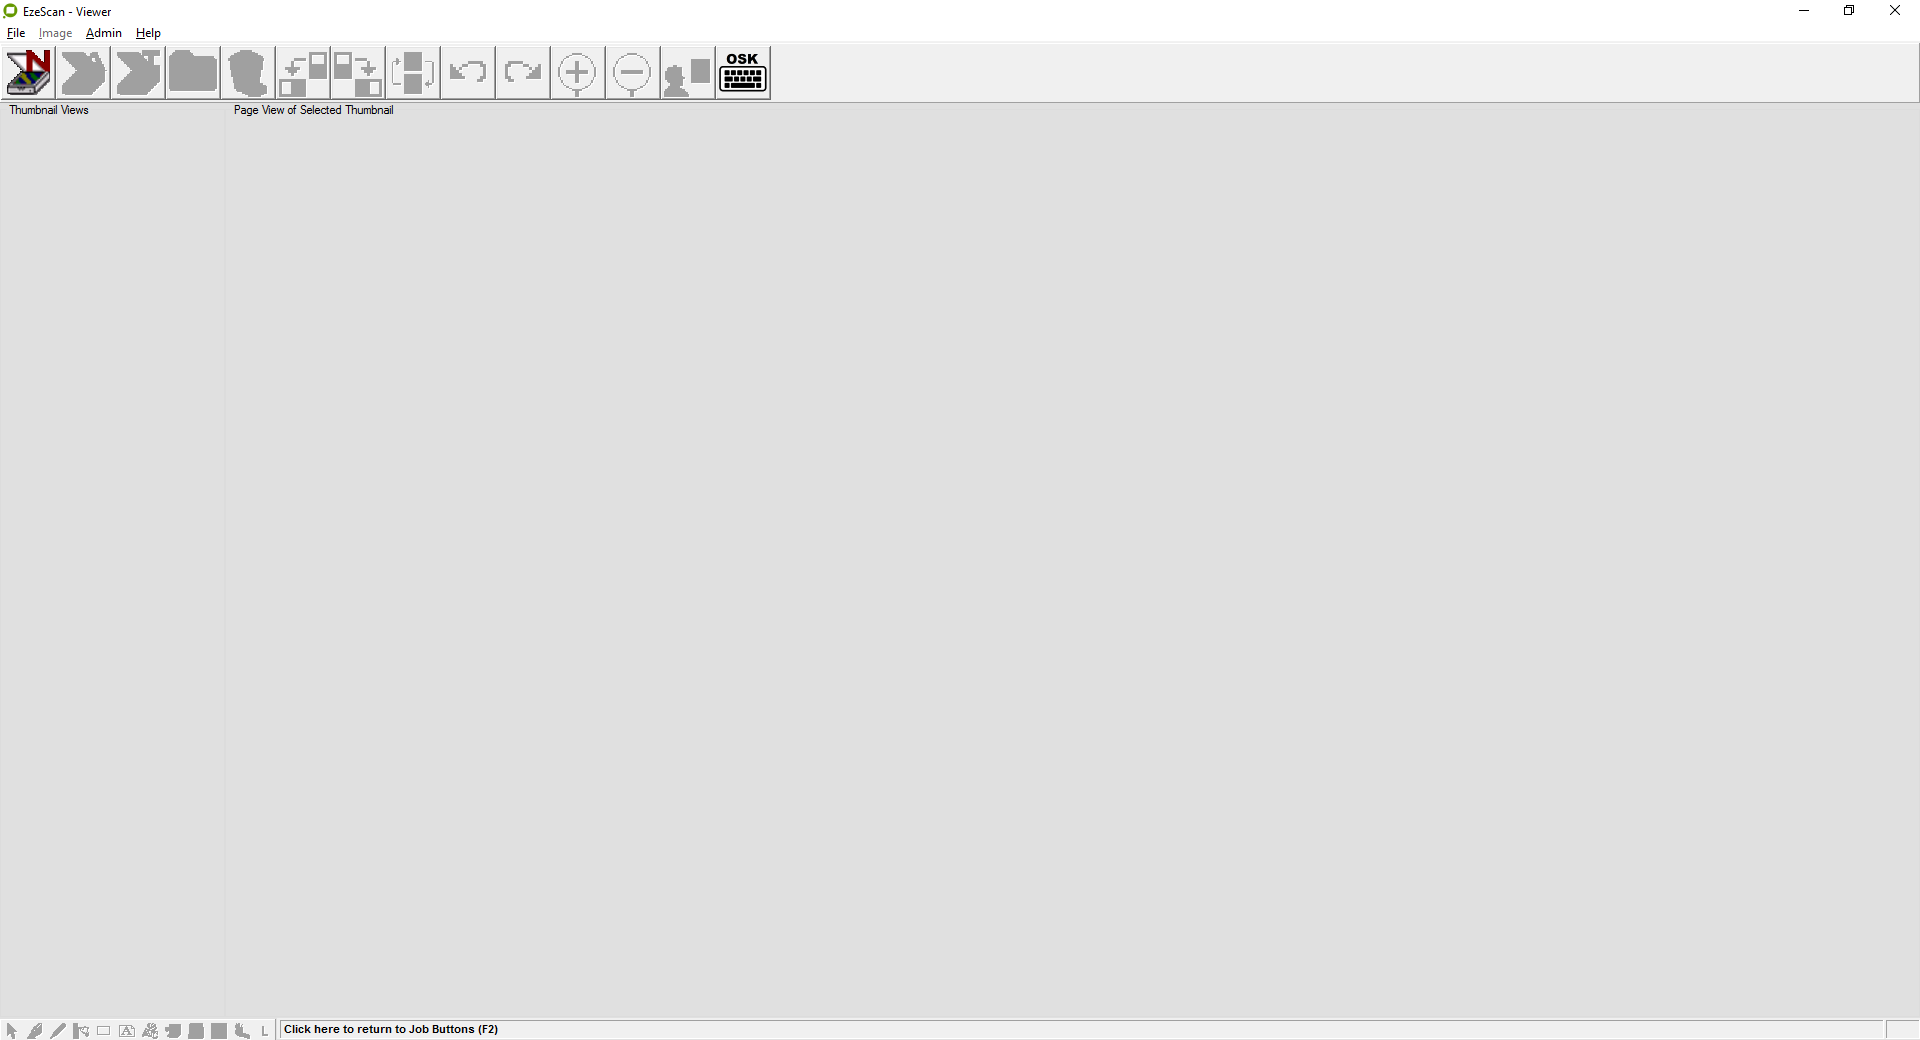
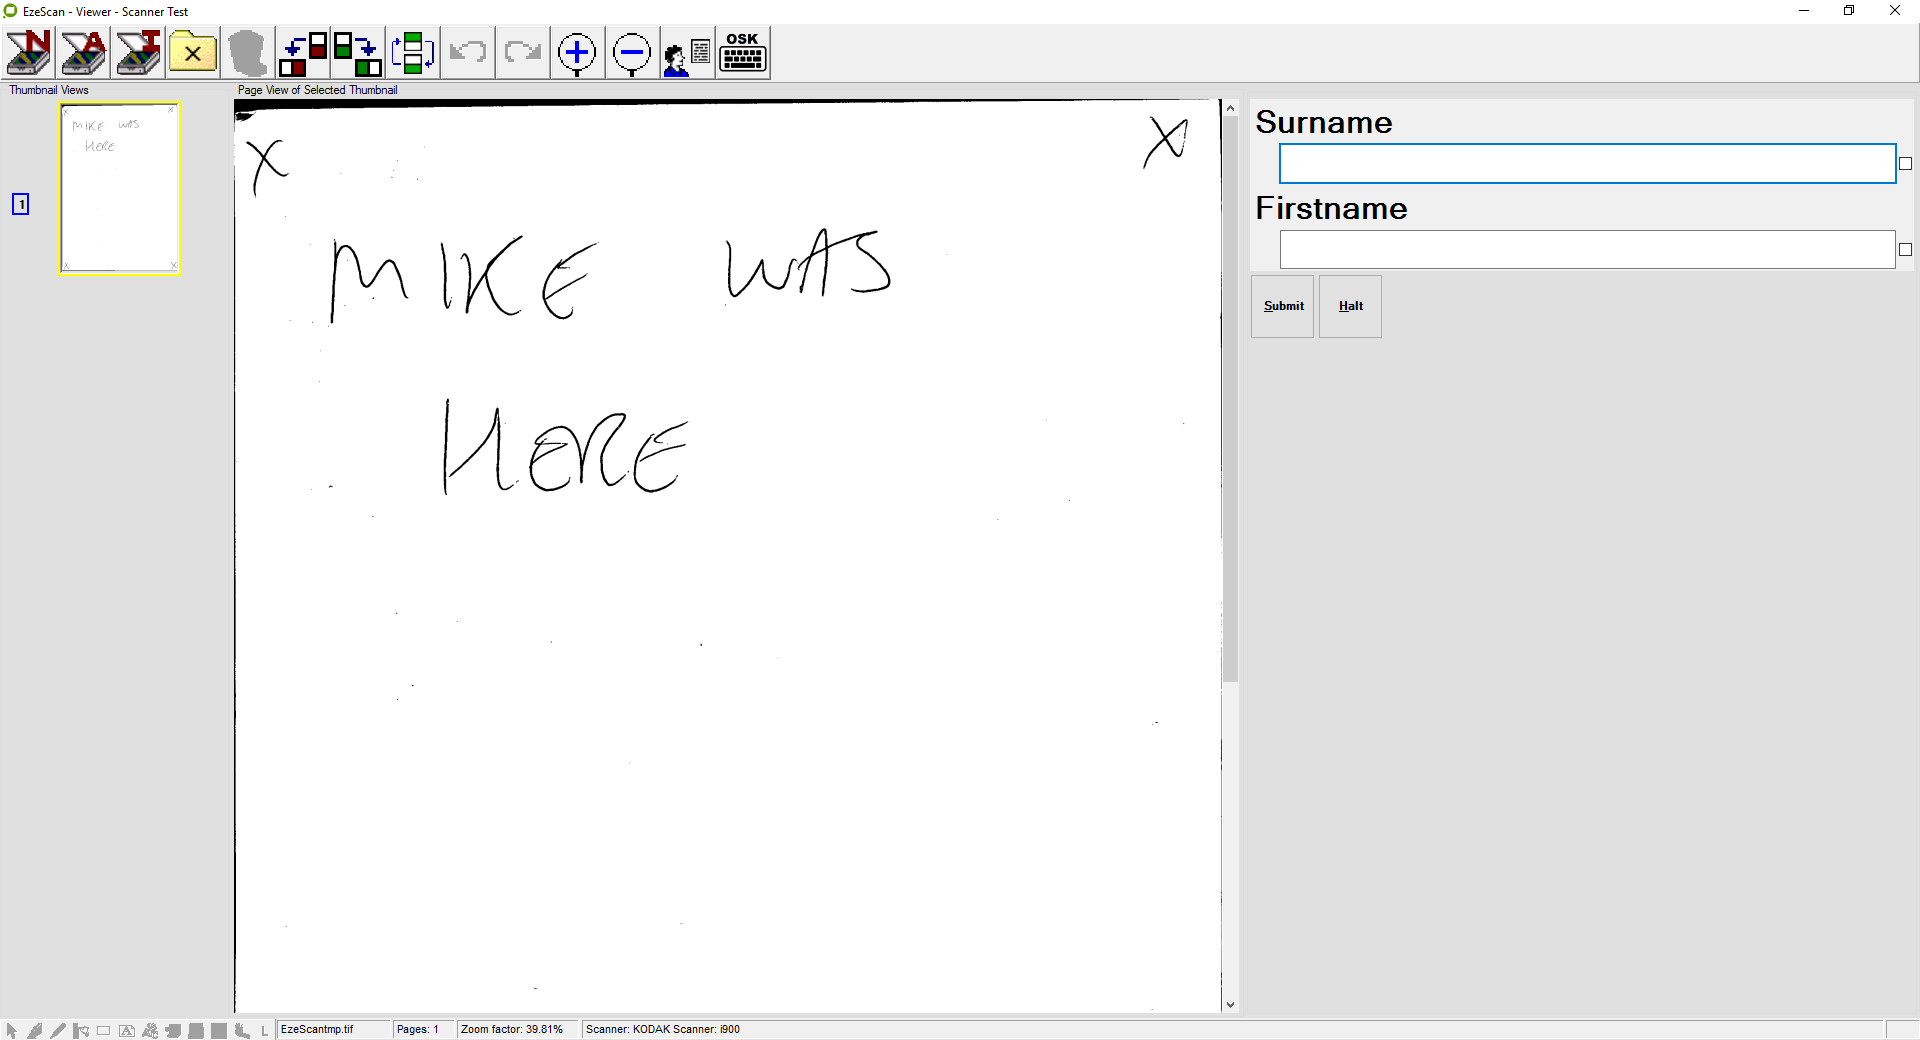
11. Here's what the EzeScan viewer looks like in embedded mode.
12. After scanning the scanned document appears in the viewer
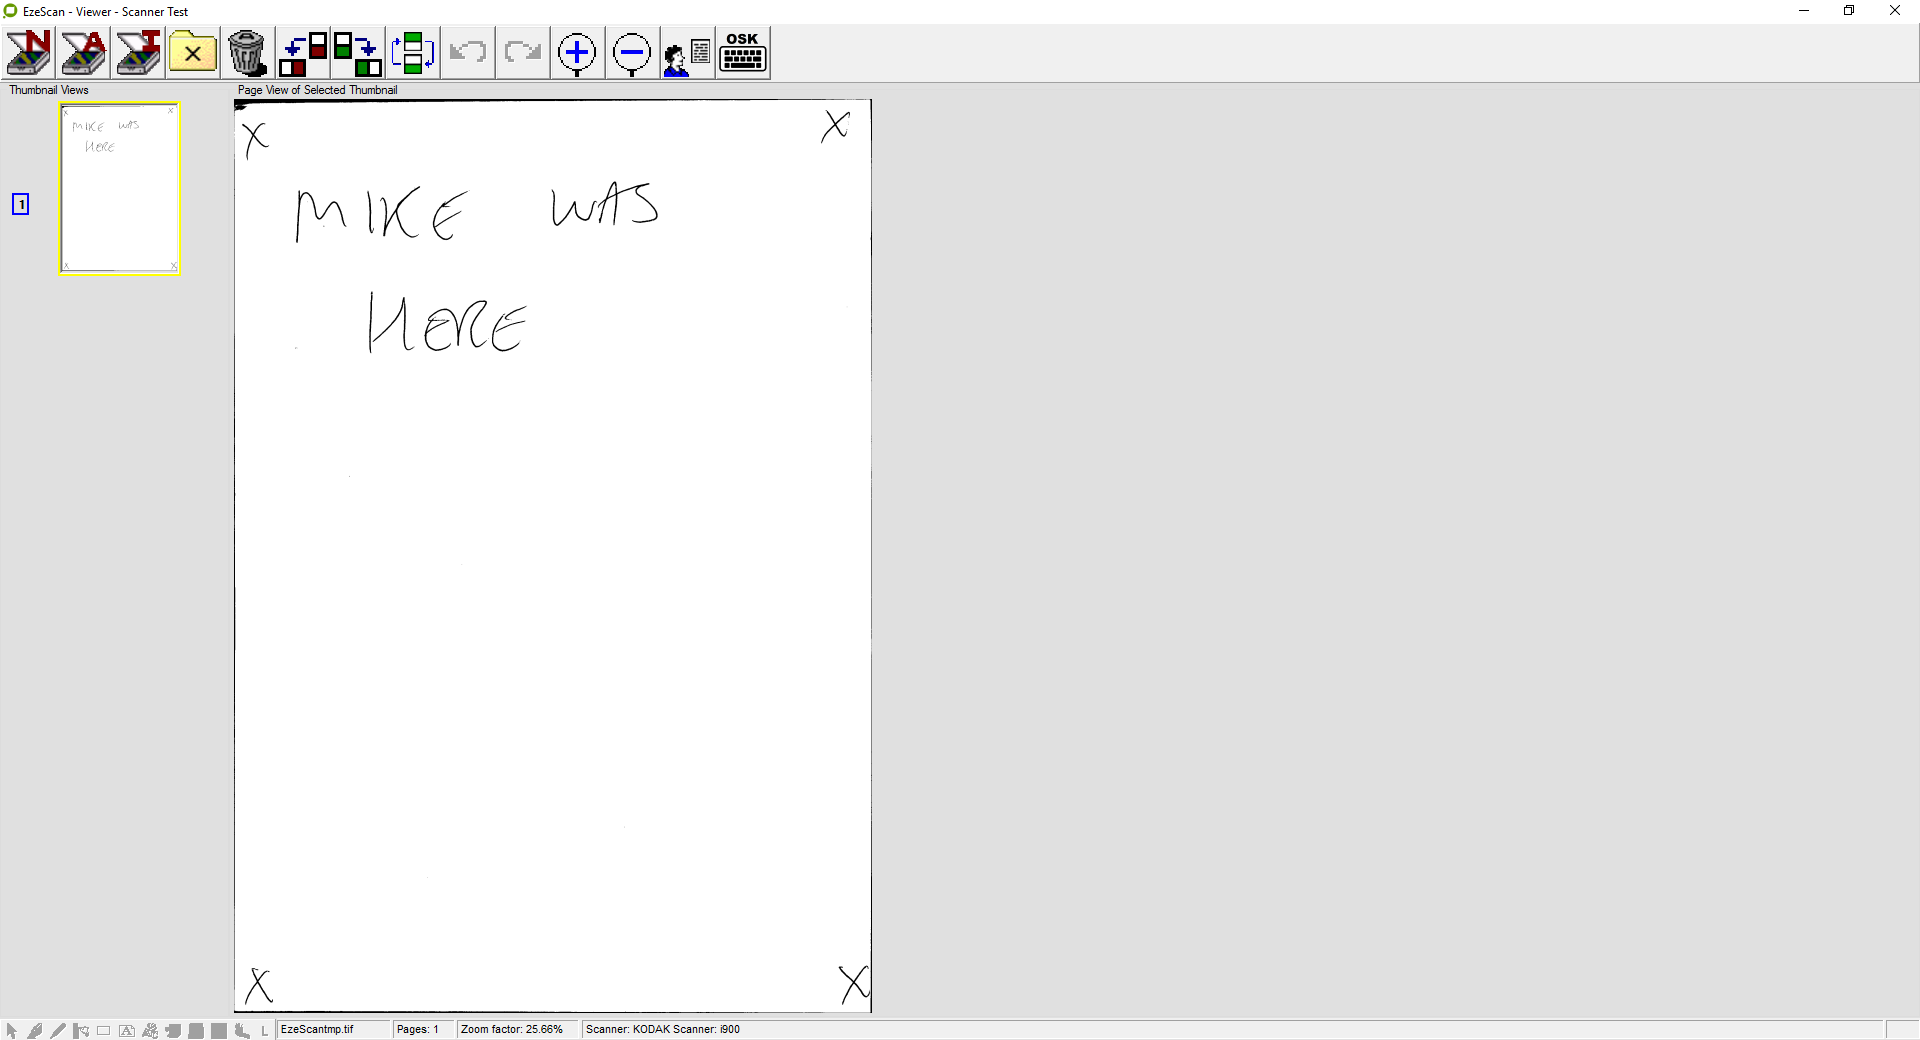
Press the Profile button on the toolbar to profile the document.

If the scanning job is configured to ask indexing questions (i.e.. it's a Job + KFI)
And the indexing panel is configured as List mode (not Wizard mode)

You will see those questions displayed to either the left for right of the scanned image.
You can modify the size of the indexing list panels field labels and text box font sizes in the KFI Admin form as shown below.
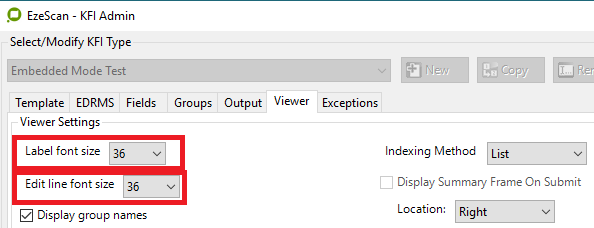
The indexing list panels' field labels, text box font sizes and buttons are shown bigger in the screenshot below.