131. Using EzeScan with Contex Scanners
EzeScan 4.3.62 and higher has been tested to work with the Contex NextImage TWAIN 32-bit driver.
You must purchase the NextImage Software when you buy your Contex scanner.
The NextImage software should be supplied with a NextImage Serial Number.
📘 Instructions
When you first install the NextImage software you can enter this serial number to fully activate the software, or you can skip entering the serial number and the software operates in an evaluation mode for N number of days.
After installing the NextImage software, start the software and attempt to scan using that software. The scanner should work within the NextImage software before you attempt to use it with EzeScan.
Install EzeScan onto the PC that the NextImage Software is installed on.
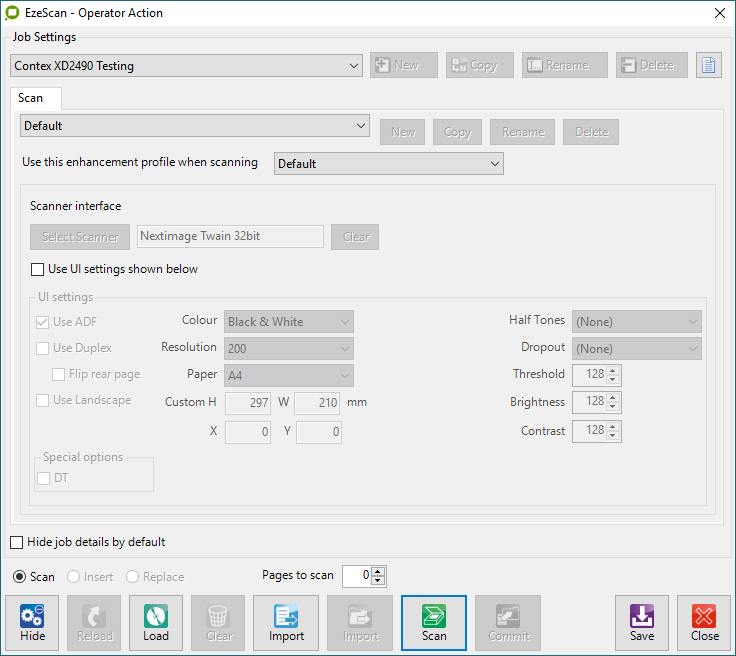
Configure a scanning job (F6 or Admin → Job Admin). On the scan tab press the 'Select Scanner' button. Choose the 'NextImage Twain 32bit' driver.
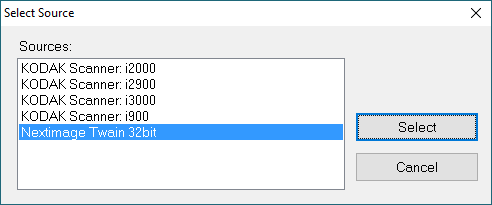
Most Contex scanners use a TWAIN 1.8 data source manager. You will need to set up this EzeScan job to use a 1.X DSM, instead of the default 2.X DSM that other scanners manufacturers use. On the Job Admin form Scan tab, use the advanced button to display the form below:
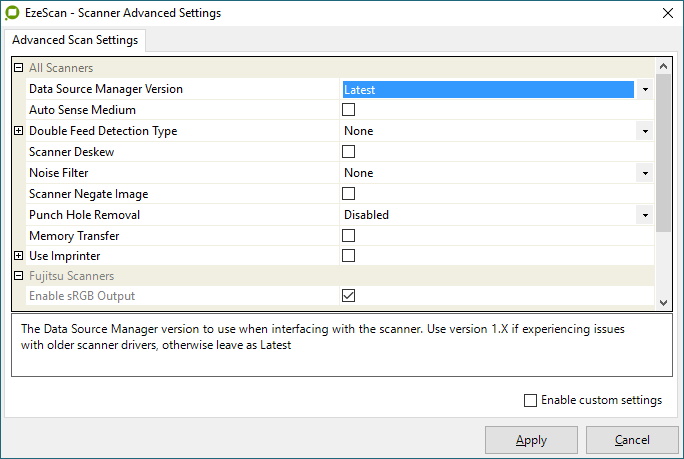
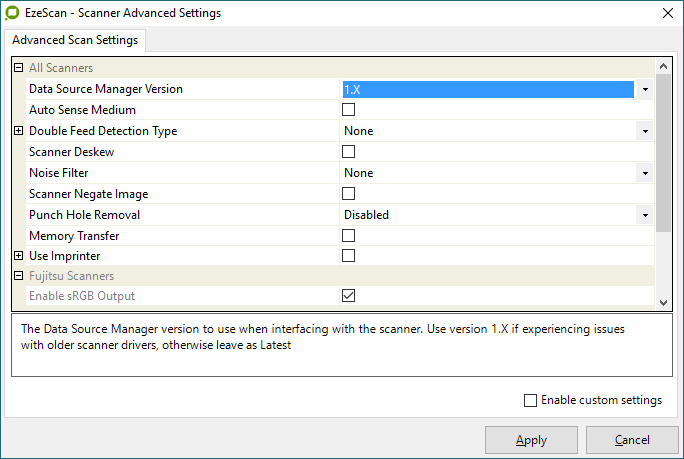
Change the Data Source Manager Version from 'Latest' to '1.X'. Apply and save that change.
Press the 'Select Scanner' button again. Notice the NextImage Twain 32bit driver now shows it as 1.801 version number.
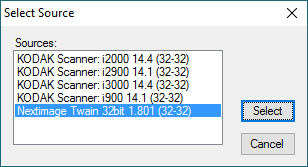
Highlight the NextImage Twain 32bit 1.801 (32-32) row and press 'Select'. You now have the correct TWAIN driver configured to allow EzeScan to talk to the Contex scanner.
On the job admin form press the 'Scan' button.
The NextImage Software TWAIN UI should launch and look something like this.
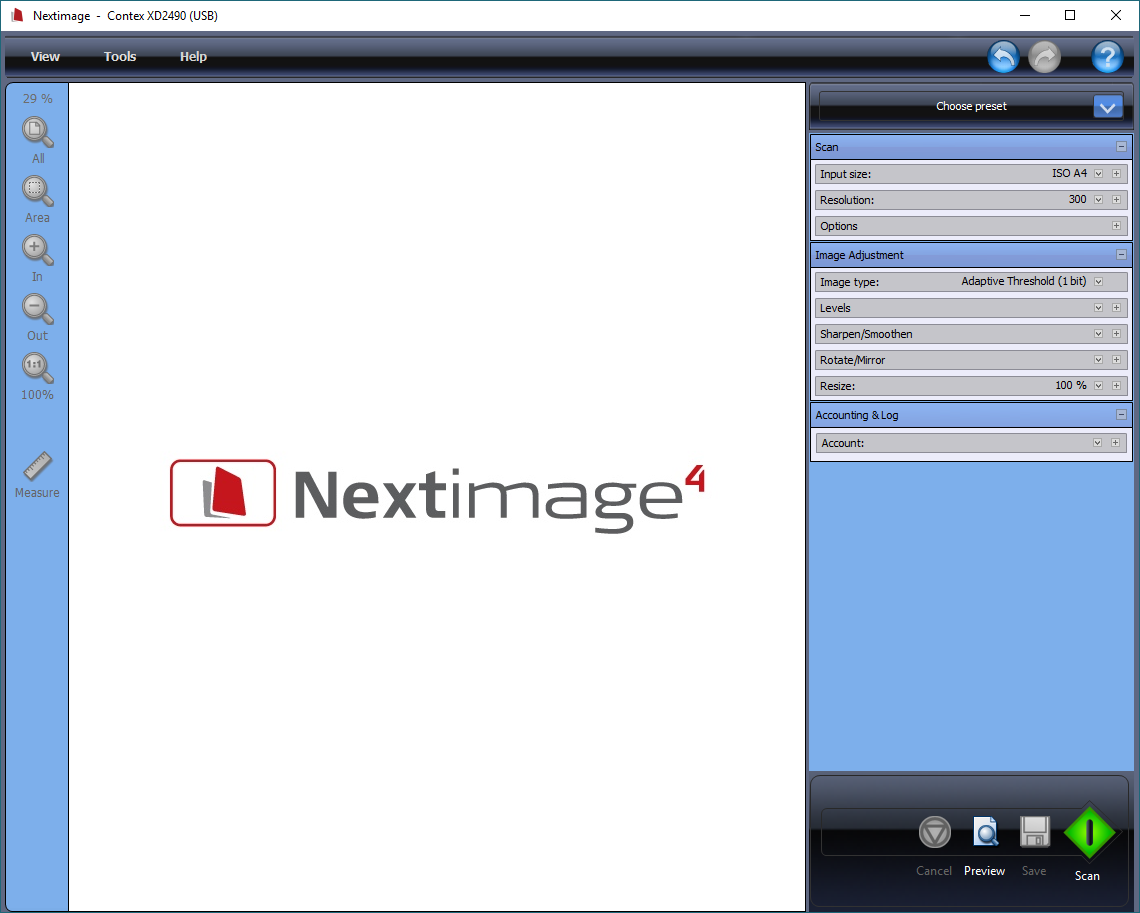
Configure your desired scan settings, and then press the Green Scan button. The page is scanned. The NextImage Software TWAIN UI closes and the scanned image is returned to the EzeScan Viewer.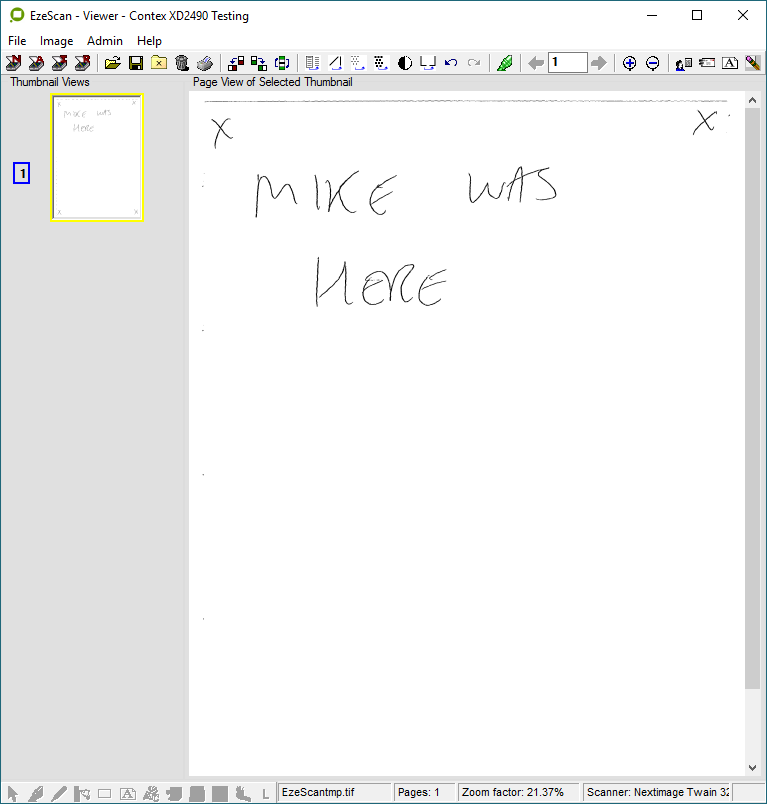
If you want EzeScan TWAIN UI settings to be passed across the NextImage TWAIN UI, on the Job admin form tick on the 'Use UI Settings shown below' tick box.

Doing so forces these settings below across to the NextImage TWAIN UI.
It also automatically presses the NextImage TWAIN UI green 'Scan' button as soon as the NextImage TWAIN UI is shown. So you will need to make sure your paper is loaded, before pressing Scan on the EzeScan Job Admin form.If you are scanning lots of documents on your Contex scanner, you might also like to untick the 'Close after scan end' tick box option on the Job Admin Form.

This will force EzeScan to keep NextImage TWAIN UI showing after the first and subsequent scans. Saves time re-launching the NextImage TWAIN UI from scratch for each new document.
If you use this option you might also like to consider using the 'Auto-Append with delay (sec)' option.
With 'Close after scan ends' unticked, 'Auto-append with delay (sec)' ticked, and delay = 0 seconds the NextImage TWAIN UI re-launches immediately after the previous scan has passed the image to EzeScan. To cancel further scanning press the X in the top right-hand corner of the NextImage TWAIN UI window.
With 'Close after scan ends' unticked, 'Auto-append with delay (sec)' ticked, and delay = N seconds (for example 30 seconds) the NextImage TWAIN UI re-launches 30 seconds after the previous scan has passed the image to EzeScan.The user is presented with a Cancel dialogue during the 30-second wait period, which allows canceling of the continuous scan of documents.

With 'Close after scan ends' unticked, 'Auto-append with delay (sec)' ticked, and delay = -1 seconds, a Scan/Cancel dialogue is displayed. The operator loads the next page into the Contex scanner and presses the 'Scan' button, the NextImage TWAIN UI launches and the document is scanned. Otherwise, if they have finished scanning. they press the 'Cancel' button.

