
Accessing an Indexing Page
-
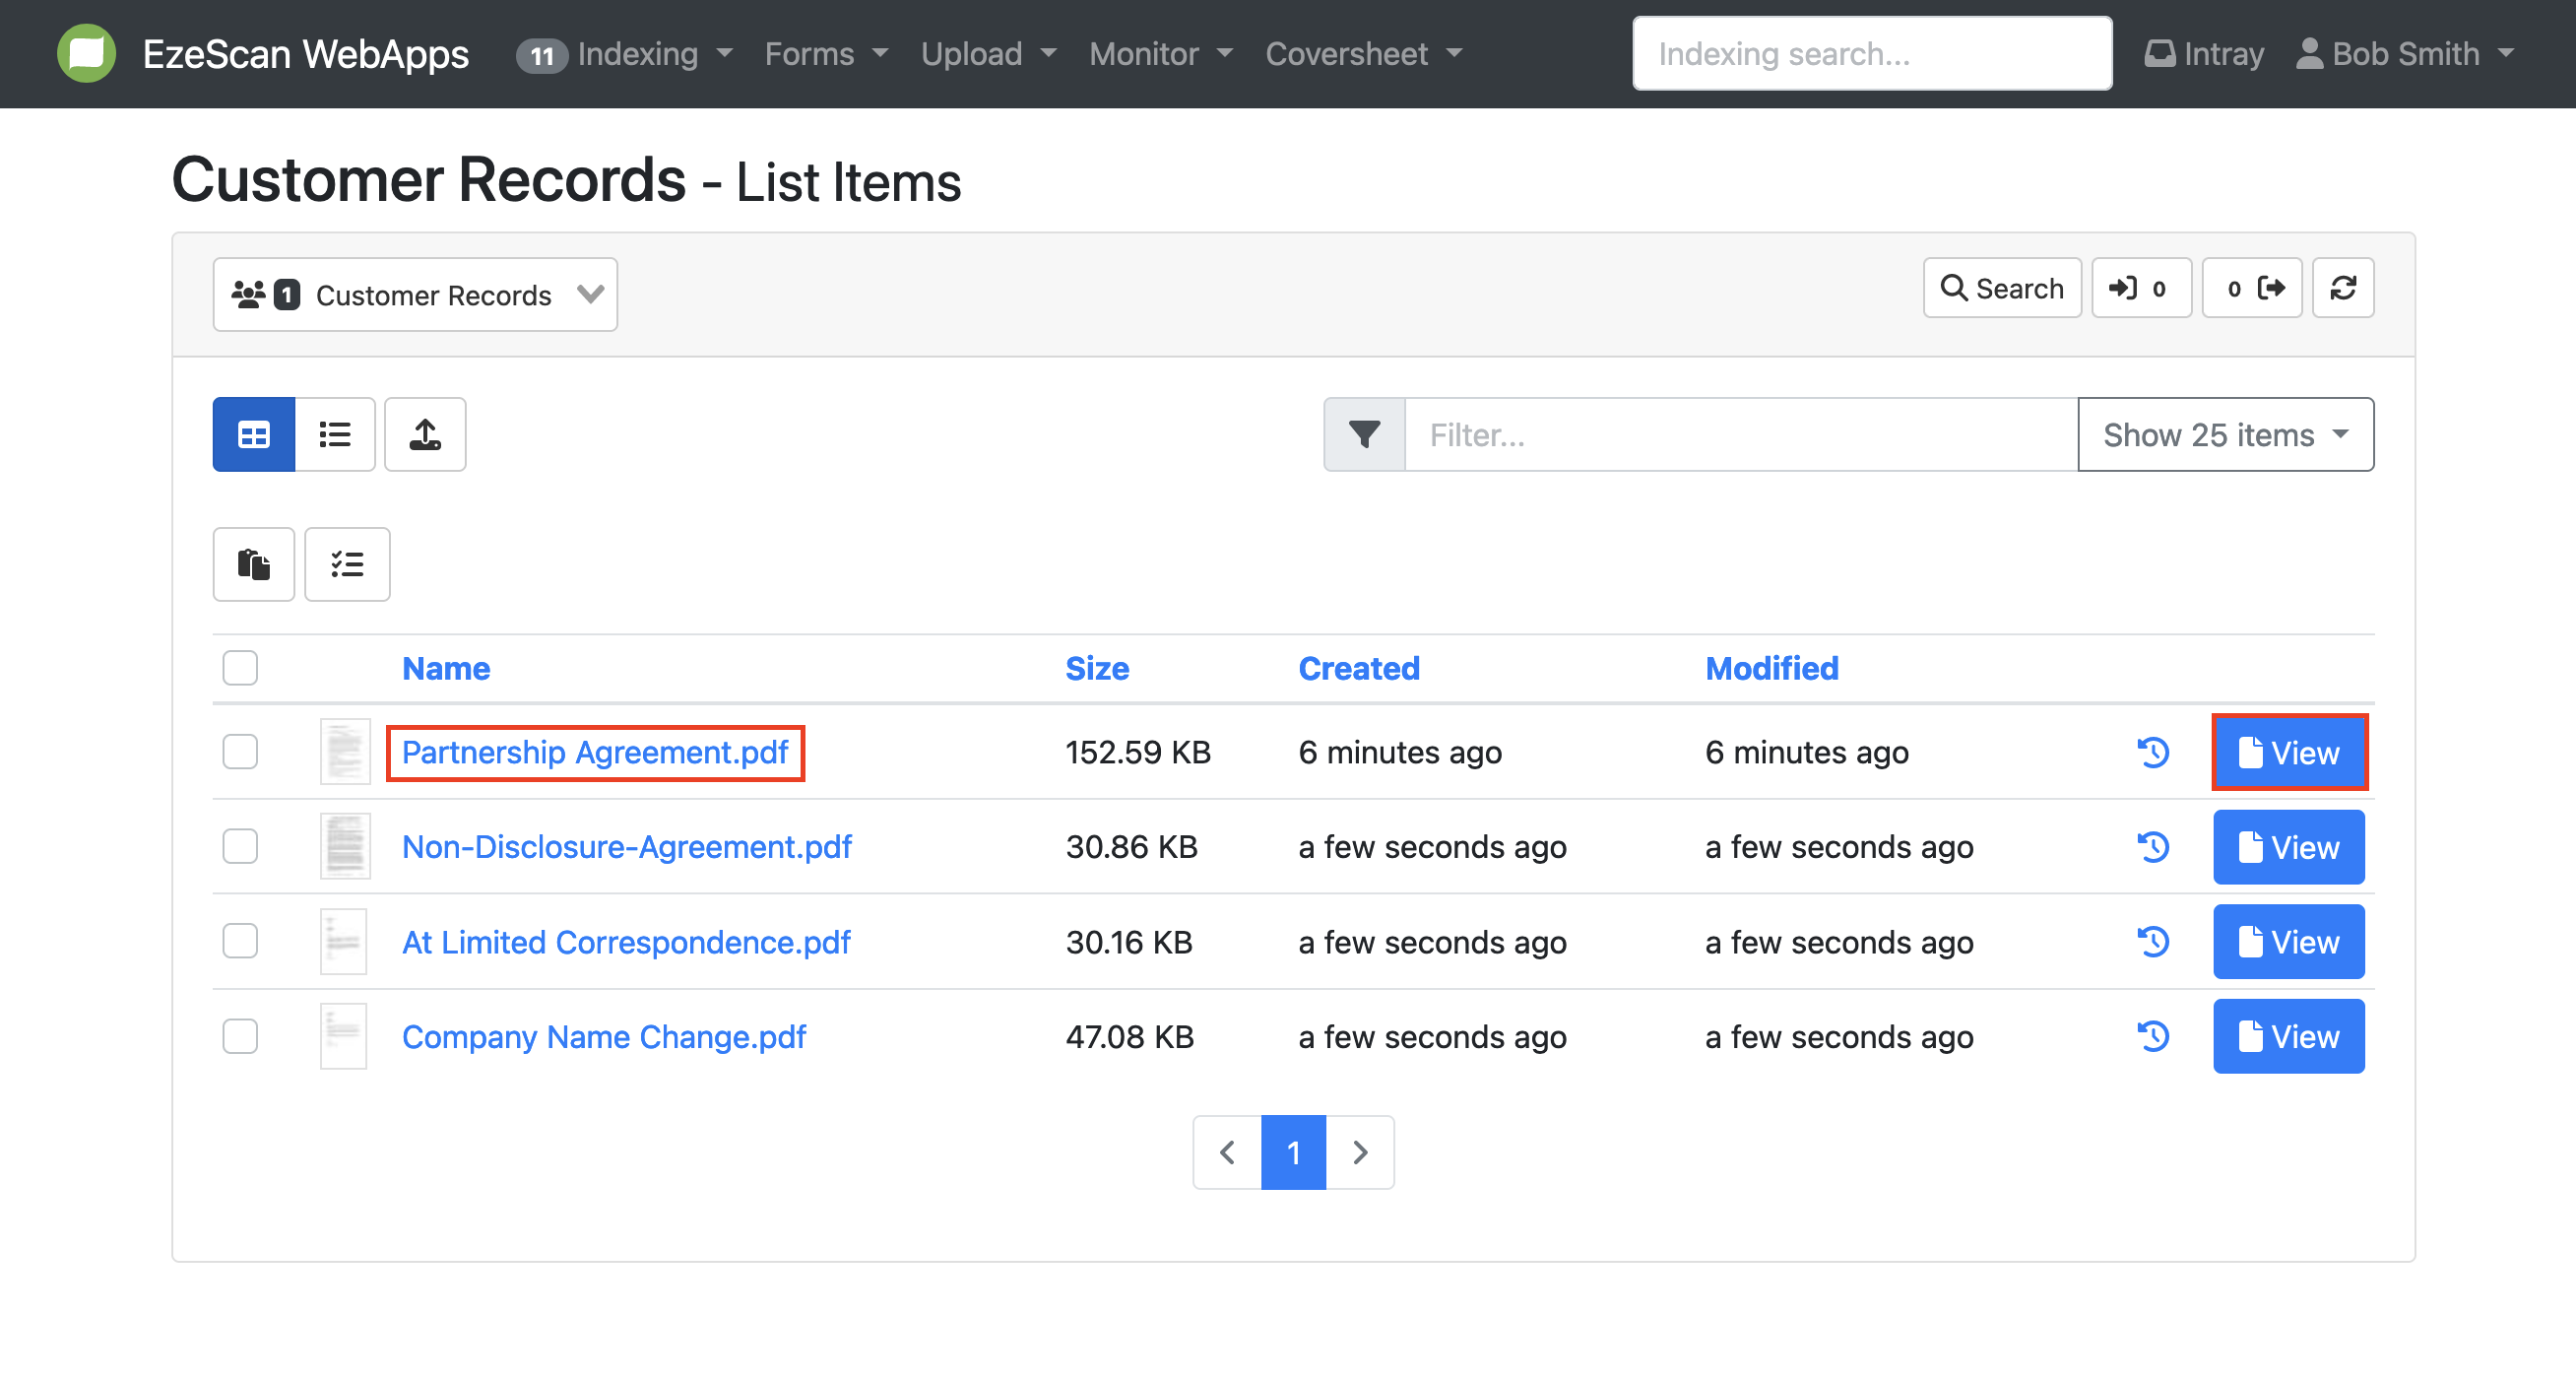
To process a document in the queue, you can either Select the "View" button or click on the document's name.
-
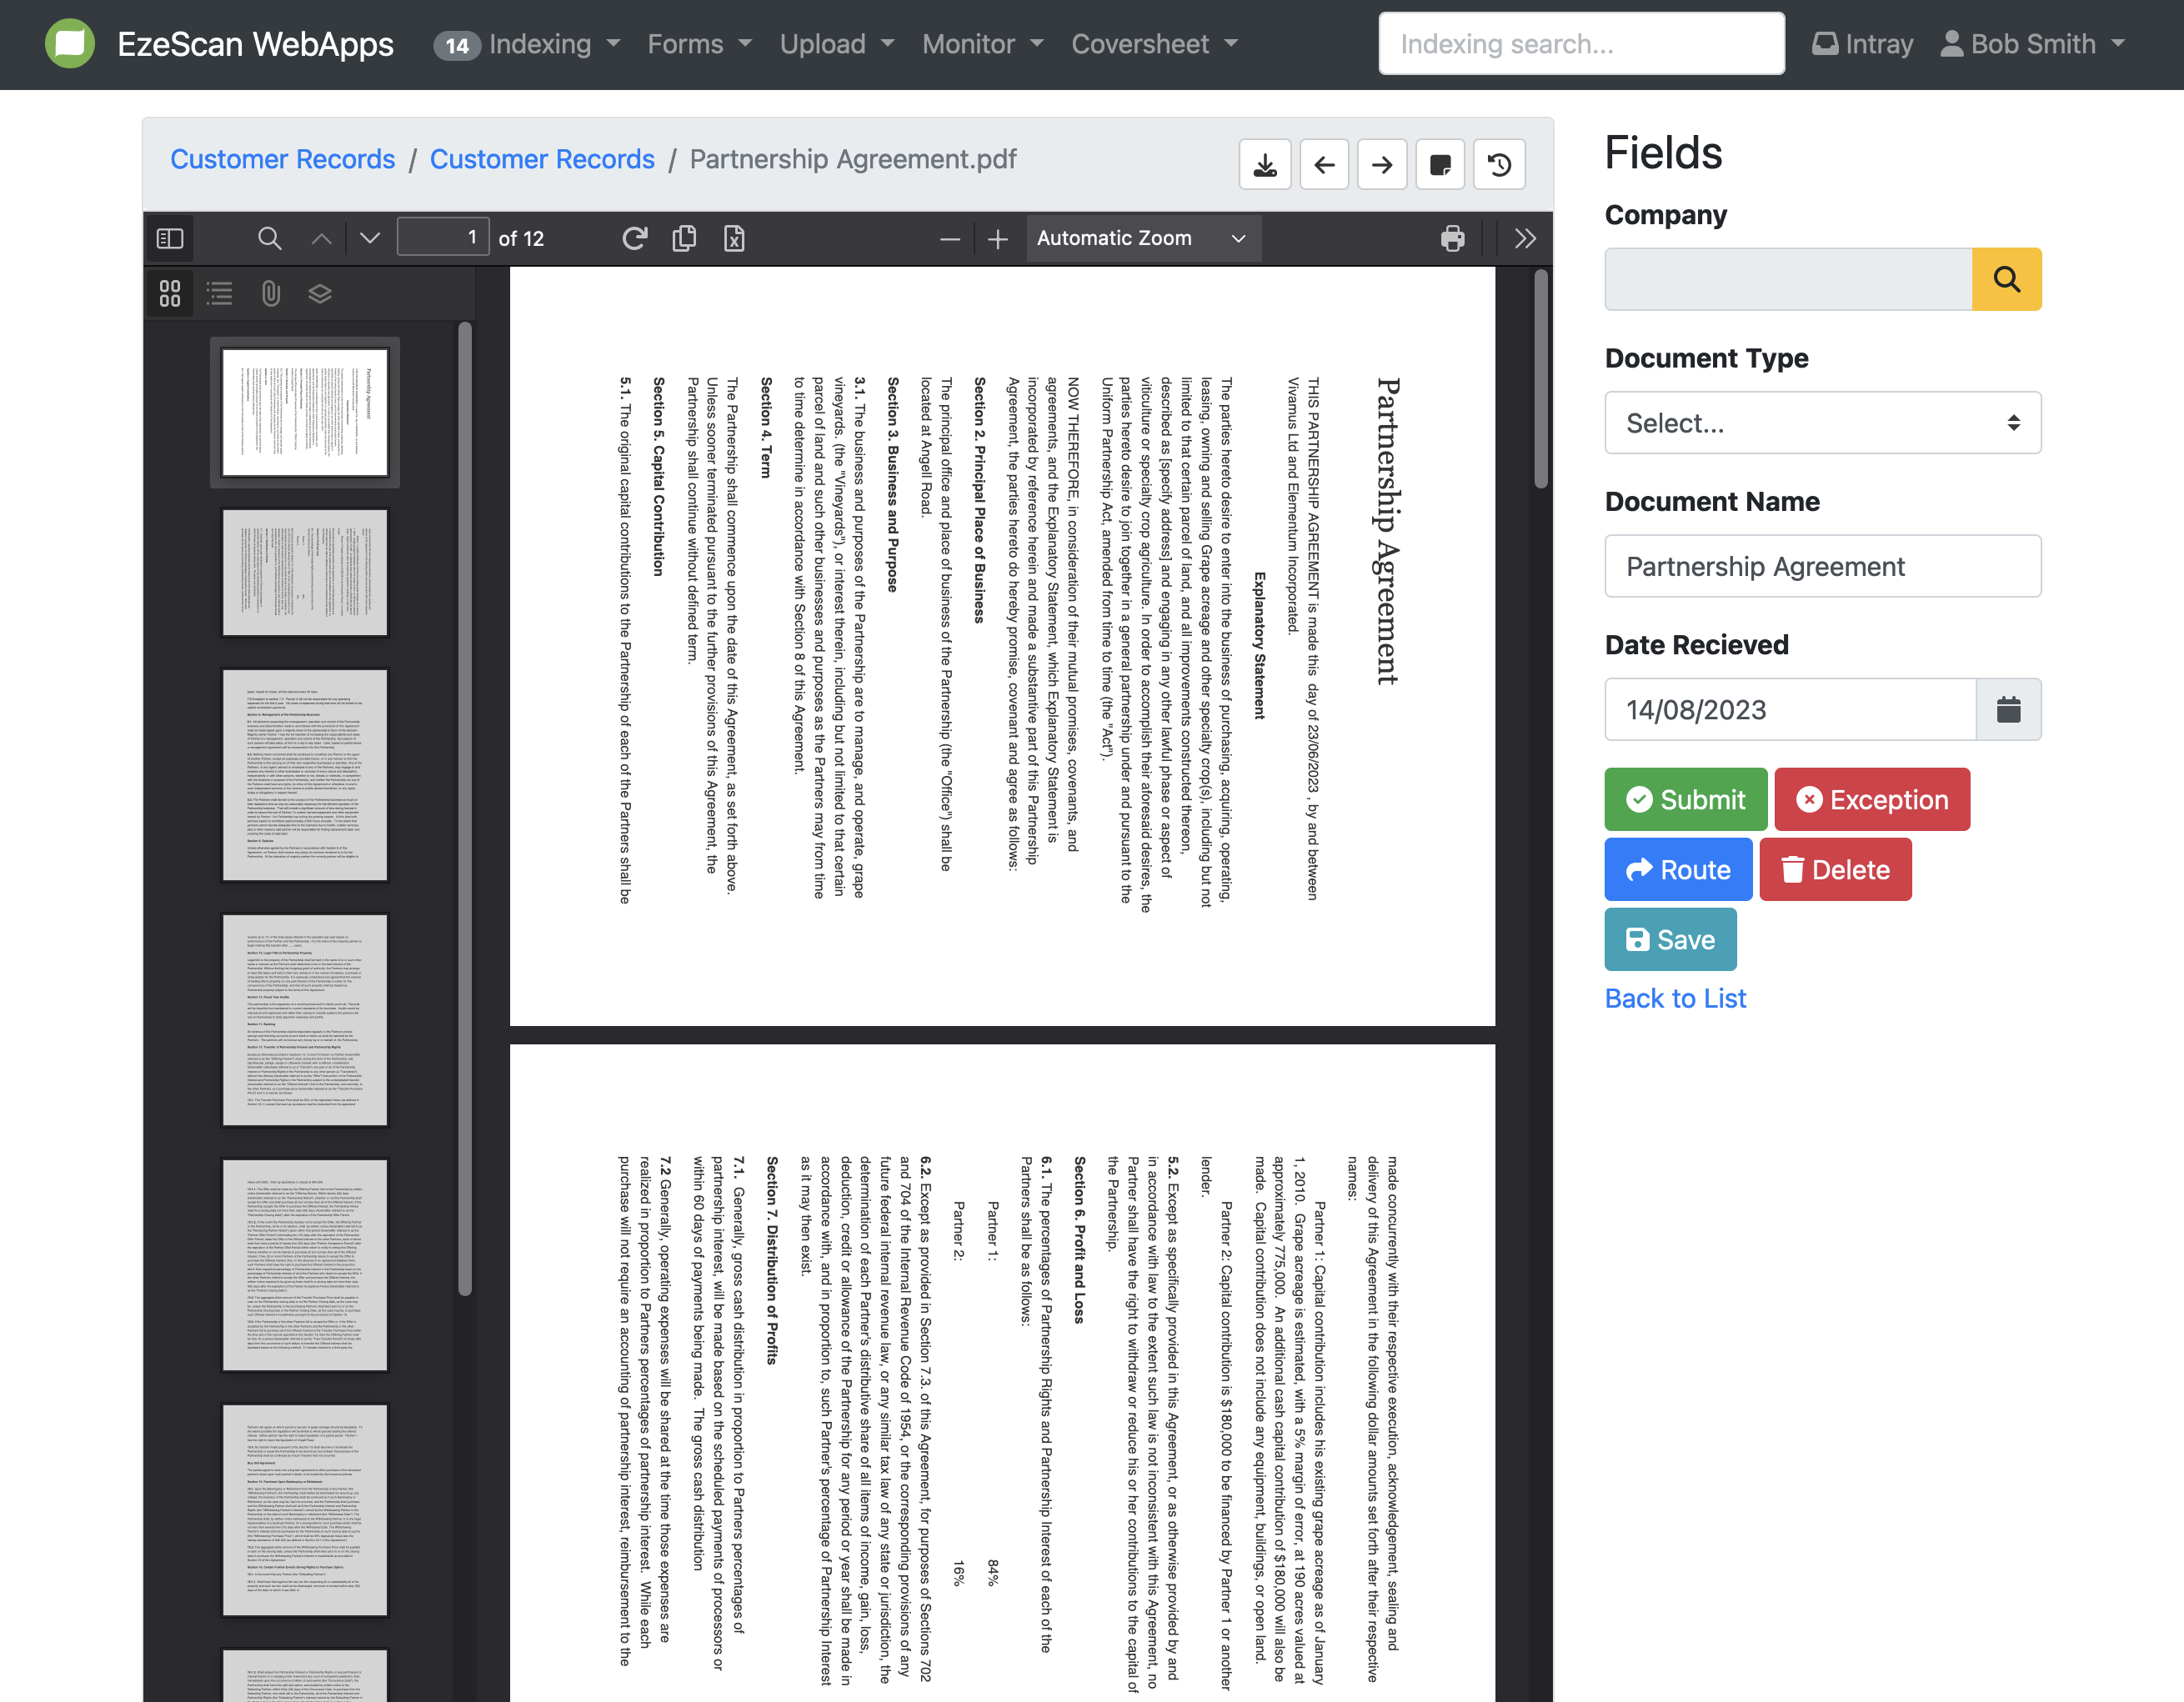
This will take you to an indexing page for that document. The document will be displayed on the left side in a PDF viewer. On the right side, you will see fields and any metadata that has already been populated depending on your organisations configured workflows.

How to Rotate a Page
-
Select the page you would like to rotate and click the "Rotate Page" button.

-
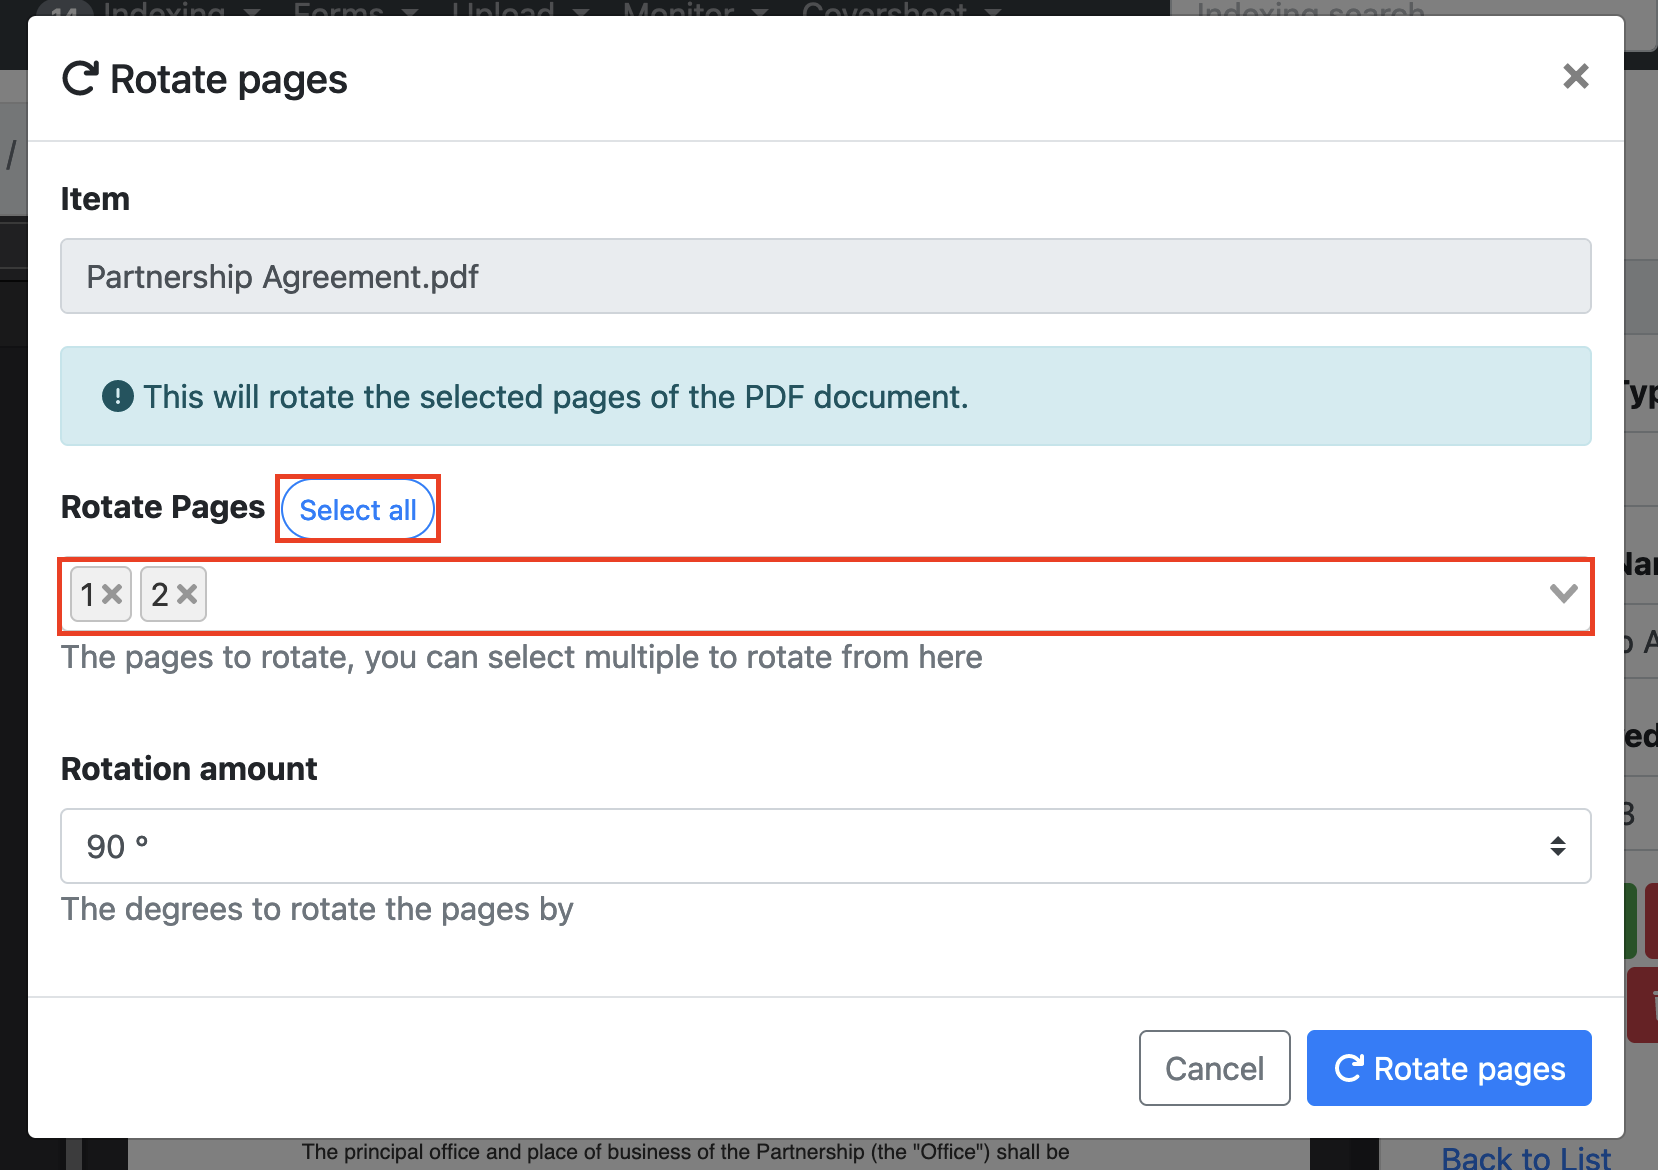
Within the pop-up window, the page number you have chosen will be displayed in the Rotate Pages field. To select additional pages, you can use the following methods:
-
Click on the text field and choose another page from the available options.
-
Type in the number of the additional page directly into the field.
-
Click the "Select All" button to include all pages in the rotation.
-
-
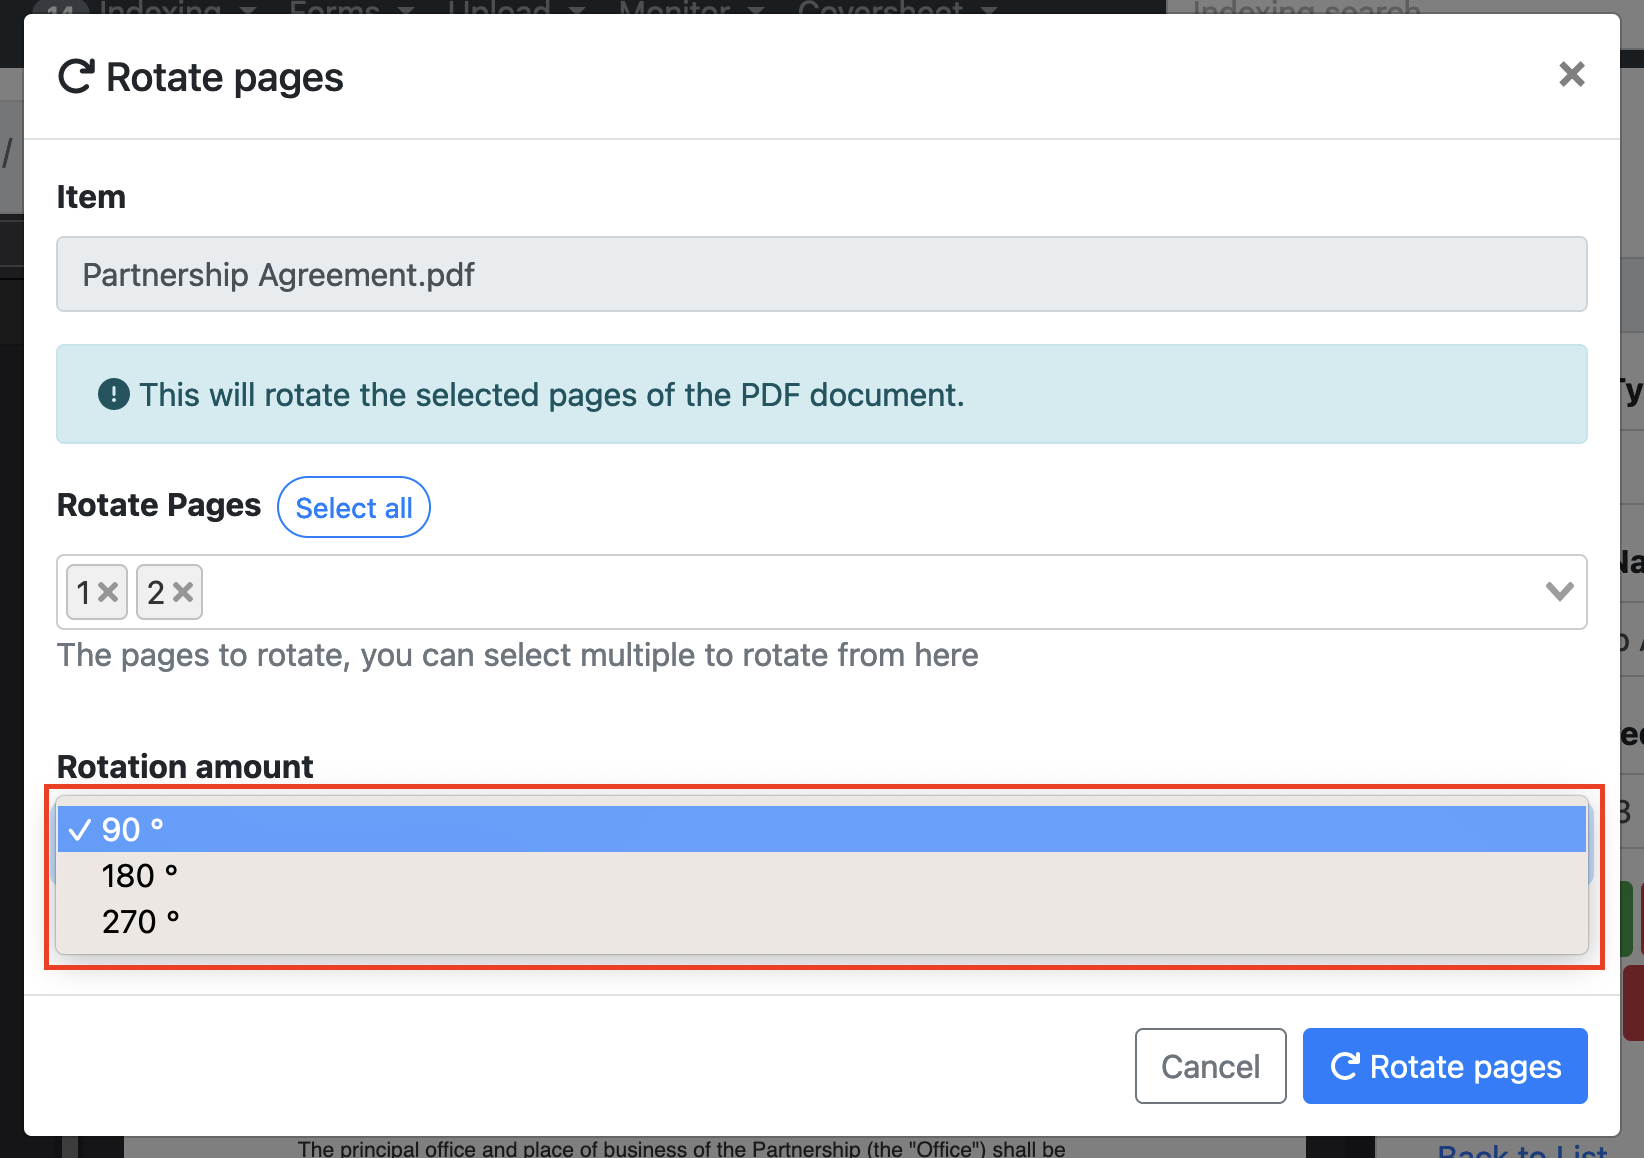
Choose the desired rotation amount by opening the drop-down menu and selecting one of the available options: 90, 180, or 270 degrees.
-
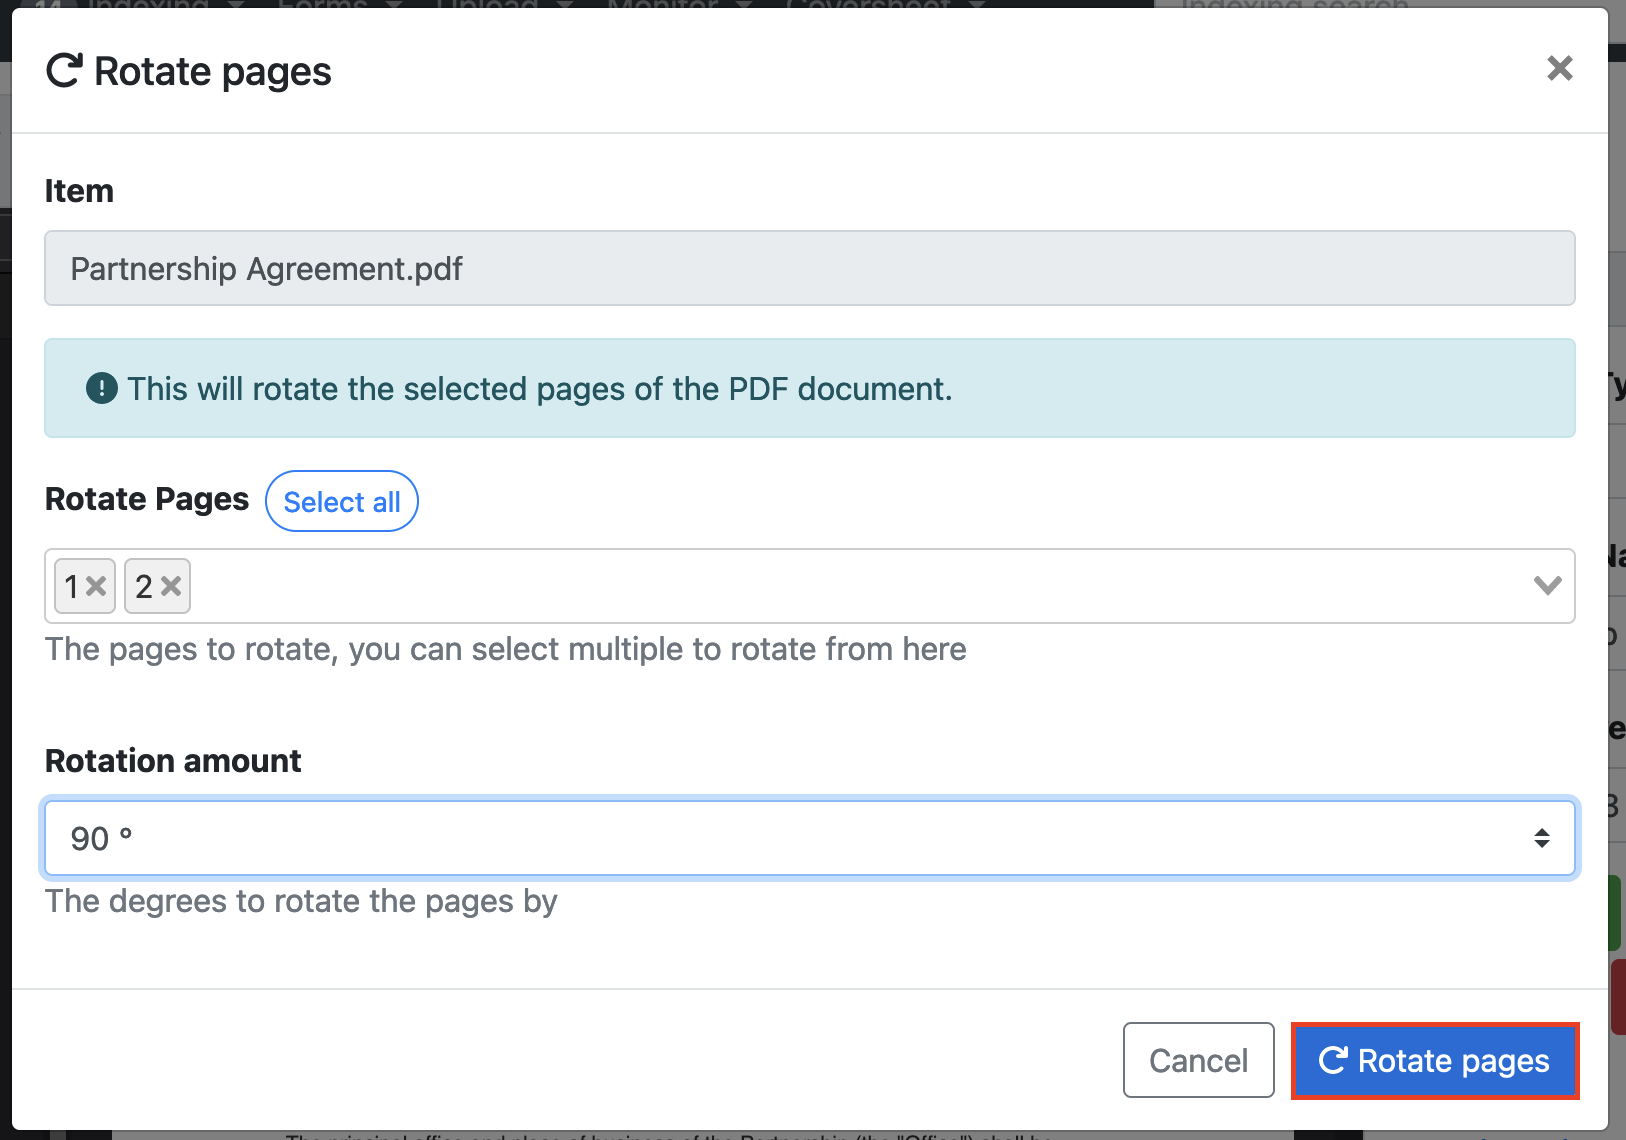
Click the "Rotate Pages" button to apply the rotation.
-
You will be returned back to the indexing page with the corresponding pages rotated. Please note that if you apply the wrong rotation to the page you will need to repeat the following steps and apply the correct rotation. (In the scenario below, selecting 270 degrees will return the page to its correct rotation).
How to split pages in a document
-
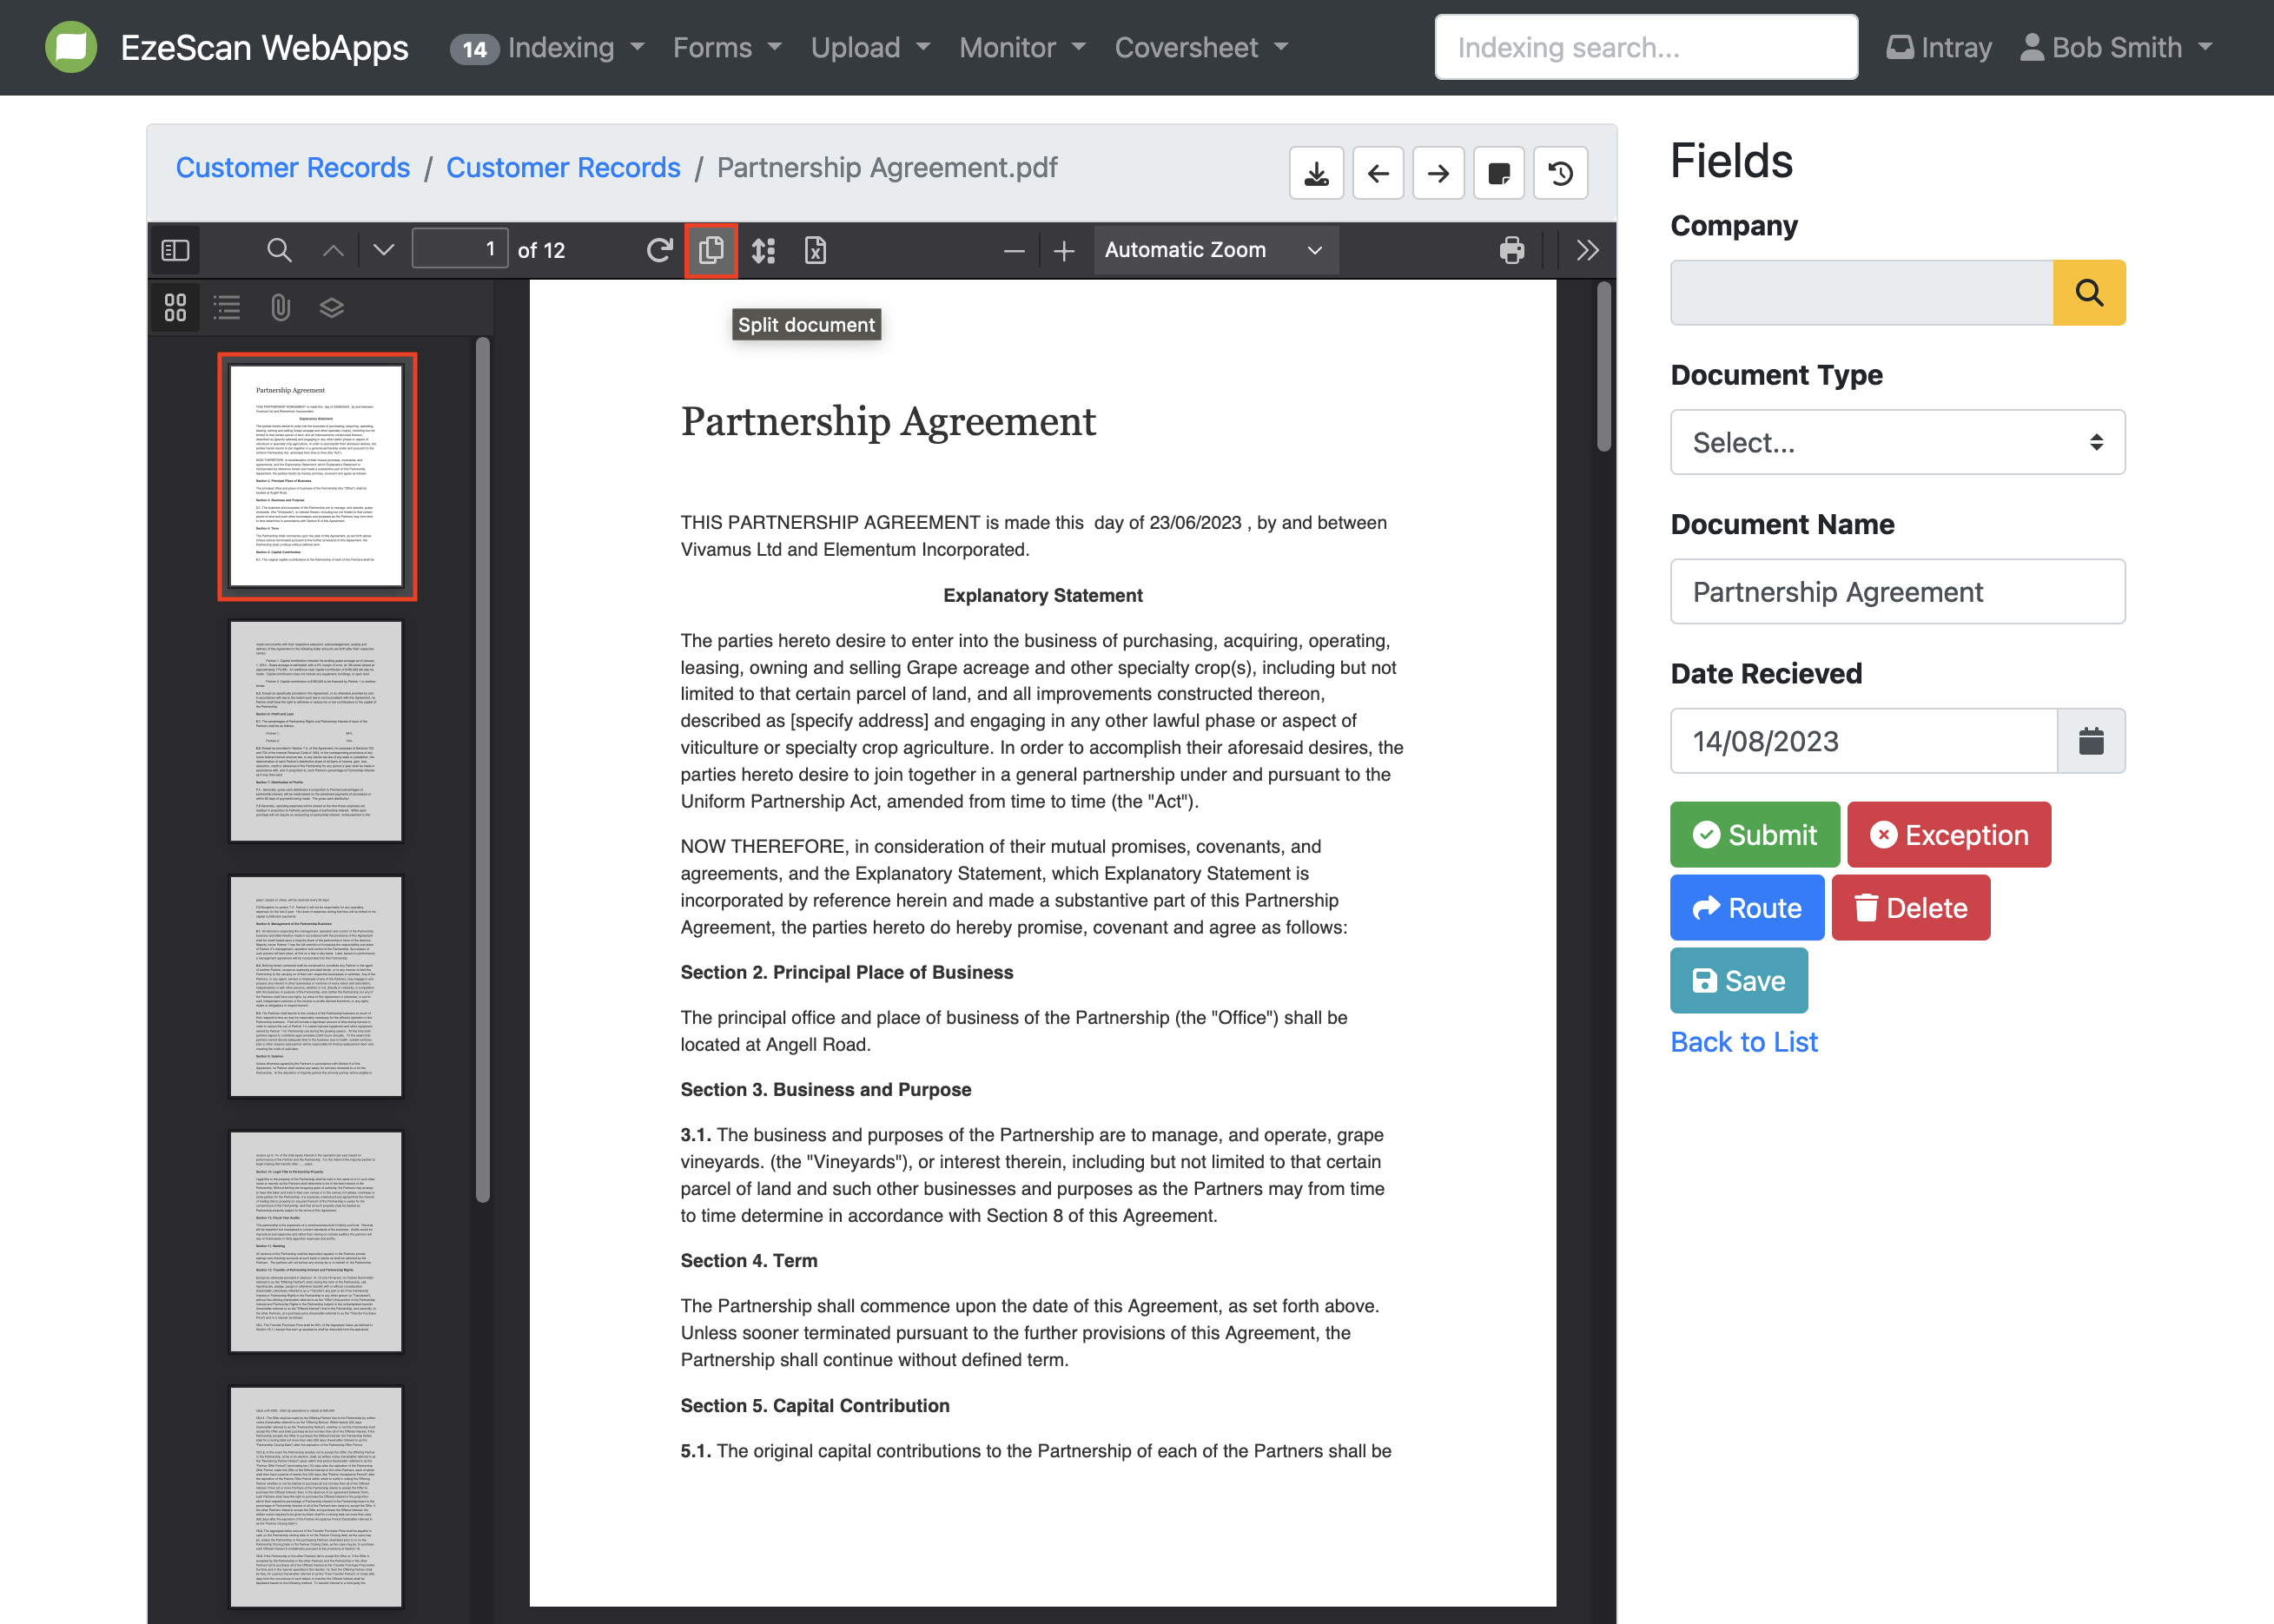
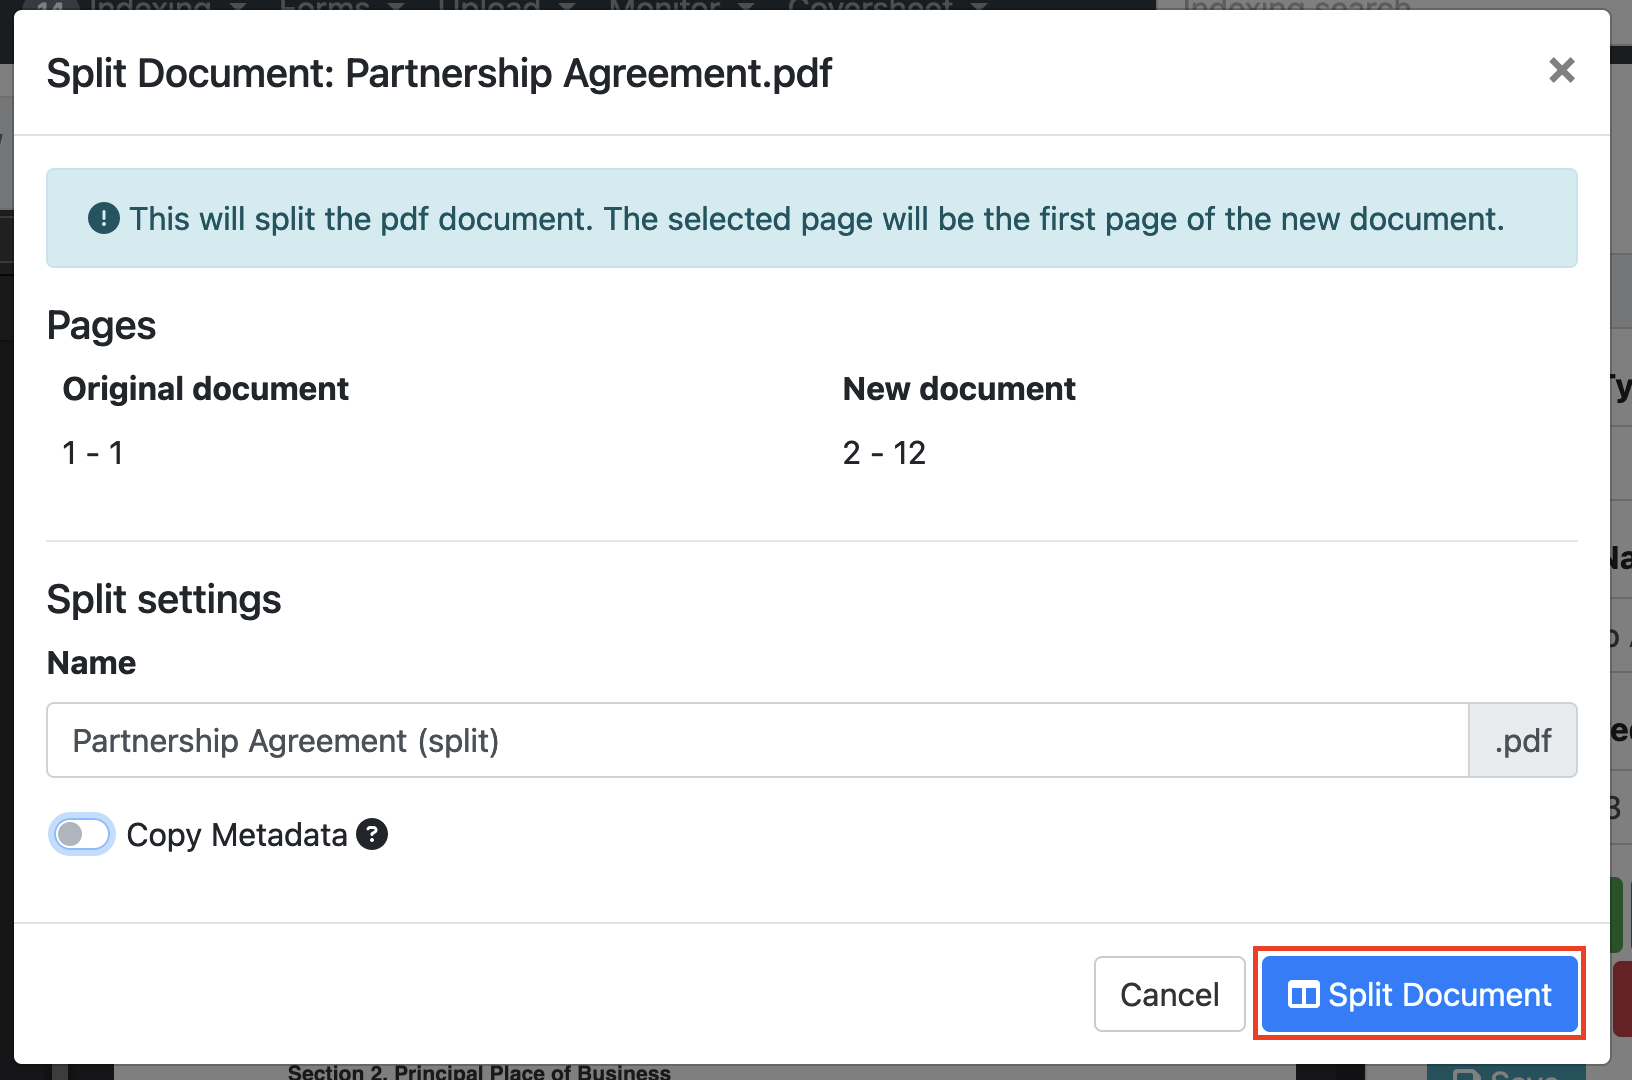
Use the "Split Pages" button to separate pages into individual documents. Please note that the page you have currently selected will become the first page of the new document.
-
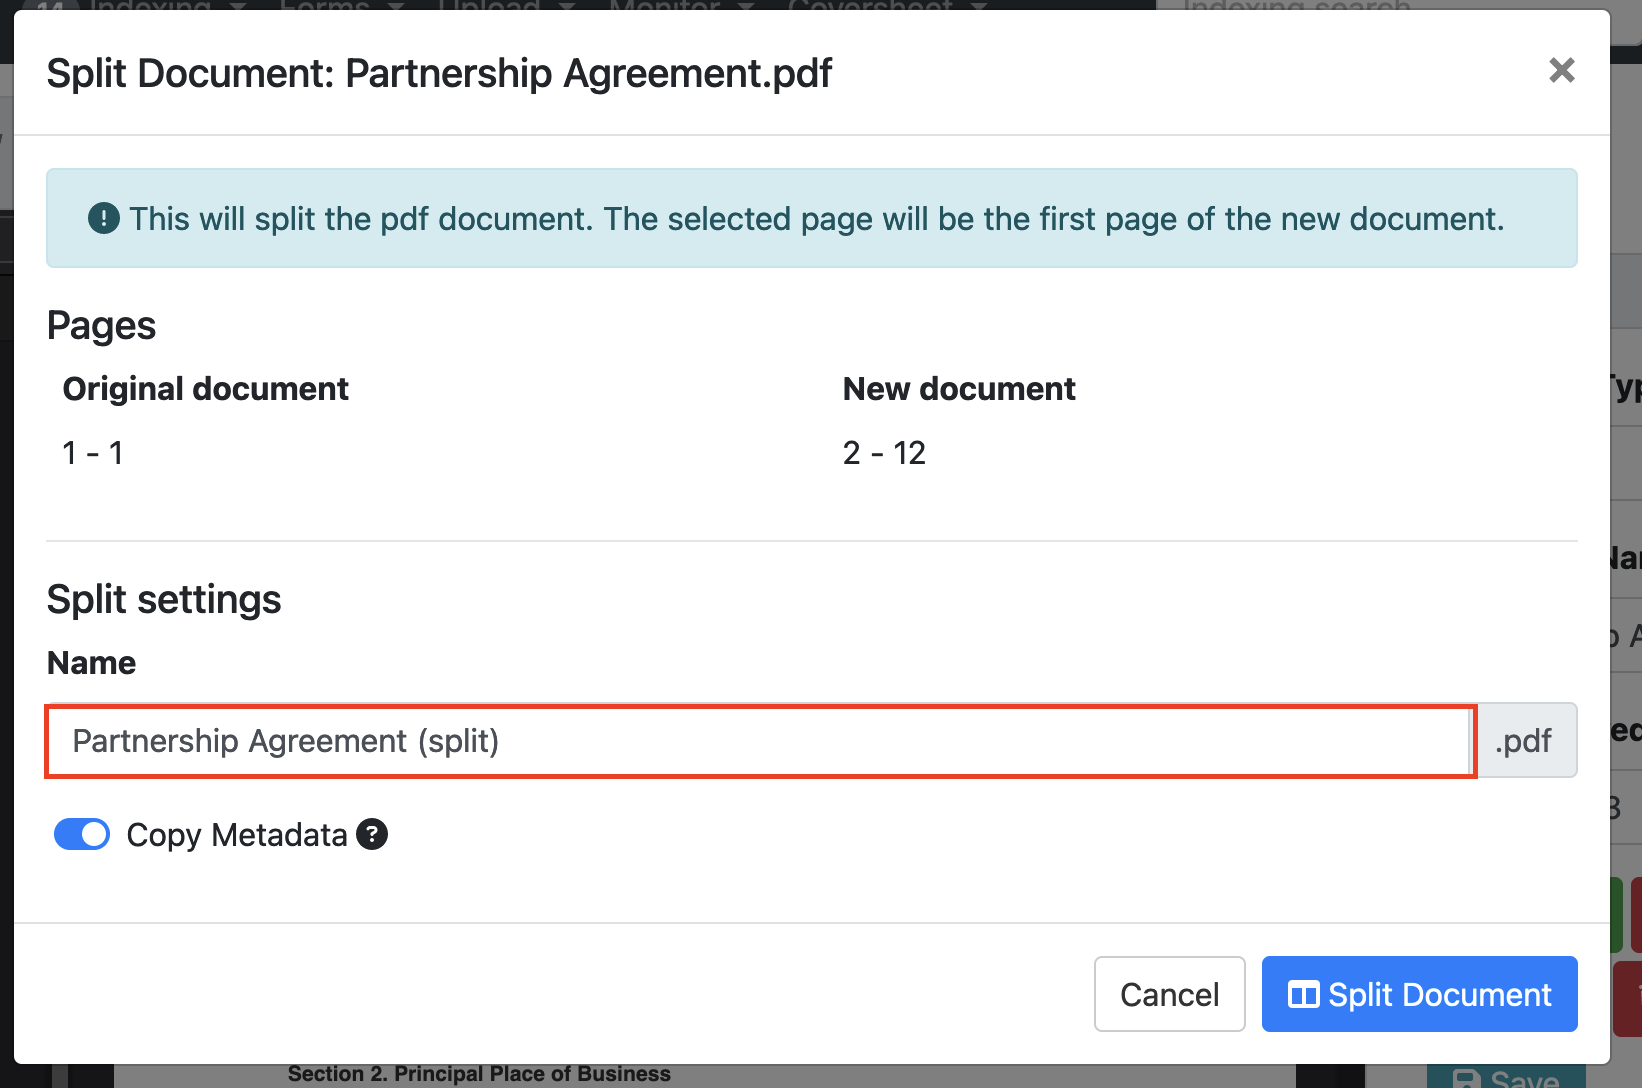
You can modify the name of the new document or by default, the word "(split)" will be appended to the new document's name.
-
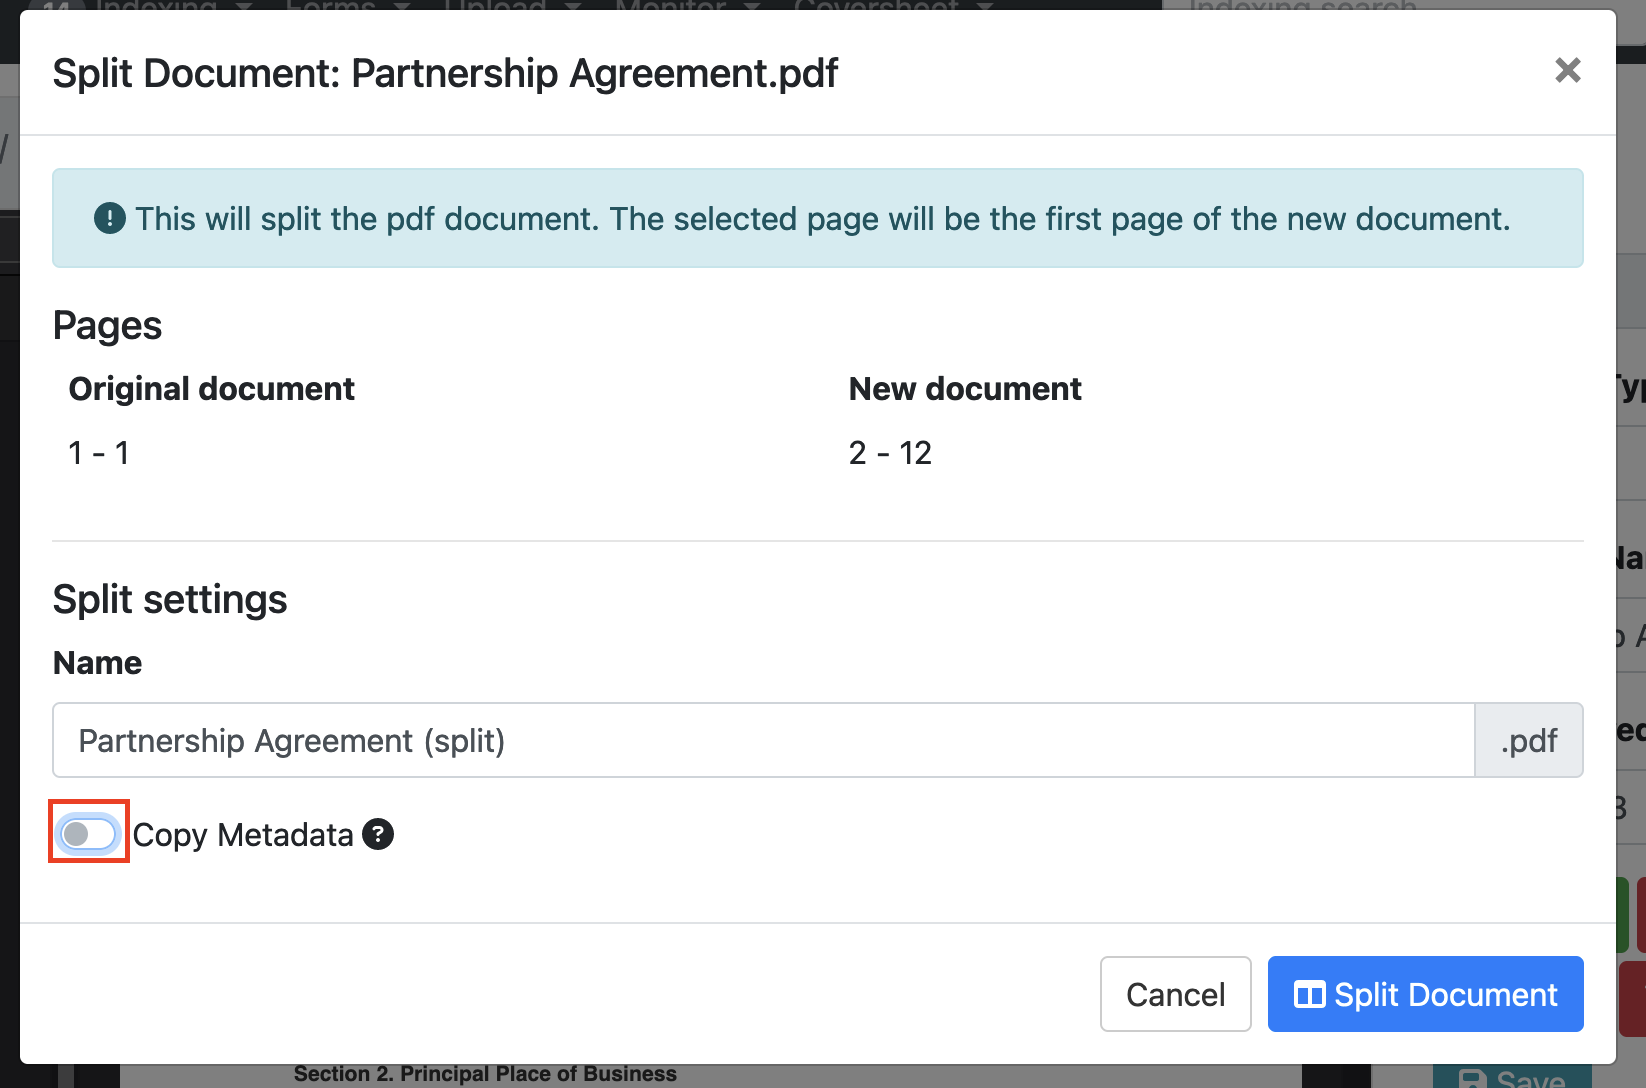
If you prefer not to copy the metadata, you can disable this feature by clicking on the "Copy Metadata" toggle. When the toggle is unselected, it will appear in grey colour to indicate that it is turned off.
-
To execute the split process, click on the "Split Document" button.
-
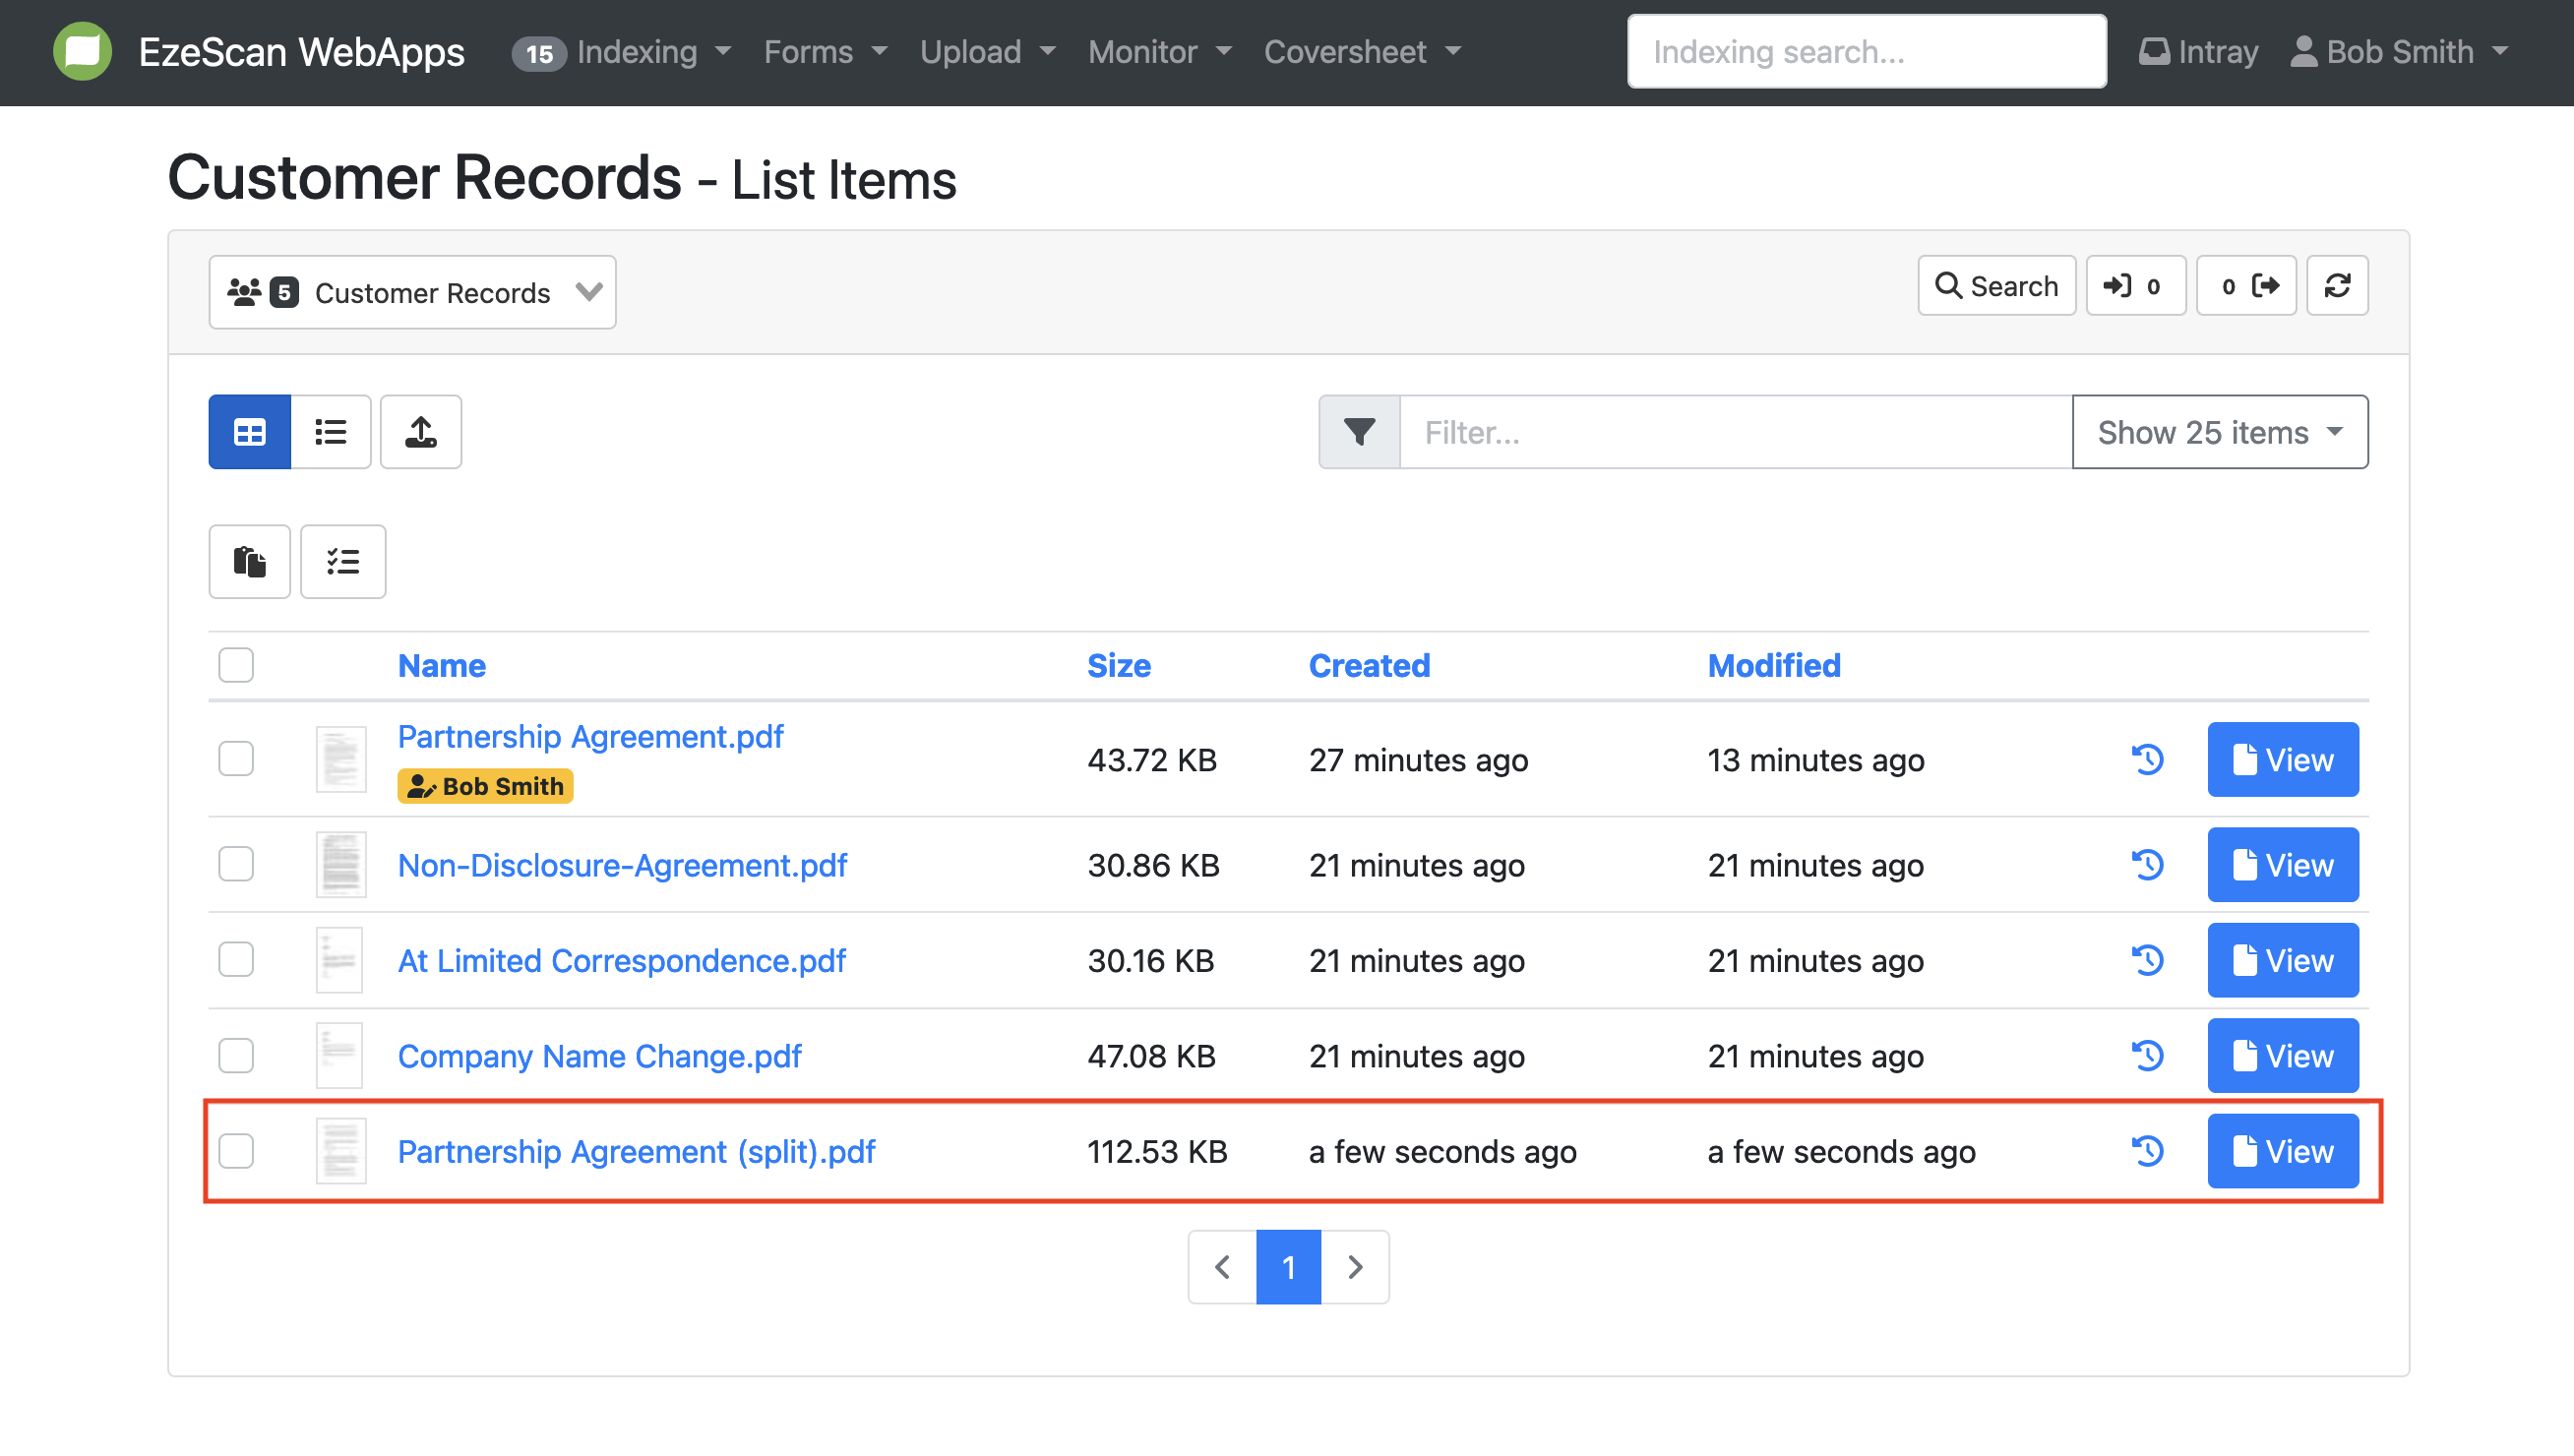
The split document will appear as the next document in the indexing queue and at the bottom of indexing queue.
-
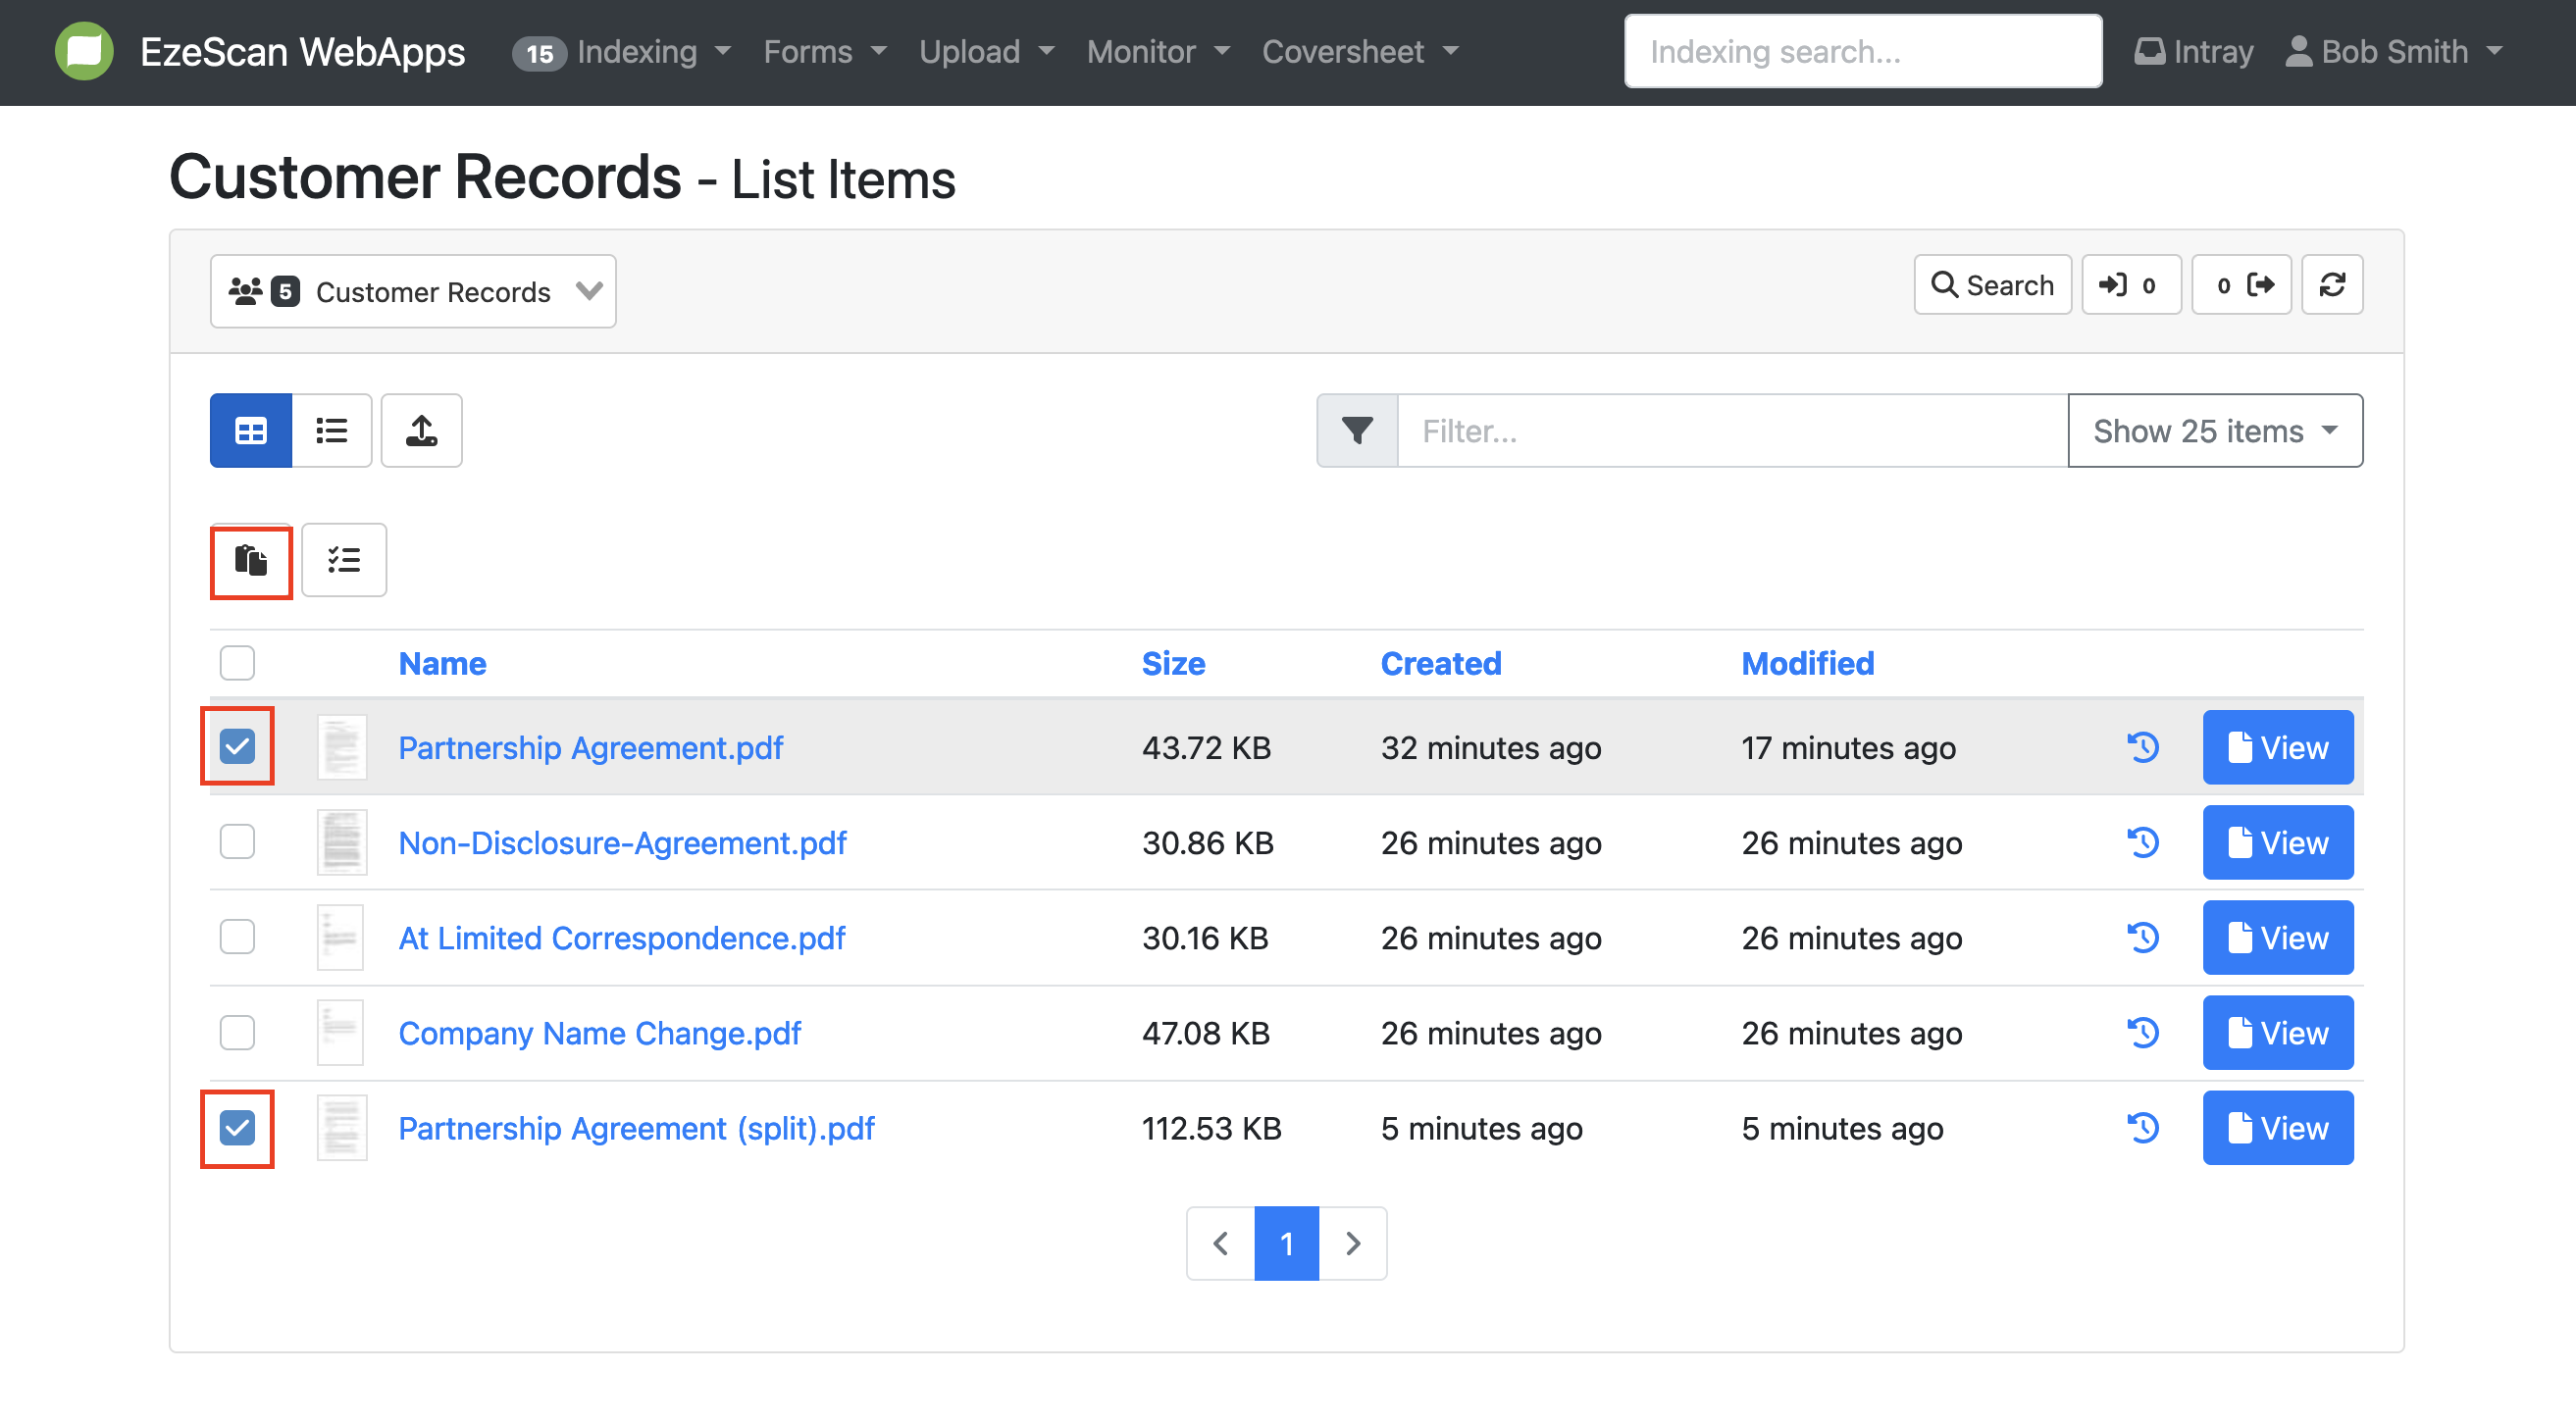
Please note that there is no easy way to undo a split. However you can select the two documents and select the merge documents button to work around this.
How to Re-Order or Move Pages
-
Select the "Move Pages" button to change the order of pages within a document.

-
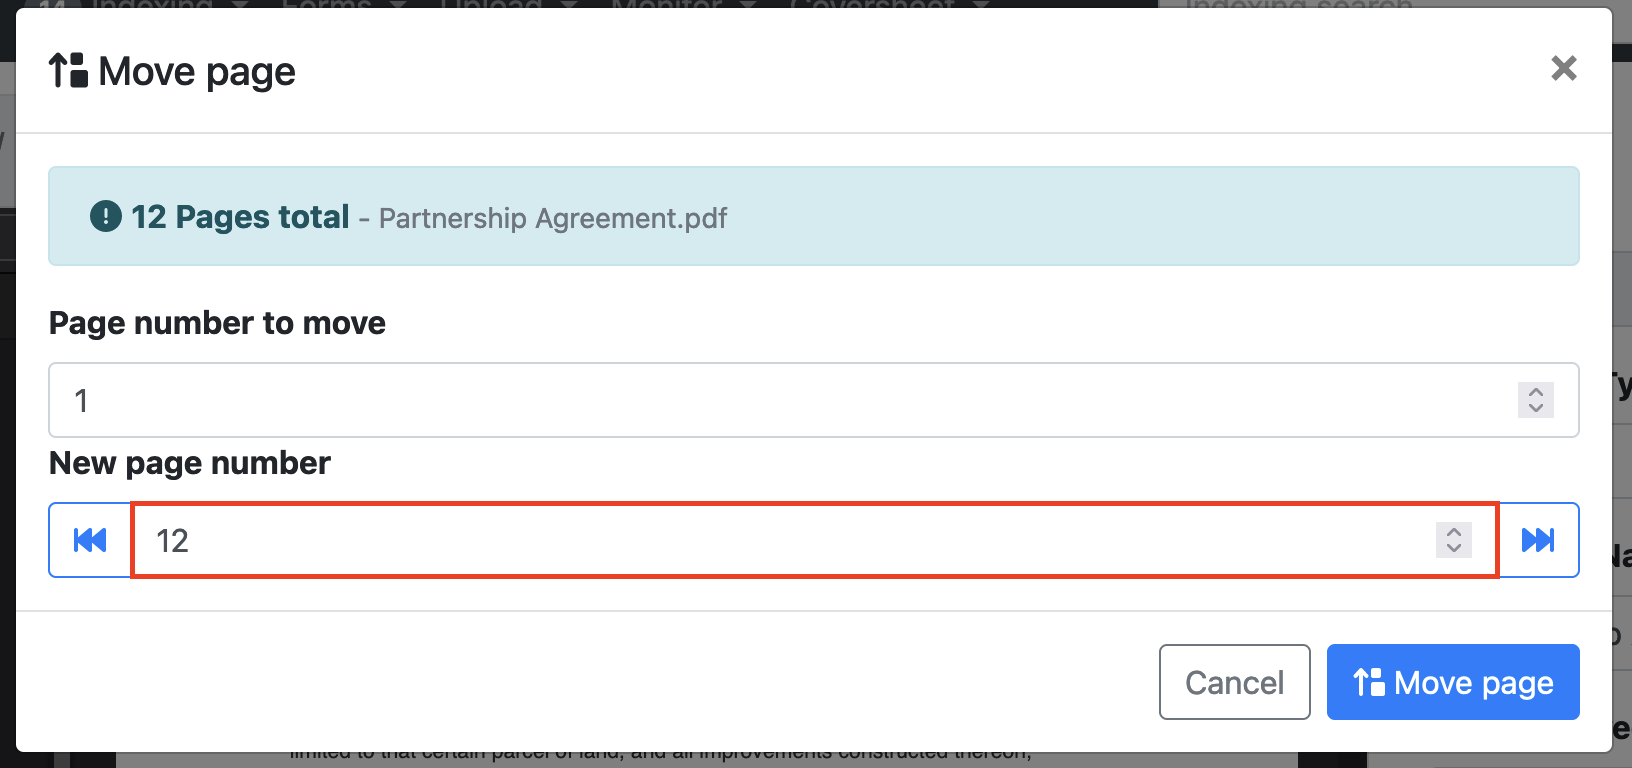
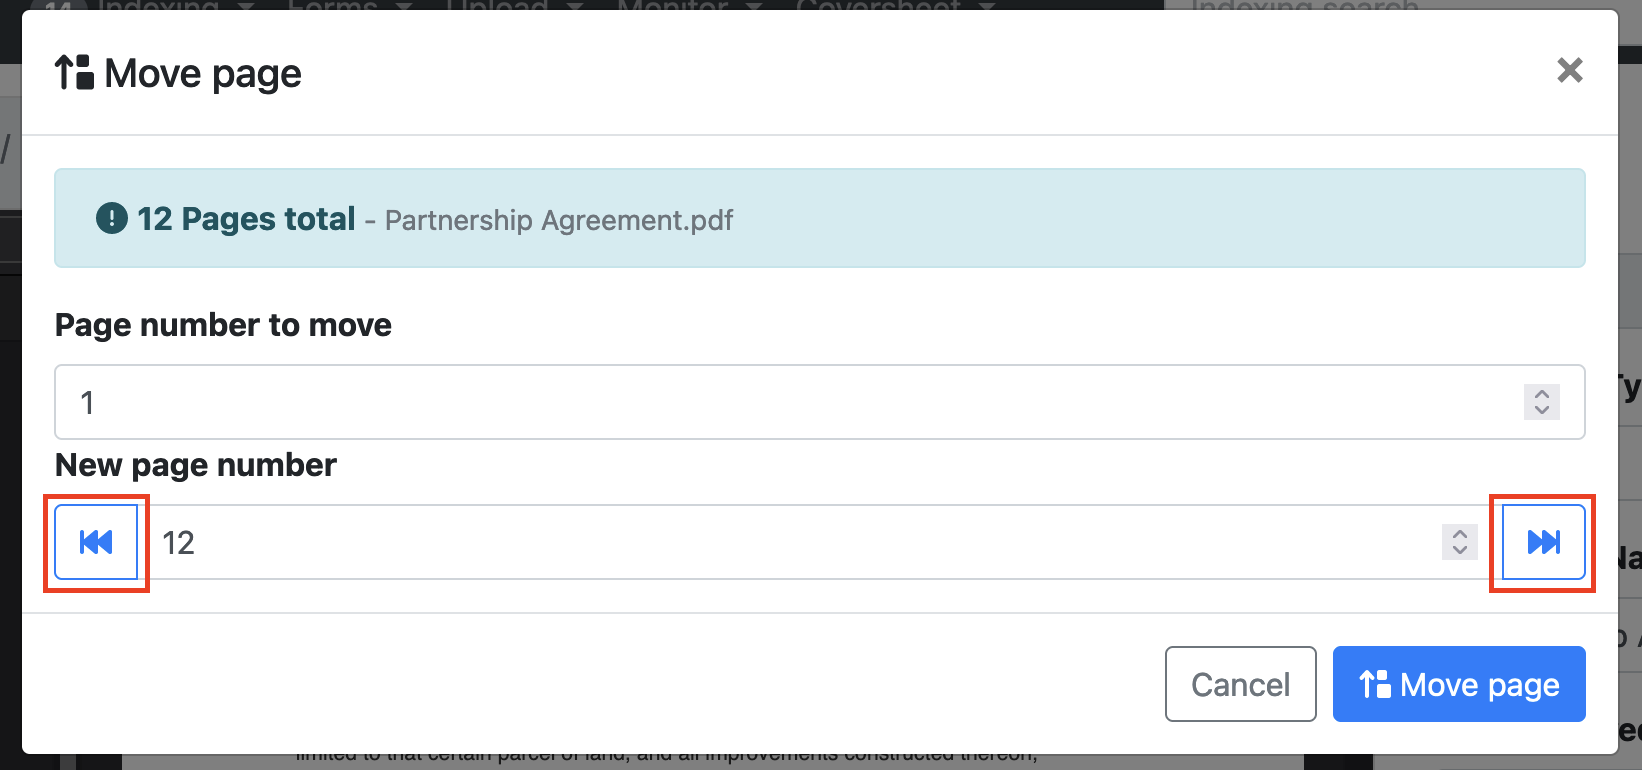
In the first field, enter the desired page number that you want to move. You can do this by either typing in the page number or using the arrows to increment or decrement the value. Please note you can only move one page at a time.

-
In the second field, enter the page number where you want to position the selected page. You can do this by directly typing in the desired page number or using the arrows to increment or decrement the value.
-
The arrows positioned at the edges of the field allow you to quickly move the new page to the front of the document (left) or to the end of the document (right).
-
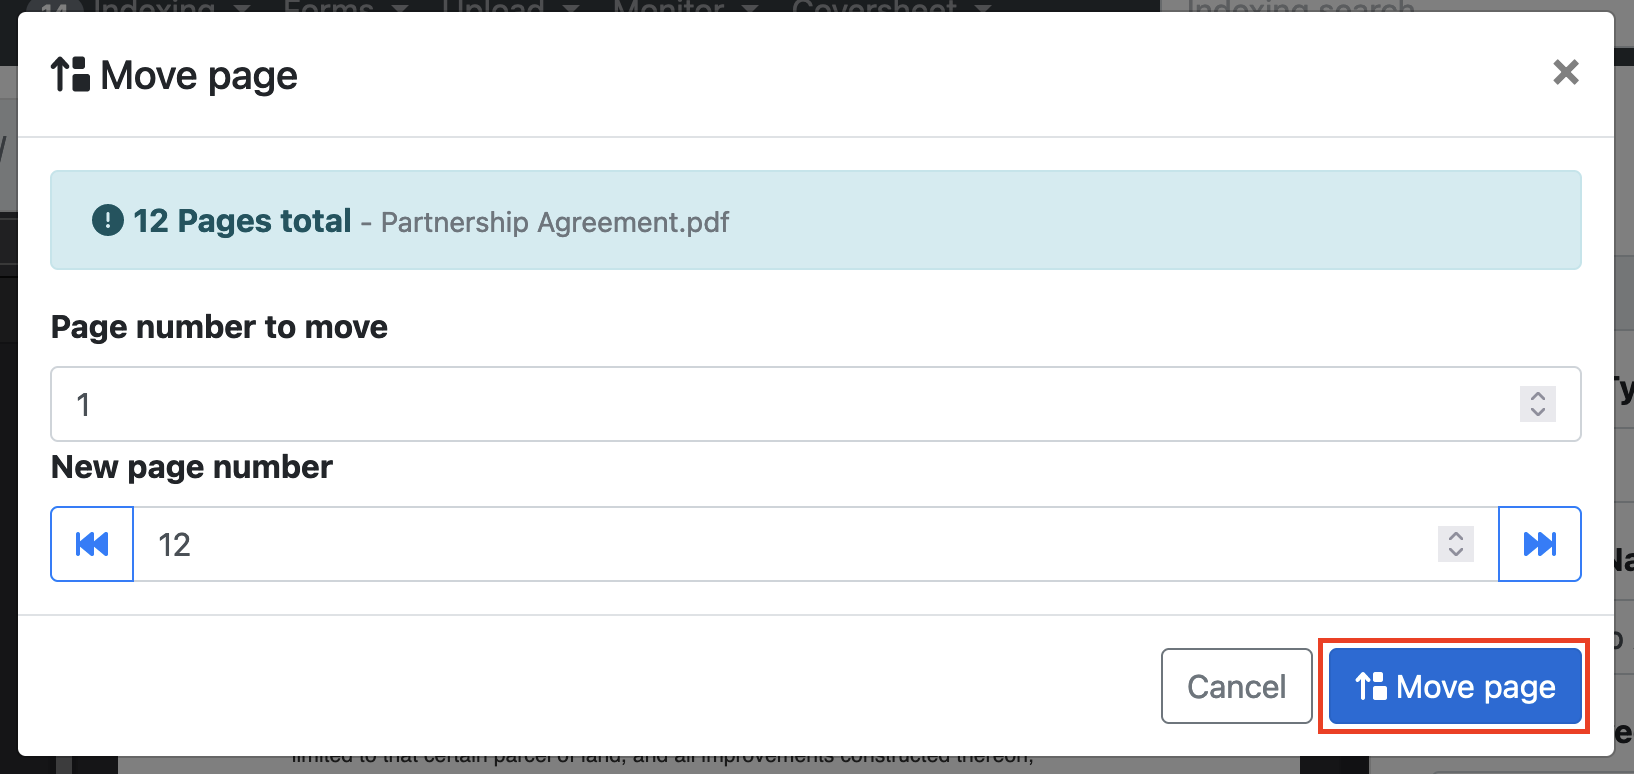
To carry out the page move, click on the "Move Page" button.
-
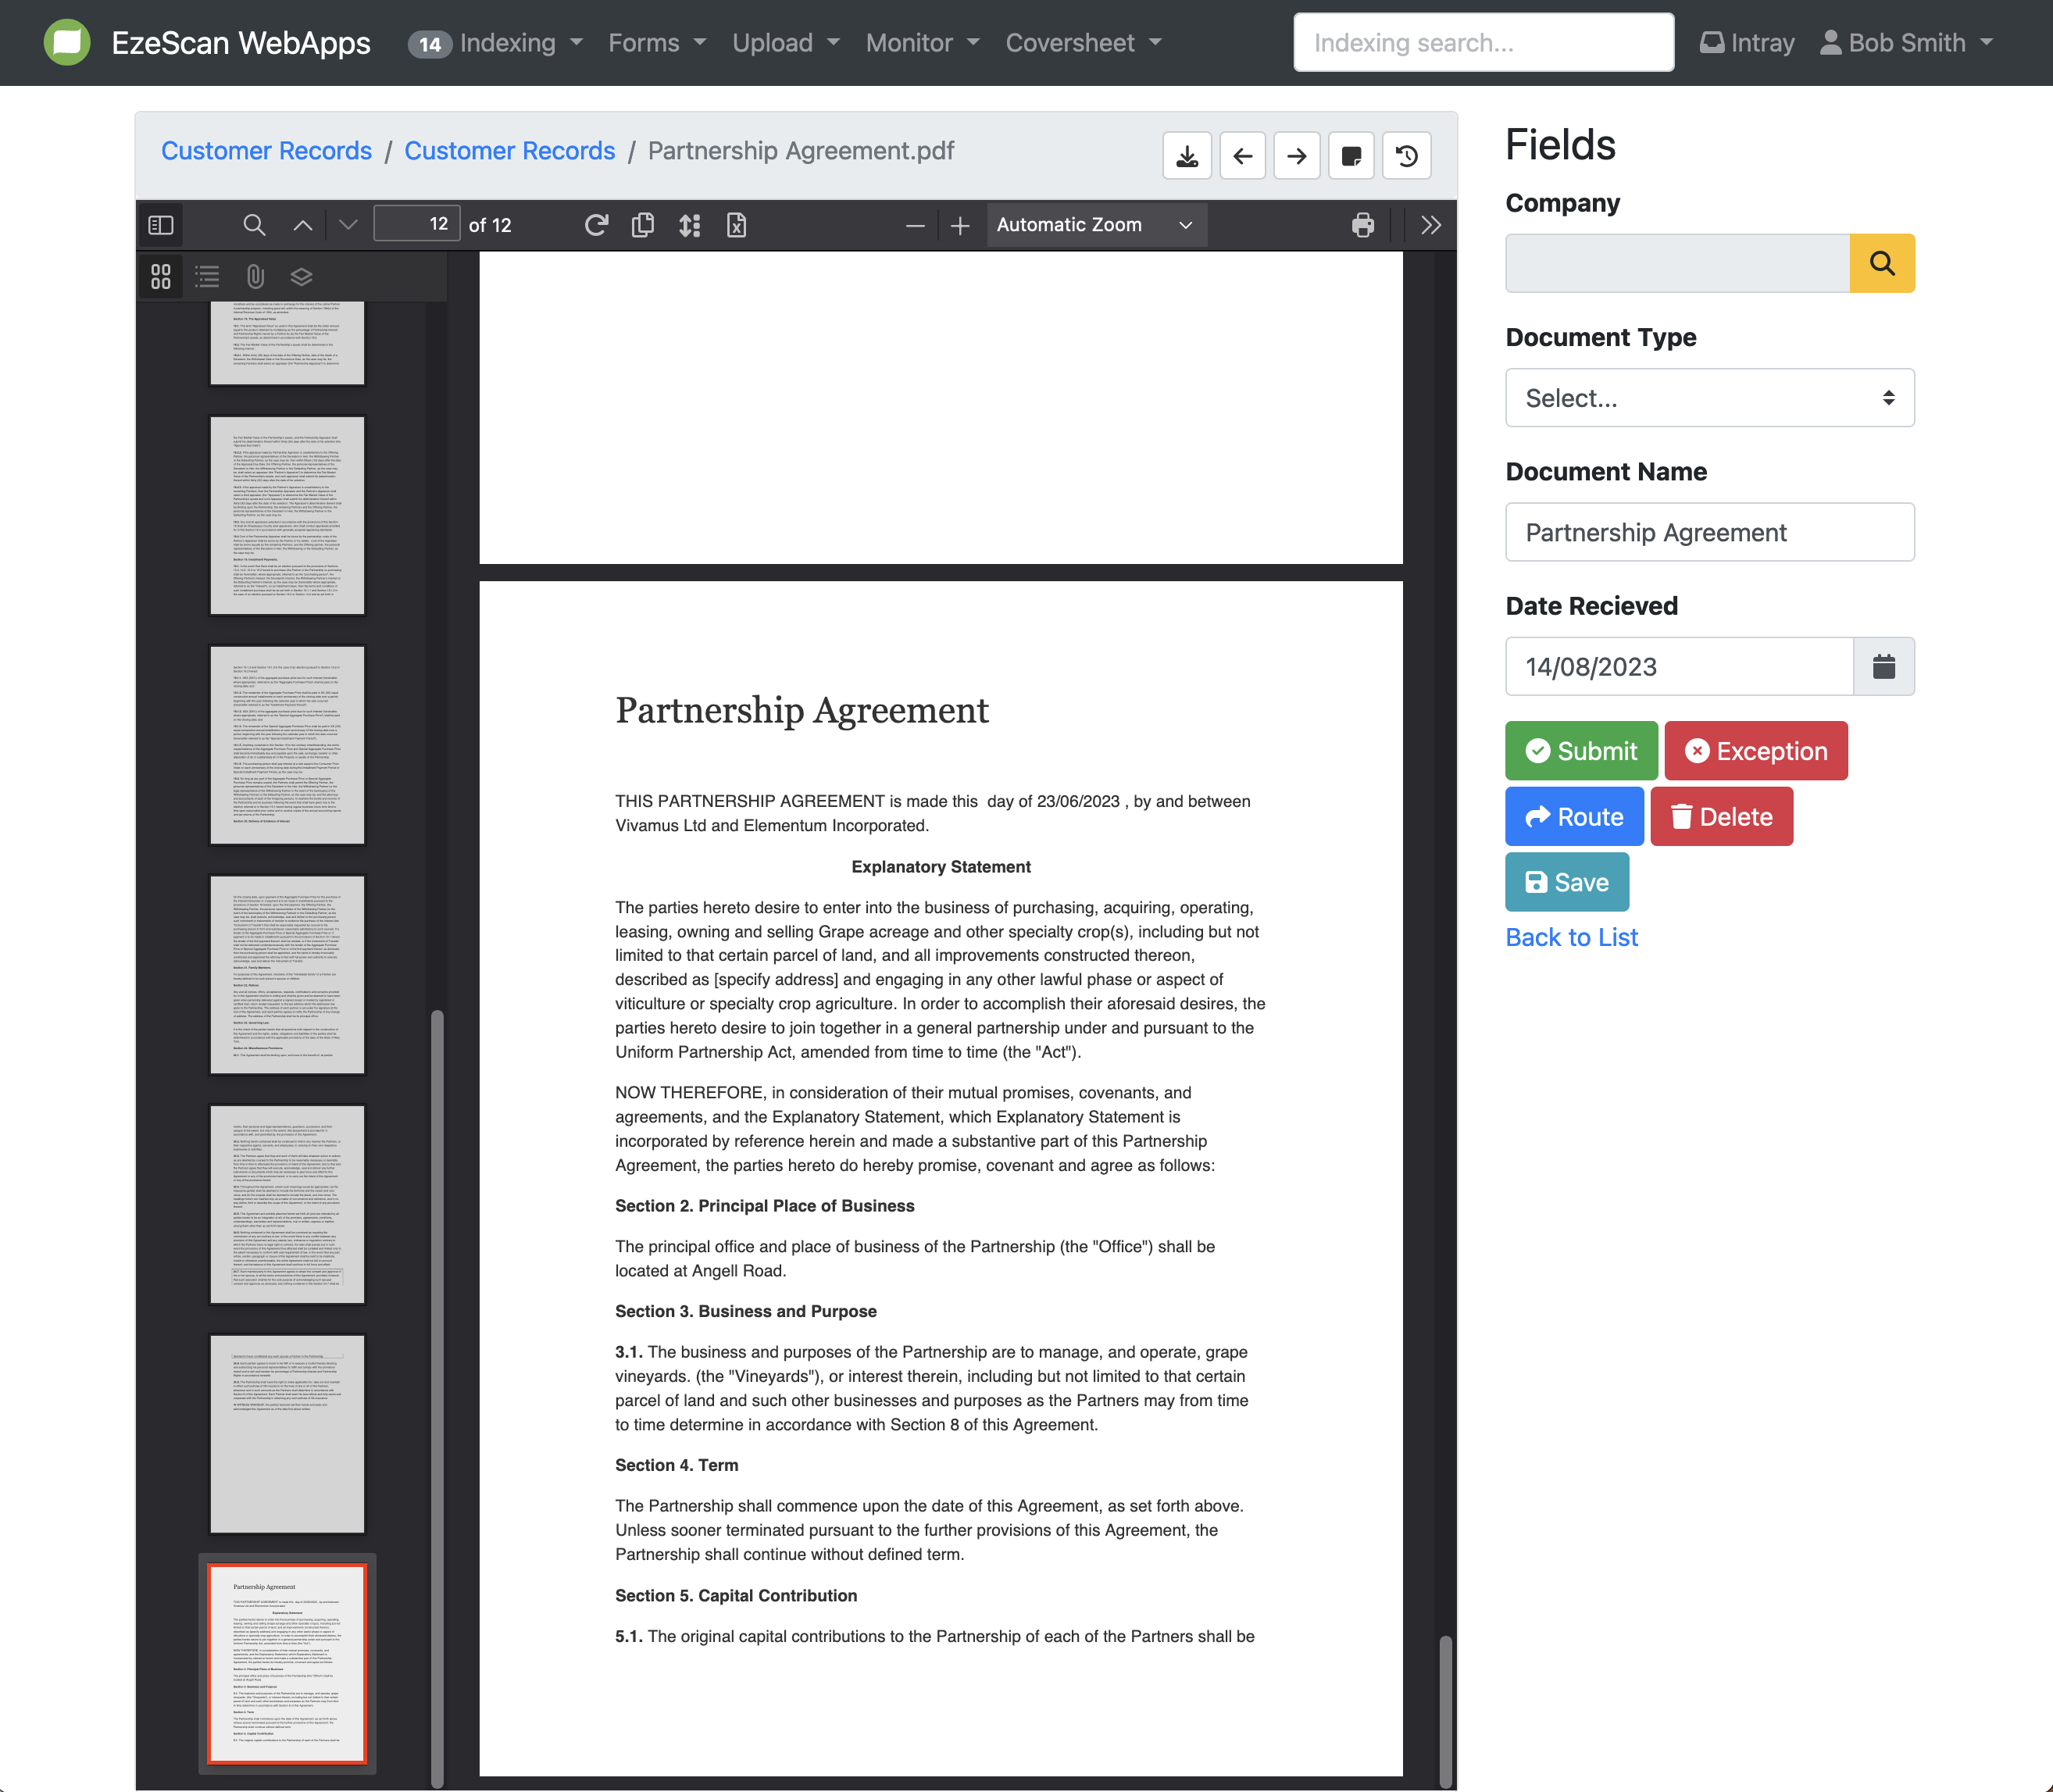
You can see that your page has been moved on the thumbnails on the left. Please note you can not undo this action and will need to repeat the steps to move the page back to its original position.
How to delete a page
-
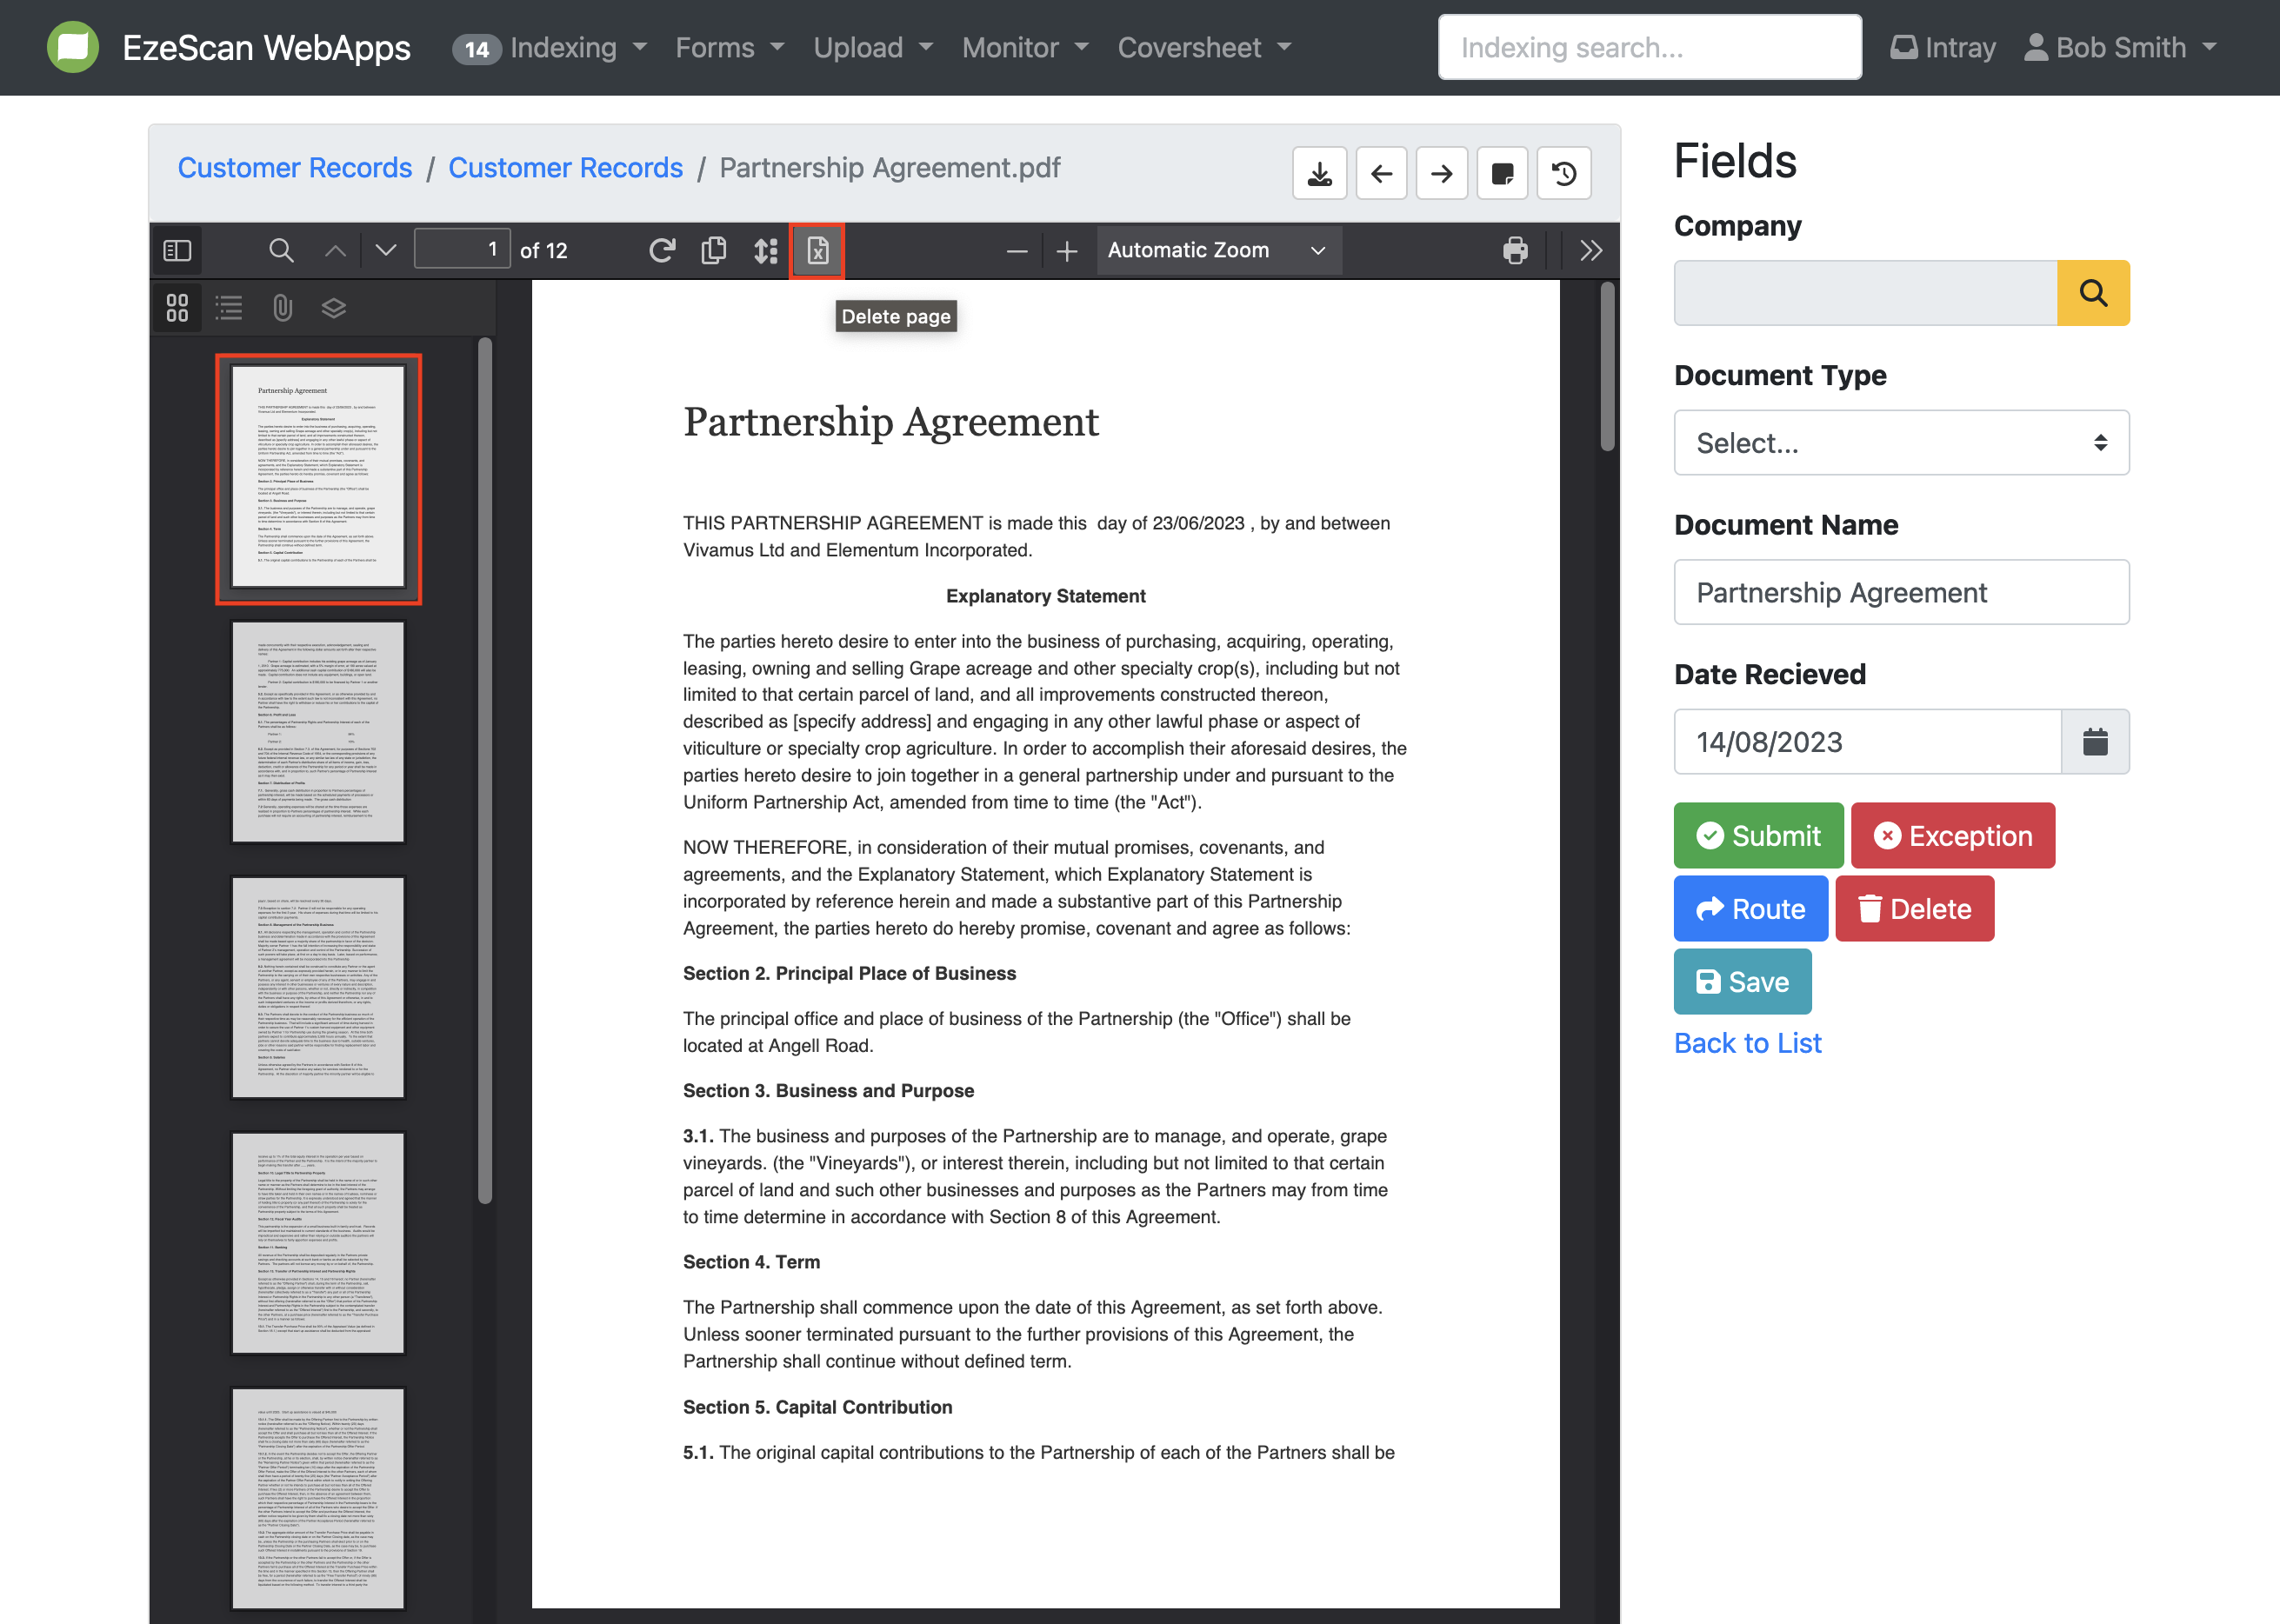
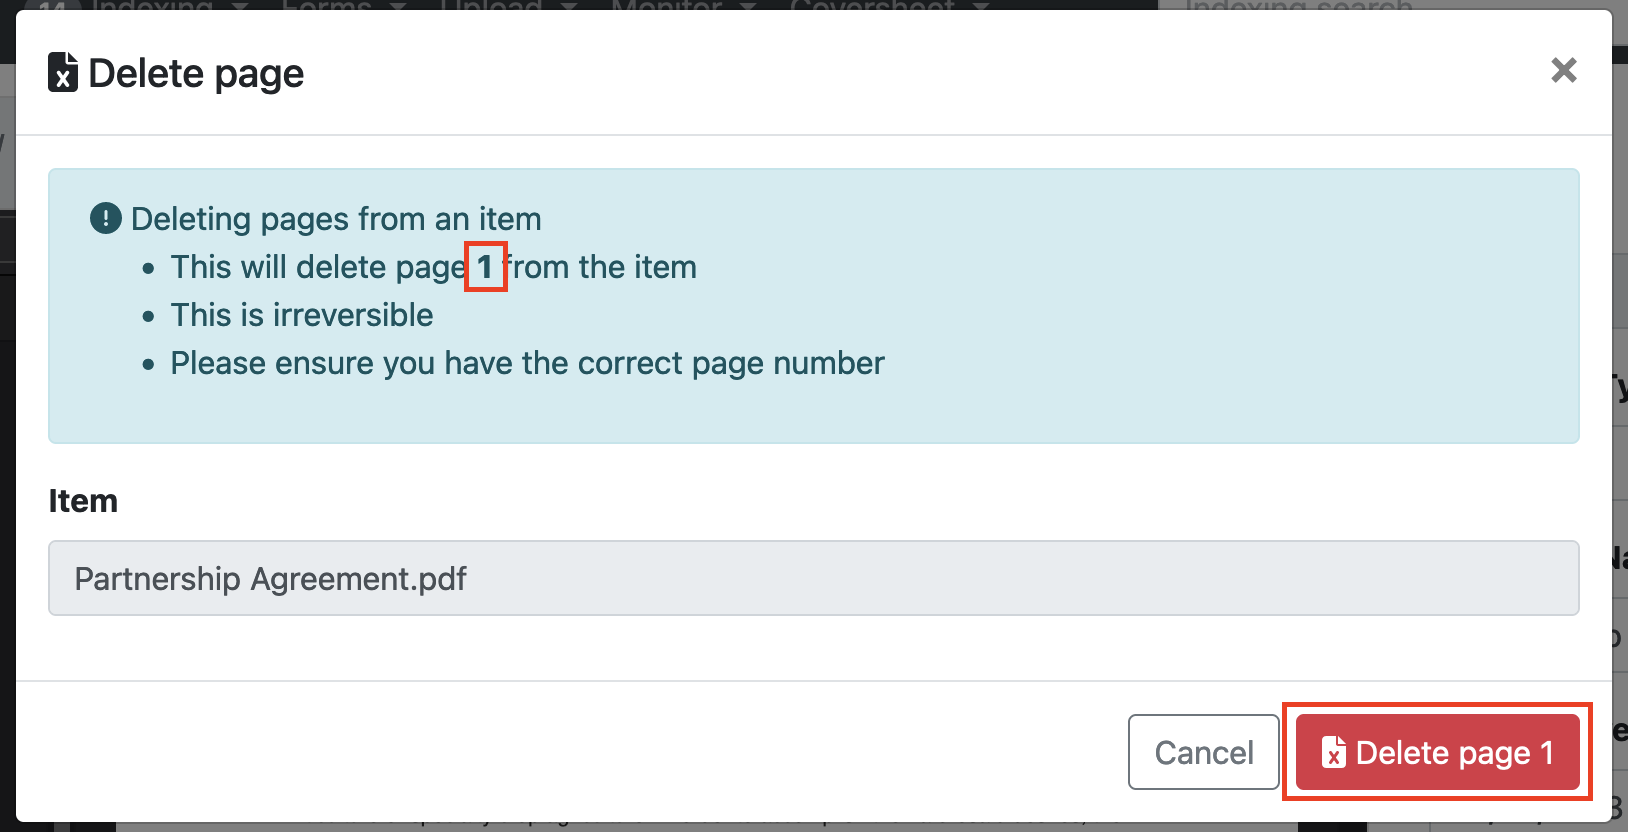
To remove a page from the document, select the page you would like to delete and select the "Delete Page" button.
-
When you select a page for deletion, a pop-up window will appear, confirming the page you have chosen to delete. If the displayed page is indeed the one you wish to delete, click on the "Delete Page" button. In case you want to delete a different page, cancel the process and ensure that you have selected the correct page before proceeding to click the "Delete Page" button.
How to Zoom In and Out on PDF Pages
-
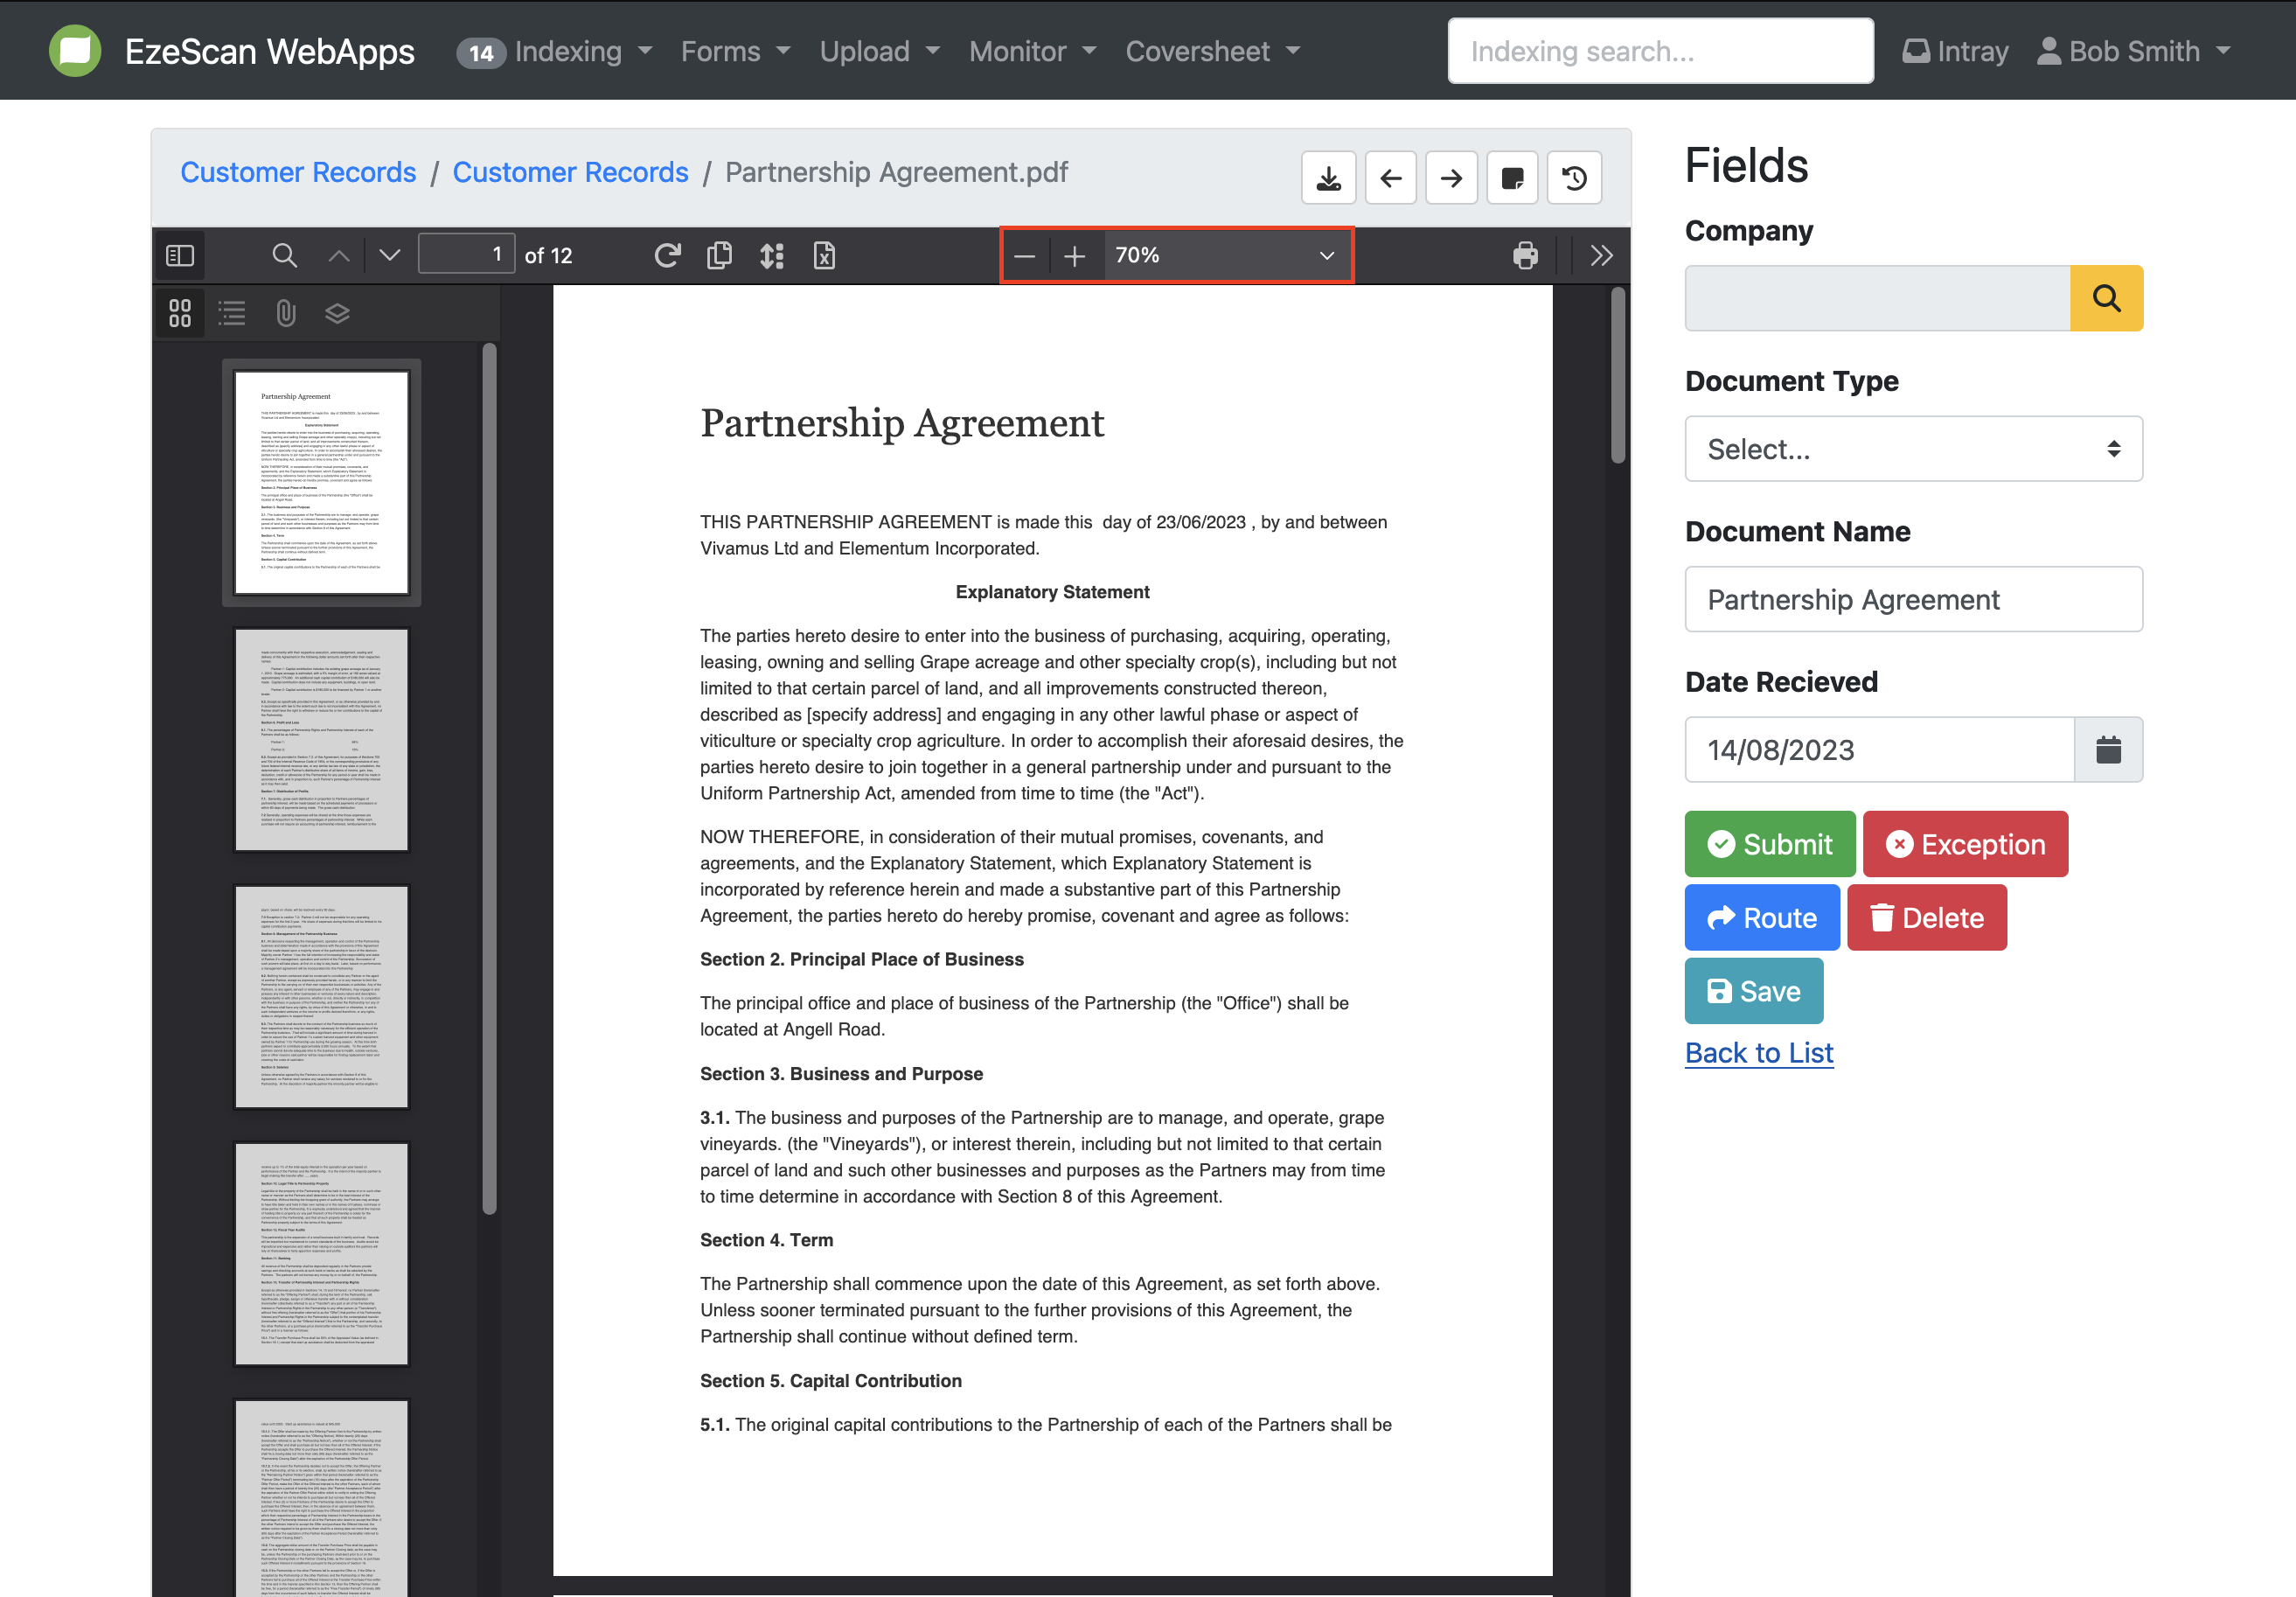
You can adjust the view of the pdf in one of three ways
-
Use the "+" and "-" buttons on the screen to zoom in or out on pages.
-
Choose a specific percentage from the drop-down menu to adjust the zoom level.
-
Click on the PDF and use the "+" and "-" keys on your keyboard to zoom in or out.
-
How to move to the next document in a queue
-
To navigate to the next document in the queue, simply click on the arrows positioned next to the document name. Please note that when switching between documents, any metadata manually entered will not be automatically saved.

How to add a note to a document
-
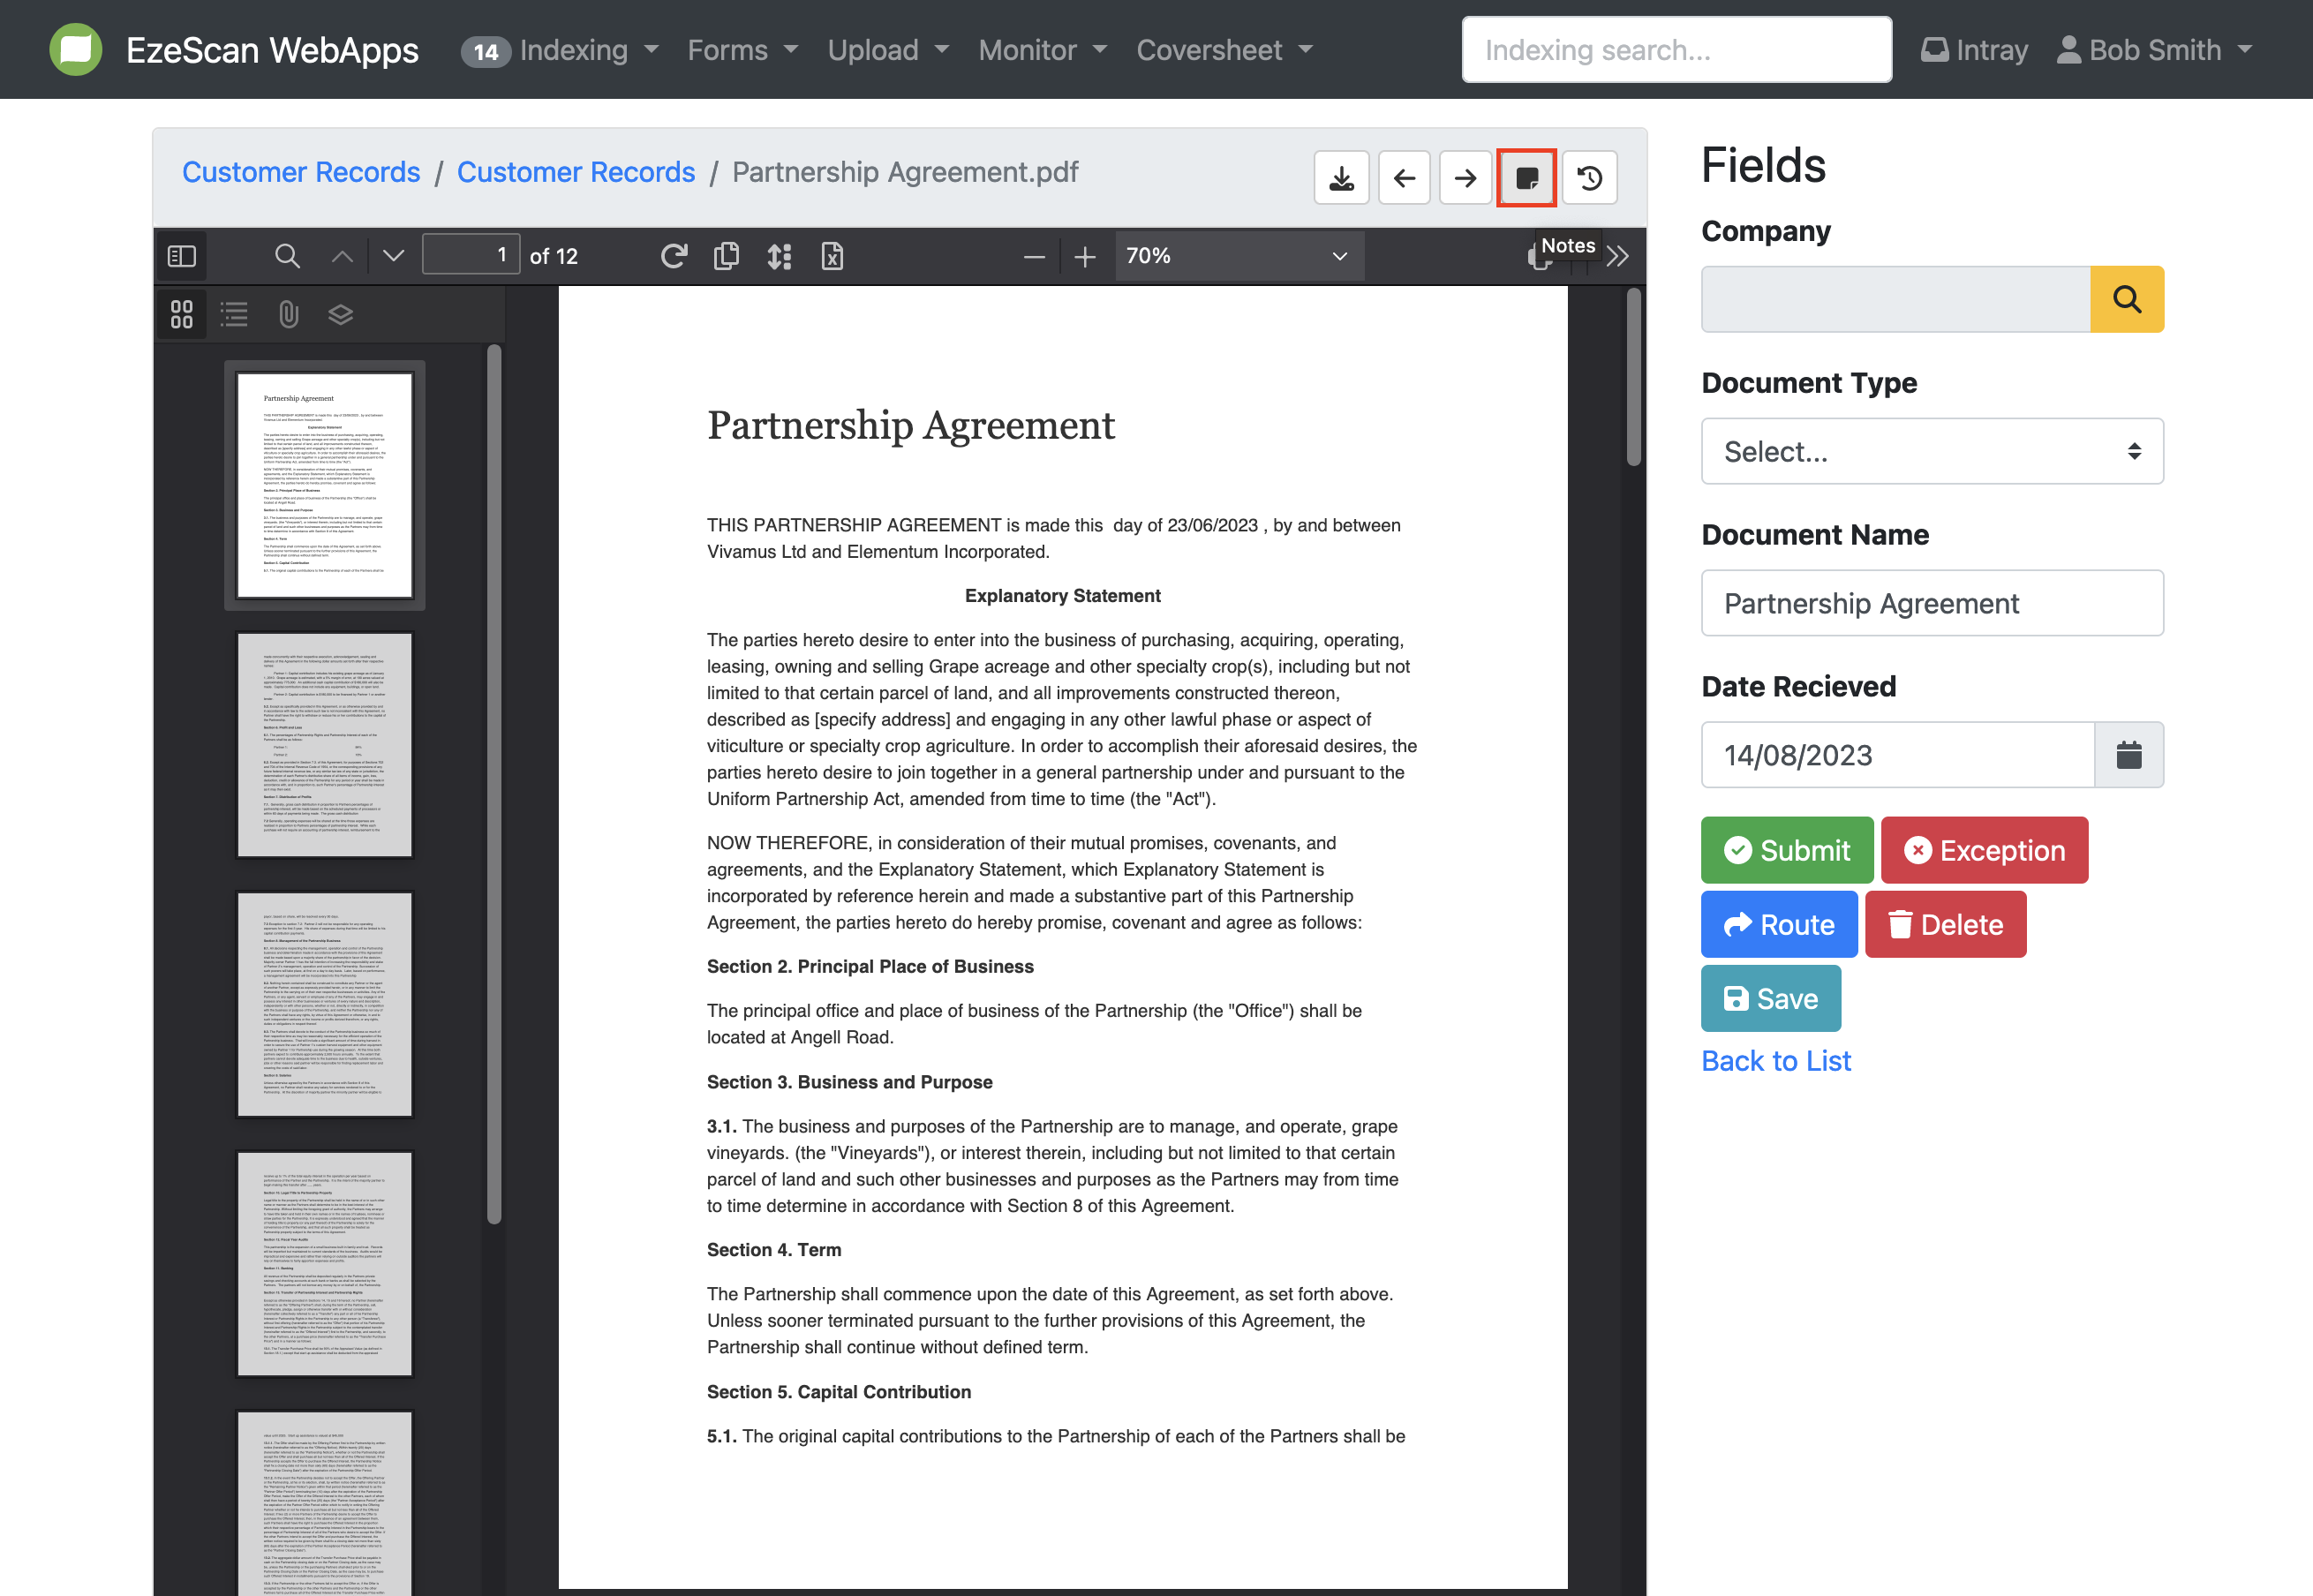
To add a comment or note on a document, select the “Notes” button.
-
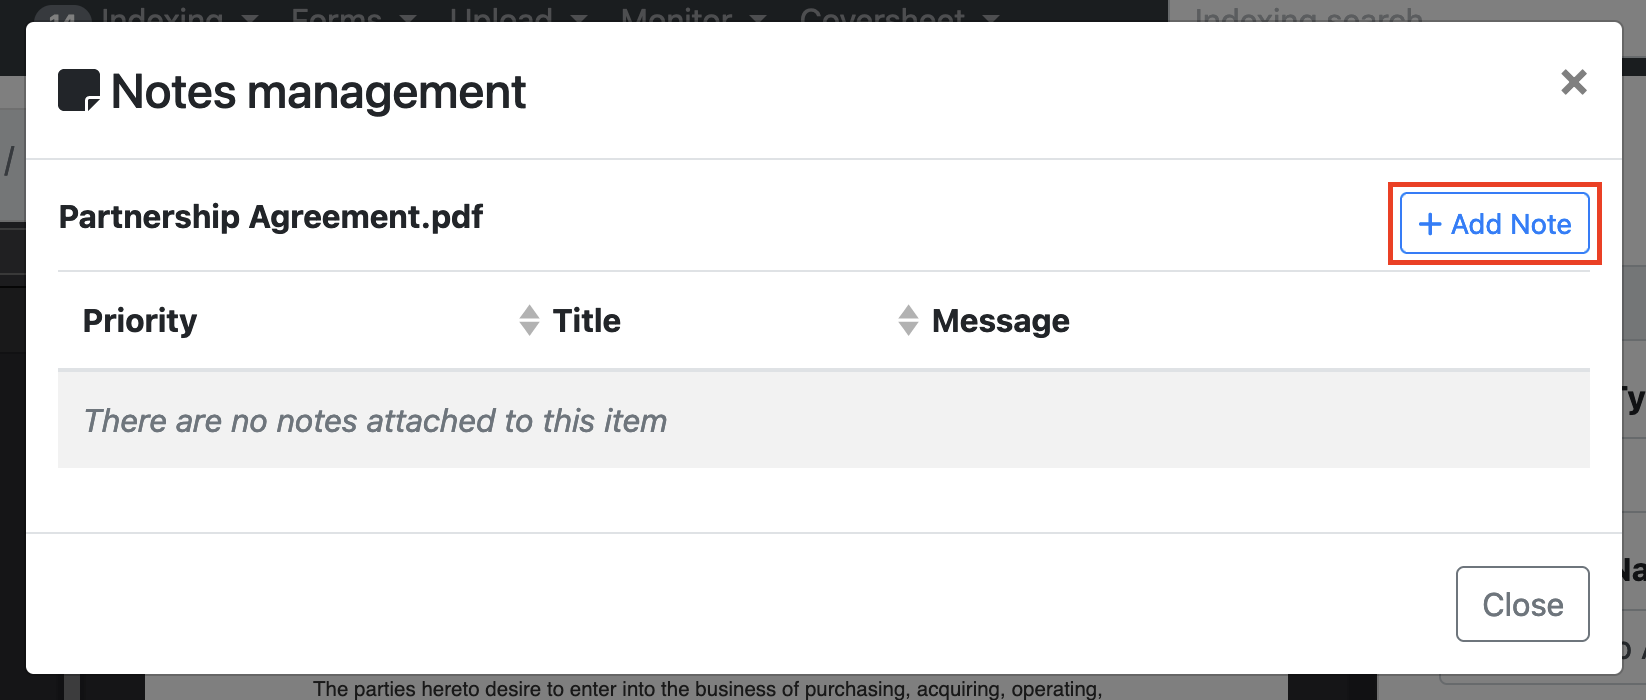
A pop-up window will appear displaying any notes left by users for this document. To add a new note, click the “+ Add Note” button.
-
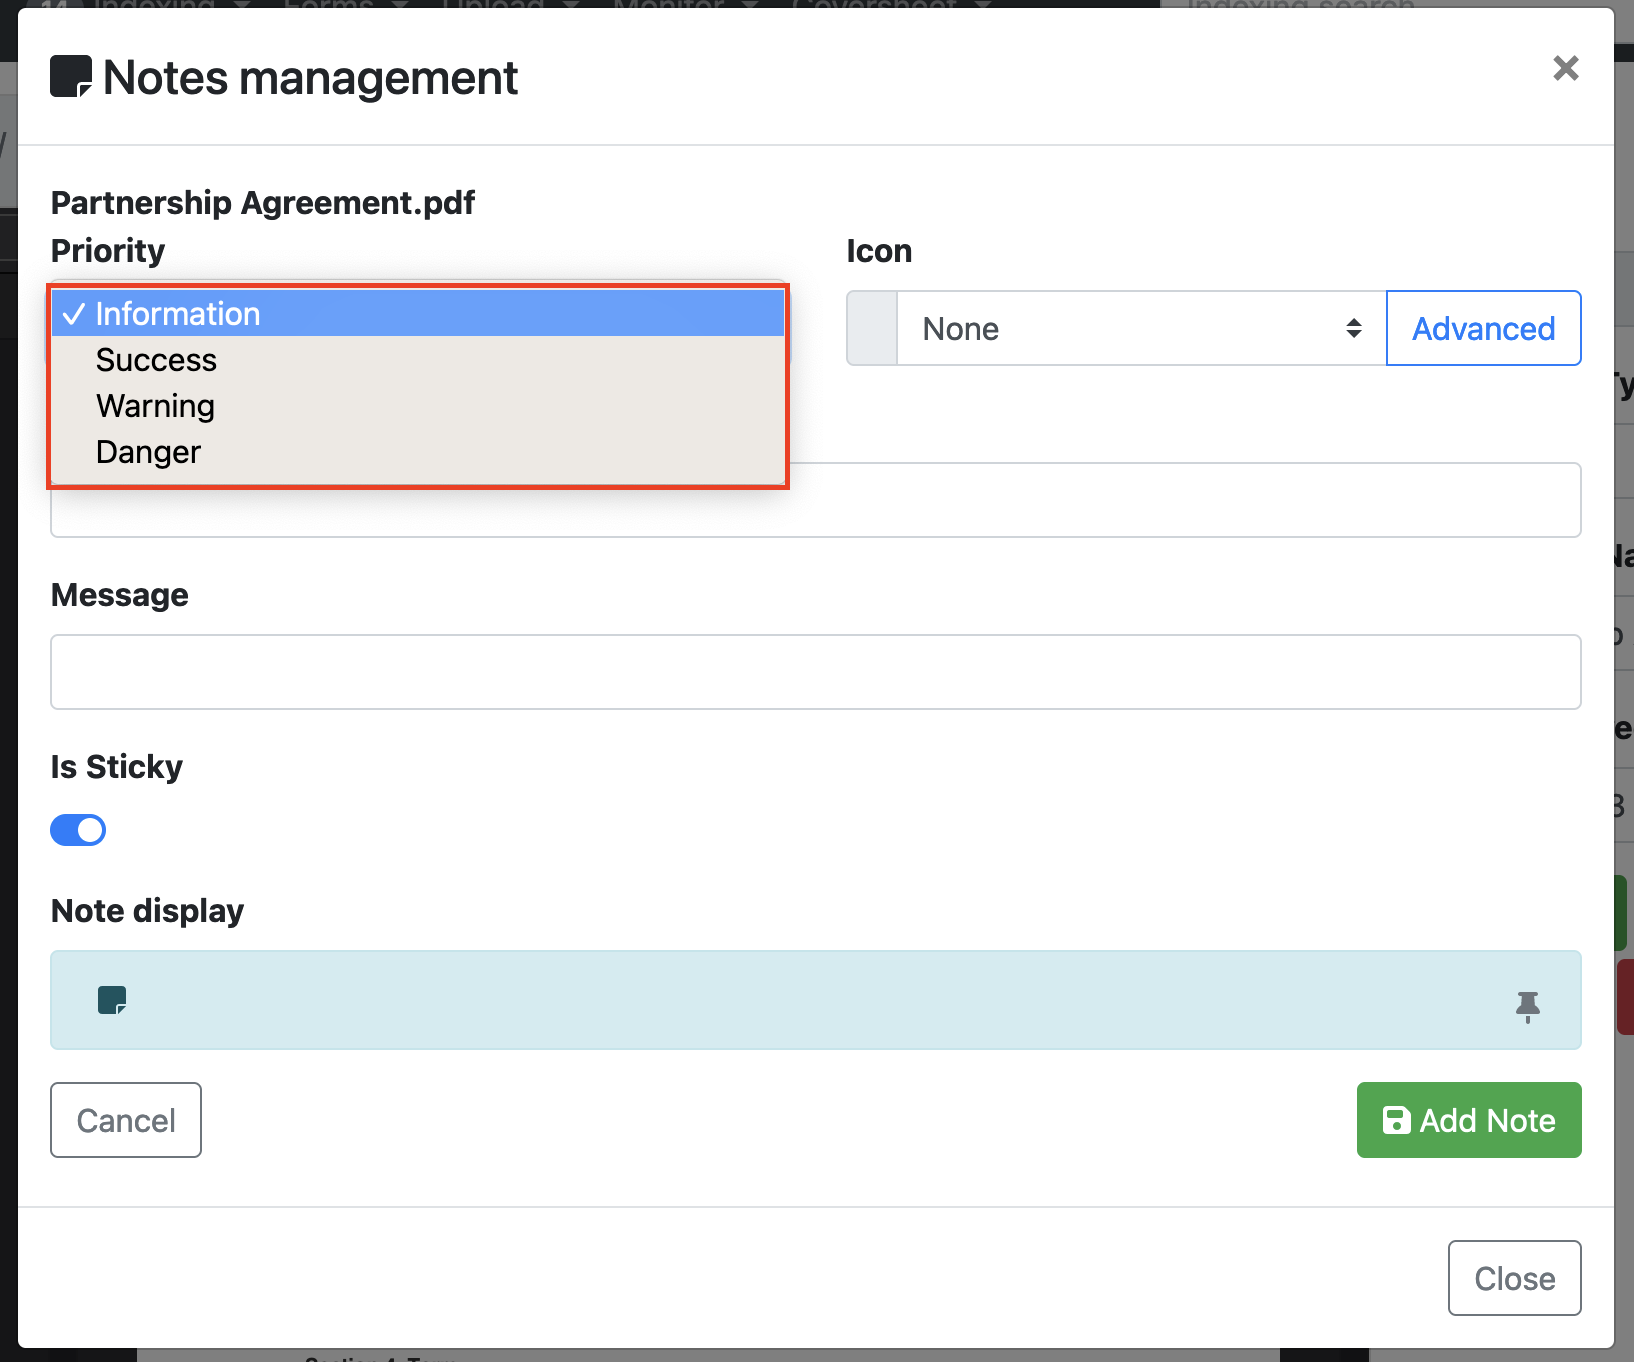
Choose the priority level of the note from the drop-down menu. The chosen priority will also determine the notes' colour (blue for information, green for success, yellow for warning, and red for danger).
-
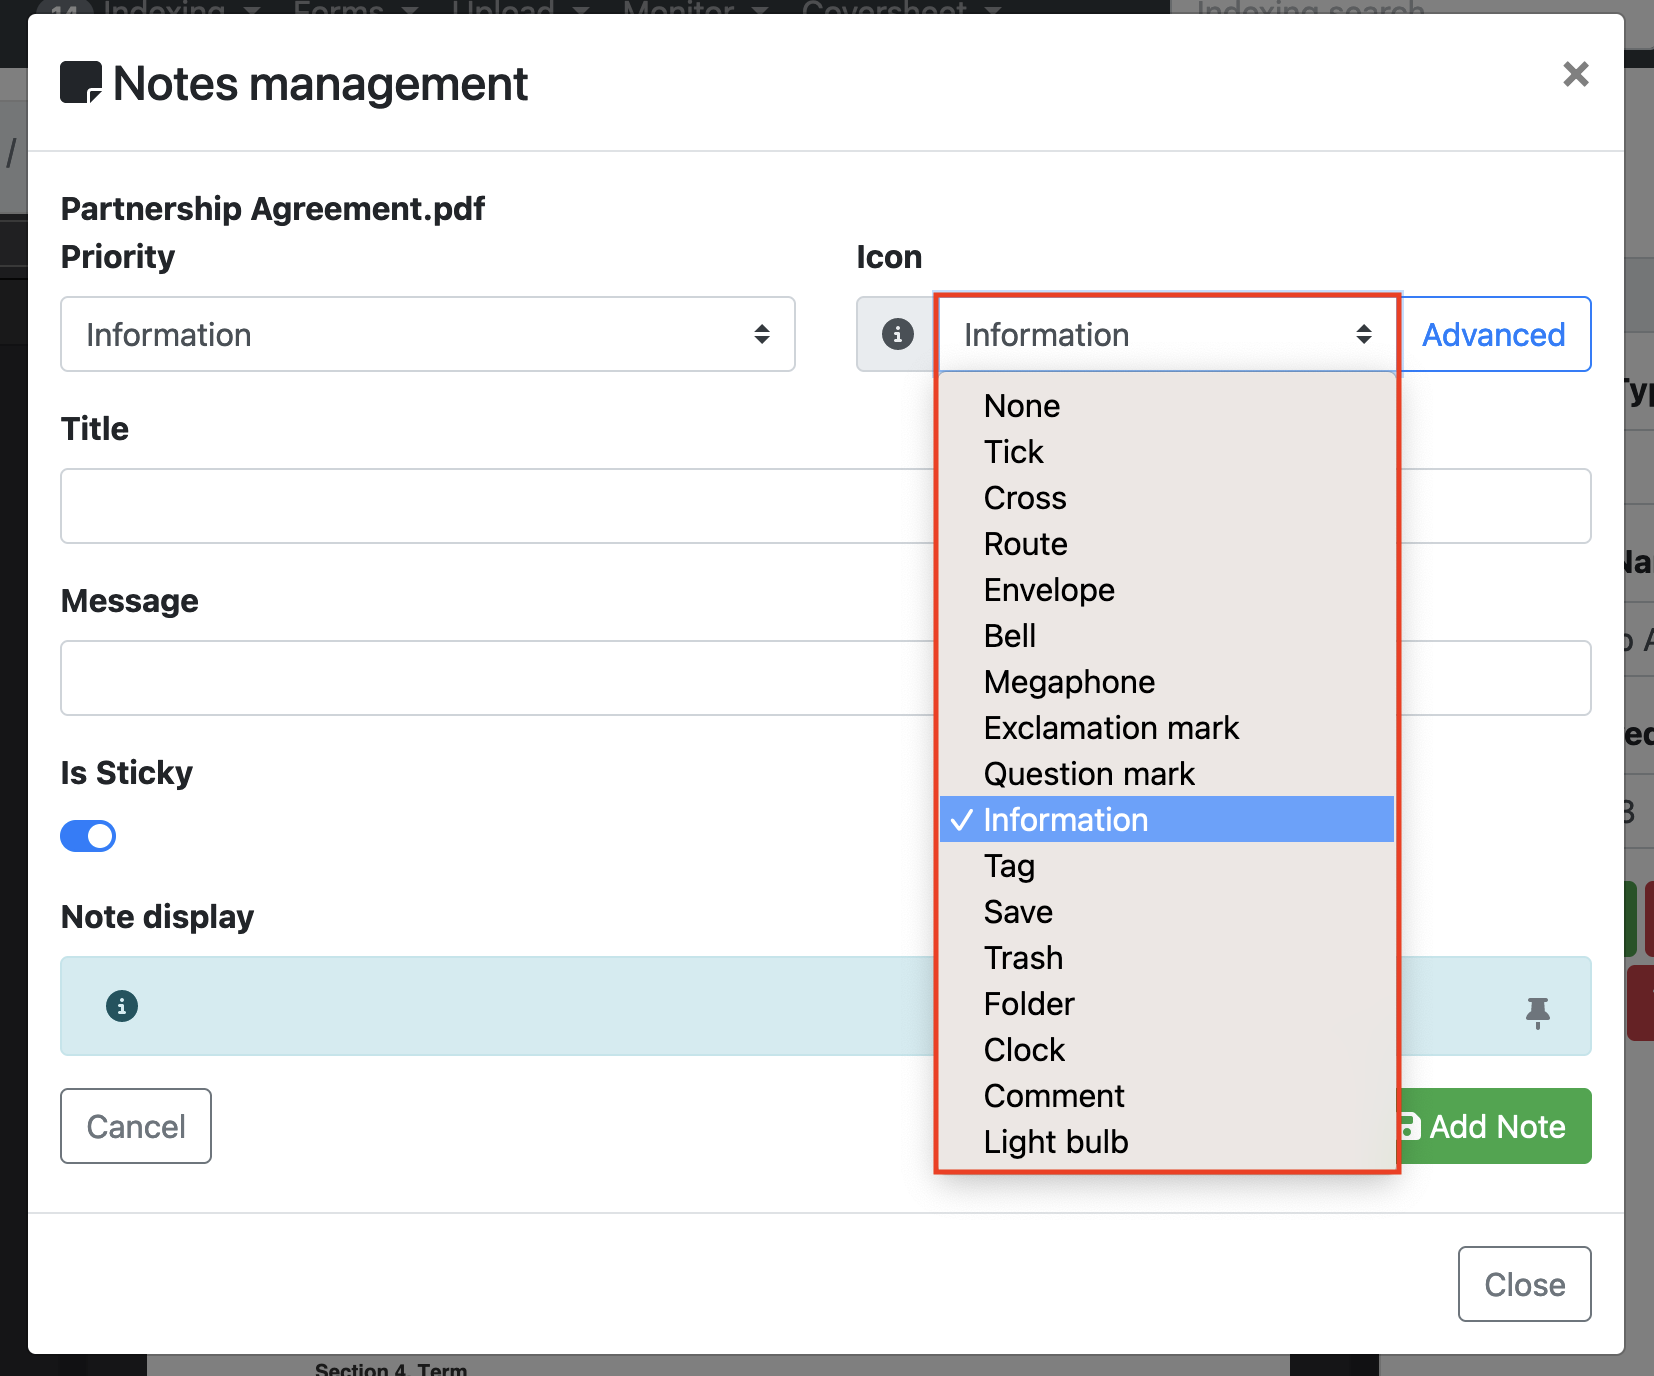
Select an icon for the note from the available options in the drop-down menu. Once selected, a preview of the chosen icon will appear on the left side of the field.
-
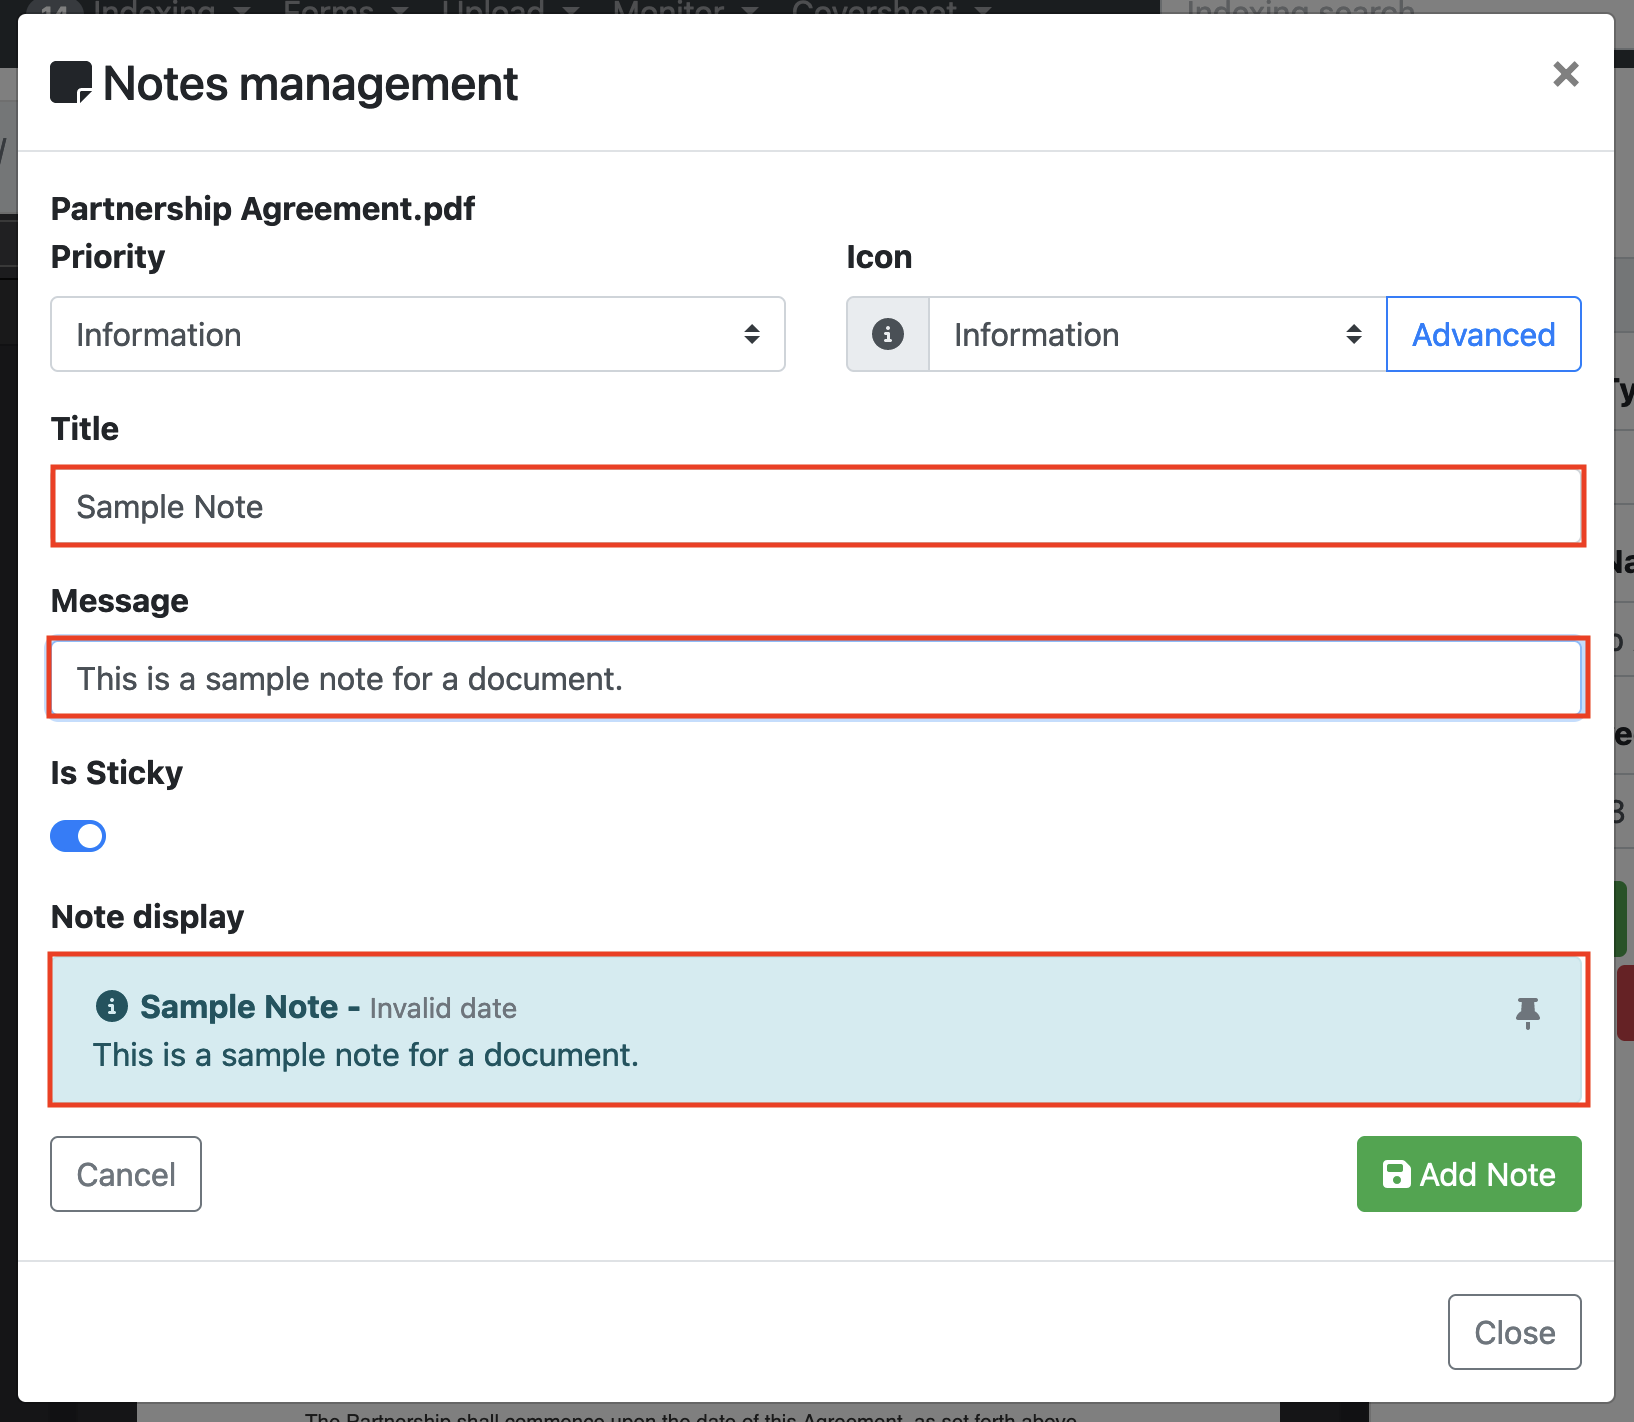
Enter a title and a message for the note. A preview of the note will be displayed on the screen.
-
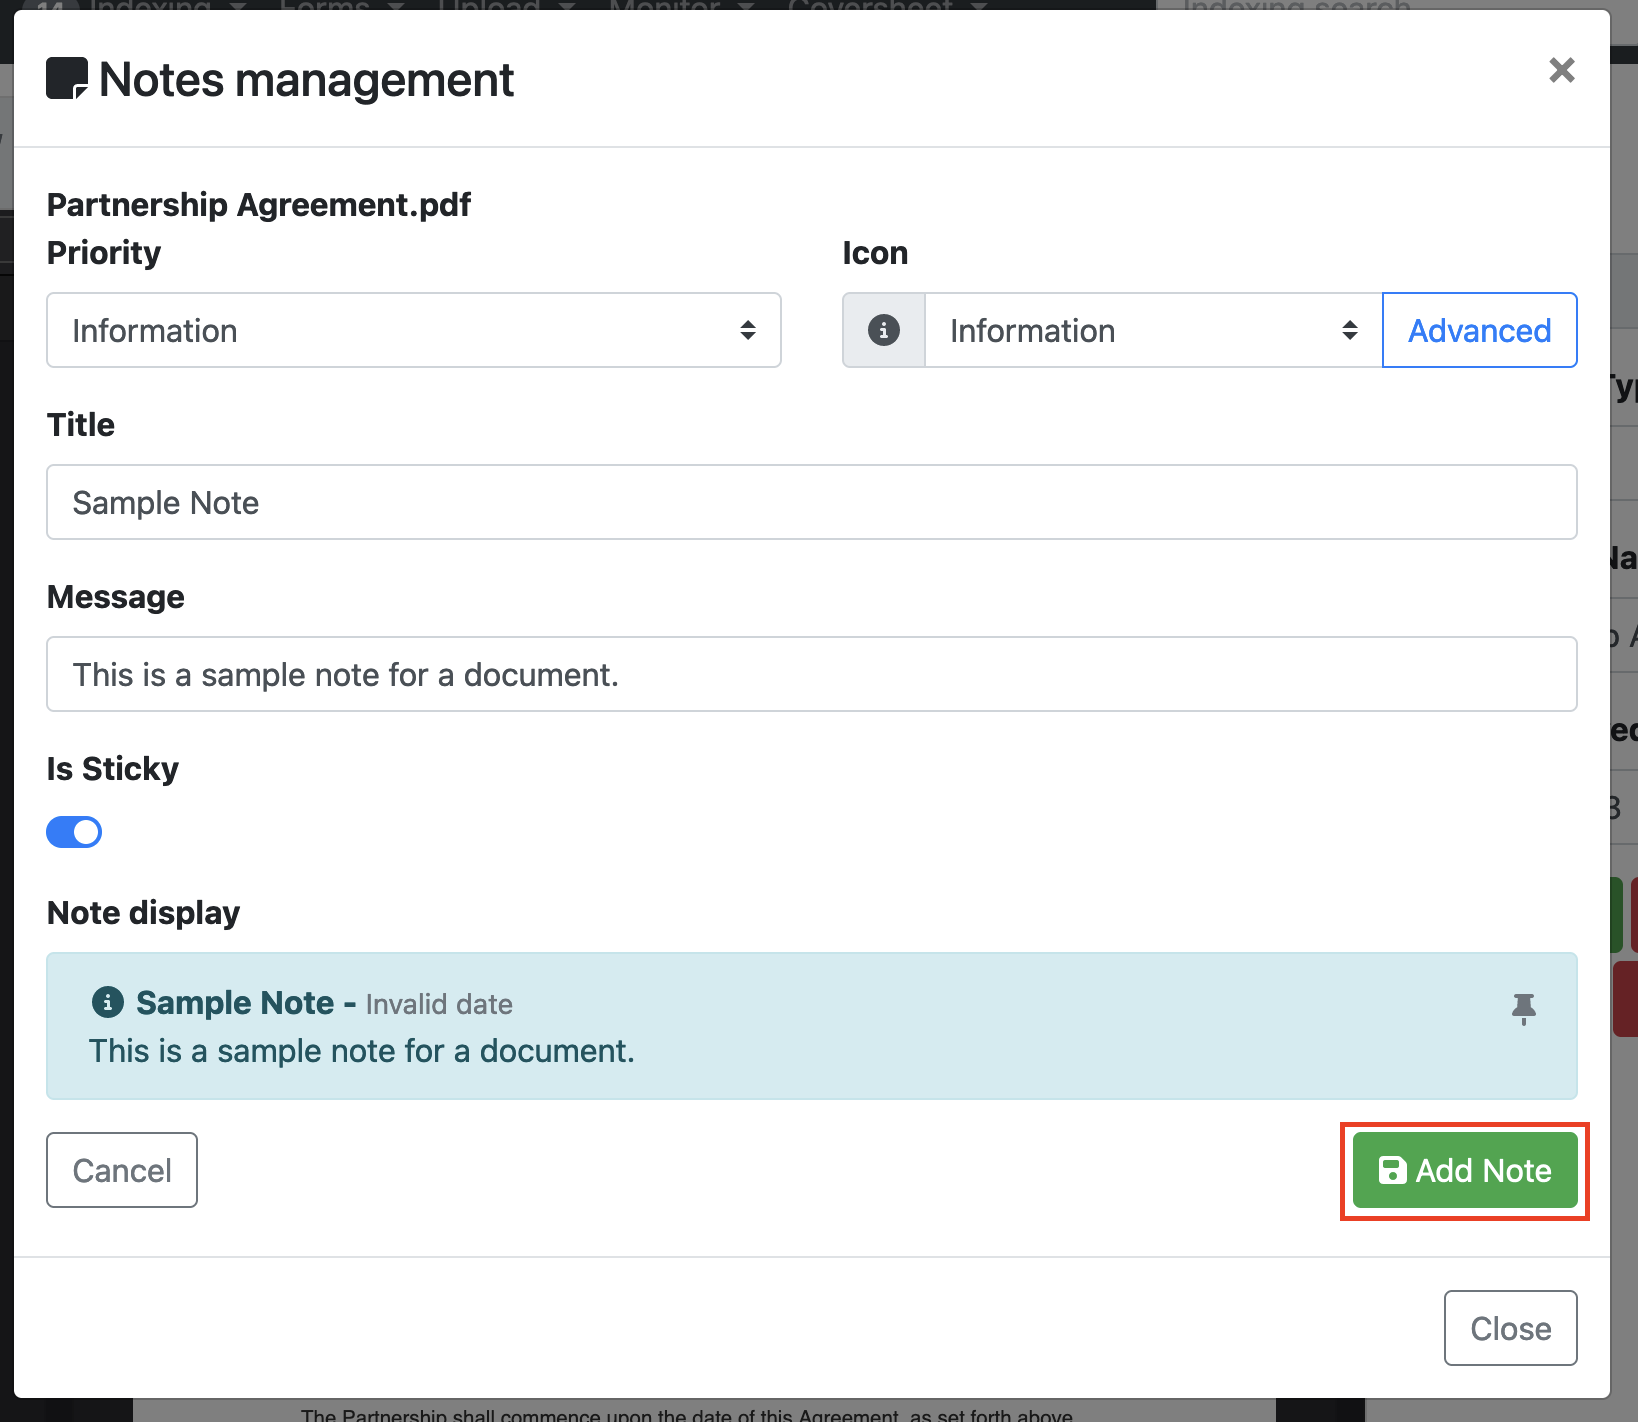
When satisfied with the note, click "Add Note" to add it to the document.
-
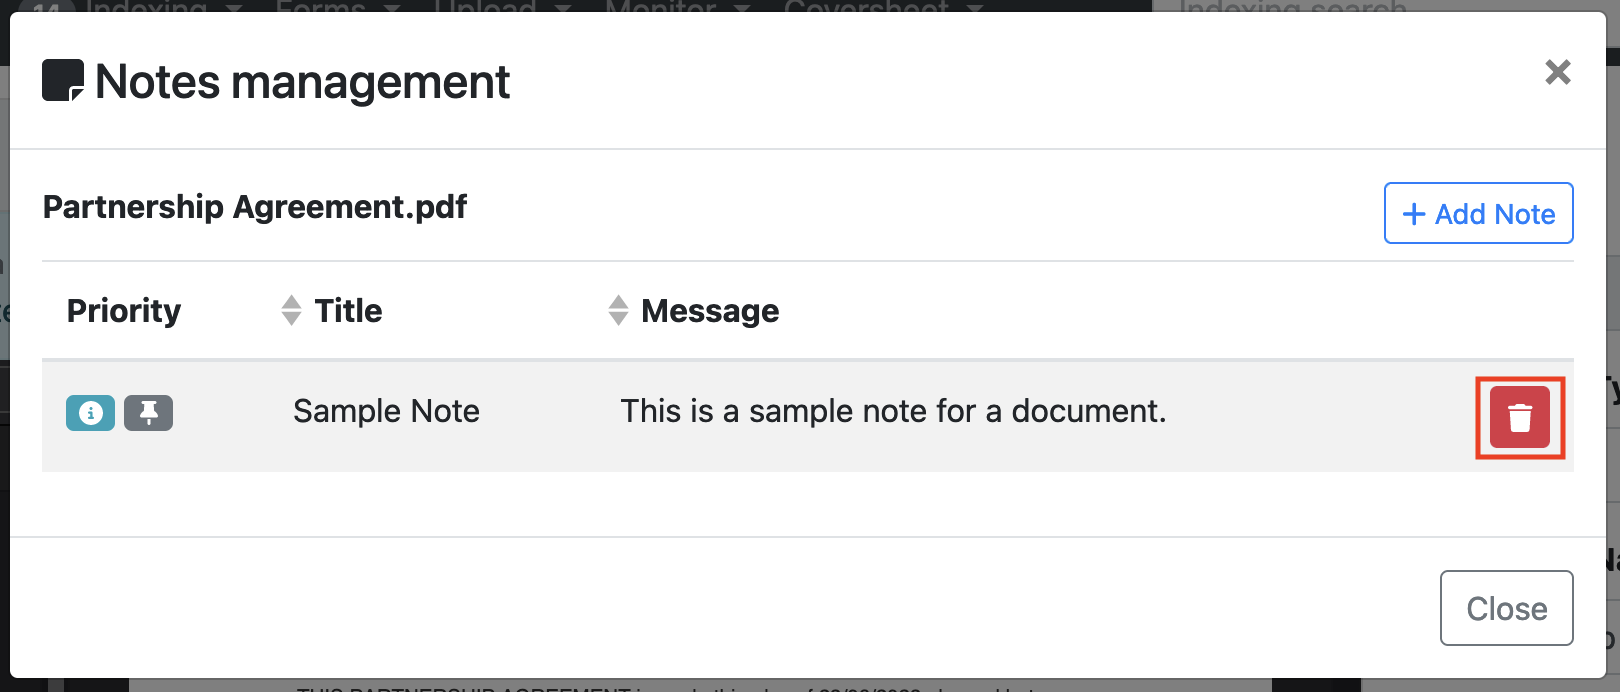
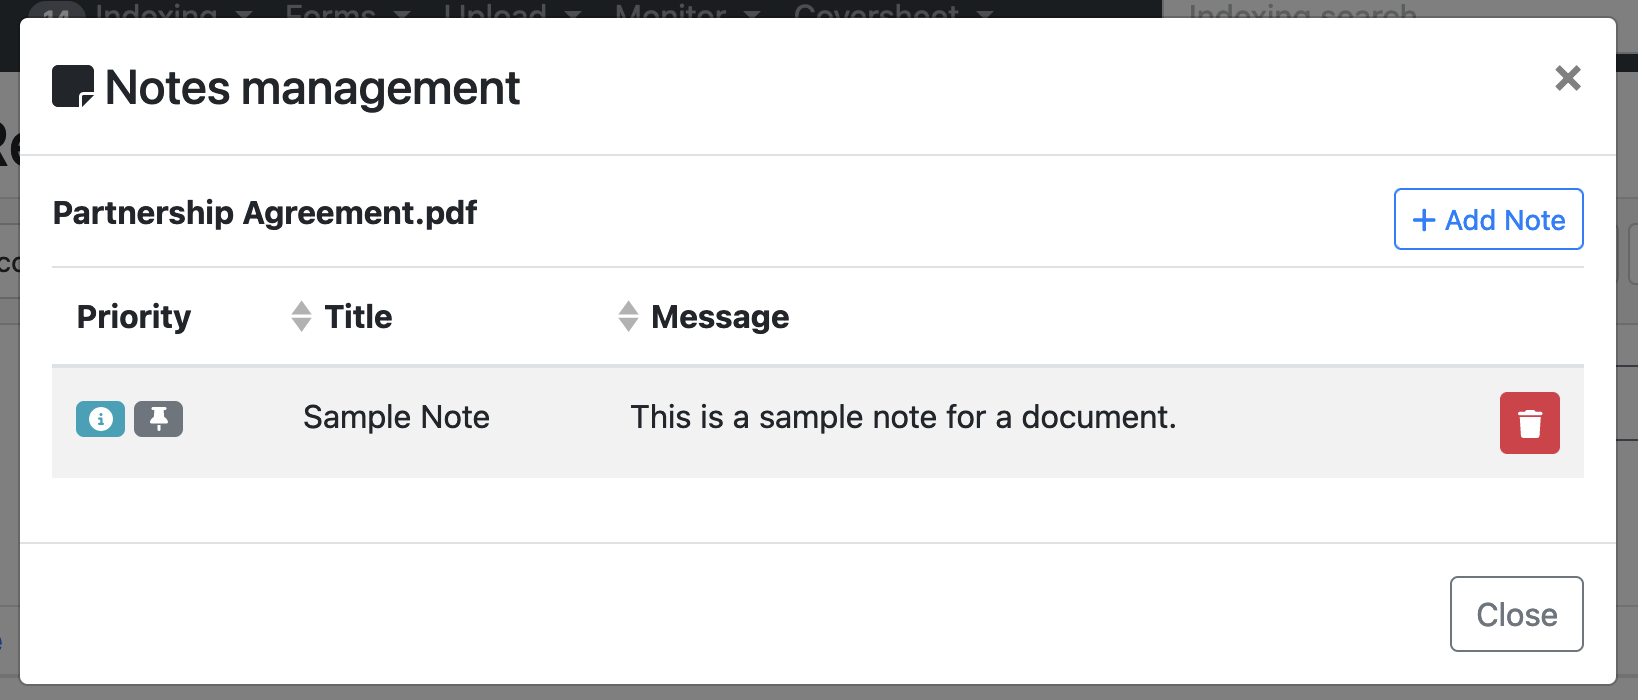
You can now see your note in the pop-up window. To delete this note, simply click on the red trash can icon.
-
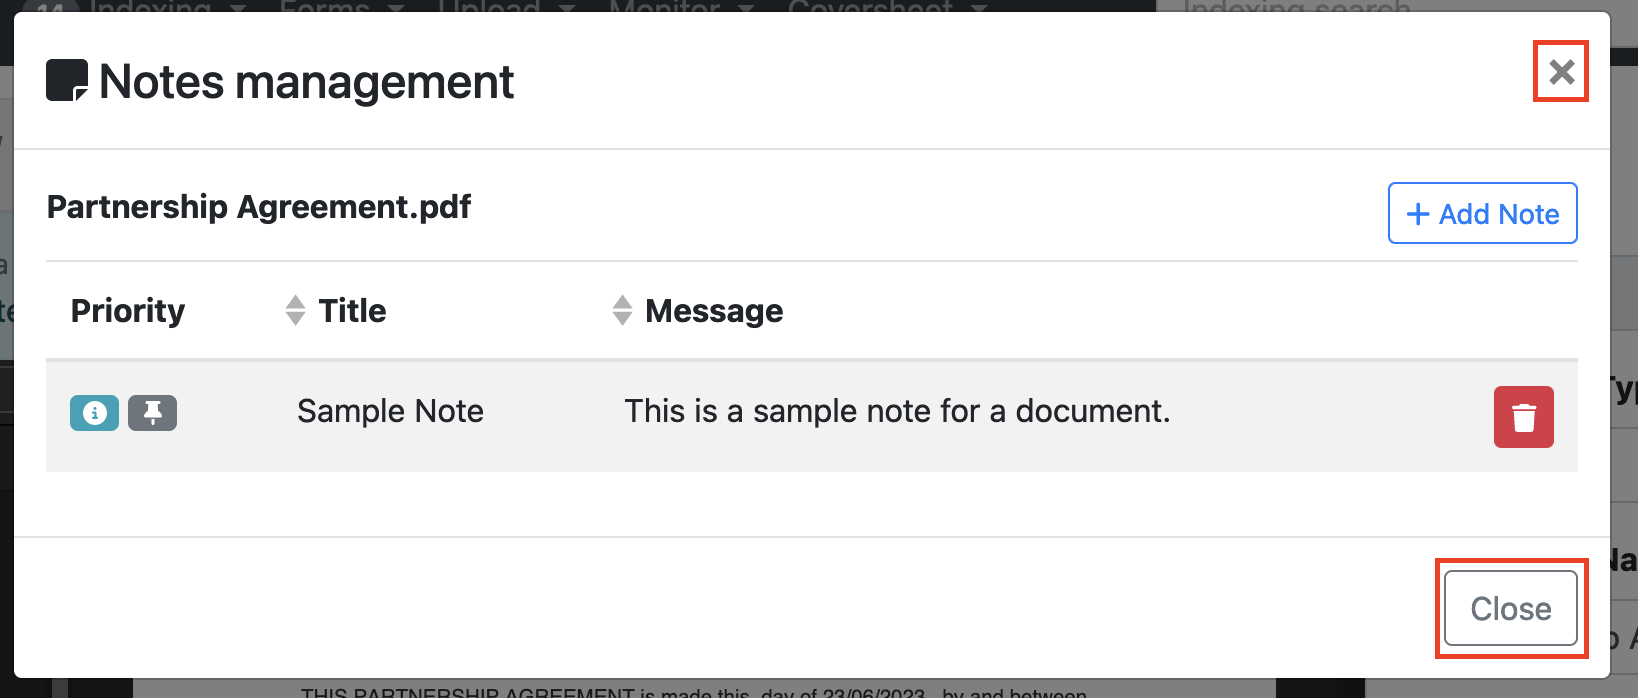
To close the note window and return to the indexing page, select the “close” button or the “x”.
-
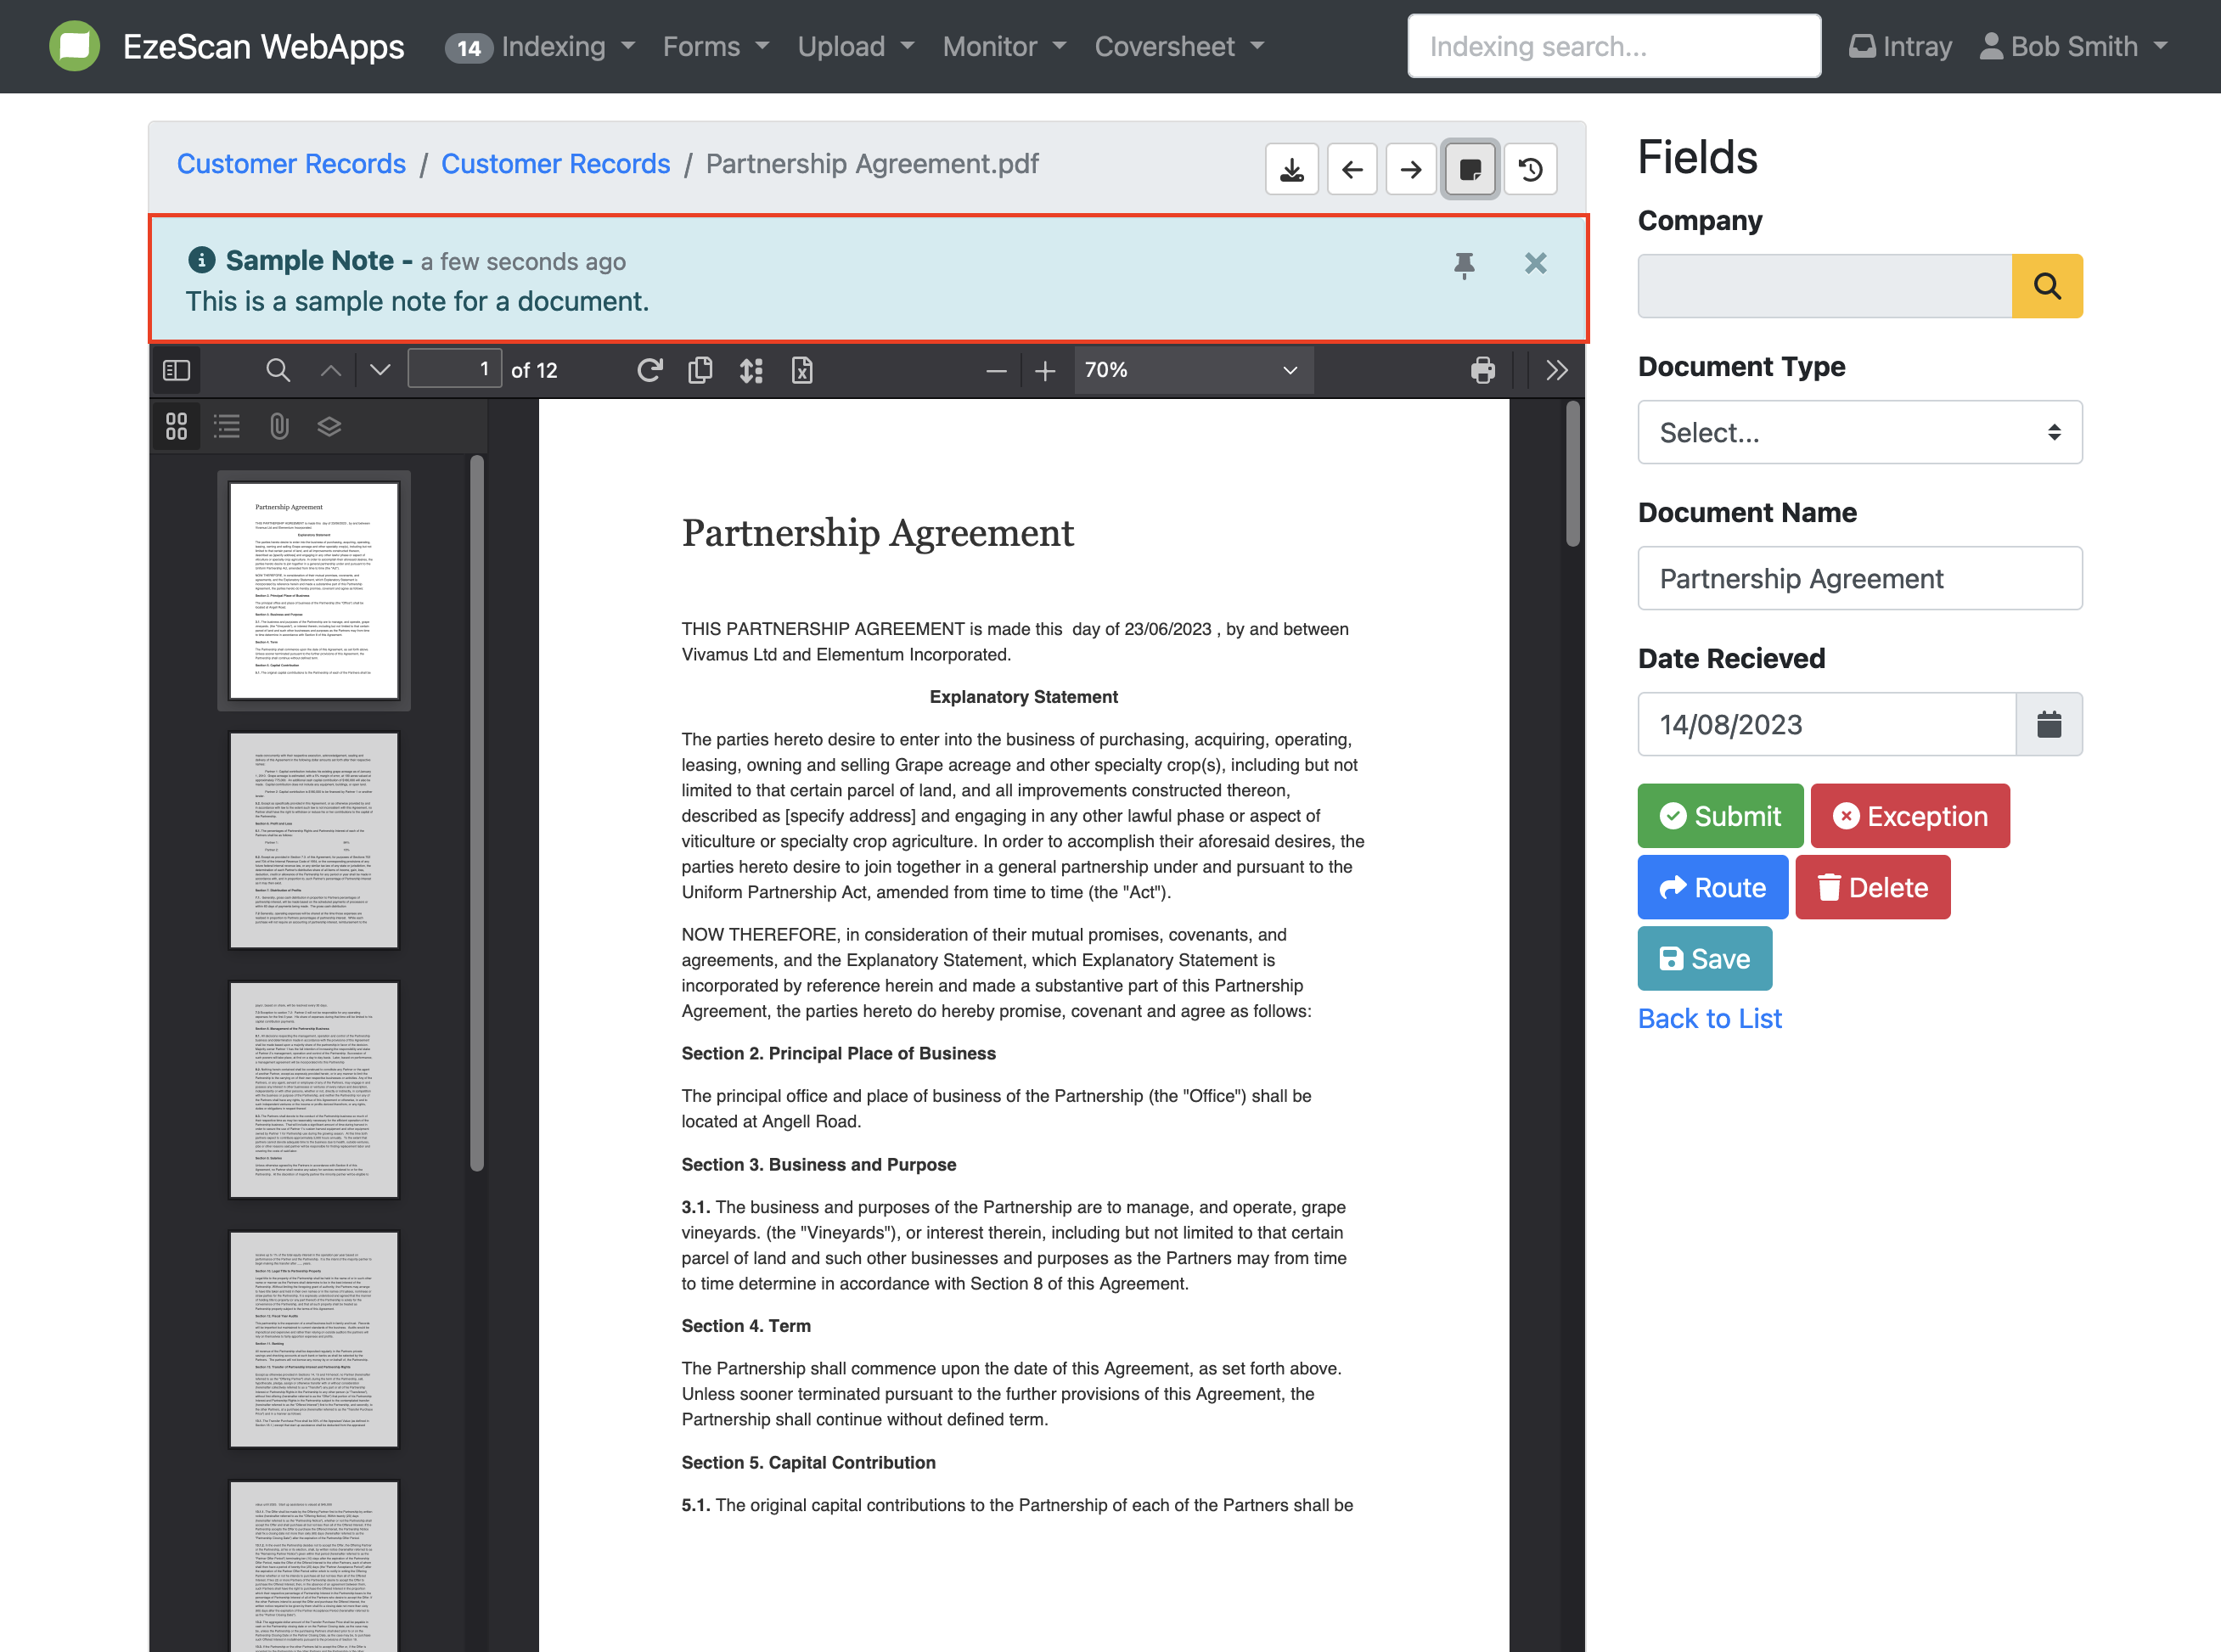
The note will now appear at the top of the document. Dismissing the note with the "x" button will hide it temporarily, but it will reappear when the document is reviewed.
-
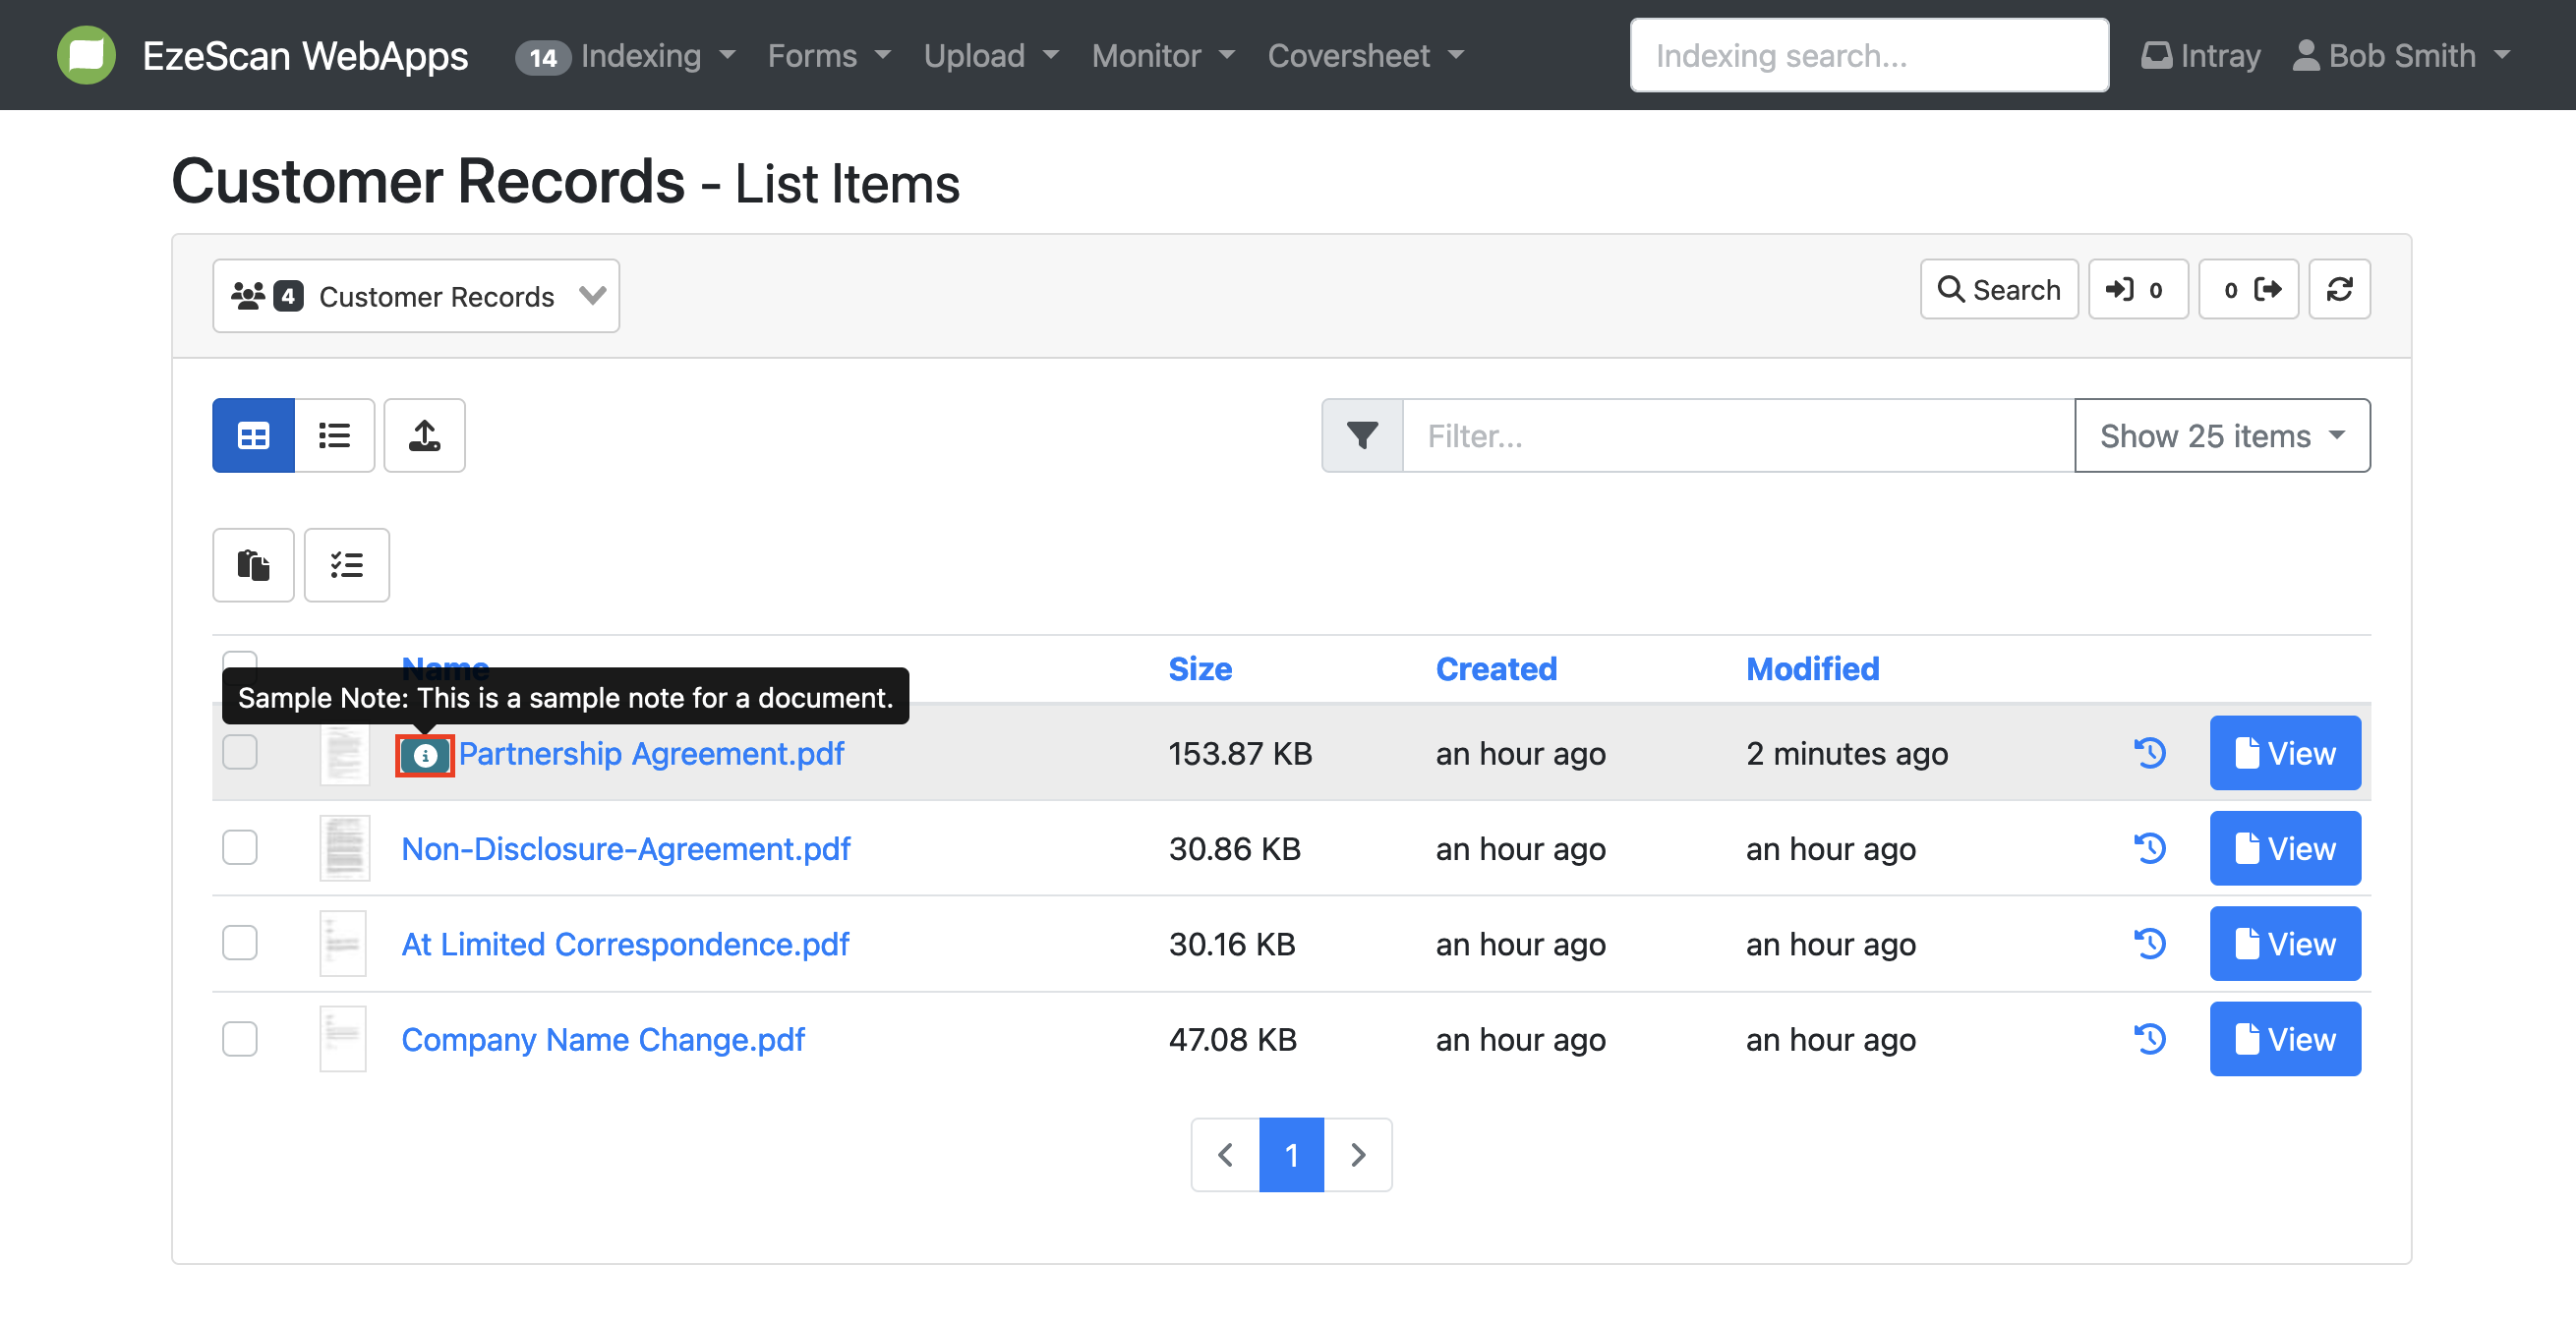
In the processing queue, you will notice the colour and note icon displayed before the document name. When hovering over the note icon, the title and message of the note will appear.
-
Alternatively, clicking on the note will redirect you to the notes management screen.
How to view document history
-
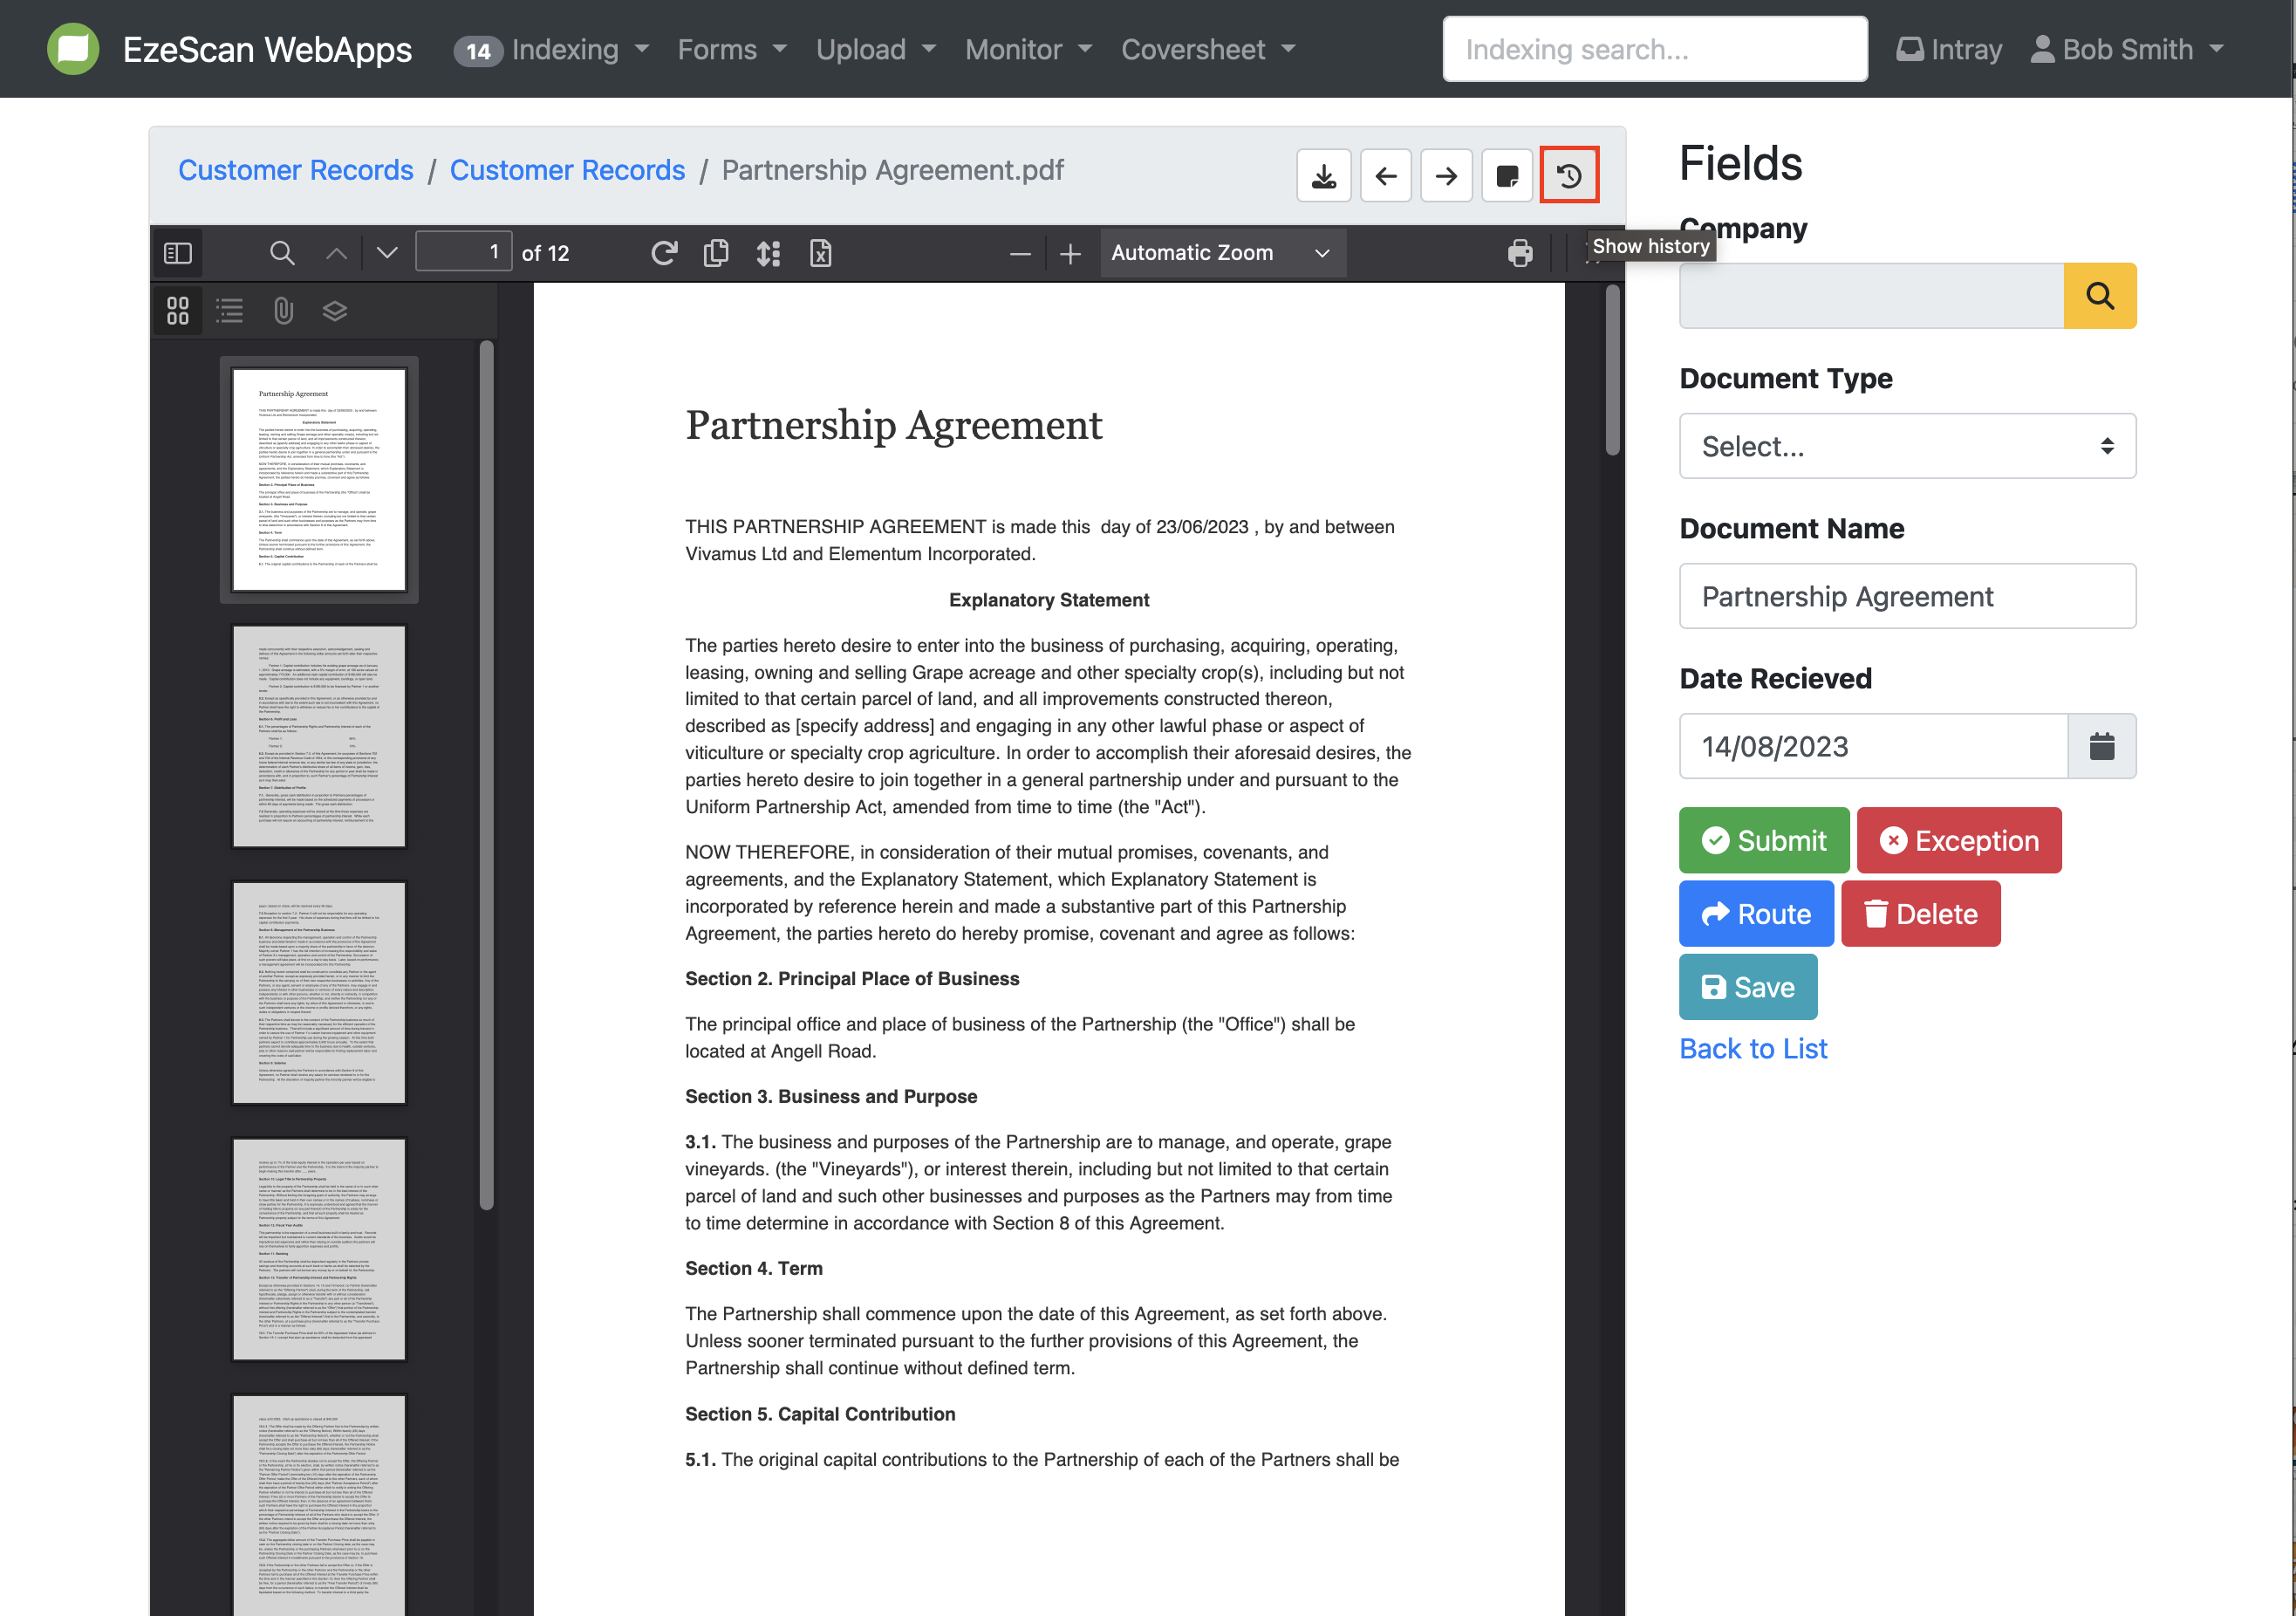
To view the history of a document, select the clock arrow button next to the view button.
-
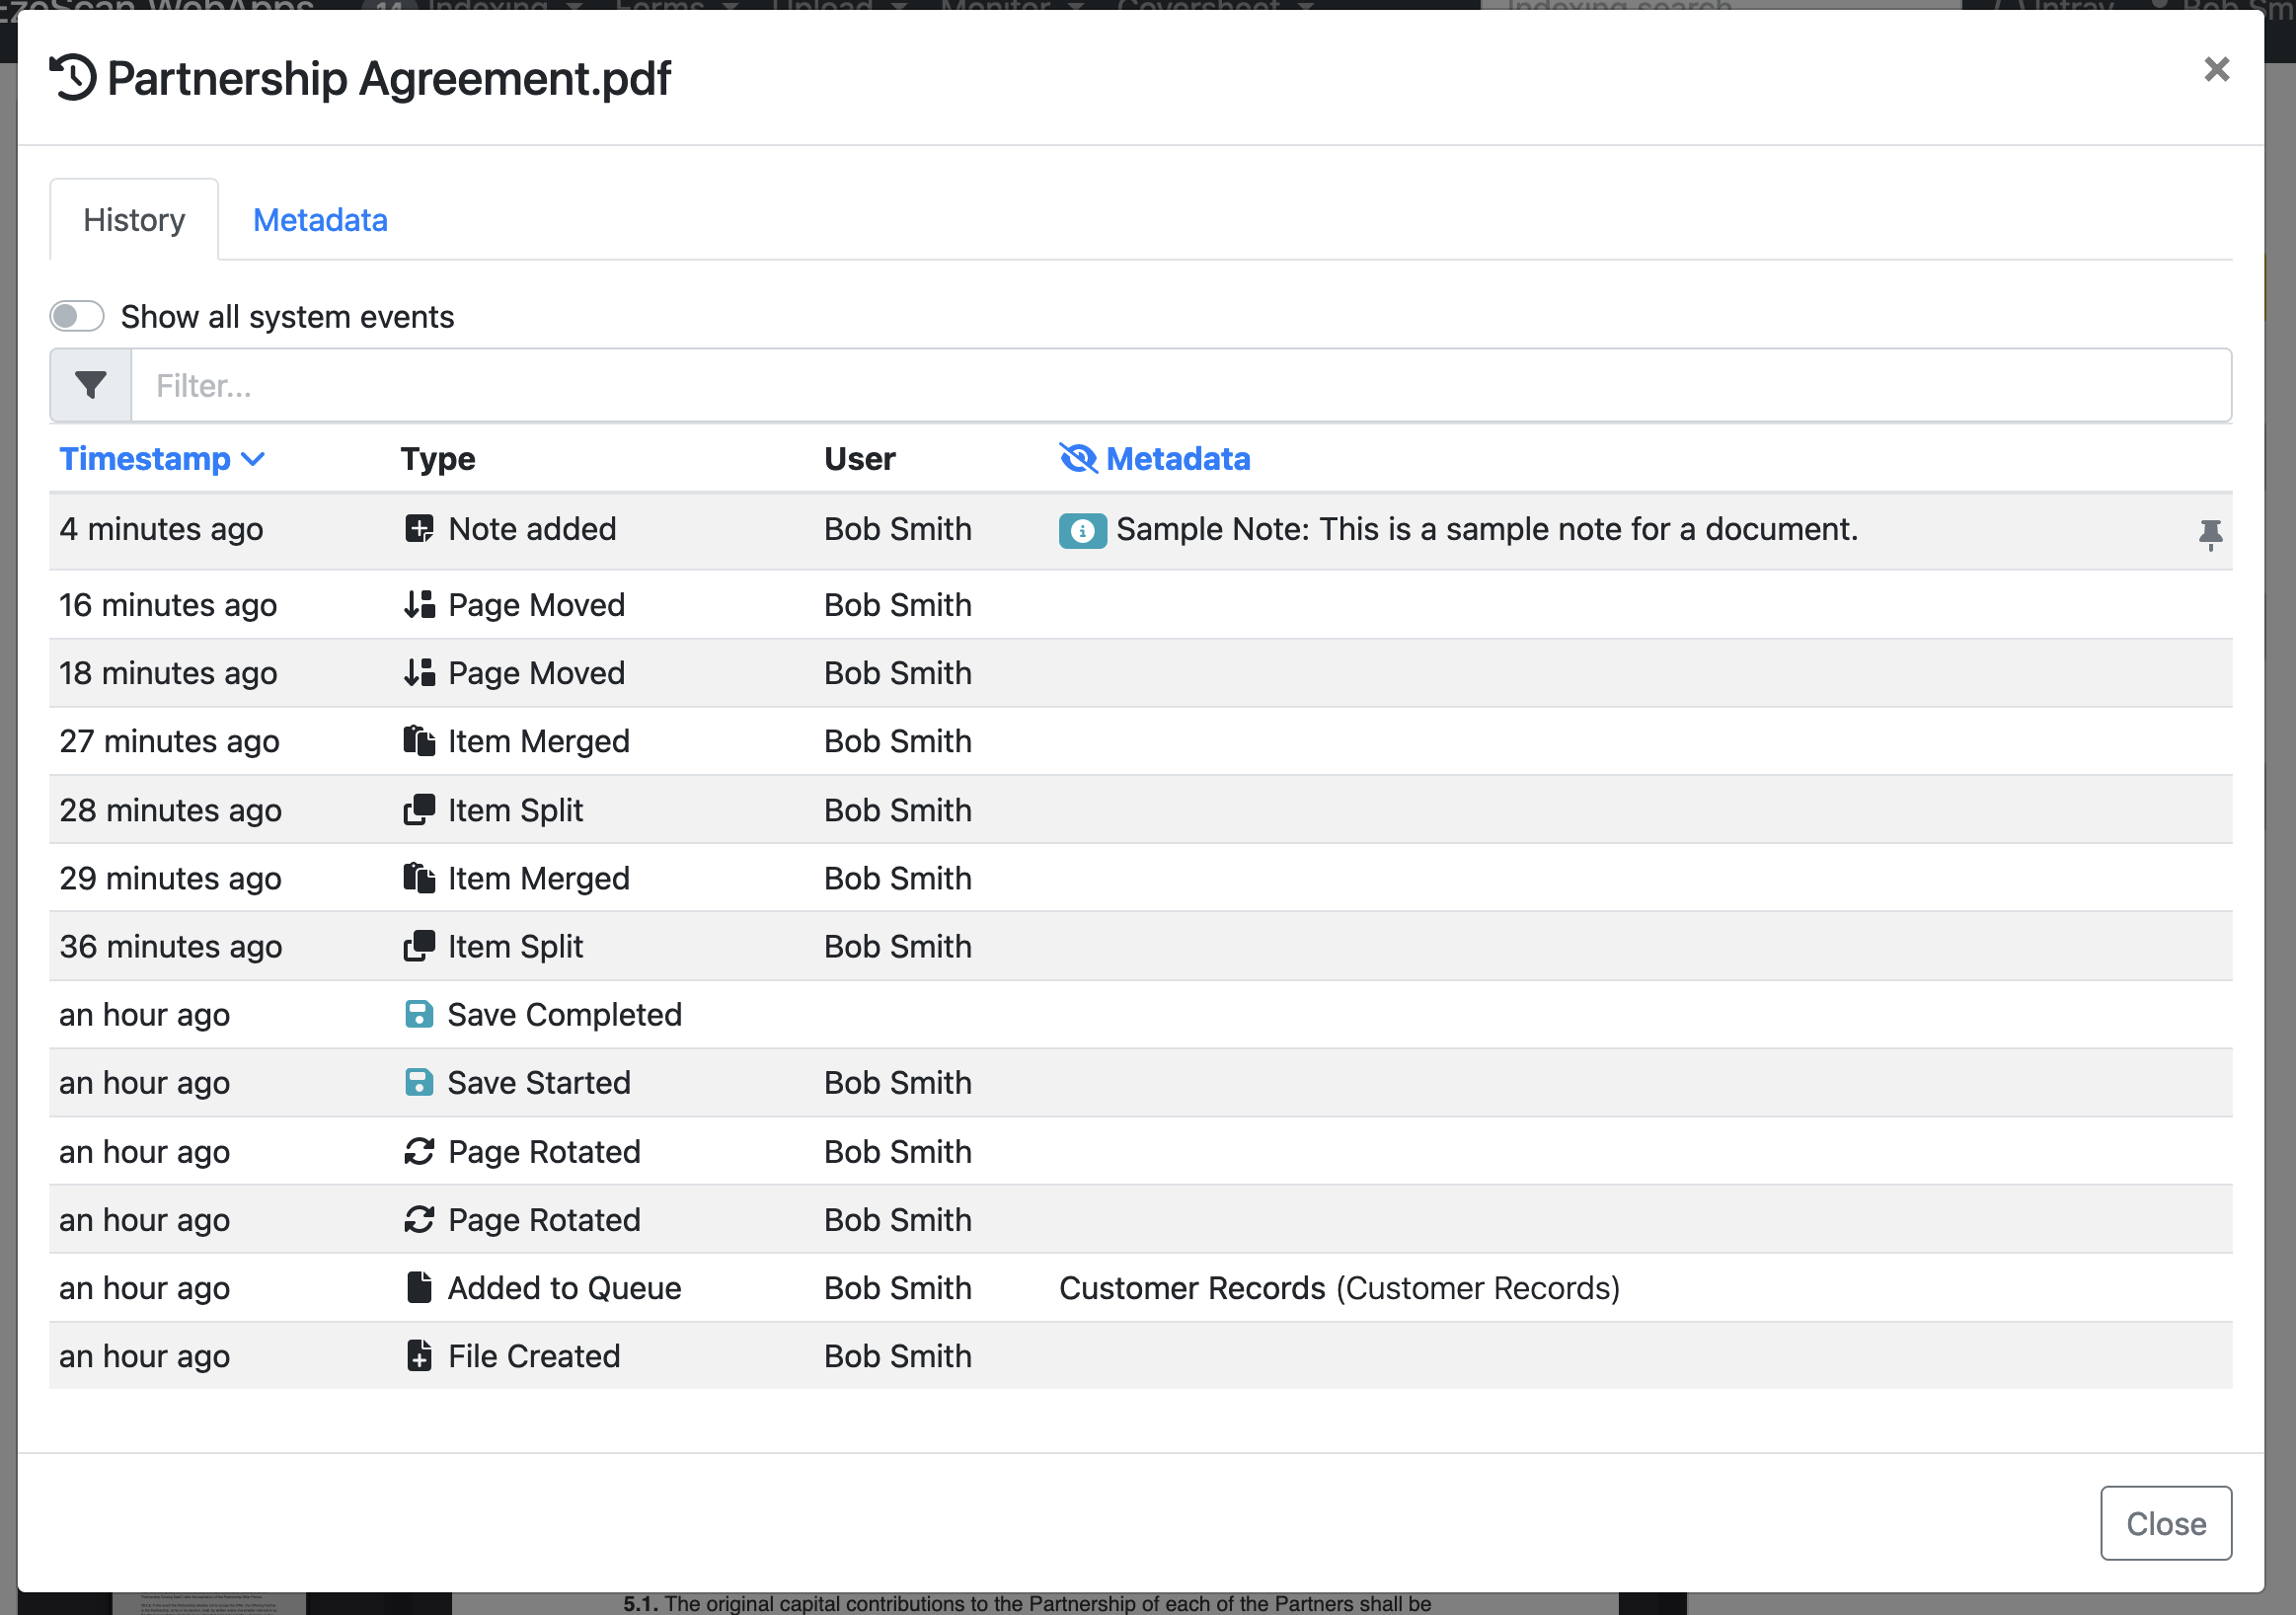
A window will appear with a list of events that has occurred with a timestamp, the type of action that occurred, who preformed the action and any associated metadata.
-
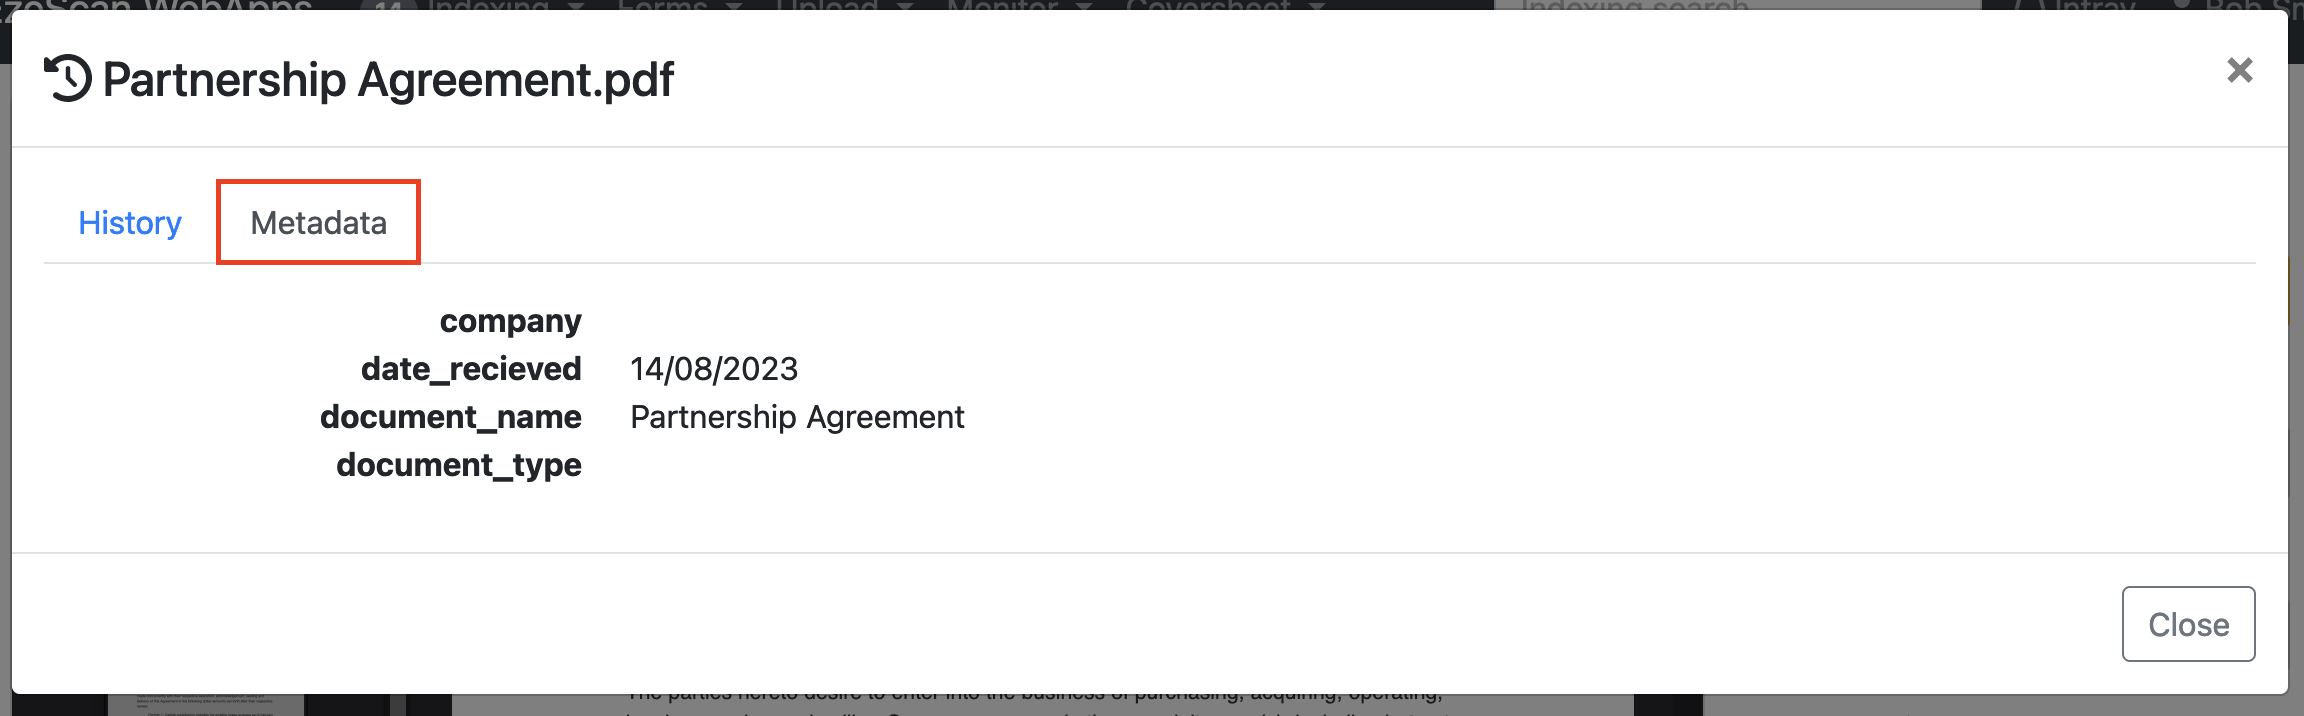
You can also select the “Metadata” tab to view the documents metadata currently extracted.
Video Tutorial: https://youtu.be/SJS799IhxUY