-
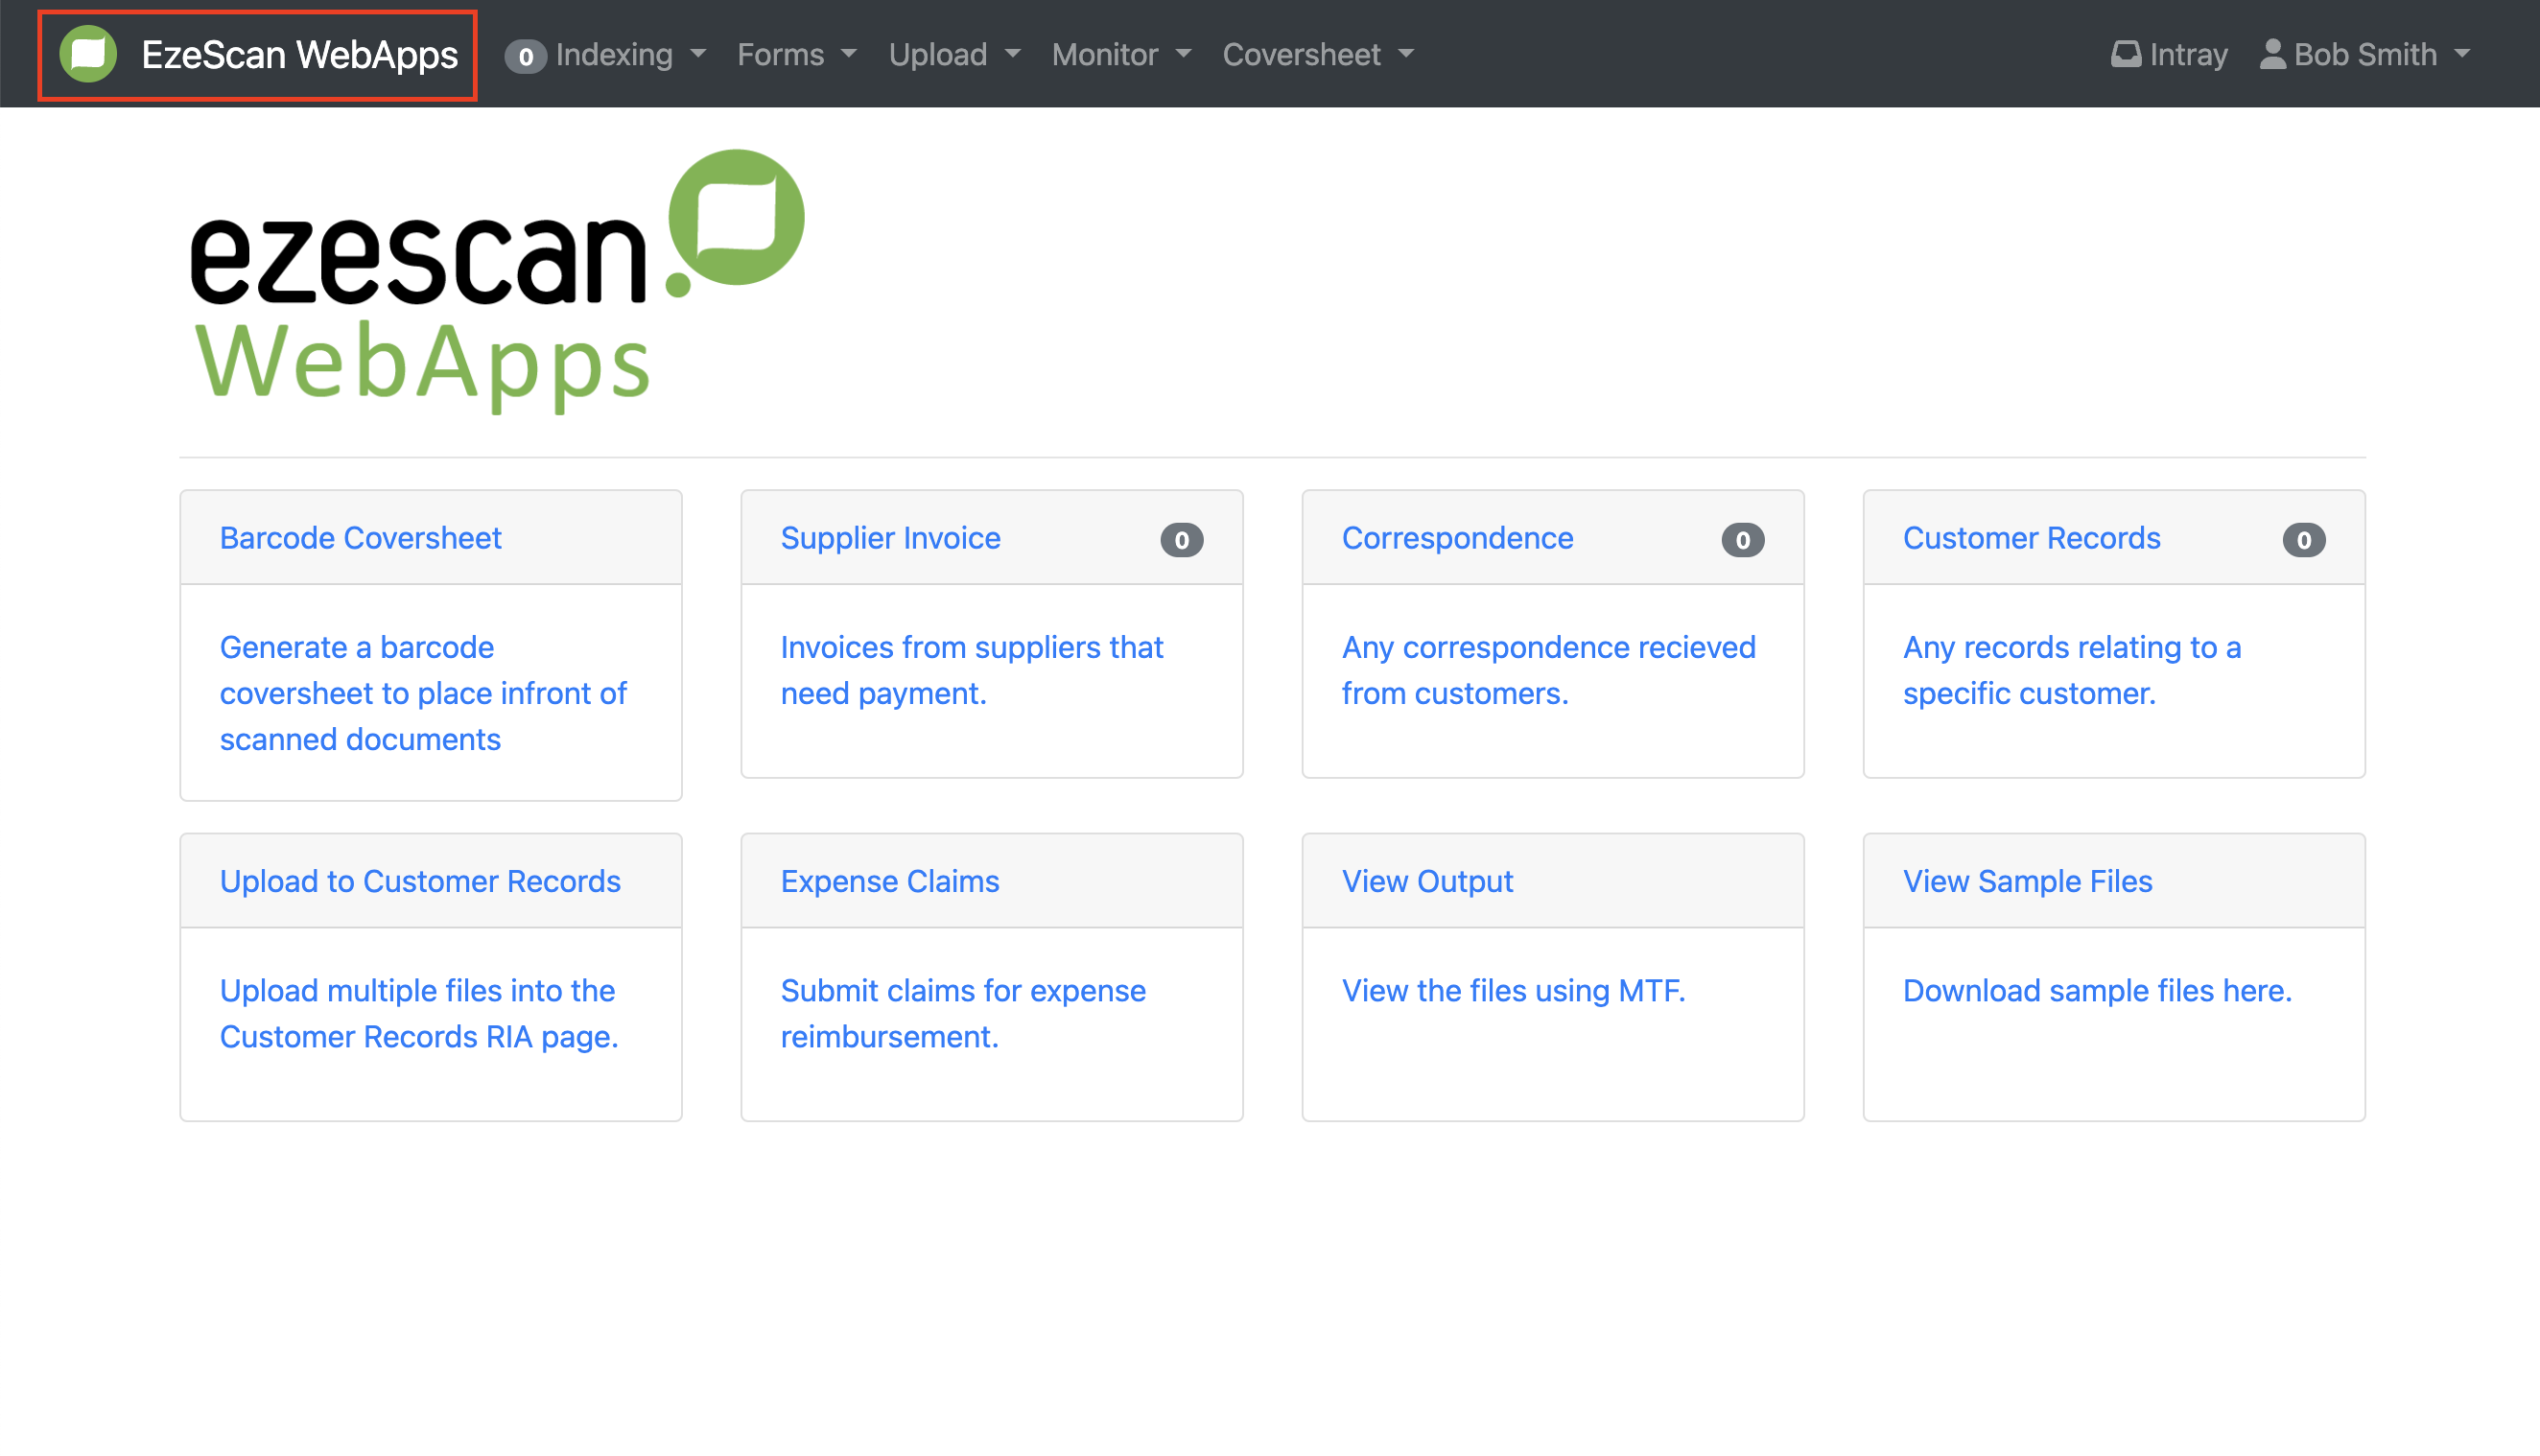
This is the Homepage for EzeScan WebApps and can be accessed at any time by clicking on the EzeScan WebApps logo located in the top left corner.
-
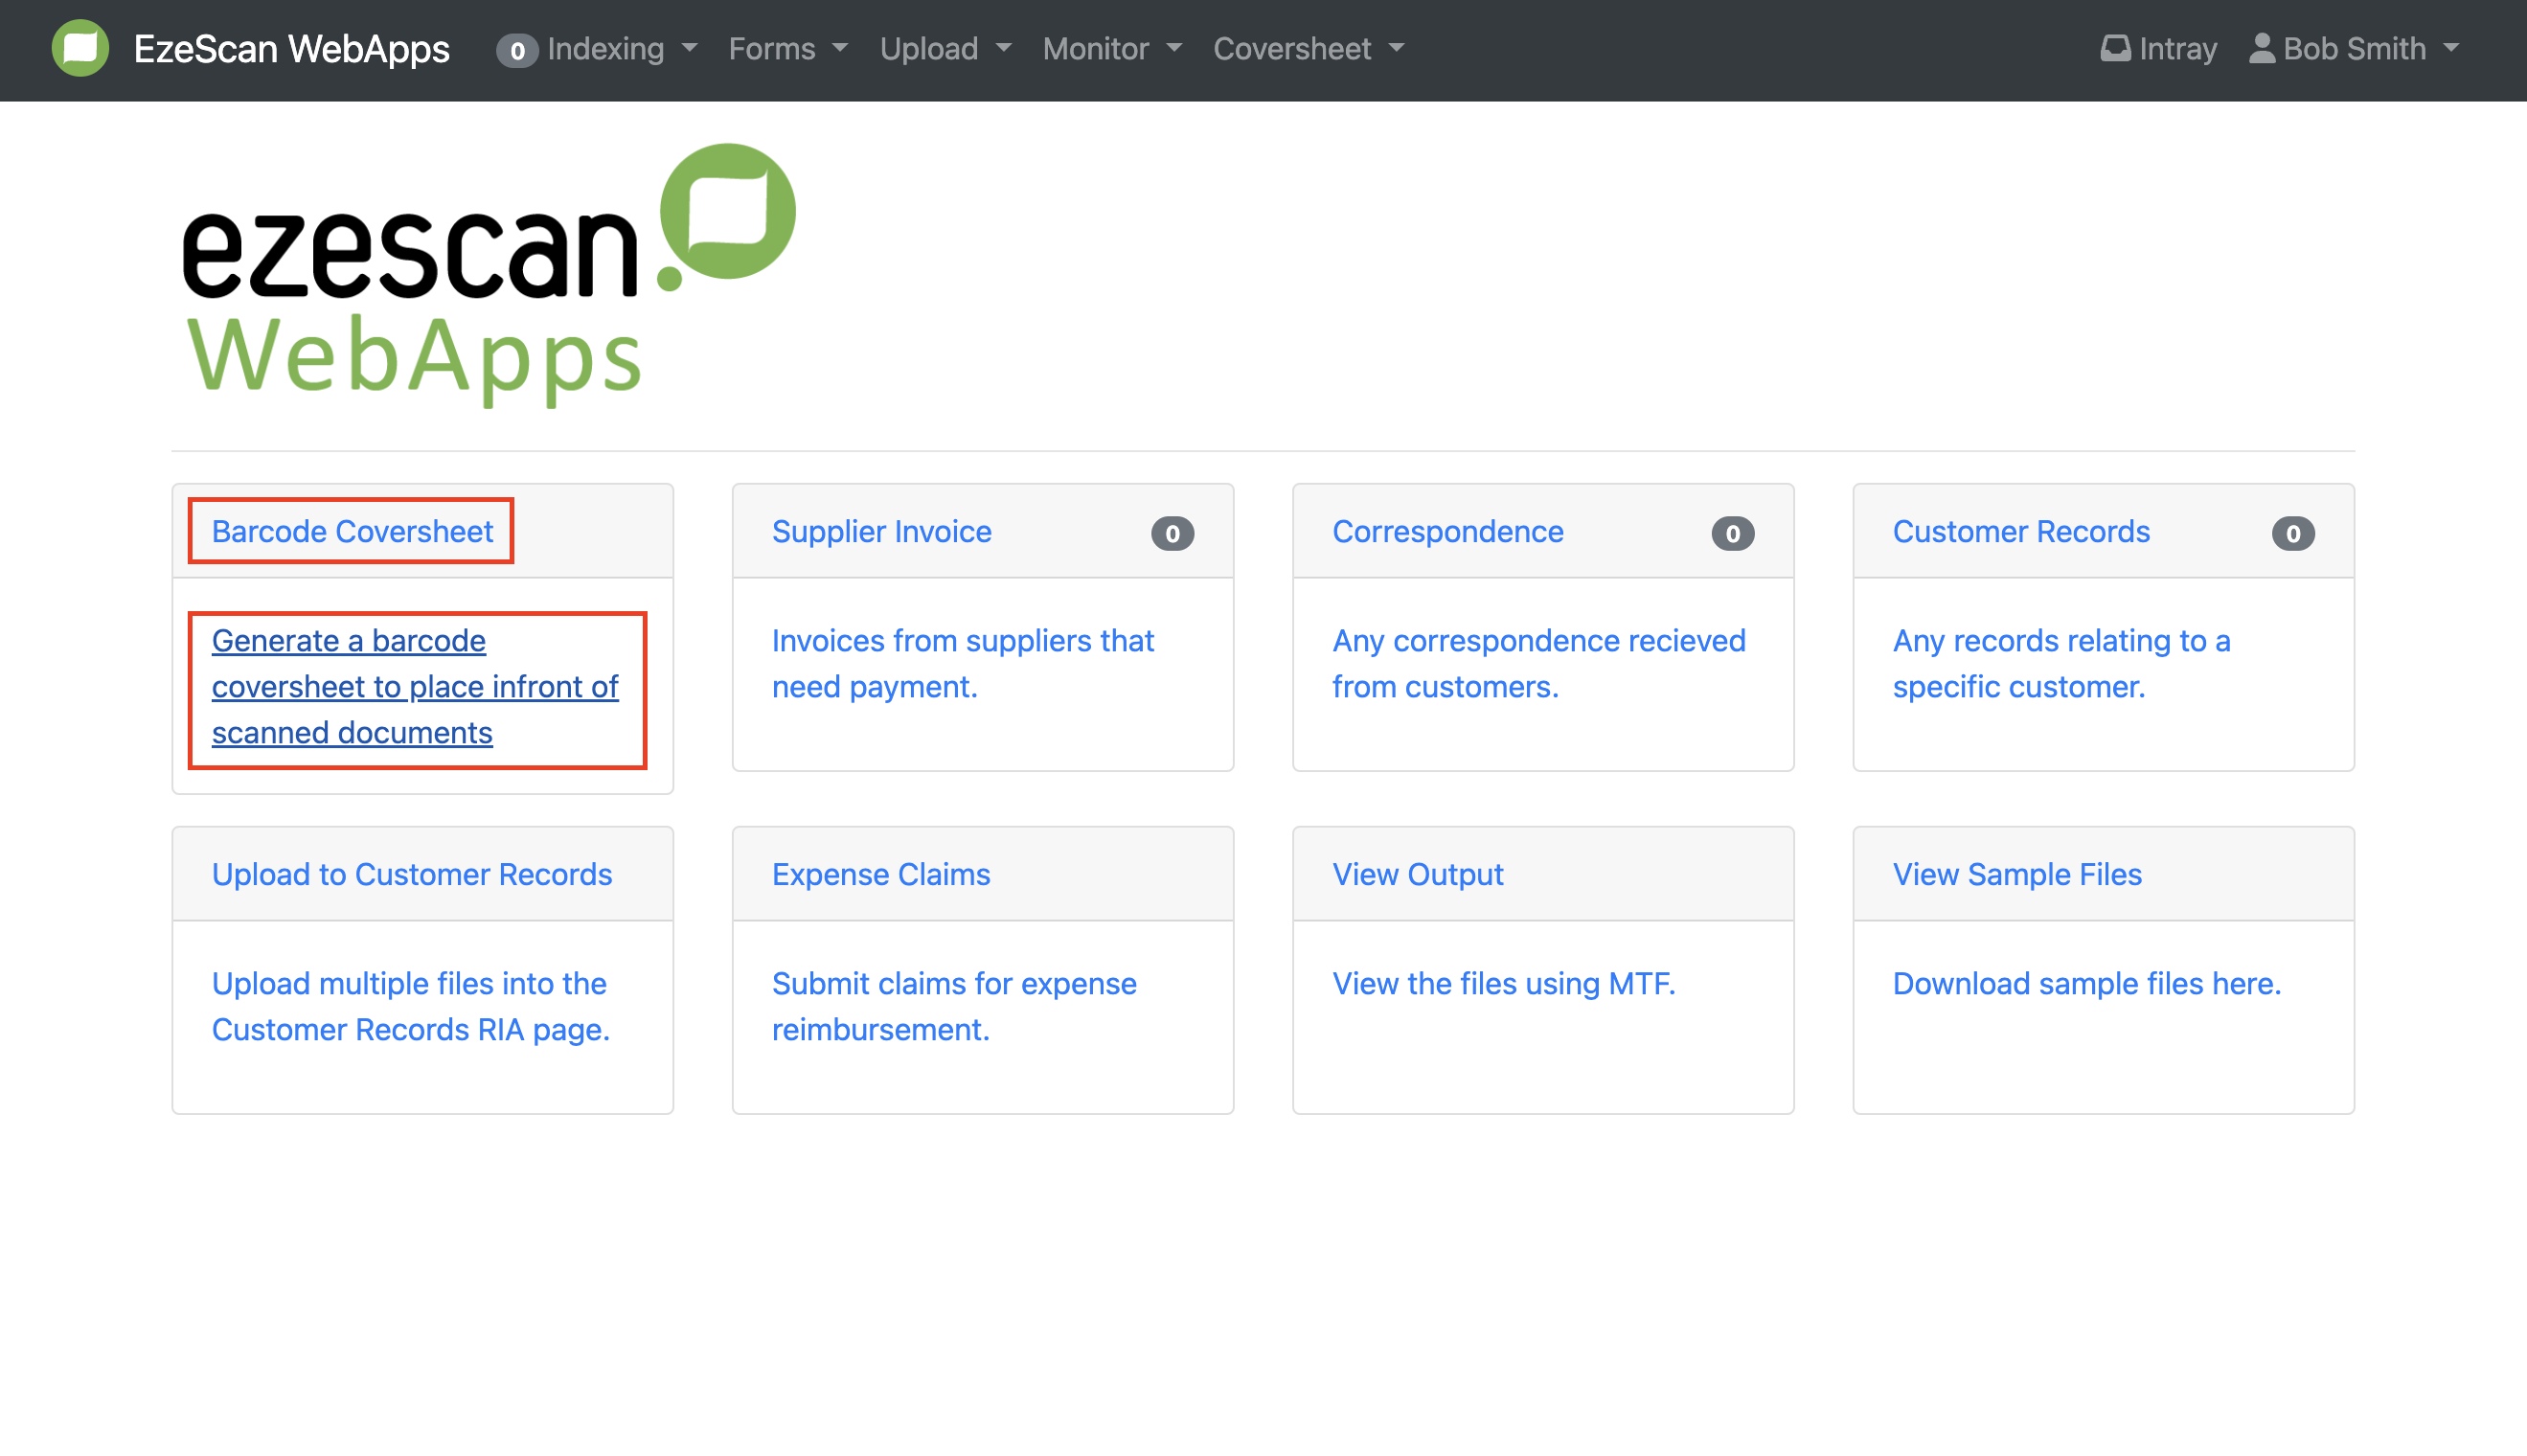
On the homepage, you will find a collection of clickable tiles. These tiles correspond to different app pages or queues based on your organisation's configured workflows. By clicking on the blue text within a tile, you will be directed to the corresponding app page.
-
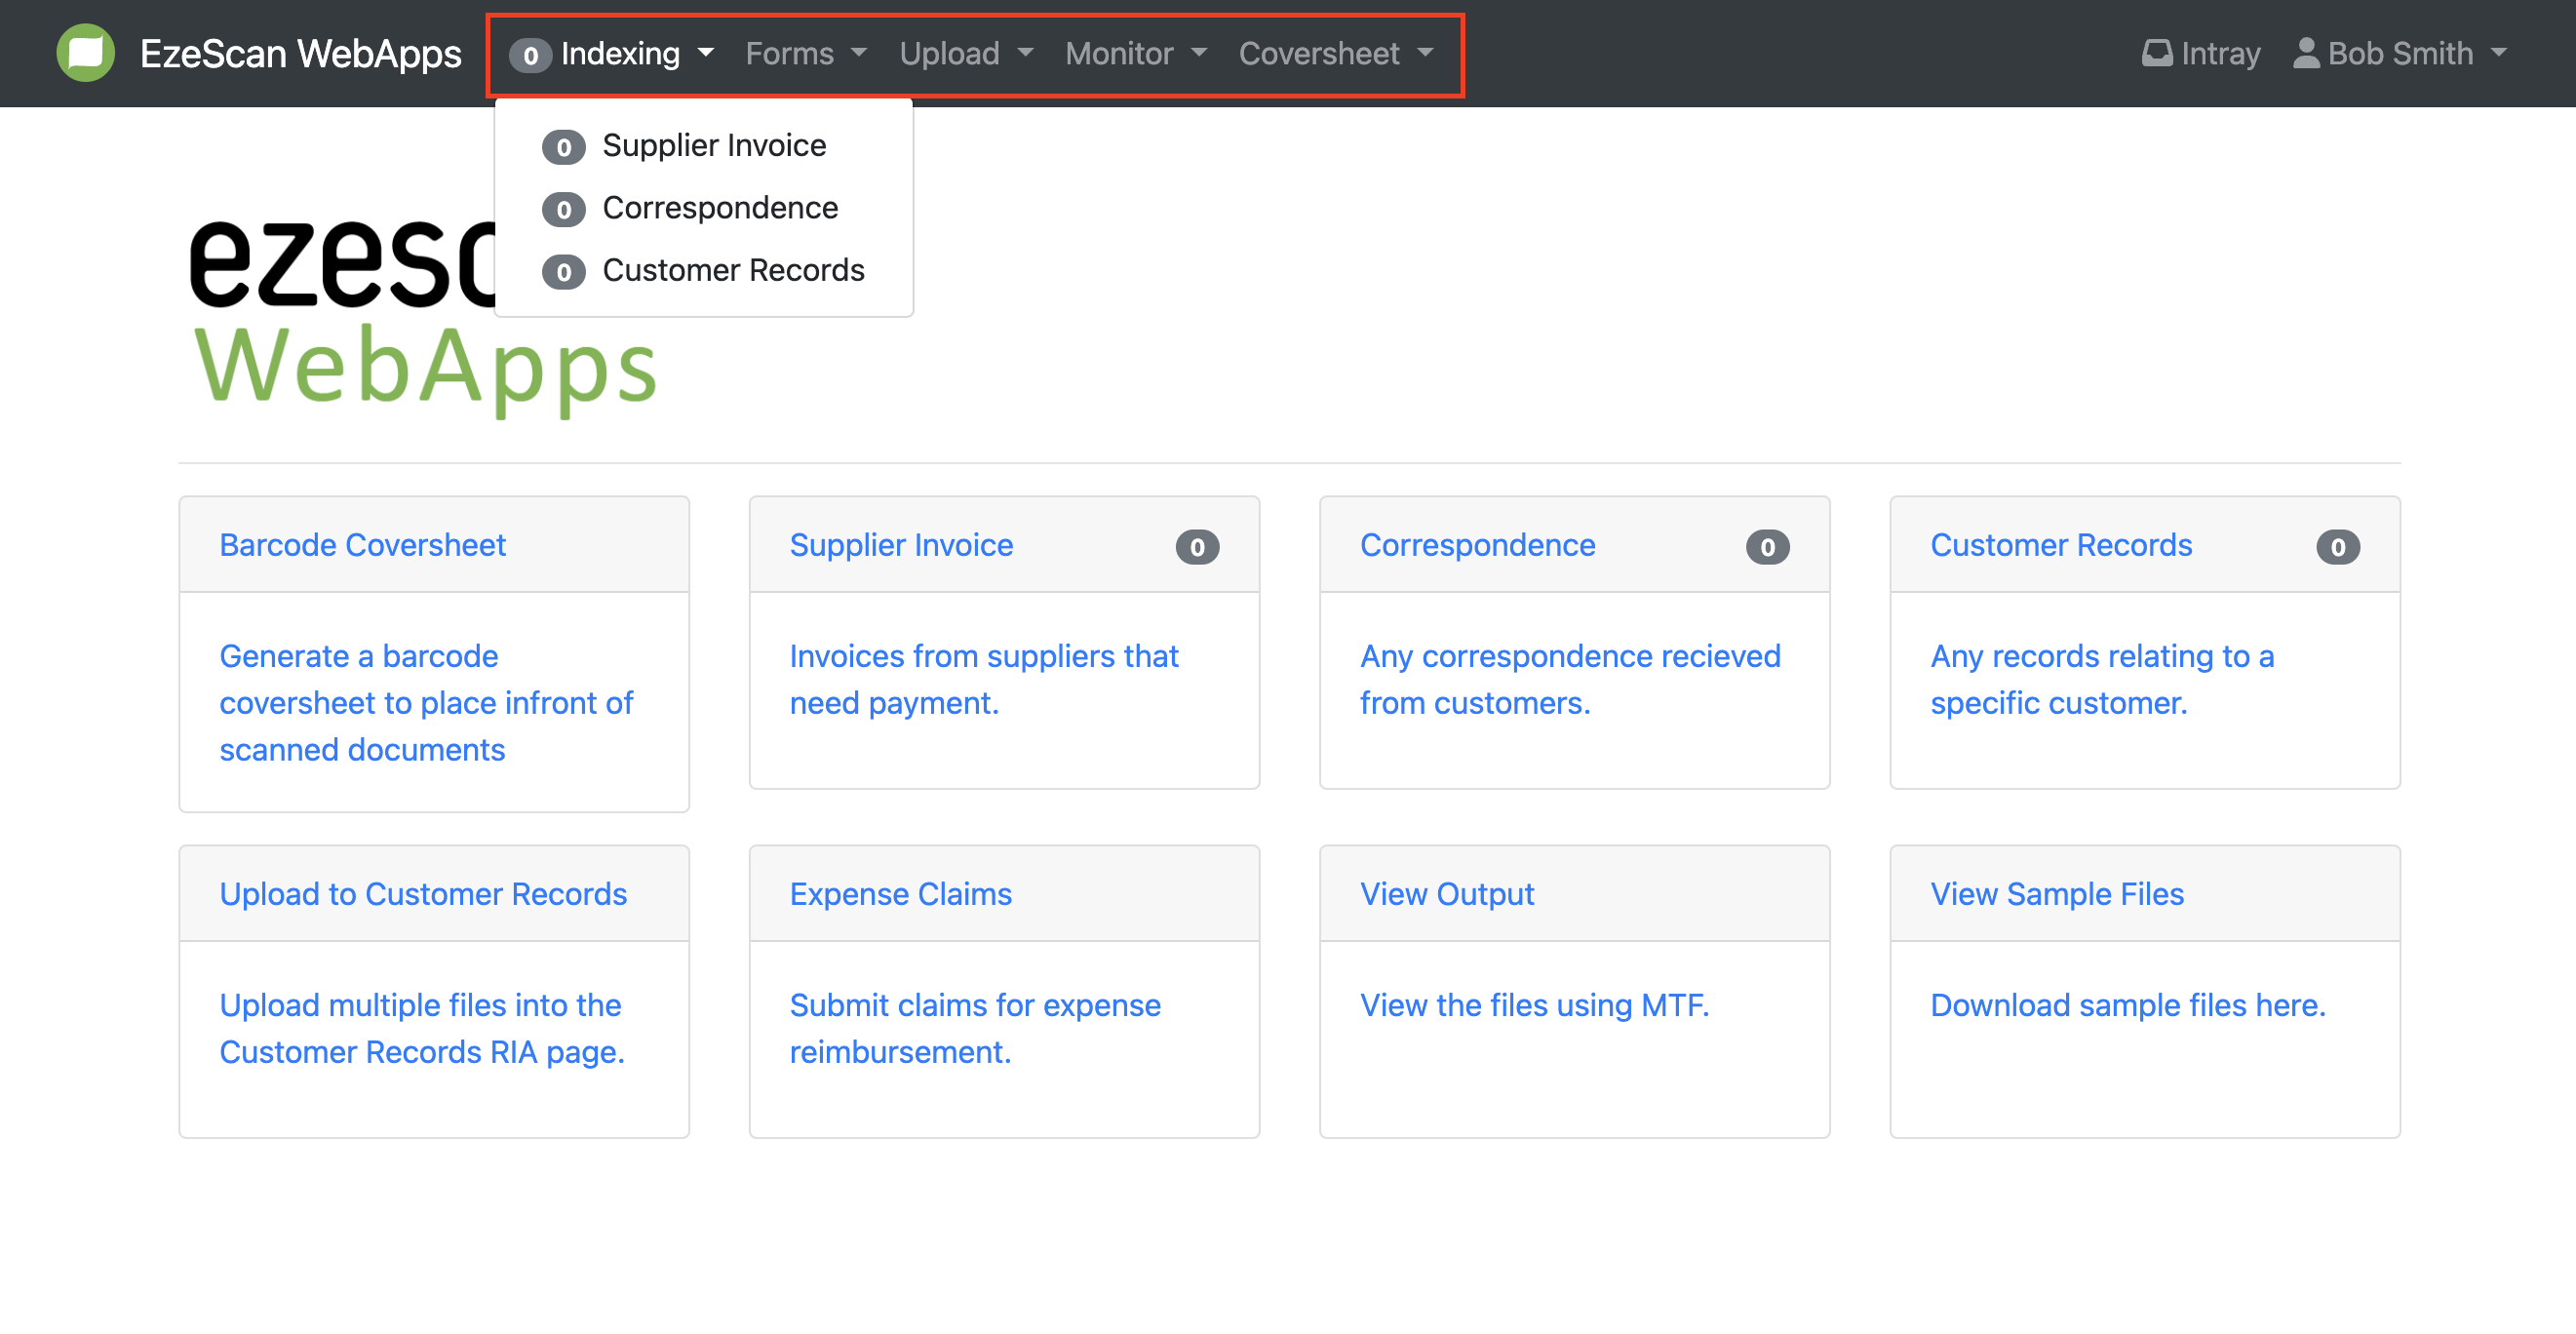
You can also access these app pages through the drop-down menus at the top of the page. To view the drop-down items, click on the respective menu item.
Explaining the Menu Items
-
Indexing: Under the Indexing menu item, you will find a selection of Indexing Queue Pages. These queues display a list of documents that require processing for a certain workflow. For example, the supplier invoices queue will display a list of invoices that need processing while the correspondence queue will display a list of incoming correspondence that needs processing.

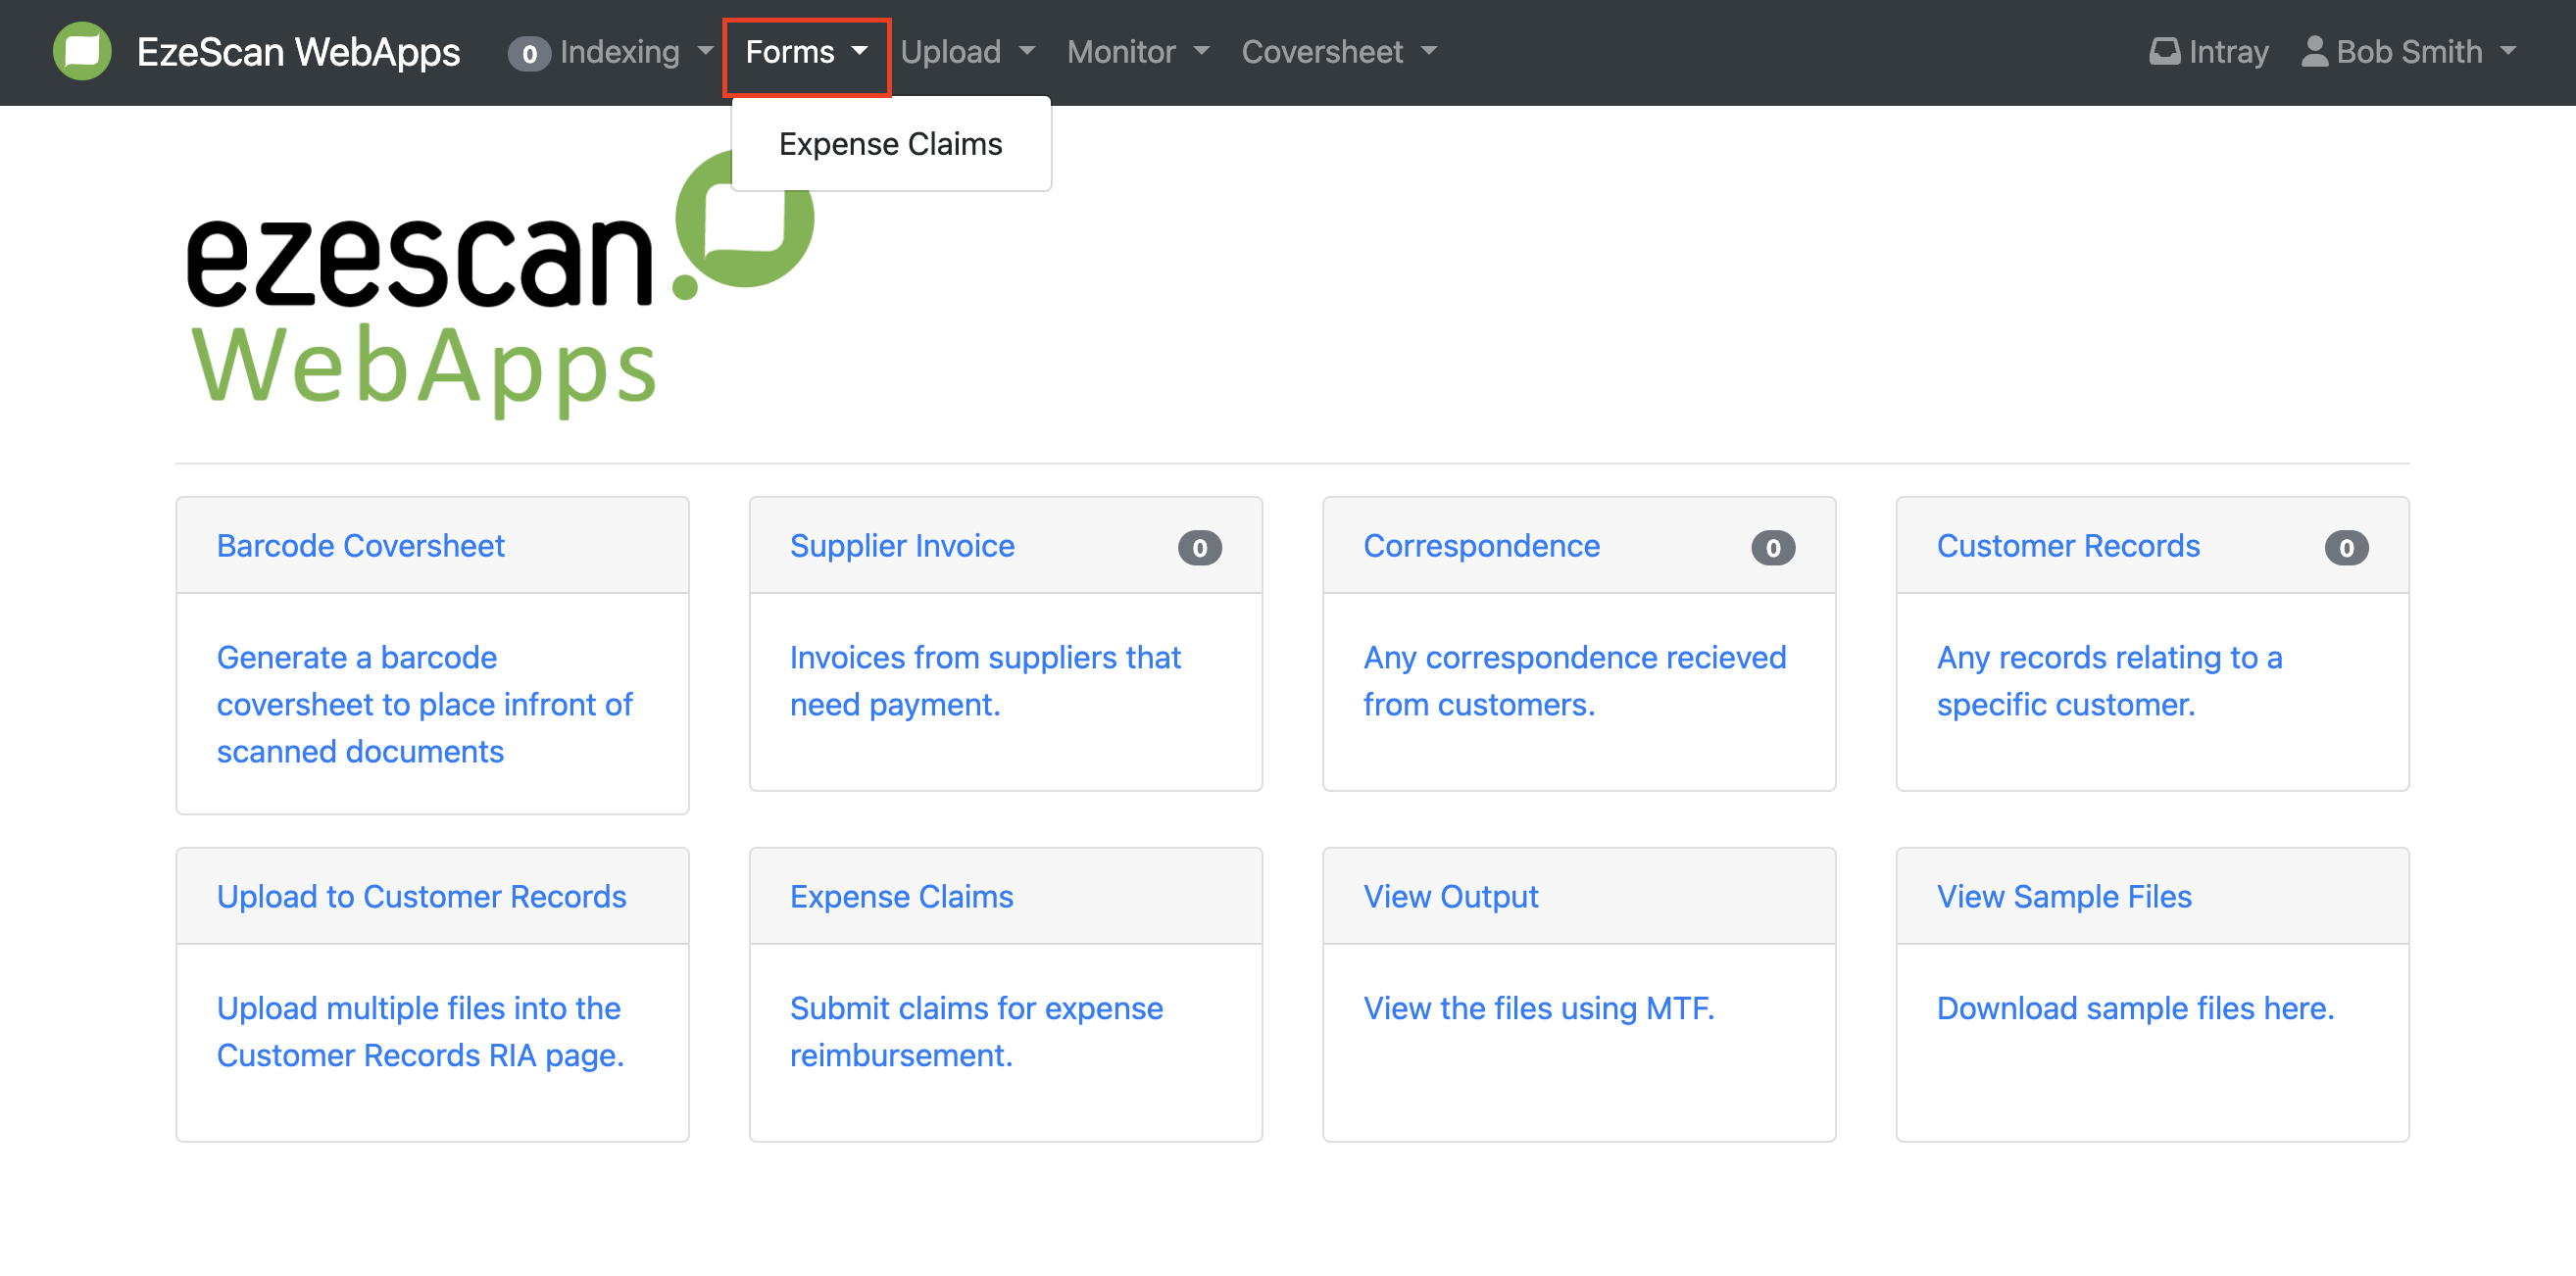
2. Forms: This menu item displays any configured online form page for data submission.
-
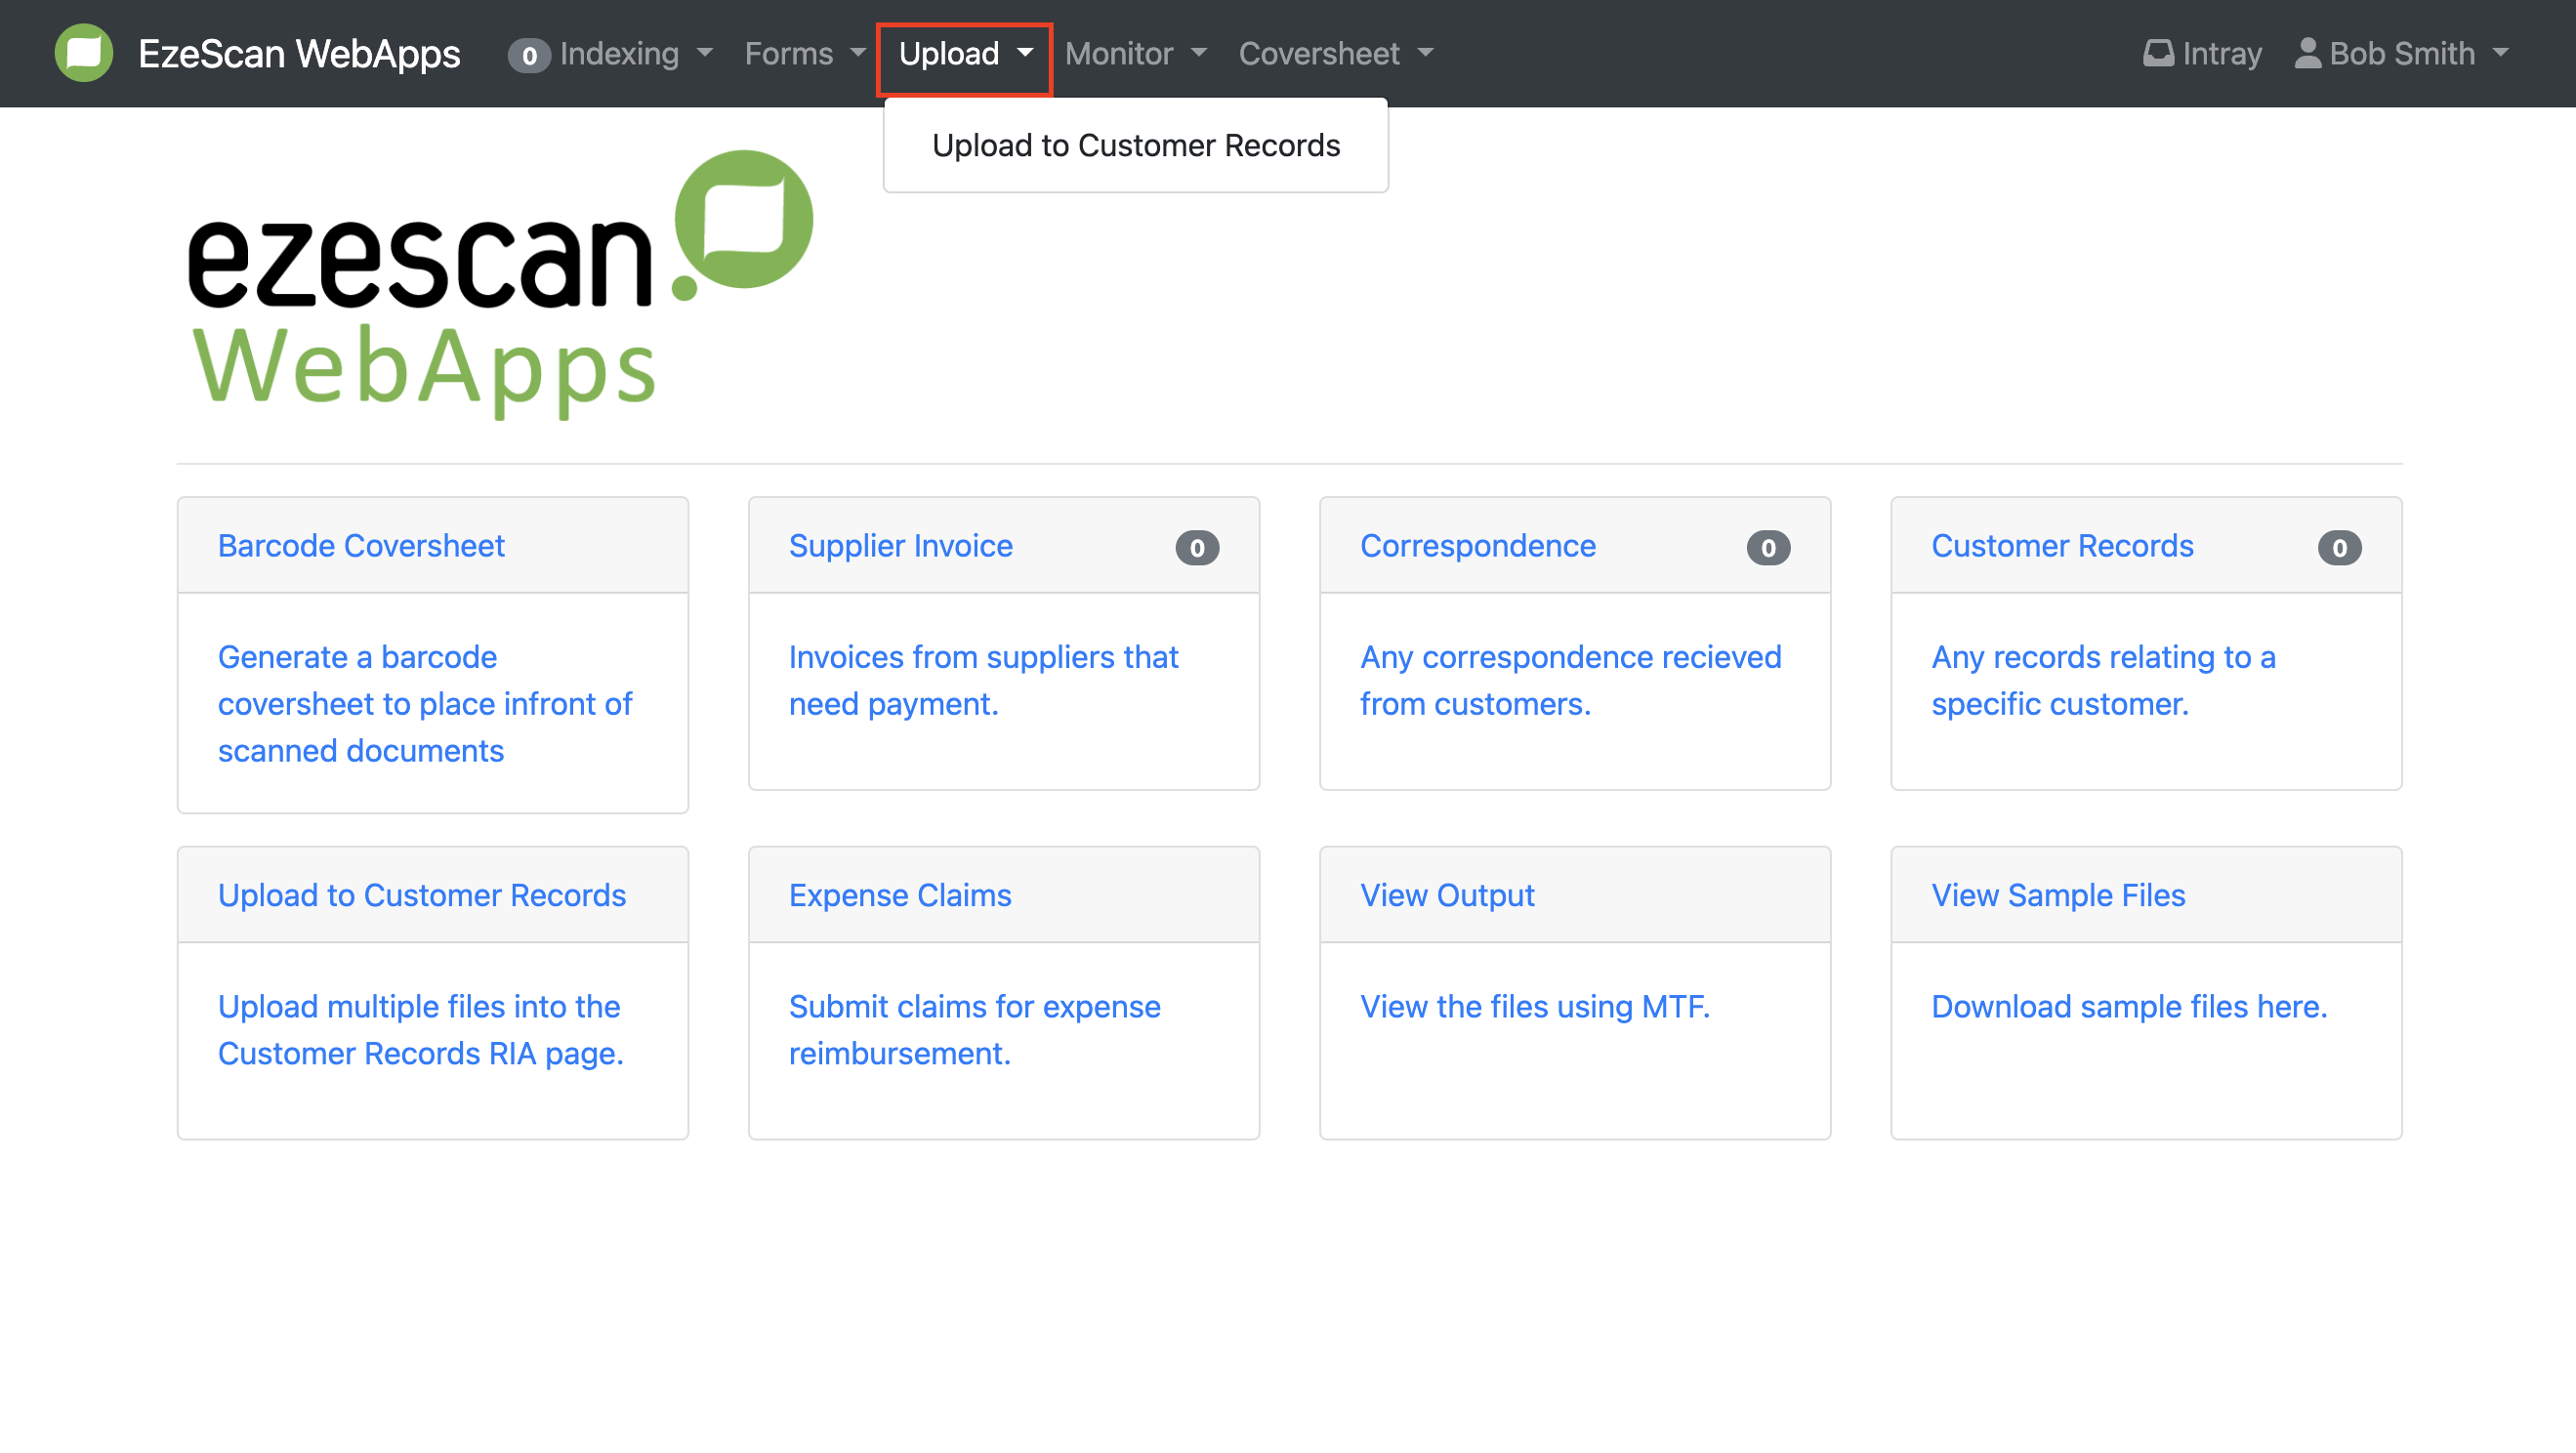
Upload: This menu item takes you to an app page where you can conveniently upload multiple documents at once.
-
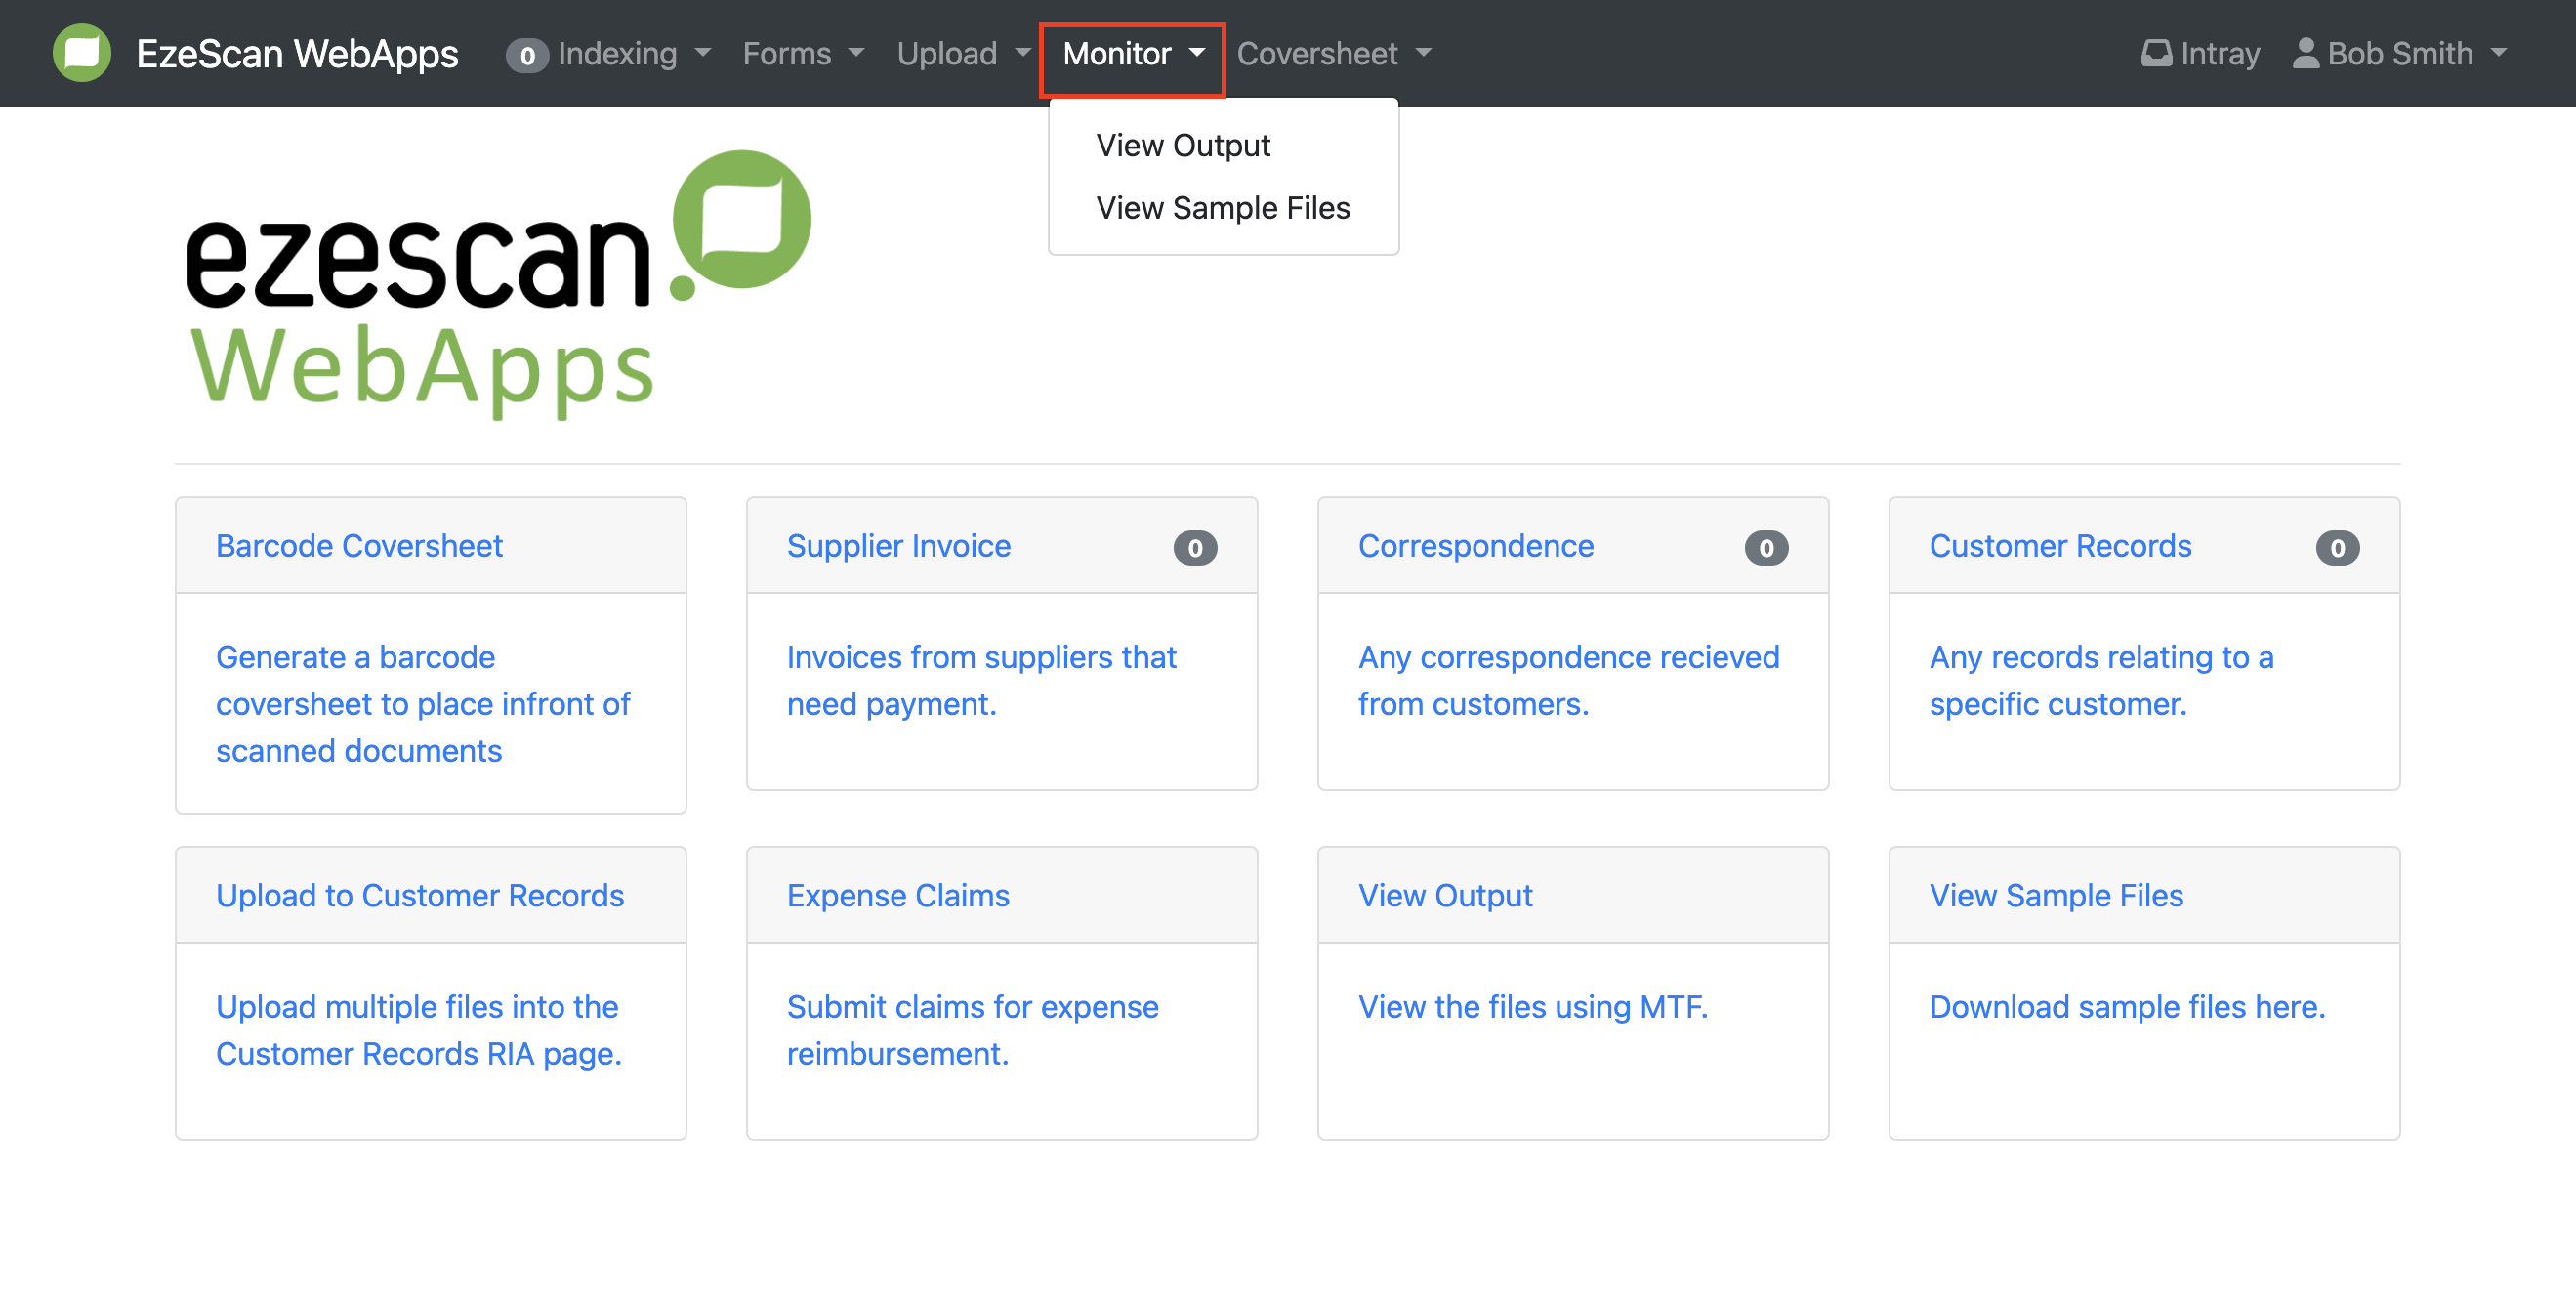
Monitor: This menu item shows you any MTF pages you have configured. If there is only one page then the menu items take you straight to the app page. If there are multiple of that type then they display in a dropdown.
-
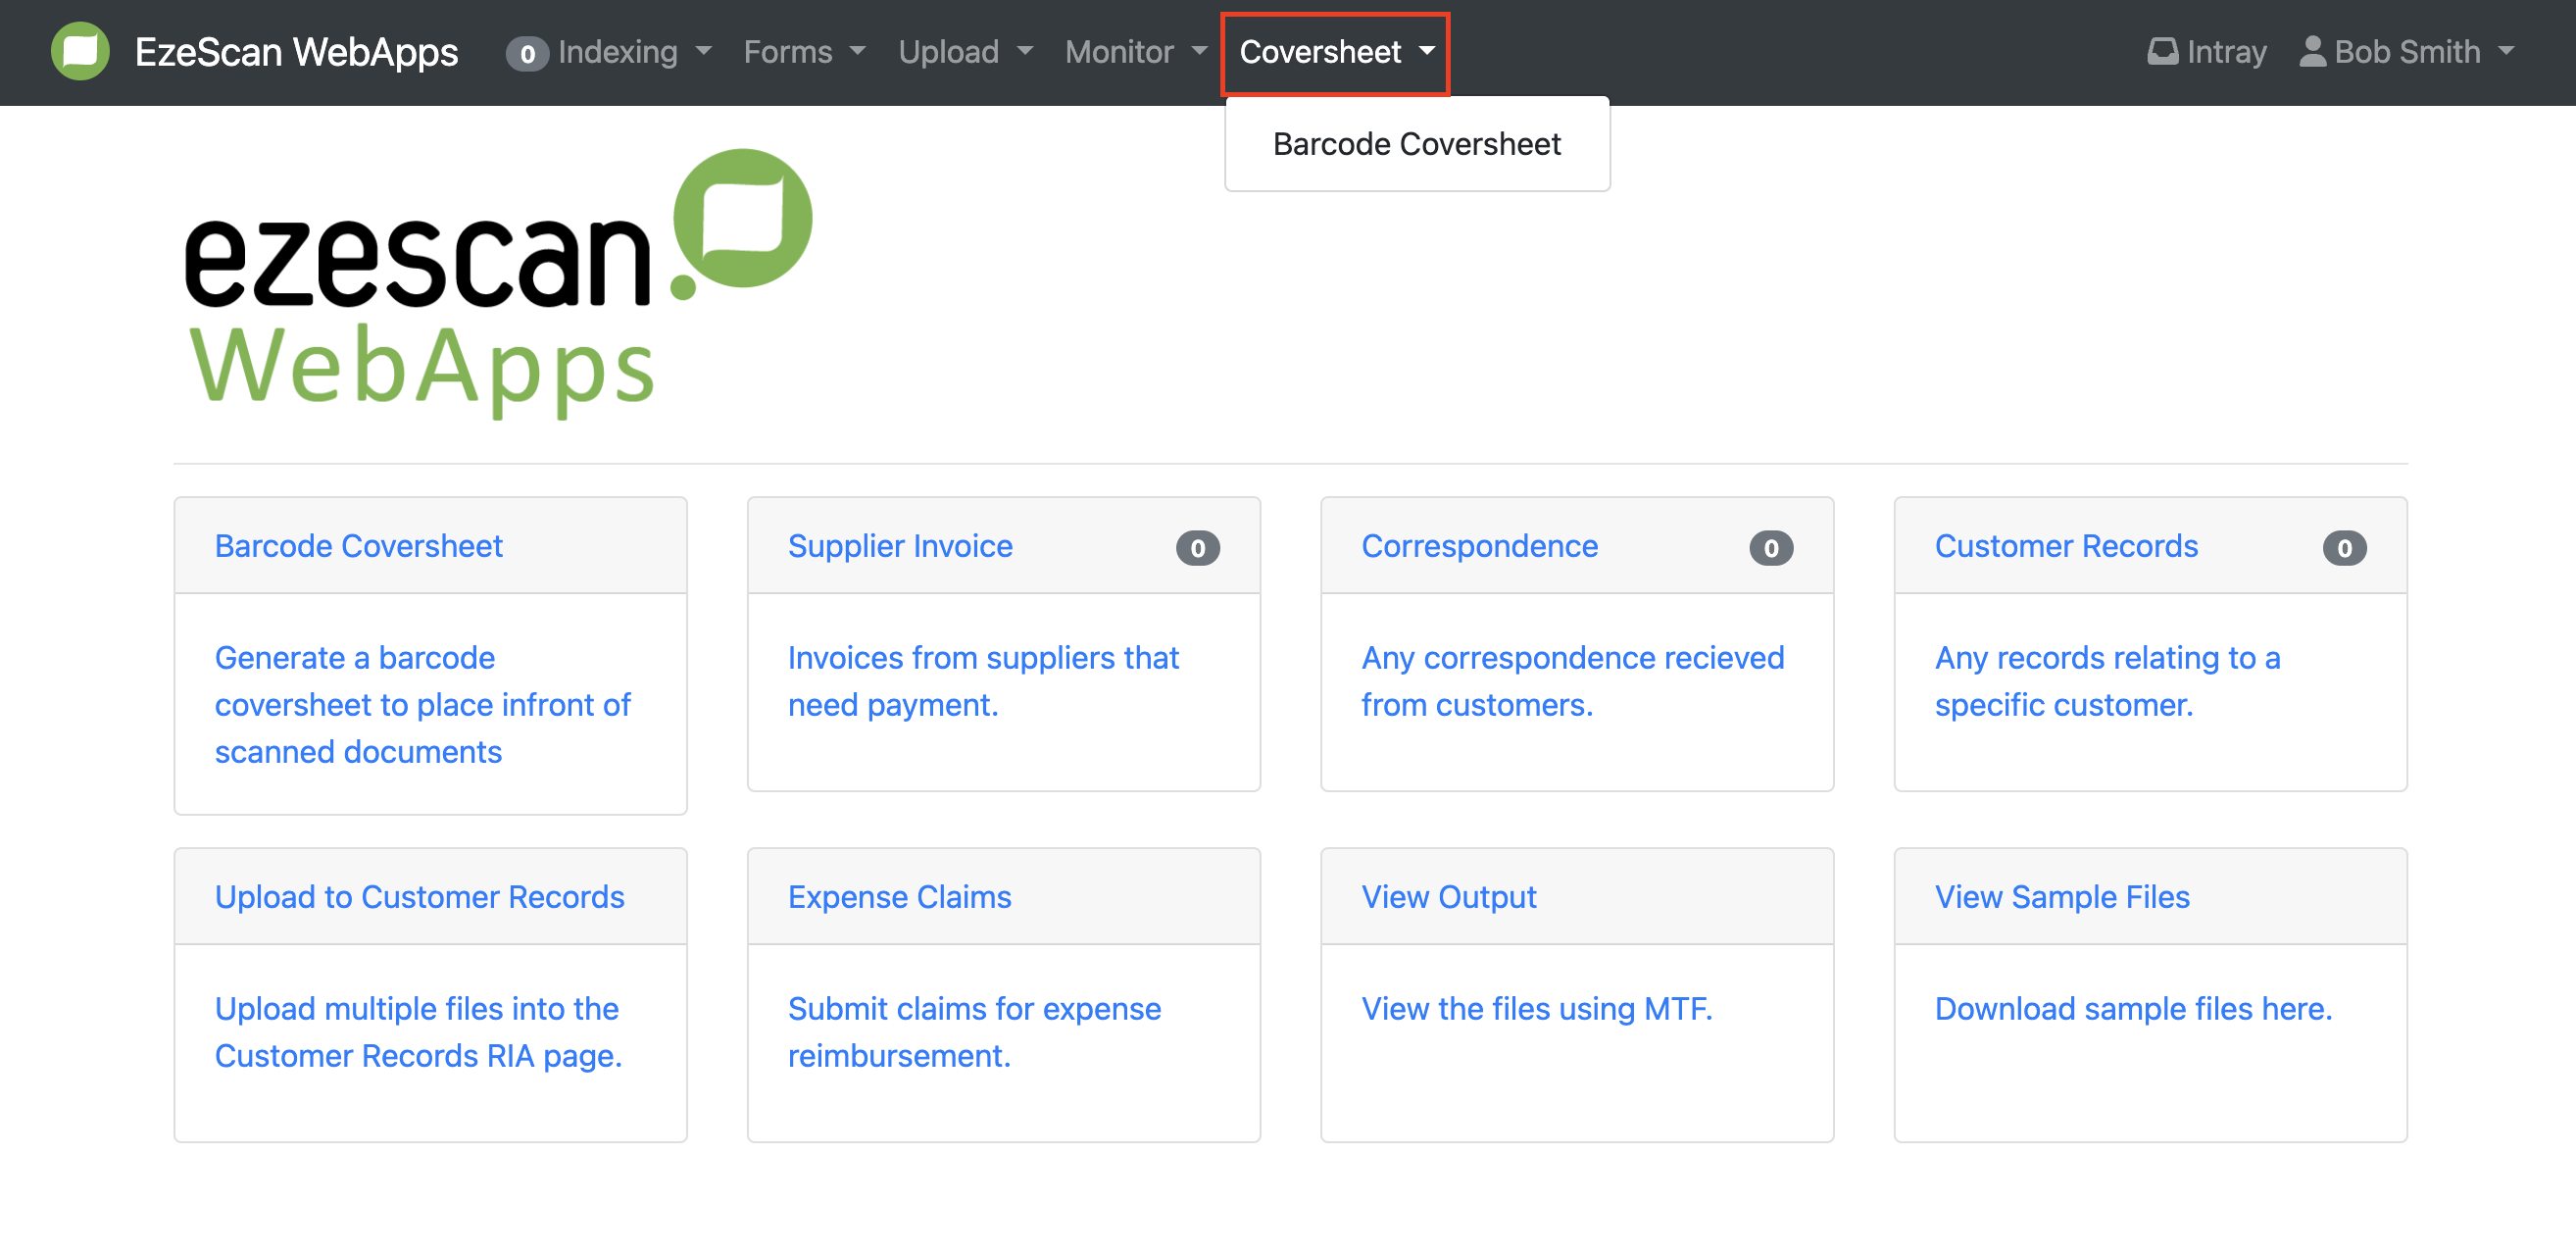
Coversheet: By selecting the Coversheet Tab, you will access an app page where you can generate a barcode coversheet containing pre-populated metadata.
-
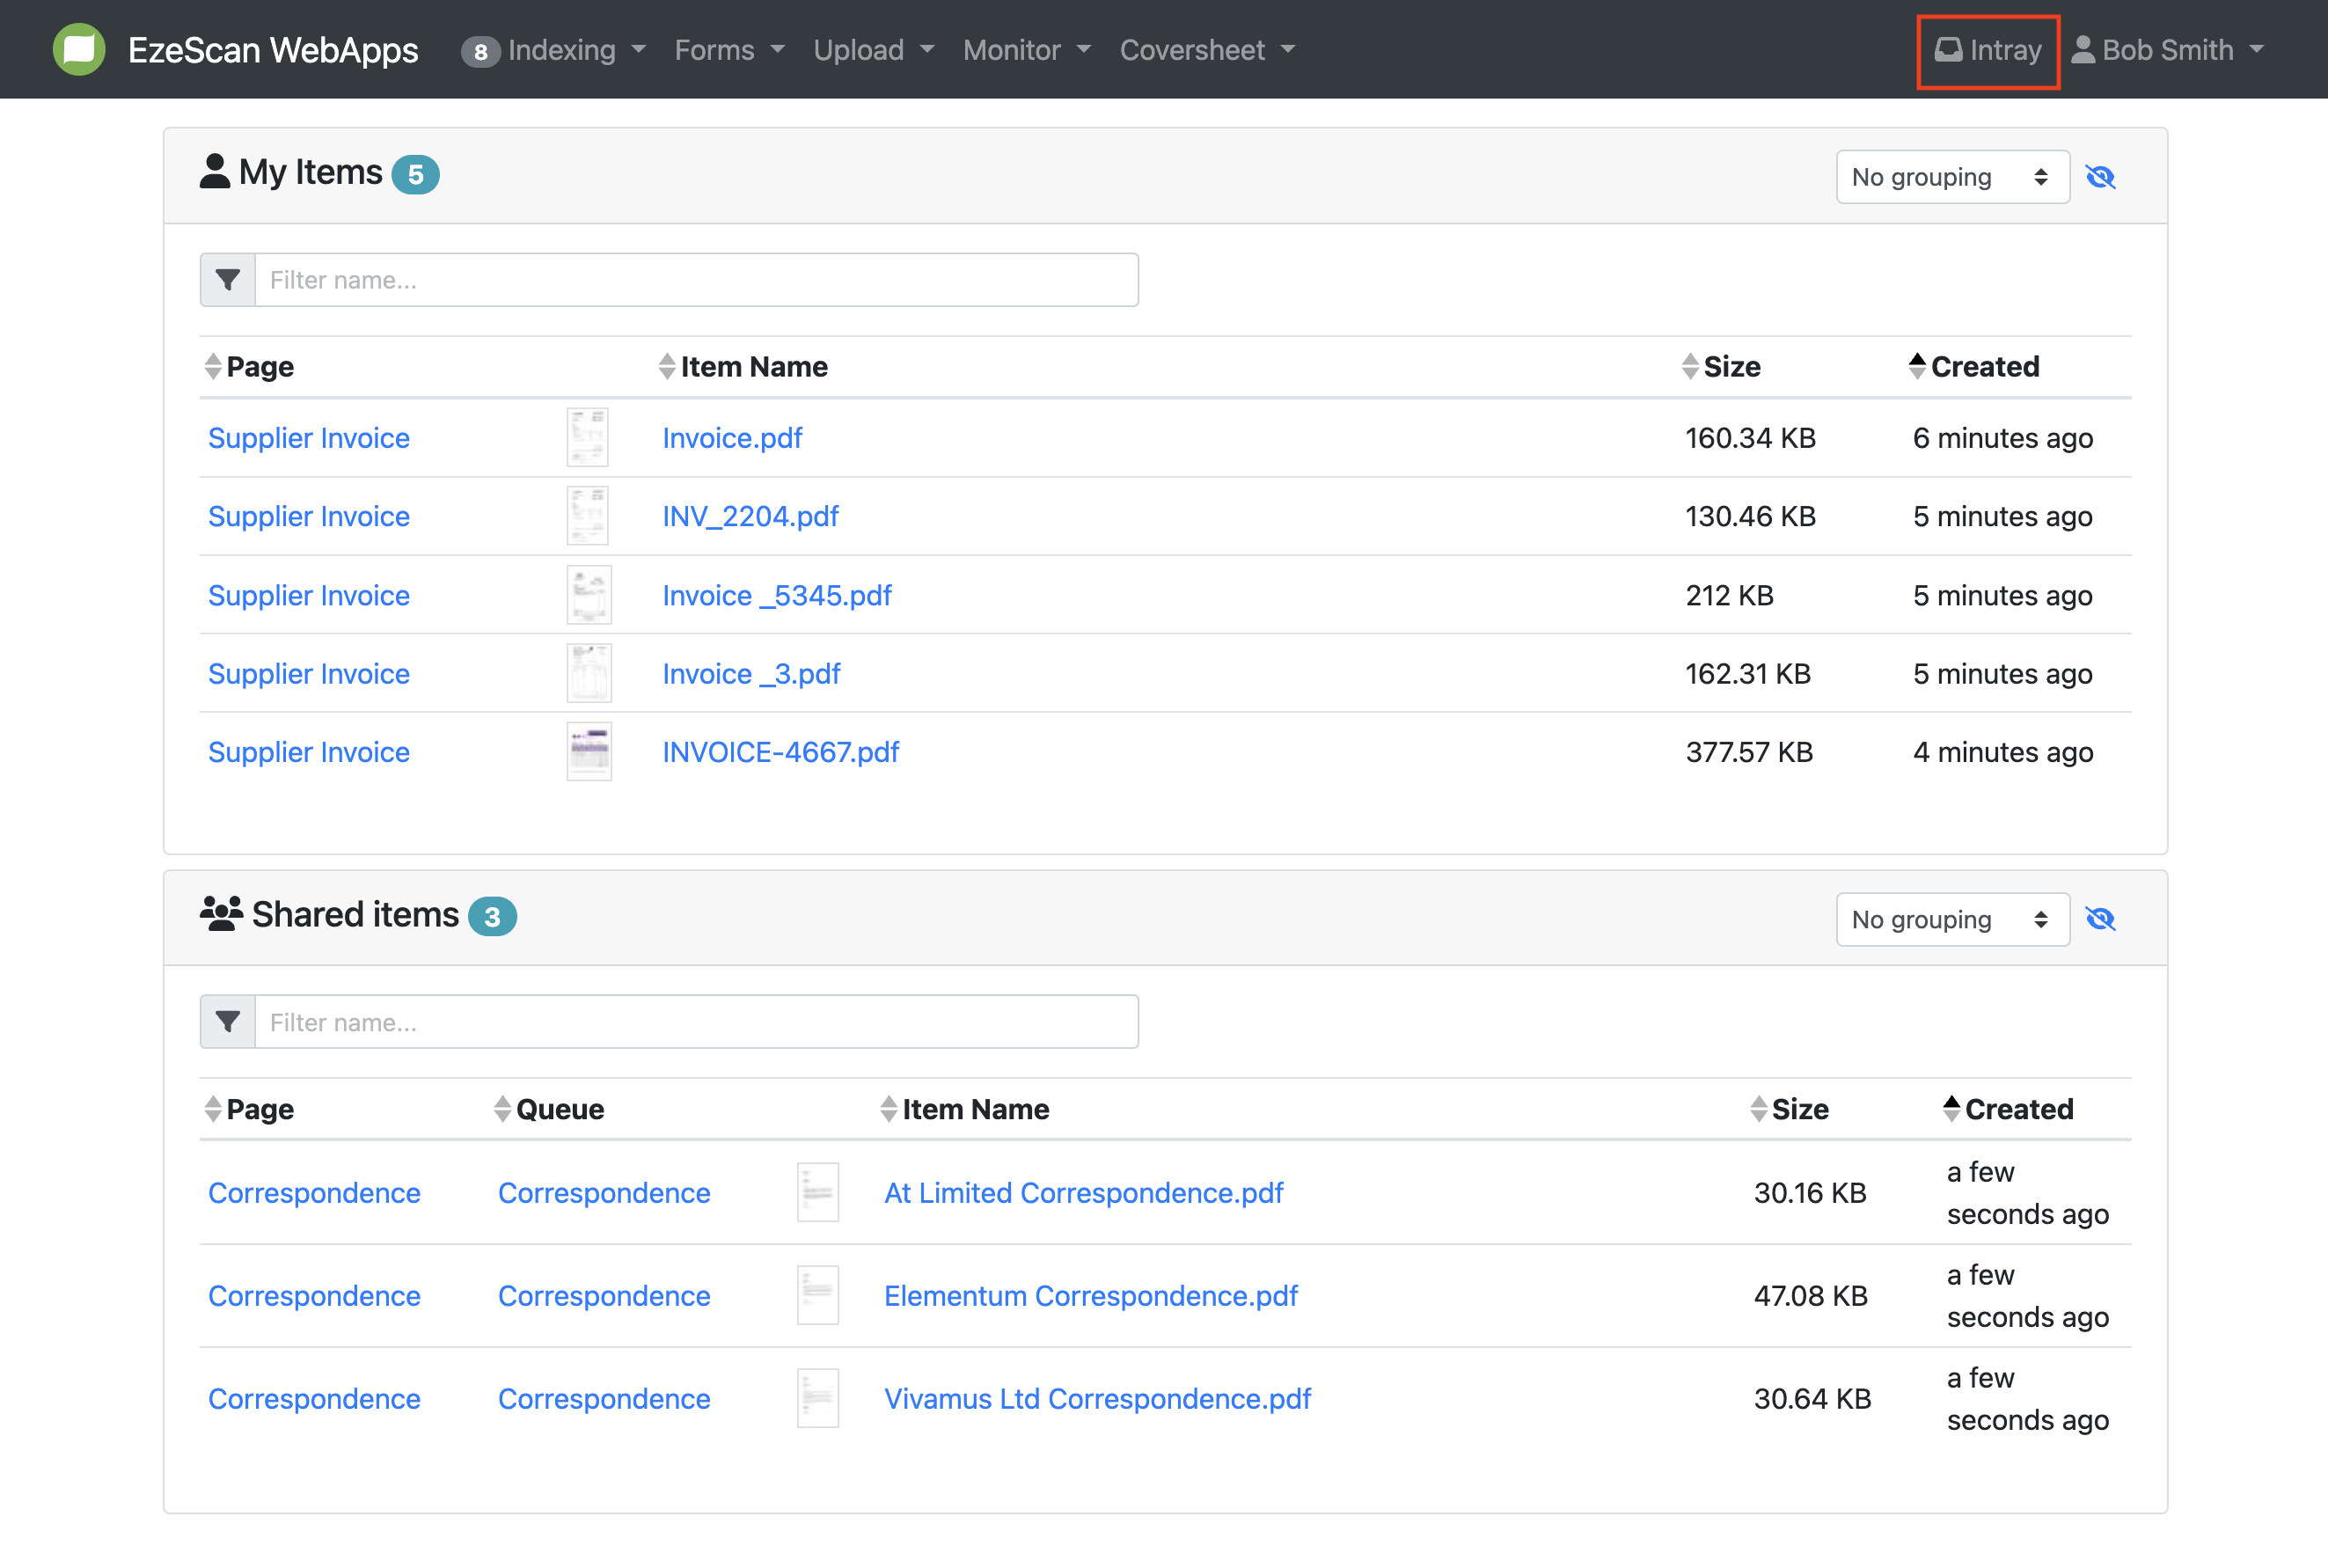
In-tray: Clicking on the In-tray Menu item will take you to a page displaying all the outstanding documents you need to process. The top table exclusively shows items assigned to you, while the second table displays shared items.
Clicking on the “page type” (e.g. supplier invoice) will take you to the associated RIA queue and display all items in that queue. Clicking on the “Item Name” (e.g., INV_(1).pdf) will take you to the individual indexing page.