
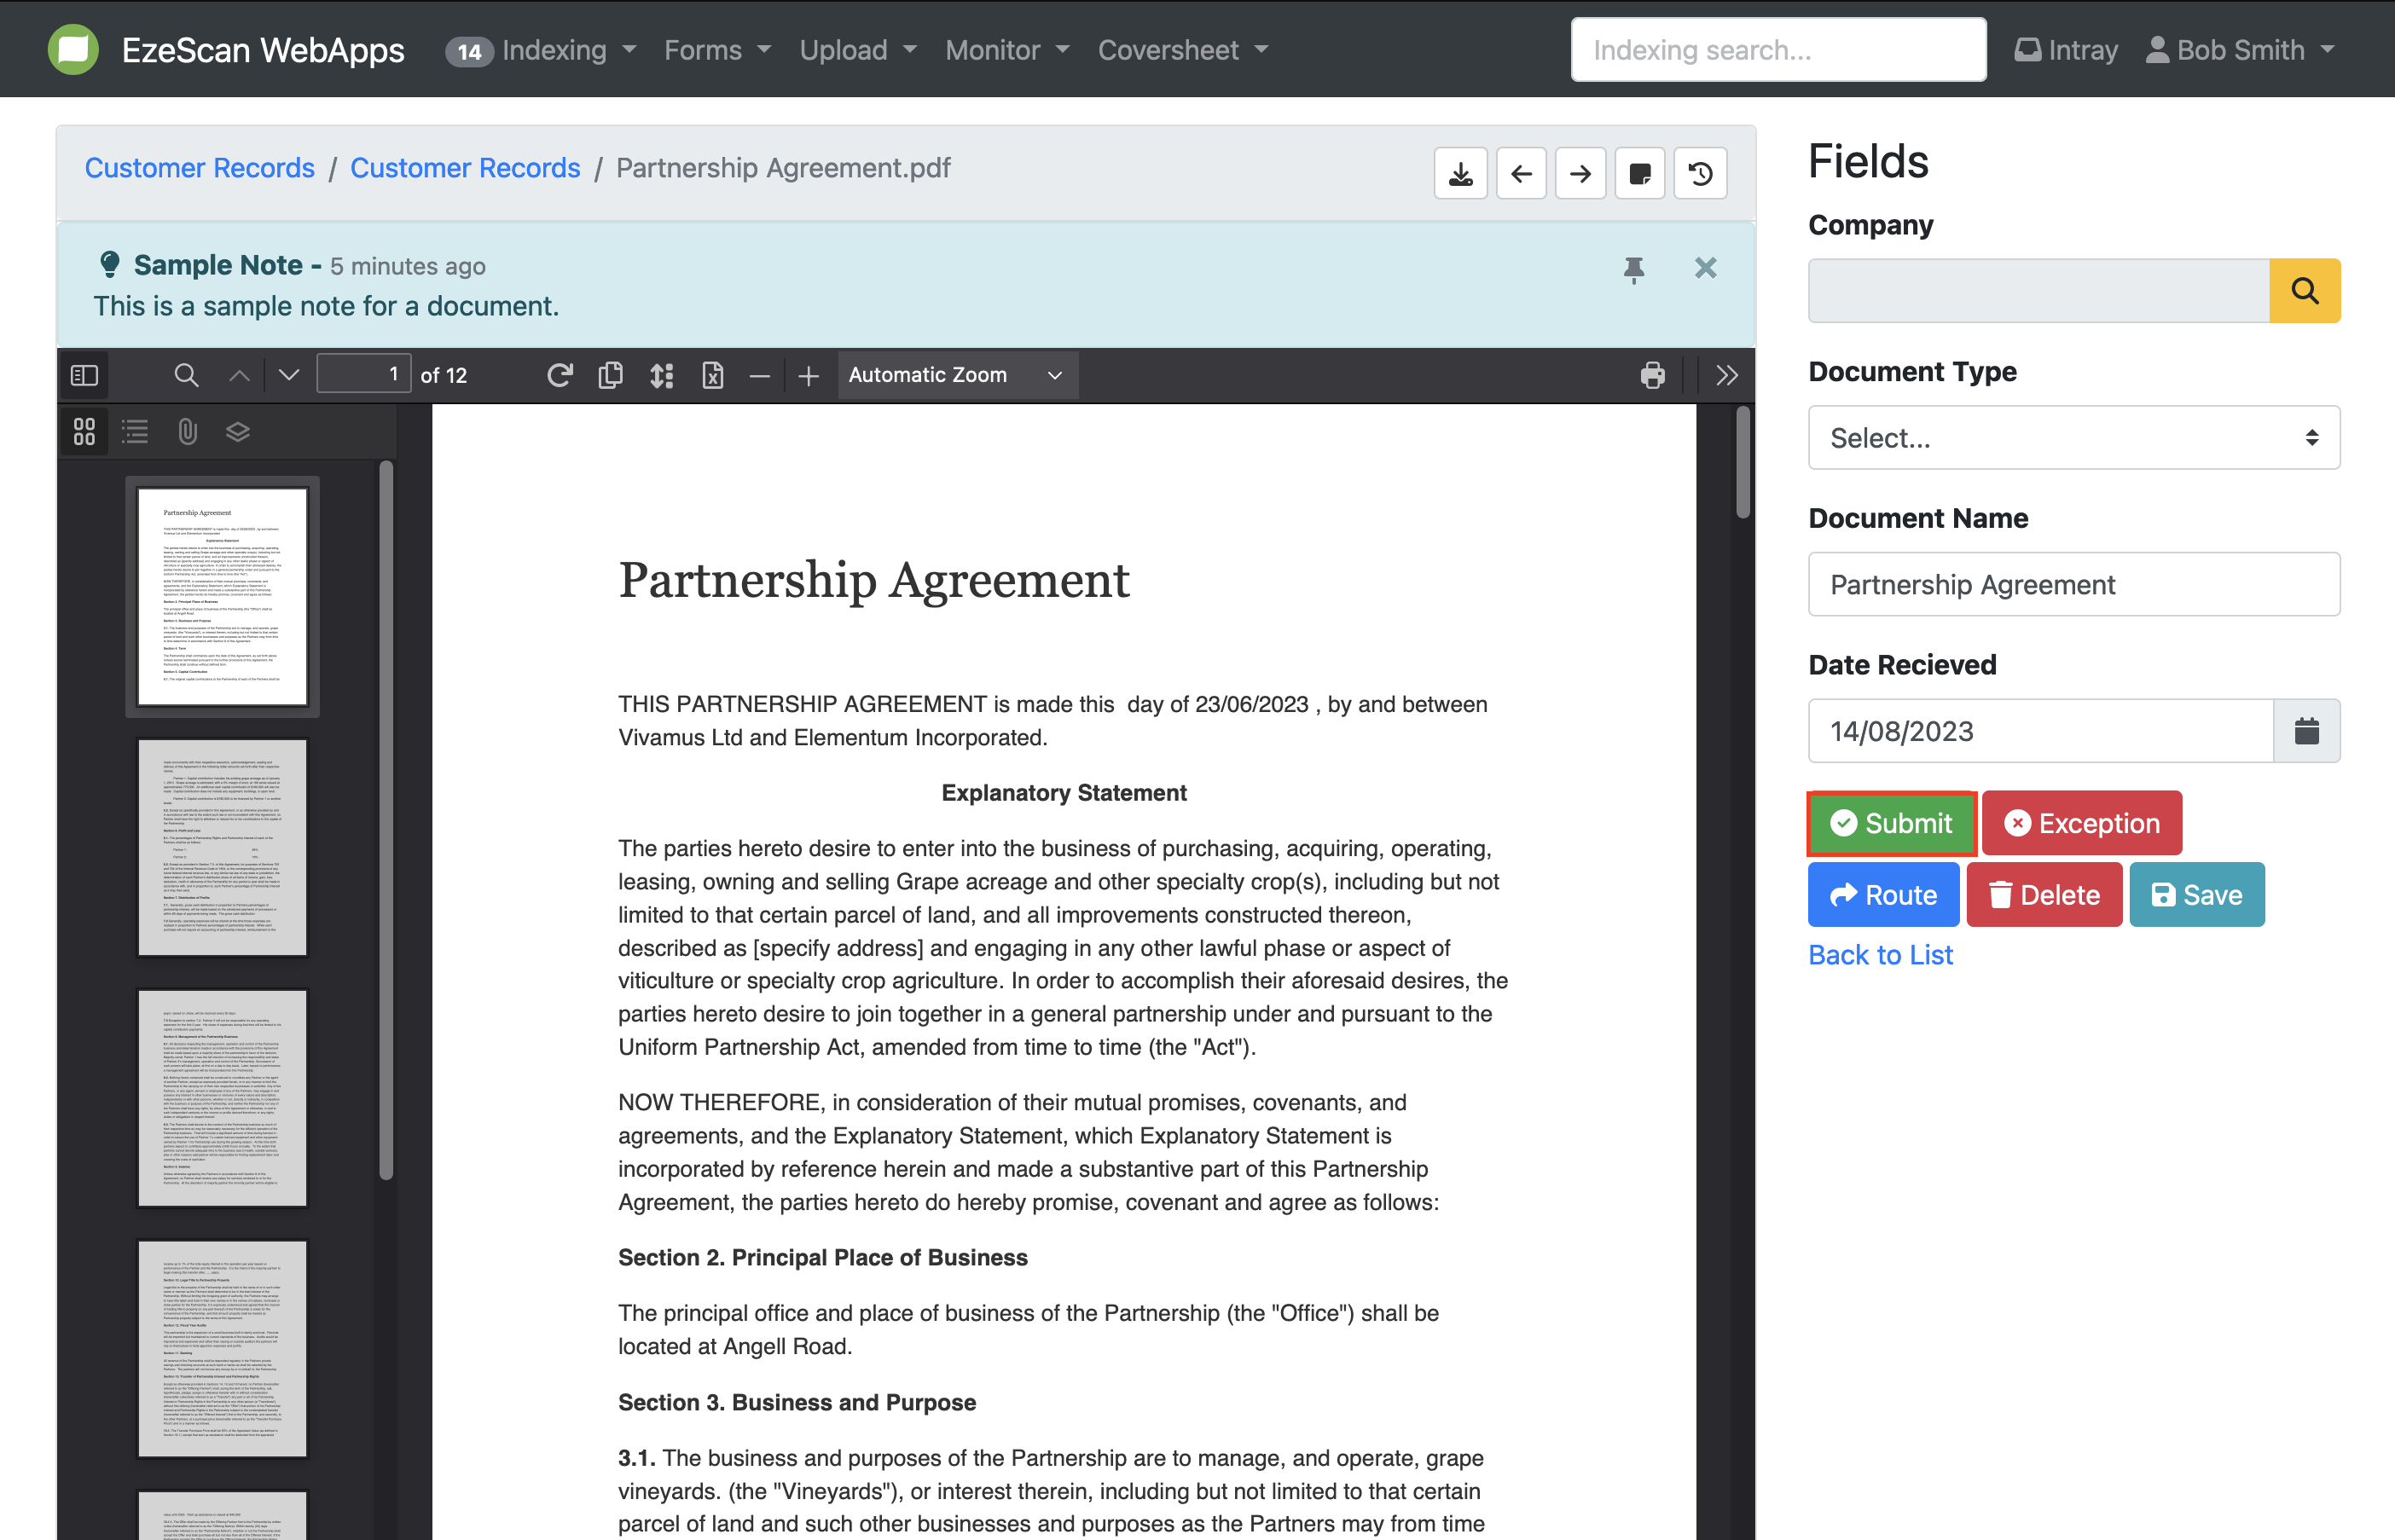
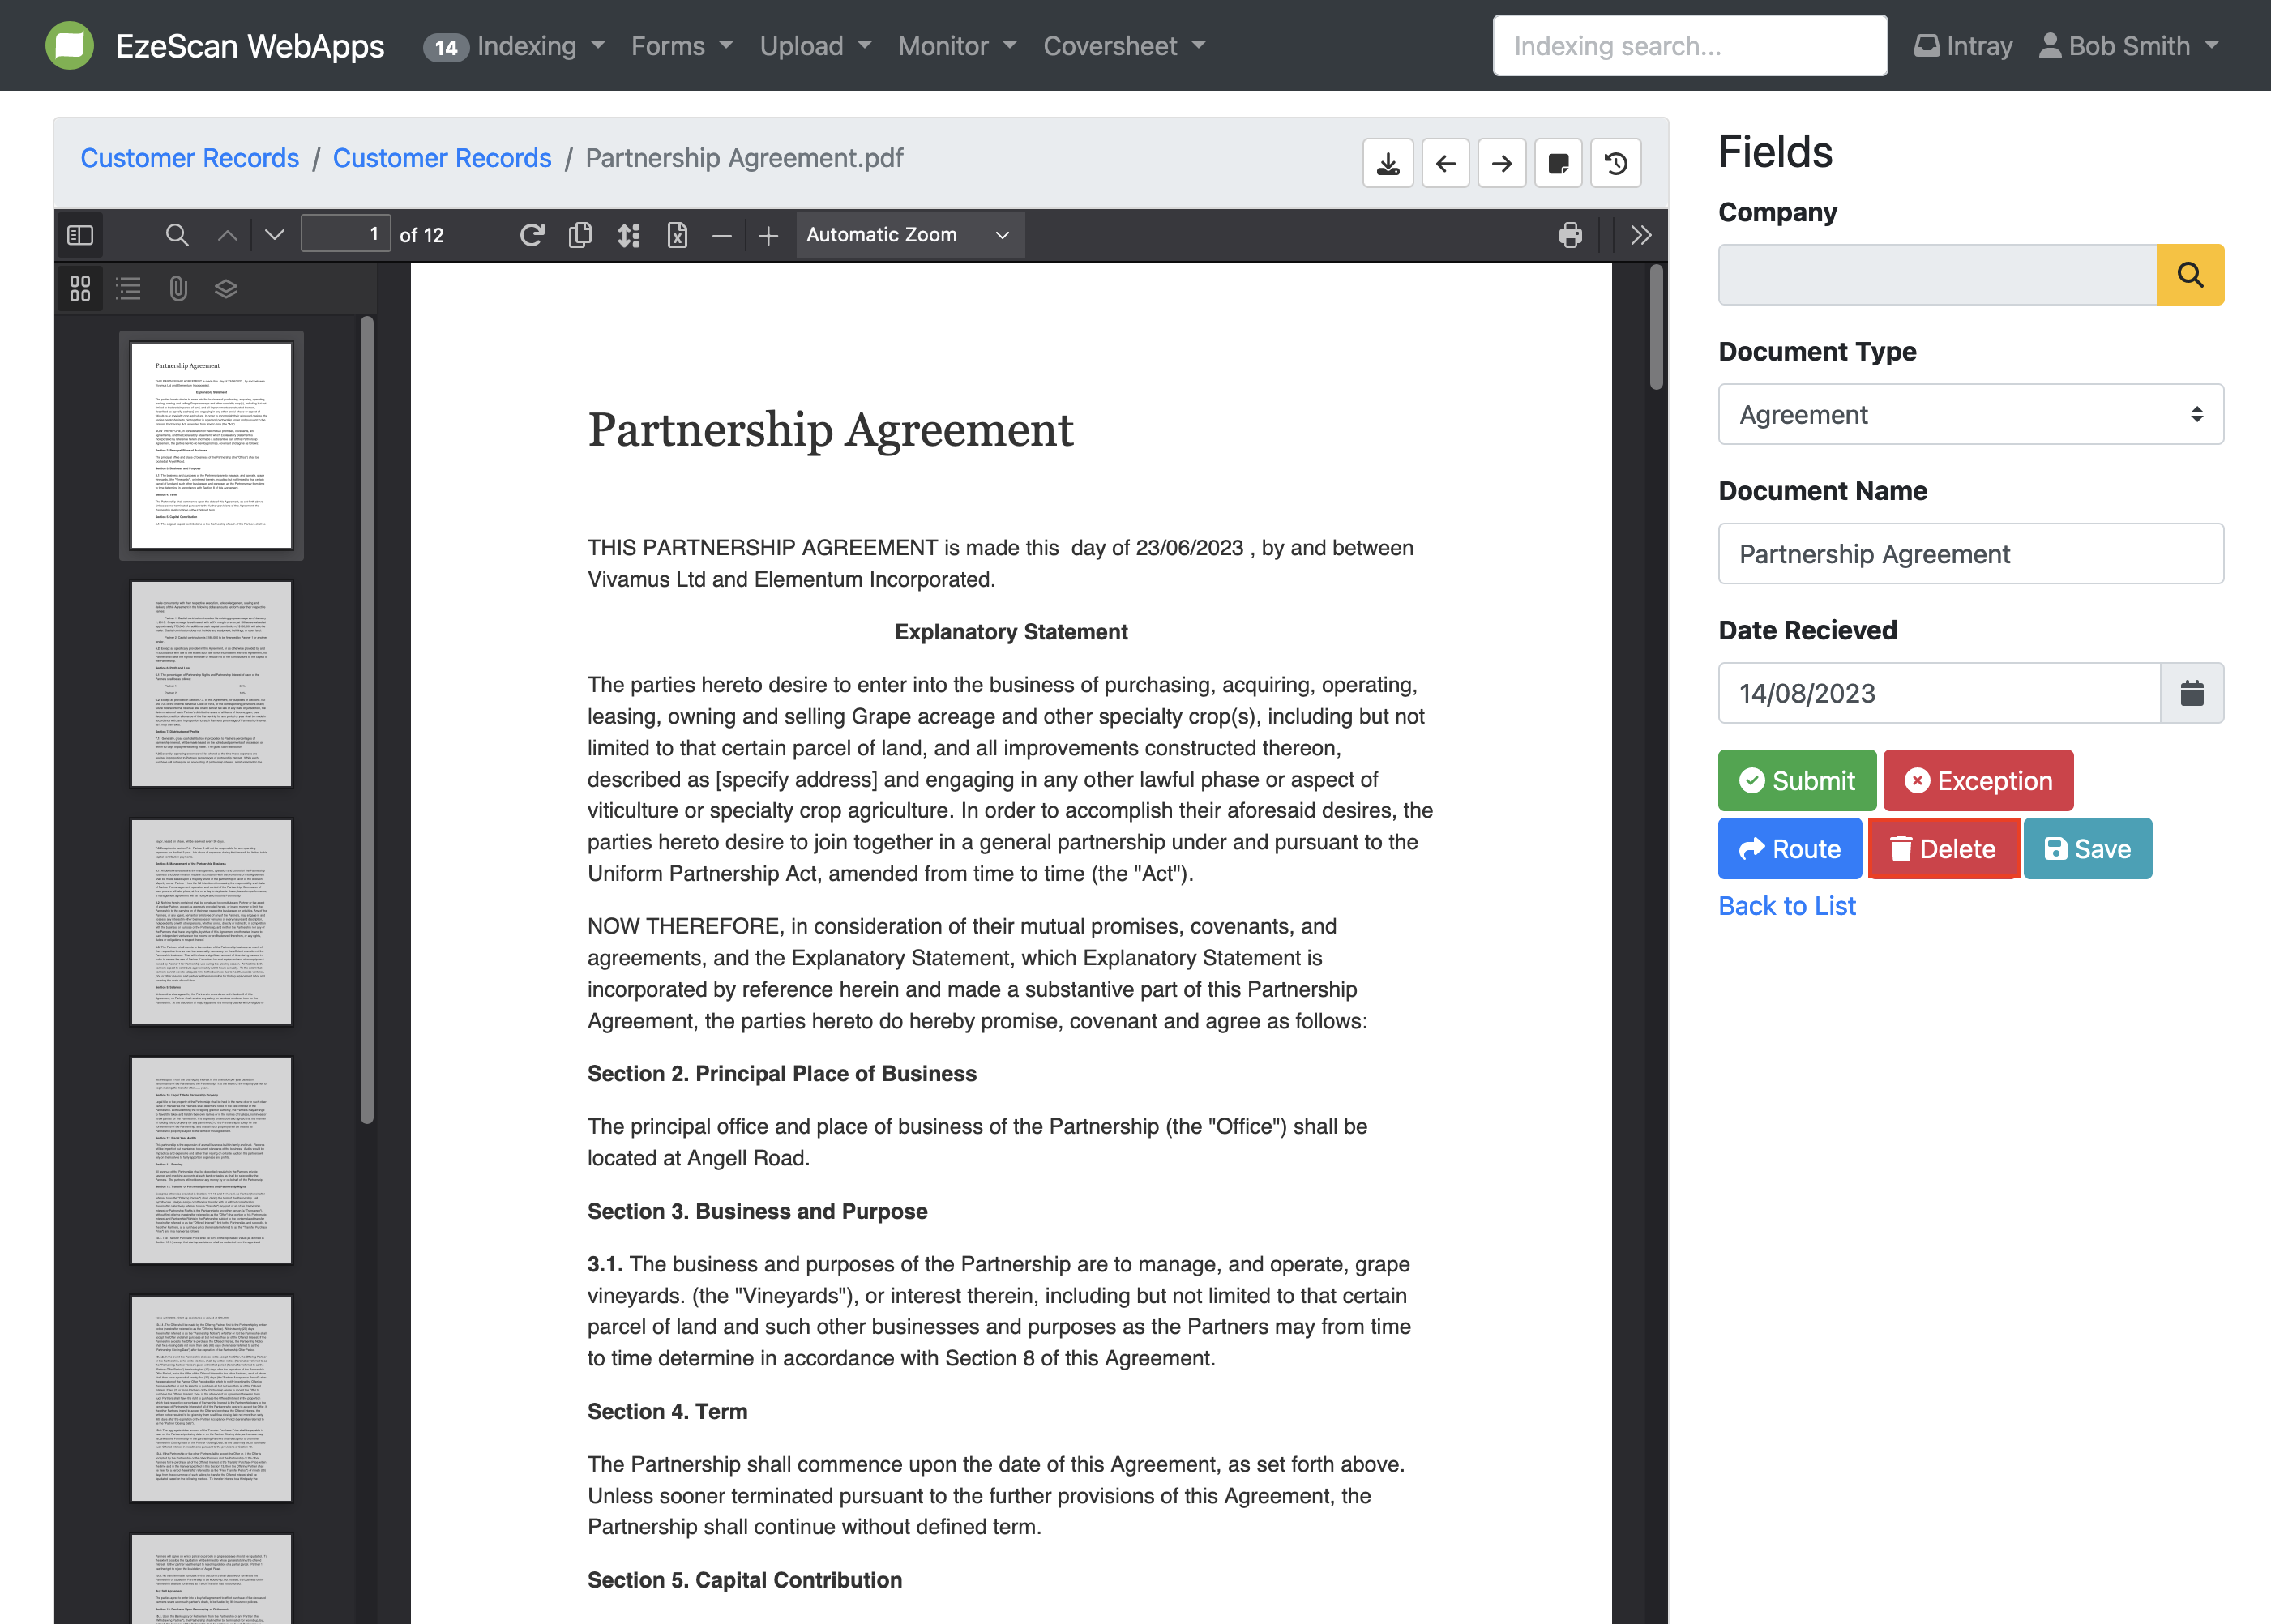
When processing a document you can perform the following actions. After completing any of these actions successfully, you will be moved to the next document in that queue.
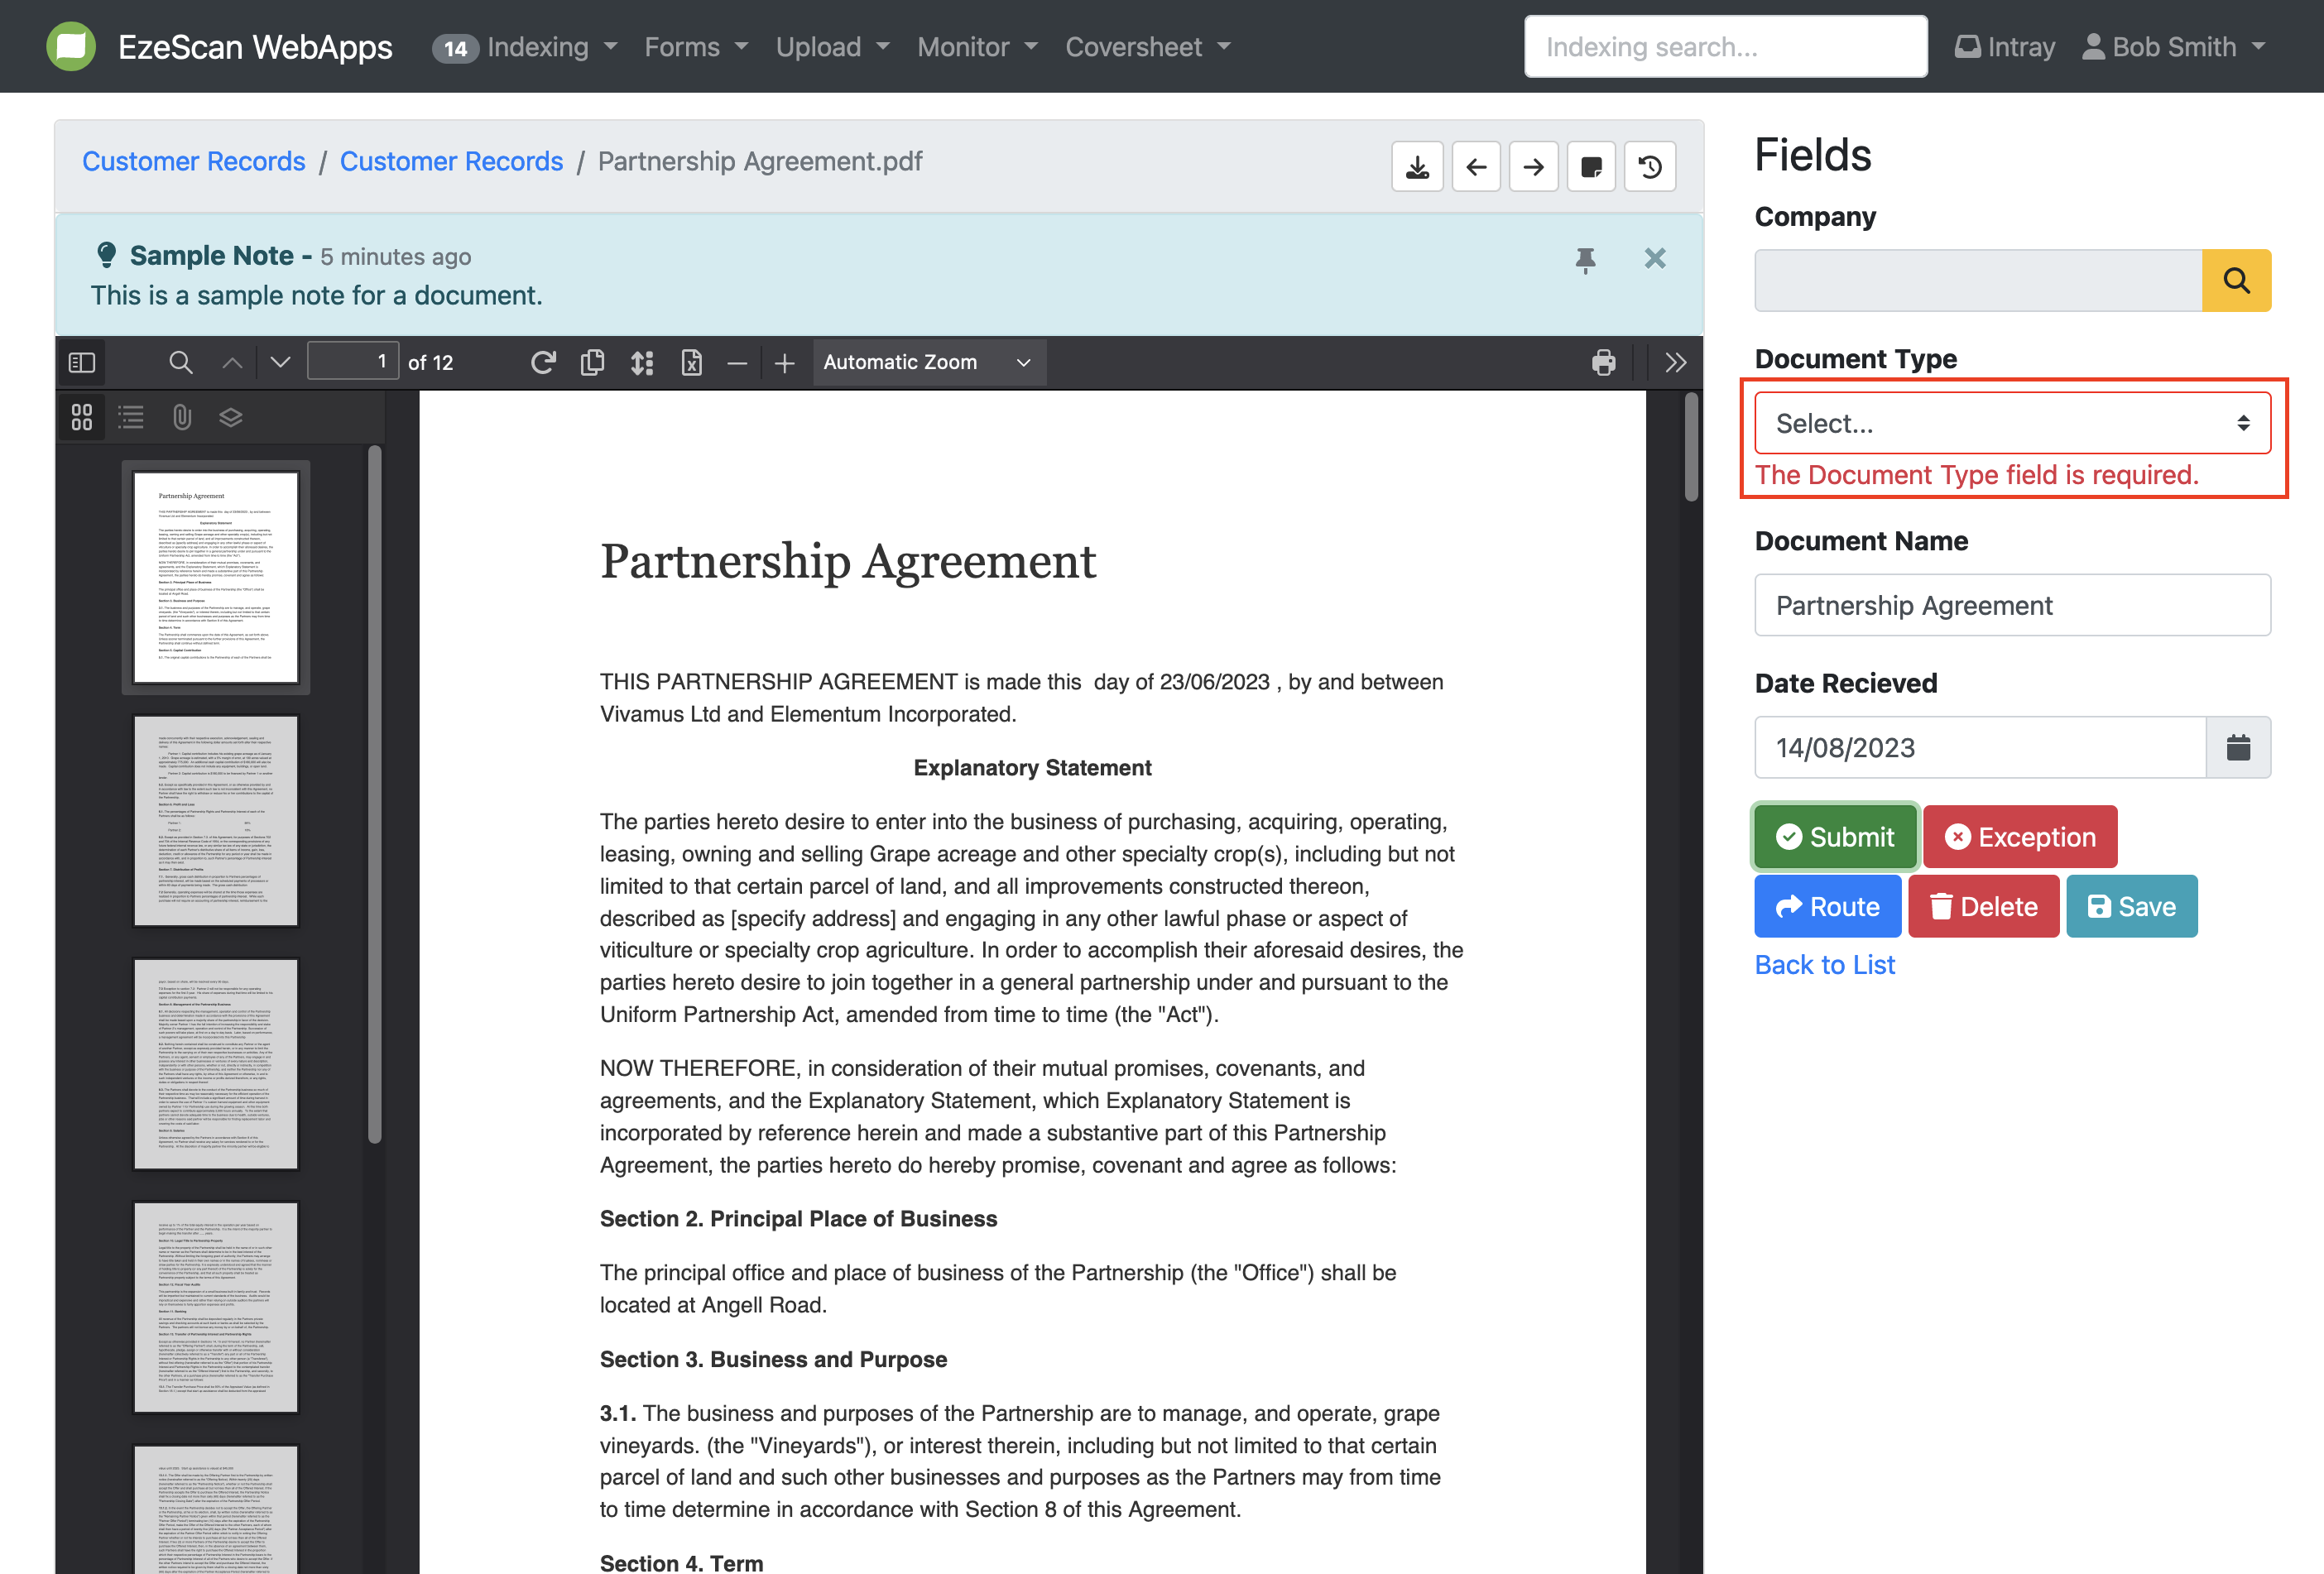
Submit
-
By selecting the "Submit" action, the document will be saved in the appropriate location, along with its associated metadata.
-
If any fields are incomplete or contain errors, a red box and an error message will appear next to the respective fields. Fill out the flagged field(s) accurately with the required information and press the submit button again. If the document has been successfully submitted, you will be moved to the next document in that queue.
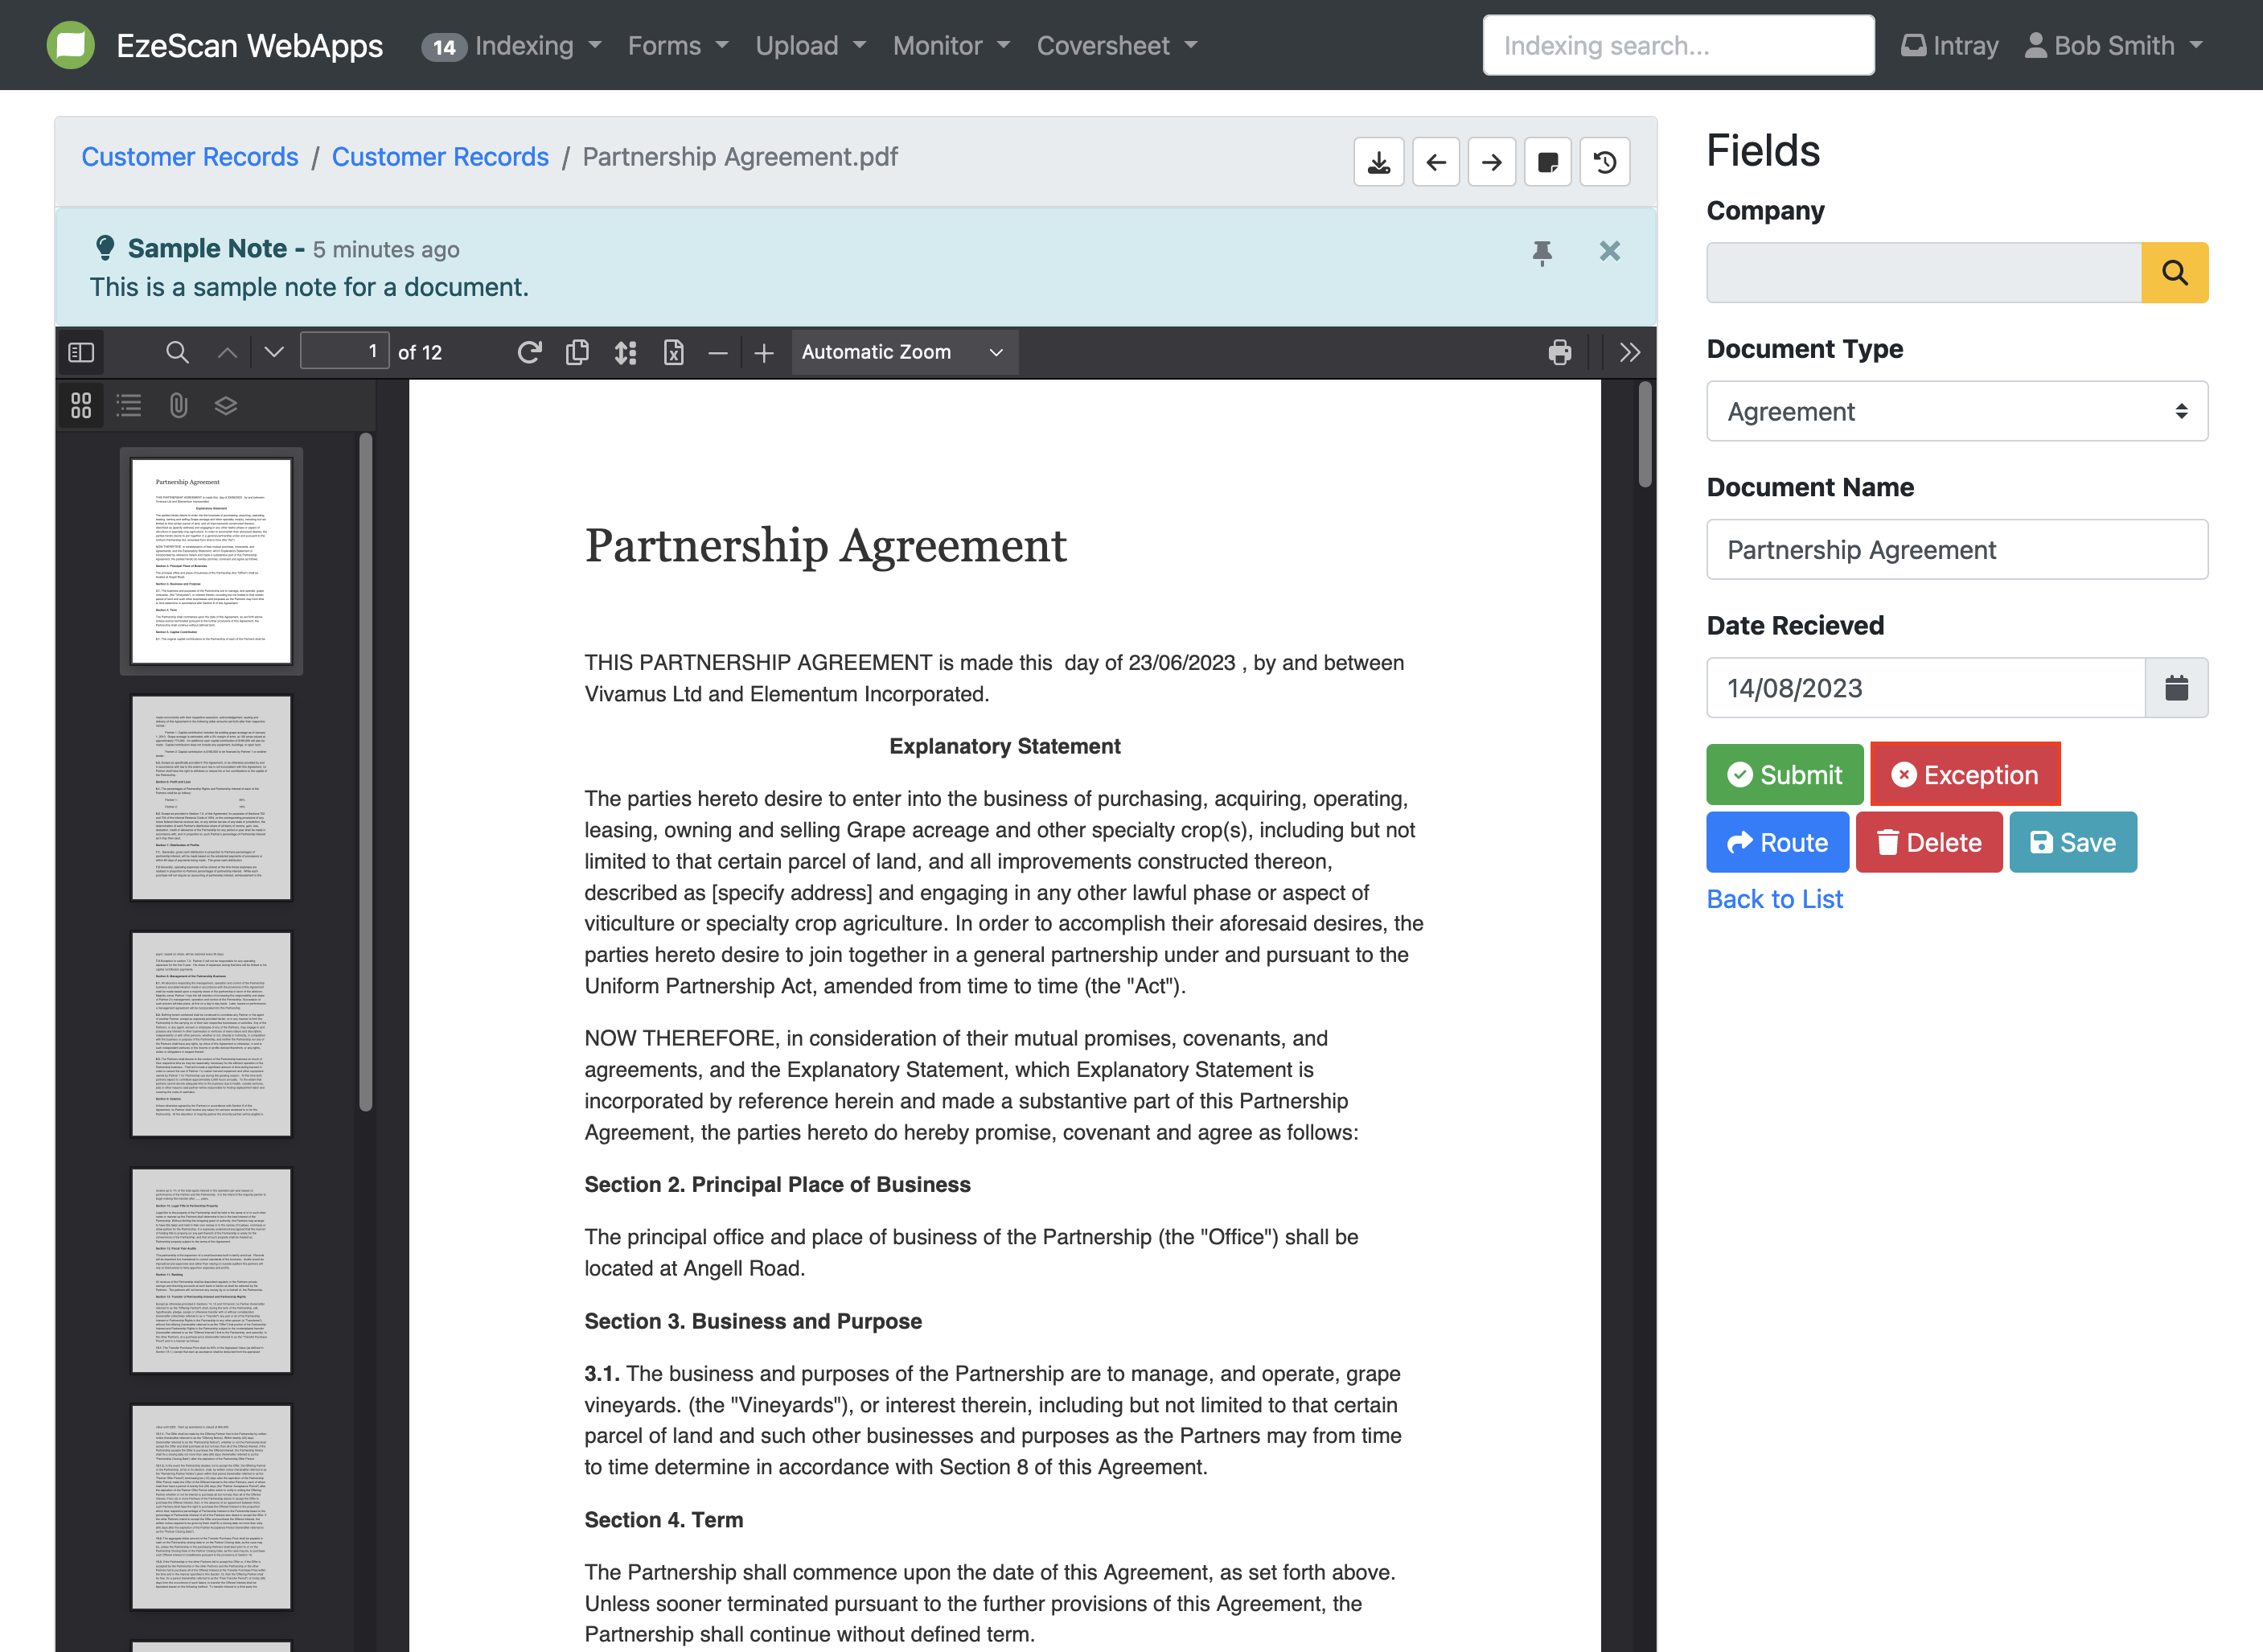
Exception
-
By selecting the "Exception" button, you can move the document out of the current queue. It is not necessary to fill out any fields to perform this action
-
You will be prompted to provide a comment explaining why the document has been marked as an exception. Whilst it is not mandatory to provide a comment, it is considered best practice to do so. Doing so enables your colleagues to know why you are rejecting this document. When you press the "exception" button, the document and exception comment will be moved to the Monitor folder, where they can be accessed or deleted later on.

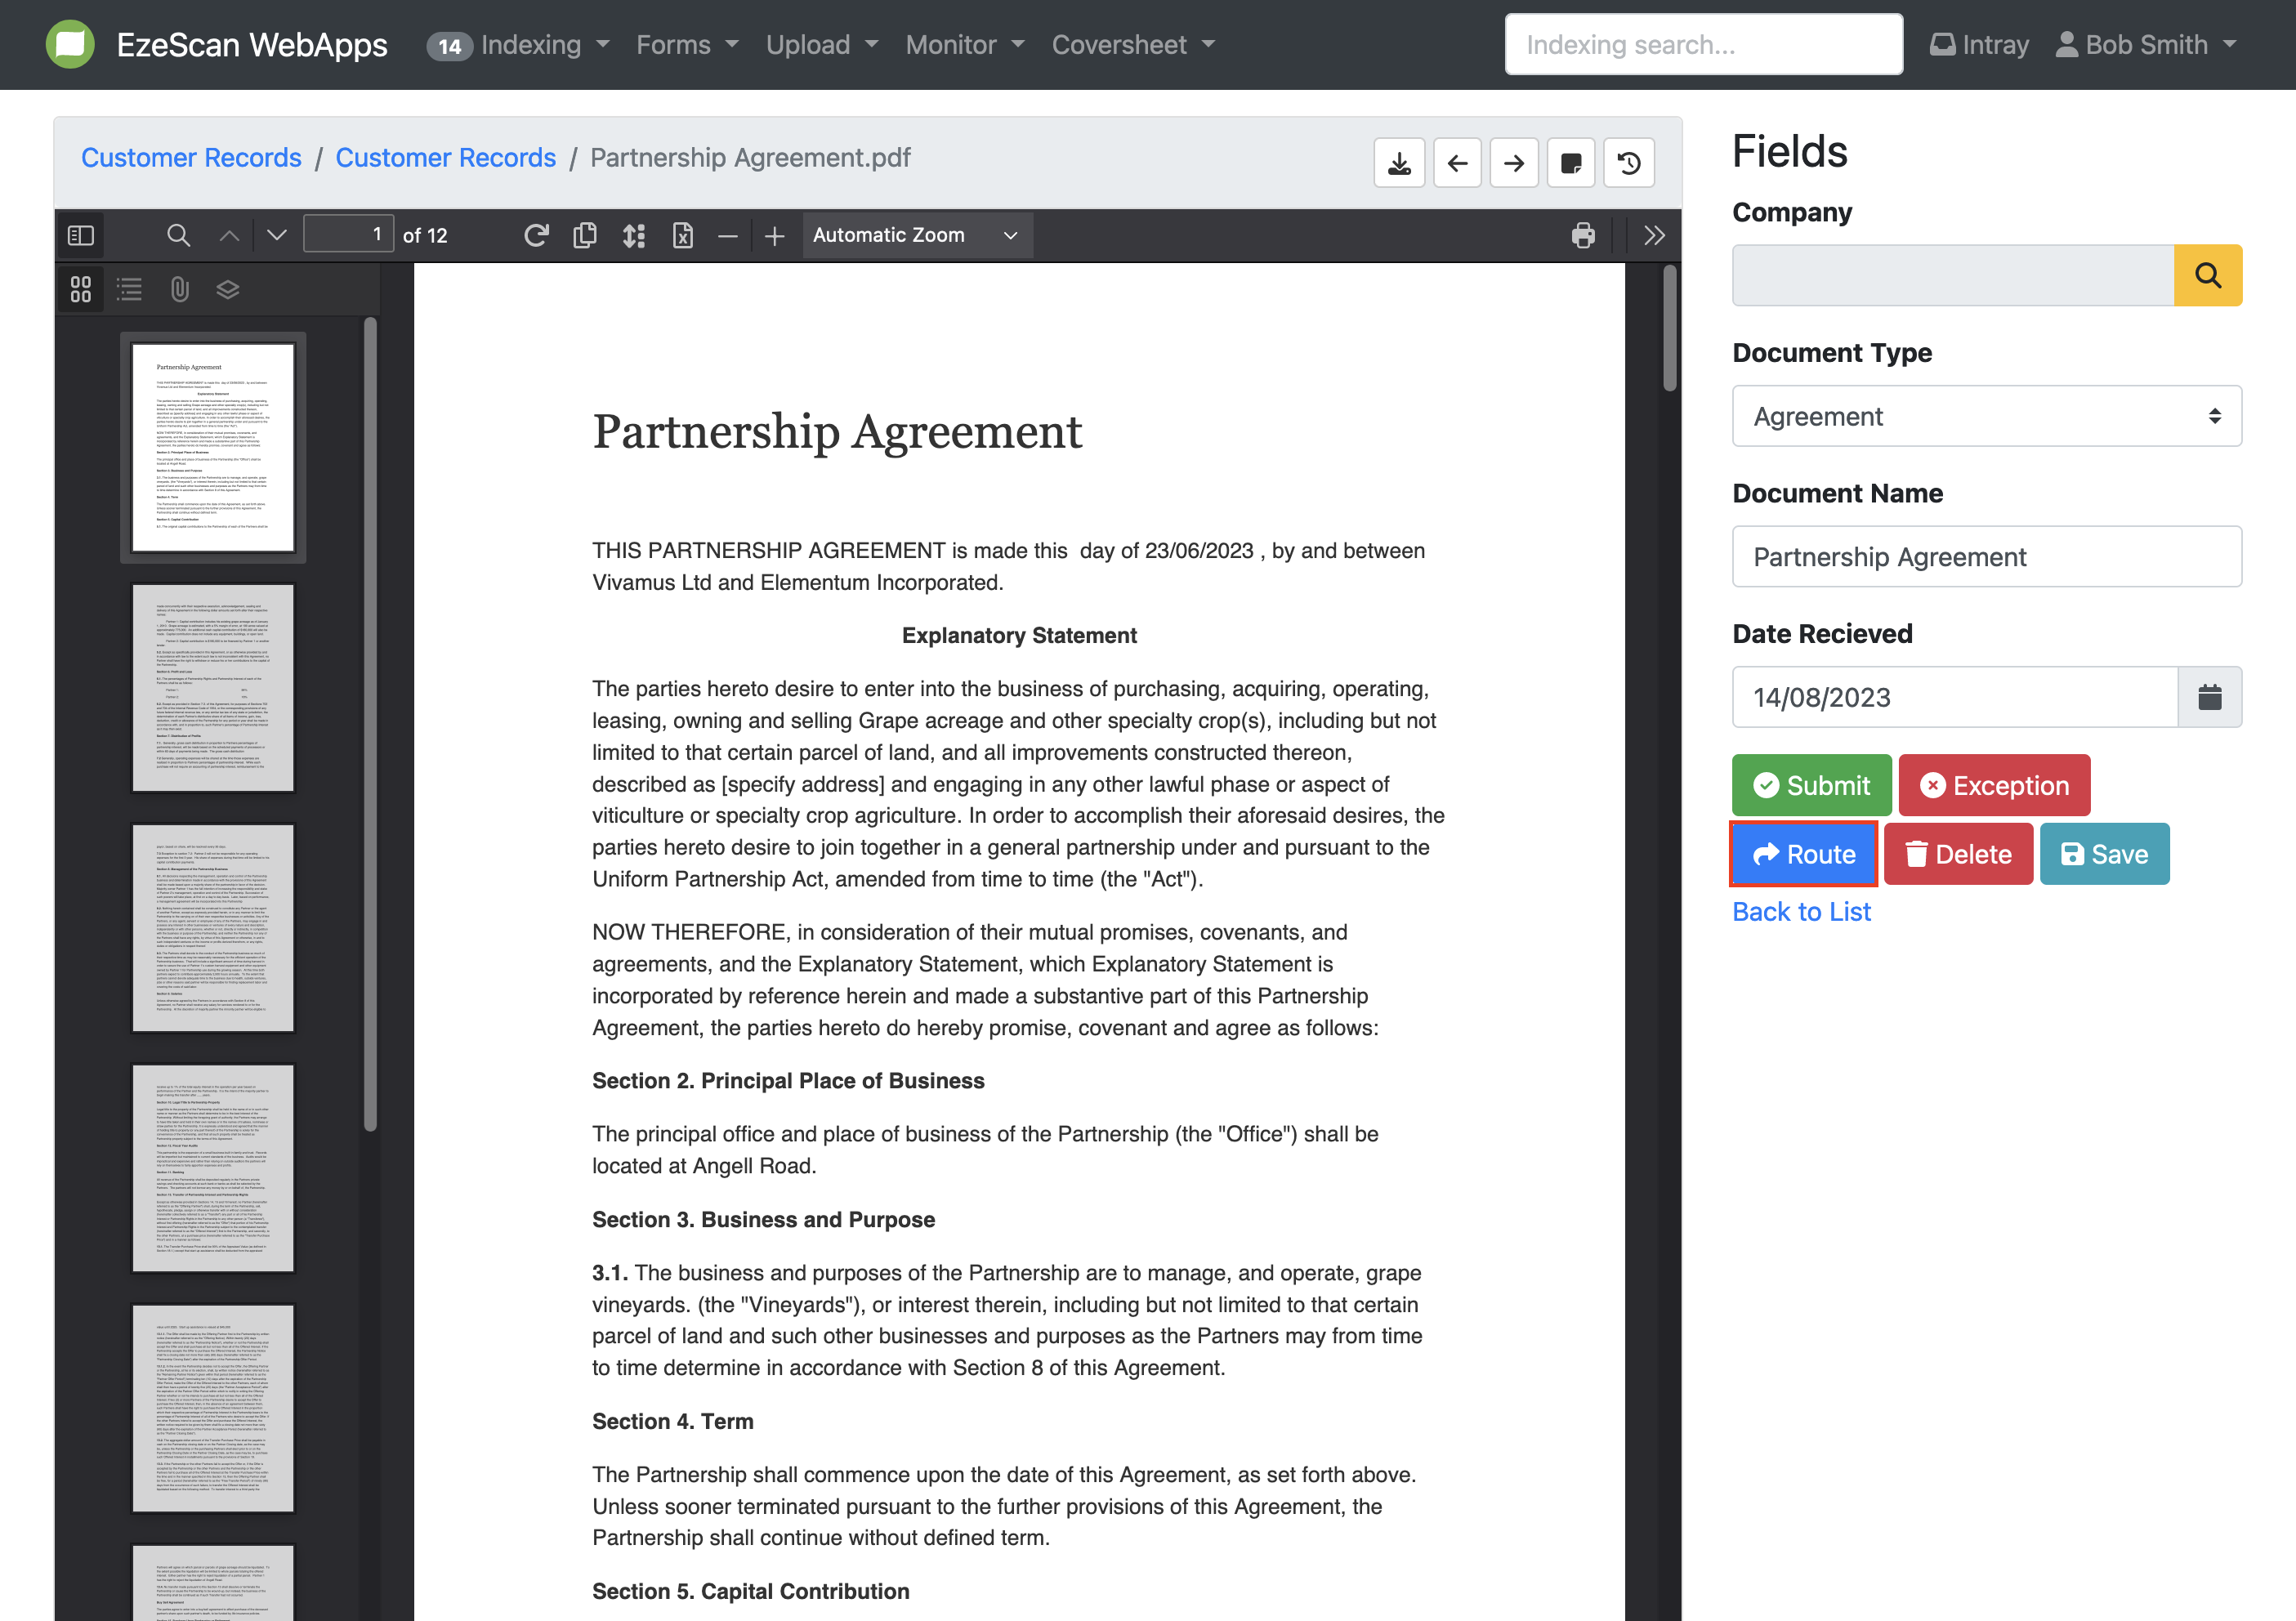
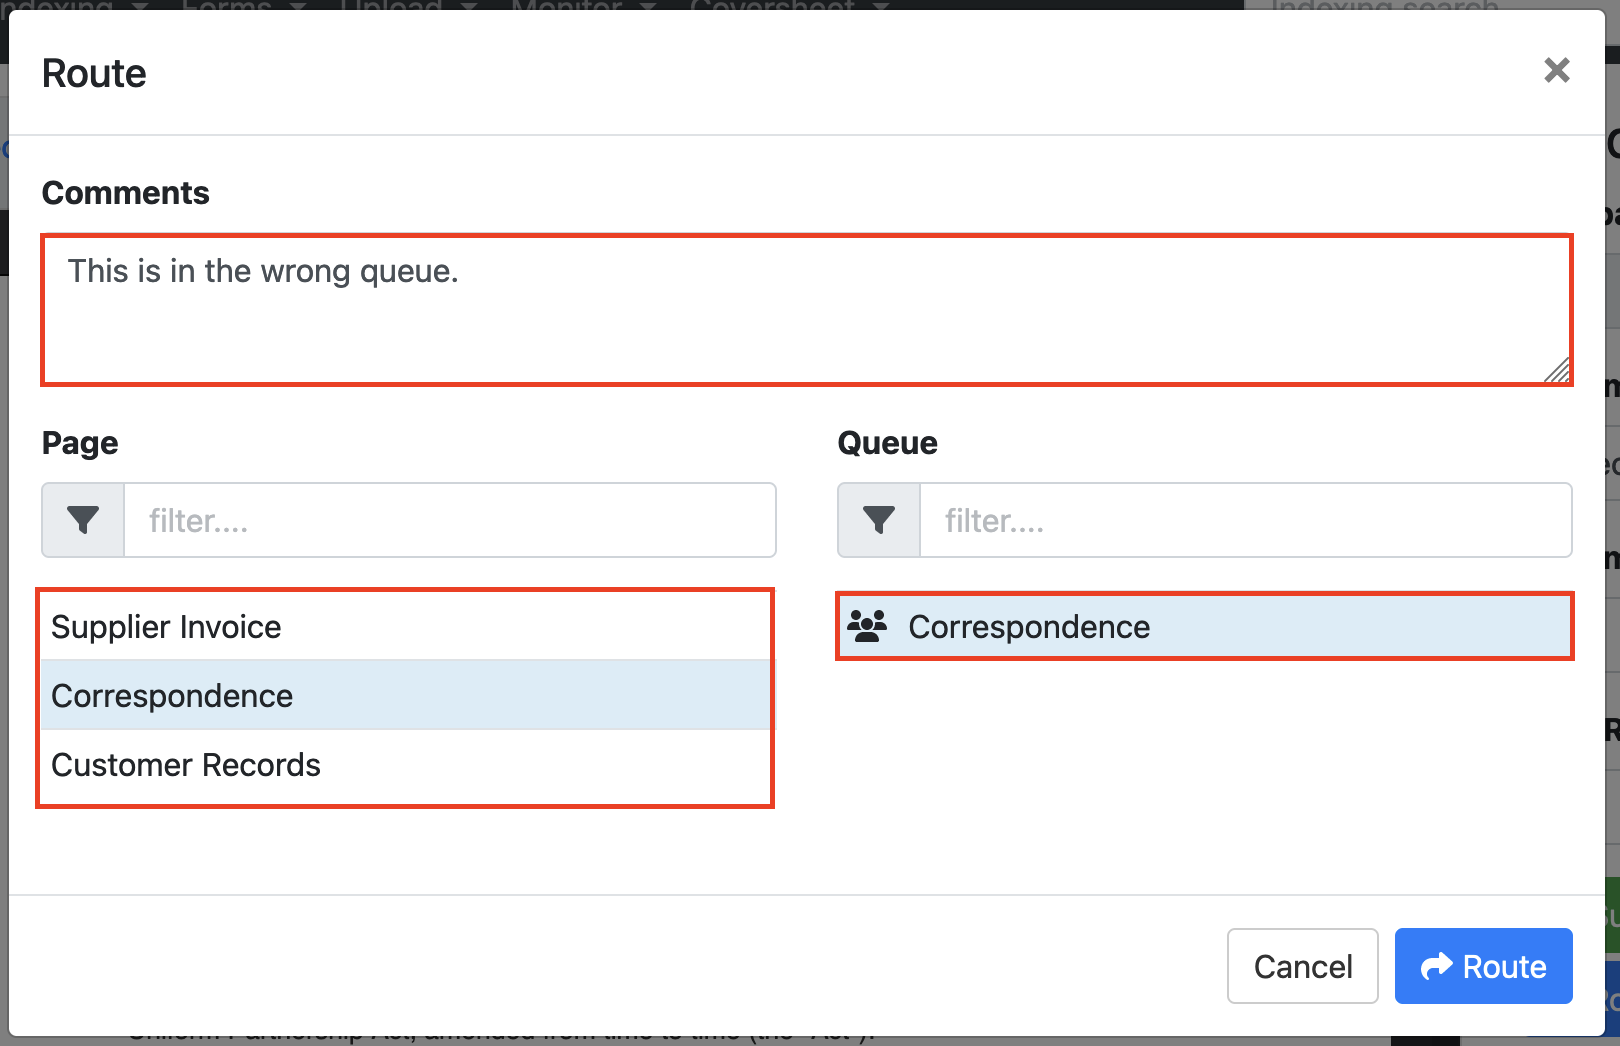
Route
-
By clicking the "Route" button, you can send documents to another queue for processing. It is not necessary to fill out the form fields first in order to perform this action.
-
A pop-up window will appear where you can select the page and queue that you want to route the document to. You are also required to provide a comment as to why you are routing this document to another queue before pressing the windows ‘Route’ button.
Delete
-
By clicking the "Delete" button, the document will be permanently deleted from the system. It is not necessary to fill out the form fields first in order to perform this action.
-
A warning message will be displayed. If you wish to permanently delete the document from the system, click the "Delete" button. Alternatively, if you want to cancel the action, select the "Cancel" button or simply click the “x” button to close the window without deleting the document.

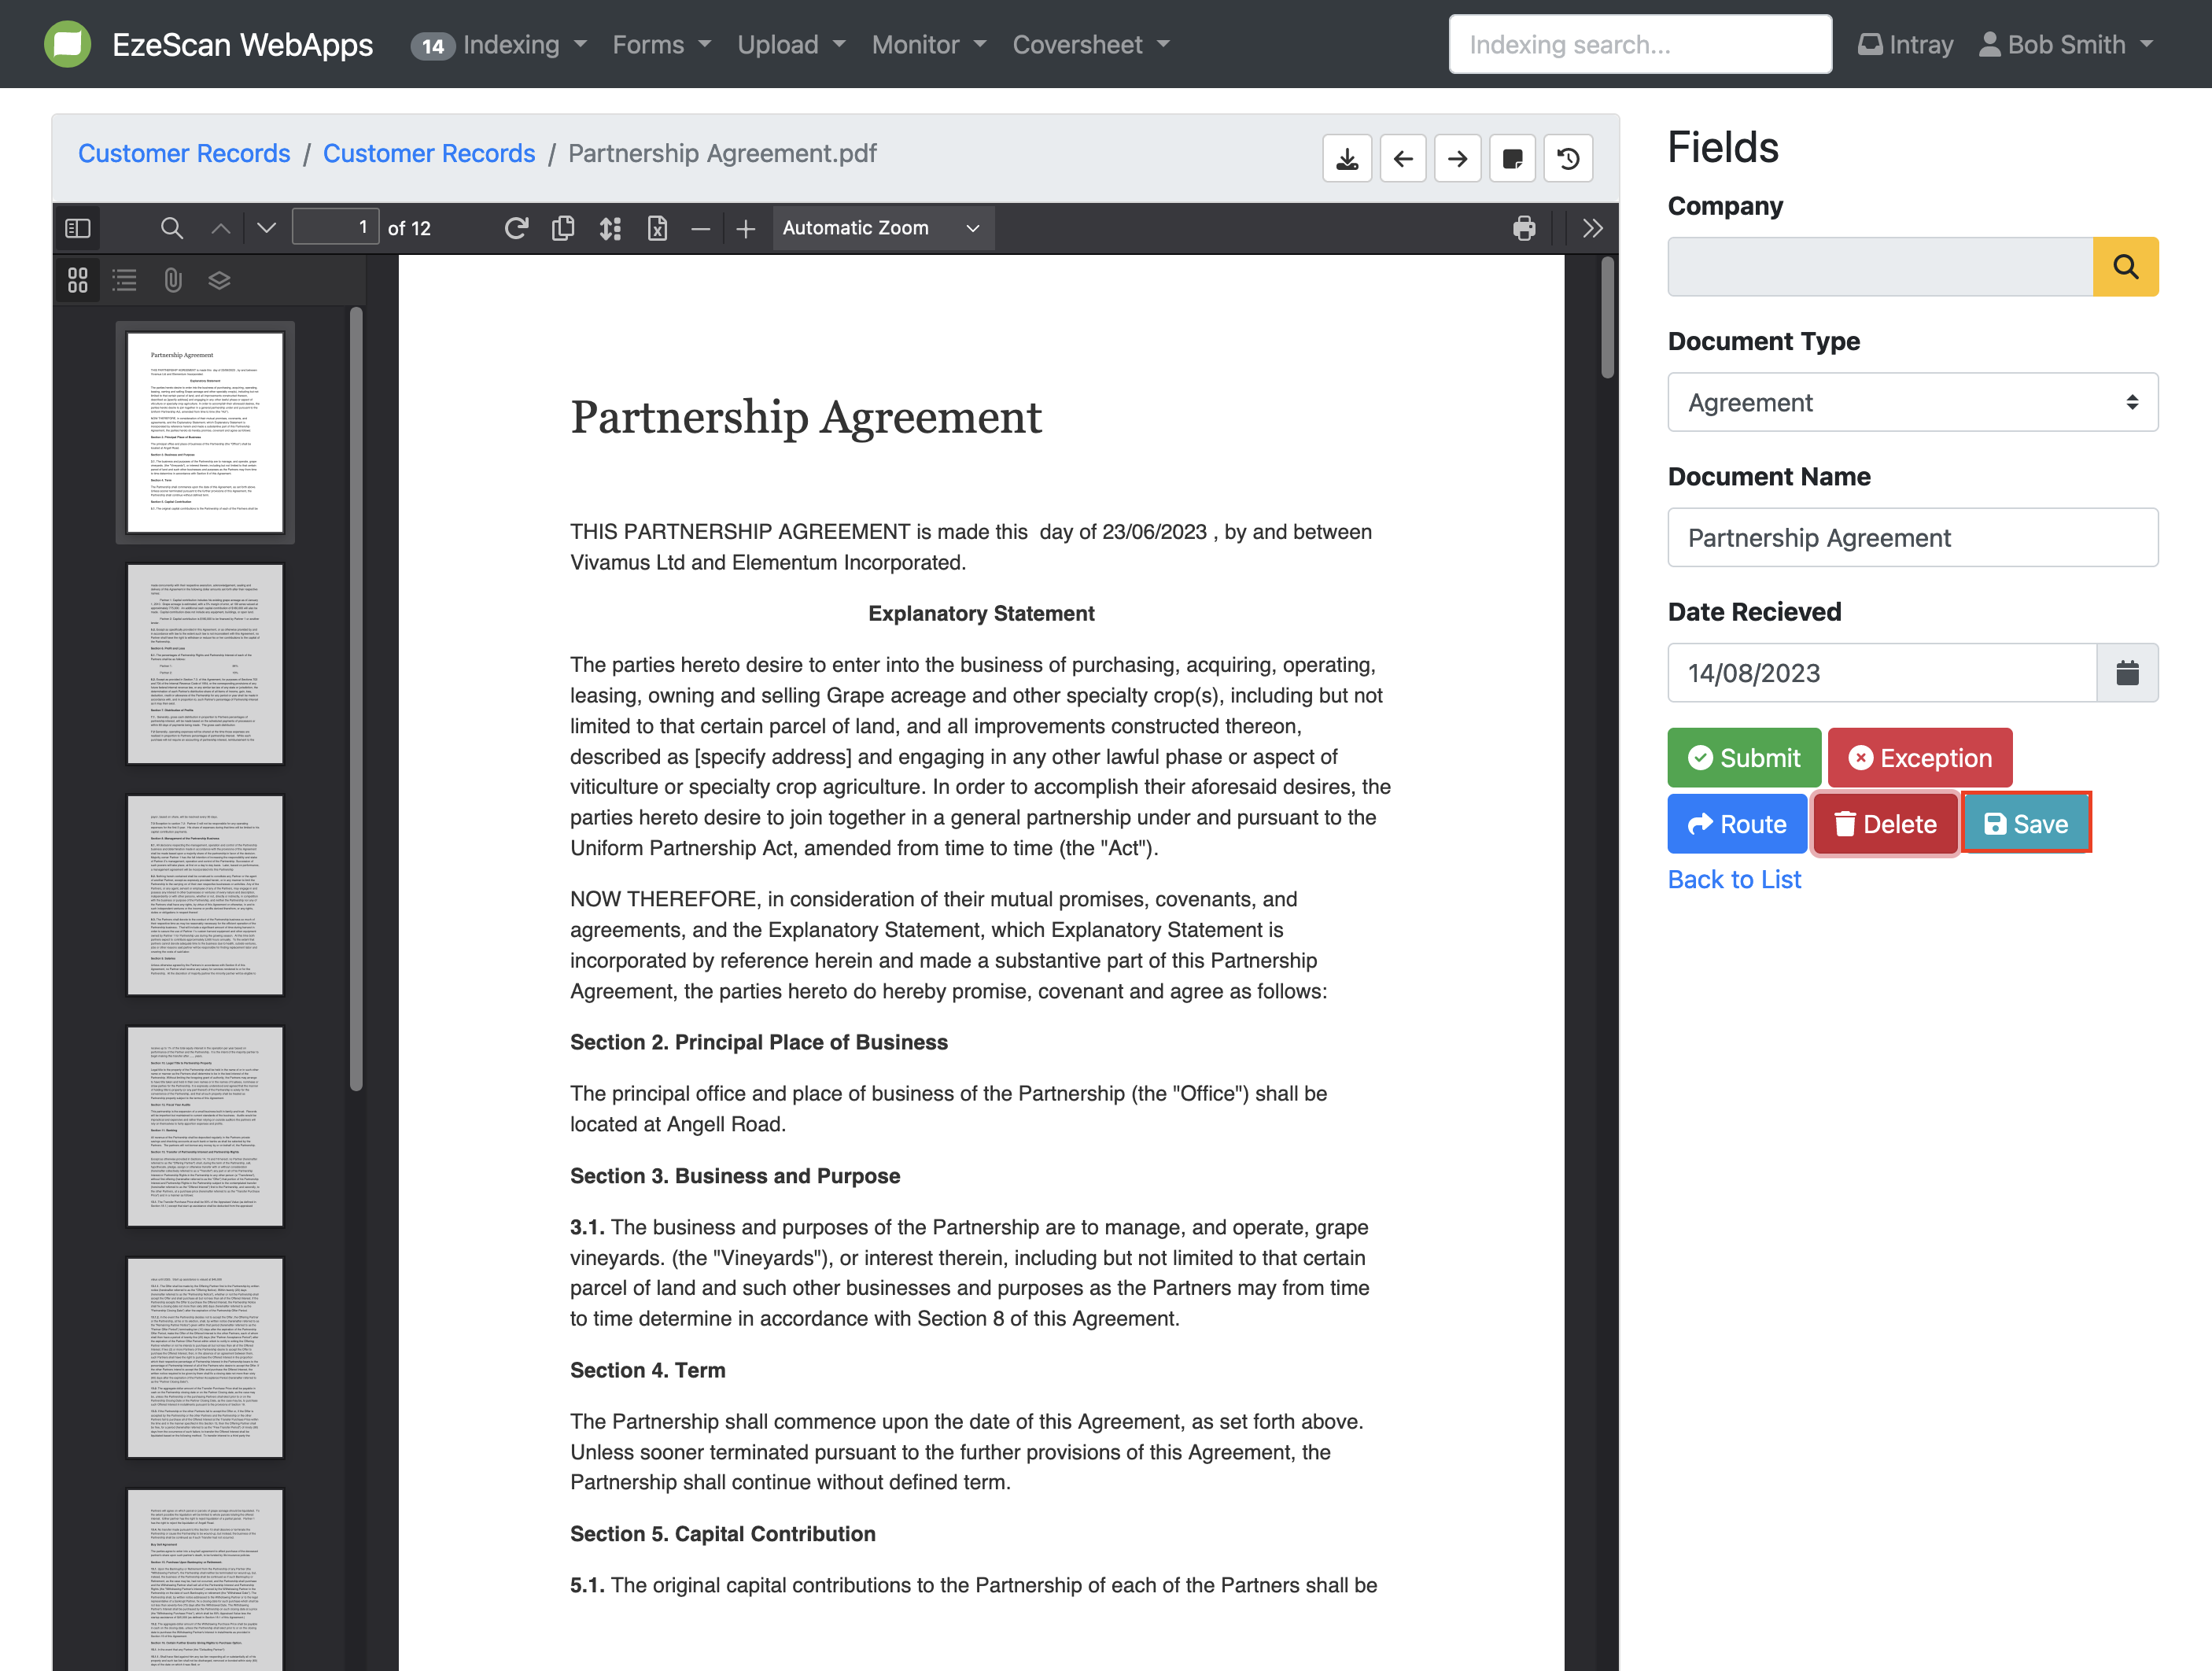
Save
-
The "save" action enables you to preserve the current state of the field data and return the document back to the queue. EzeScan will automatically move you to the next document in the queue.
Video Tutorial: https://youtu.be/H5y0CLCqUhM