Windows Server Step-by-step guide
Installation files
-
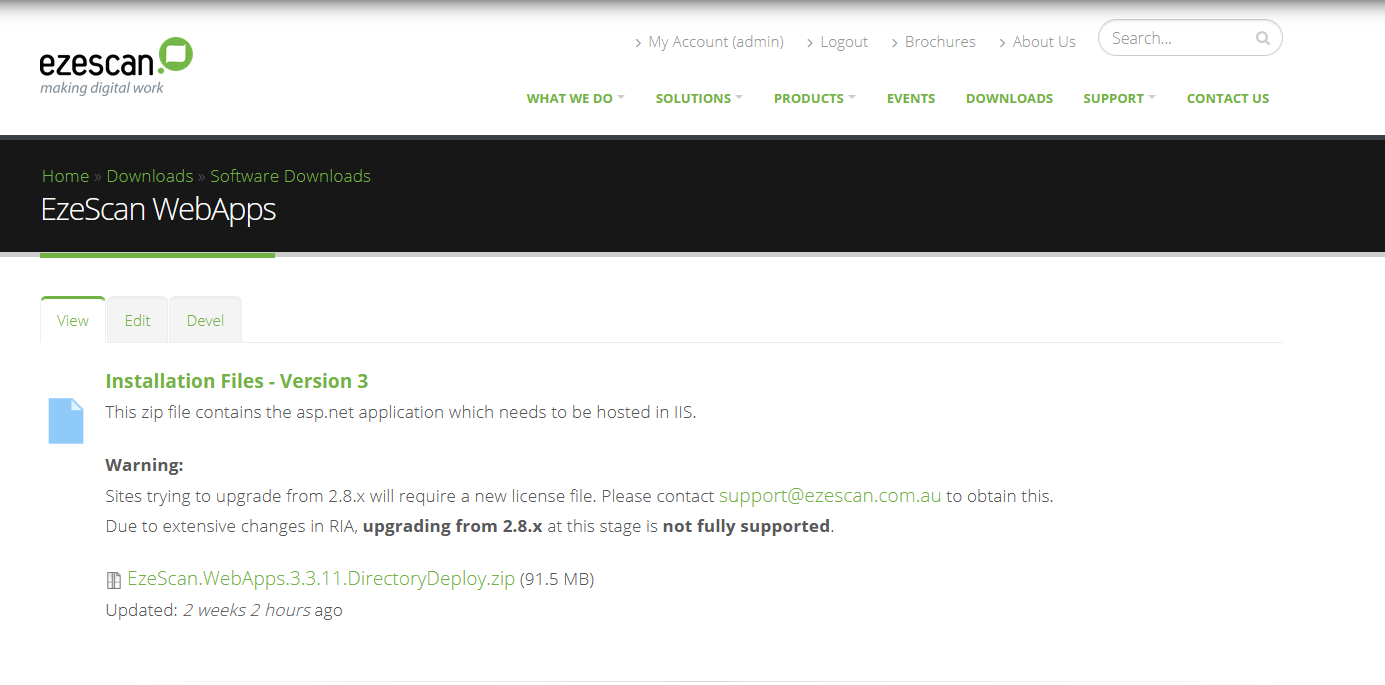
Go to the EzeScan website www.ezescan.com.au
-
Logon using your User ID & Password
-
Contact support@ezescan.com.au if you are unsure as to what this is.
-
-
Go to Downloads > Software Downloads > EzeScan Webapps
-
Download and then extract the installation files to the Downloads folder.
-
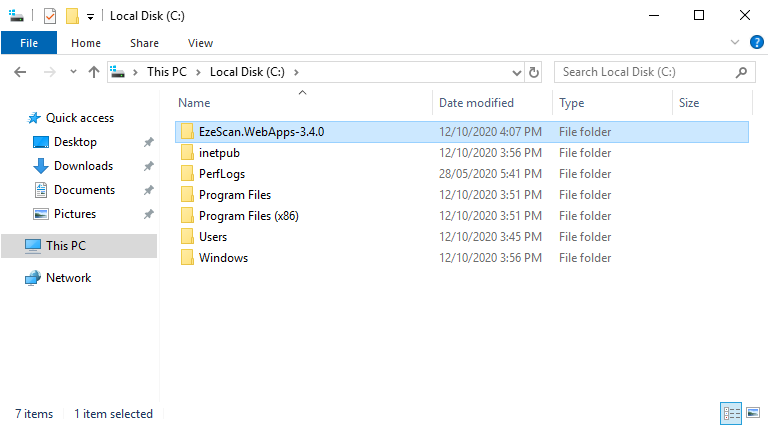
Copy the extracted folder to C:\ or whichever drive or folder to your liking.
-
Rename the folder to EzeScan.WebApps to remove the version number.
-
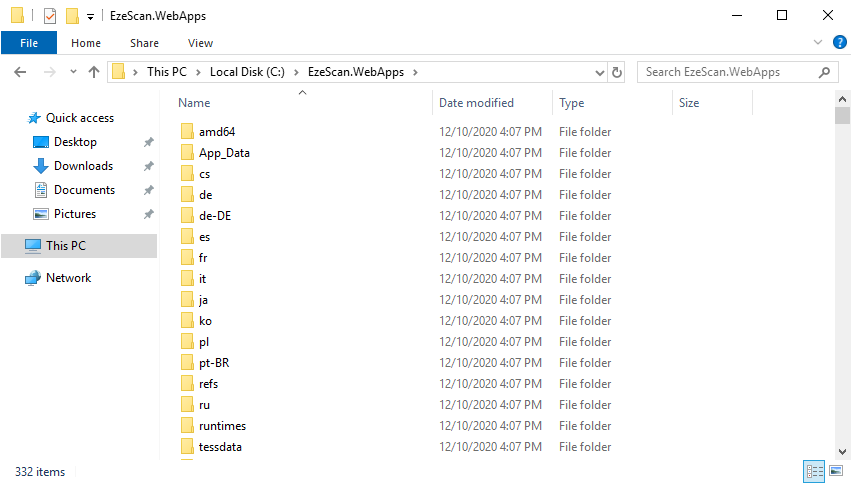
Check the folder contains the application files.
Create Application Pool in IIS
-
Open Internet Information Services (IIS) Manager.
-
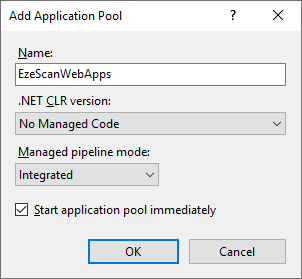
Right click Application Pools > select Add Application Pool.
-
Set the following options and click OK:
Name
EzeScanWebApps
.NET CLR Version
No Managed Code
Managed pipeline mode
Integrated
-
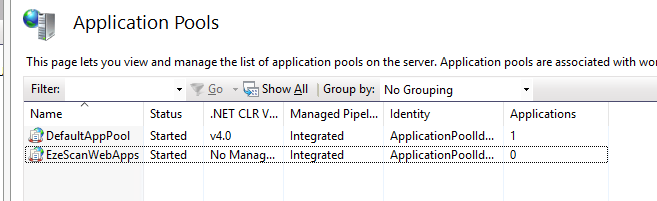
Confirm your application pool appears in the list.
Set Application Pool settings
-
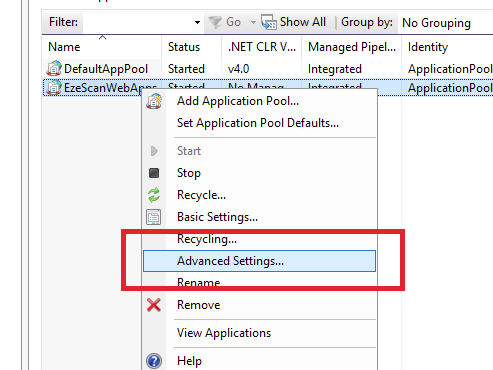
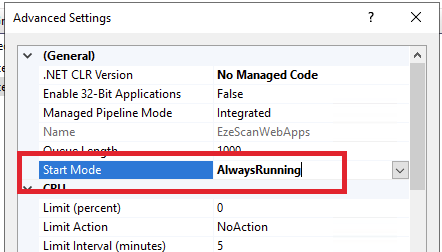
Right click EzeScanWebApps > select Advanced Settings...
-
Set the Start Mode to AlwaysRunning.
-
Click the OK button to save the settings.
Set Permissions
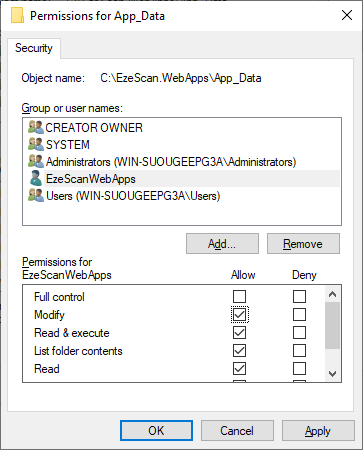
EzeScan WebApps application pool’s identity needs to have read/write access to the App_Data folder in order to move files around and function correctly.
-
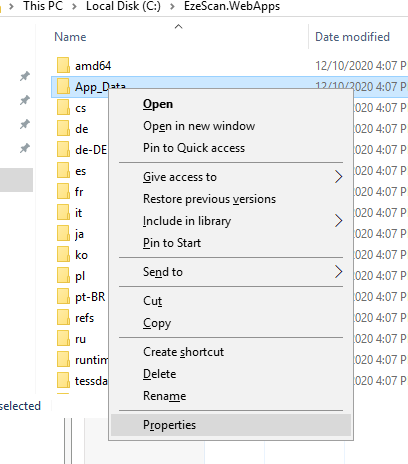
Navigate to the EzeScanWebApps directory.
-
Right click the App_Data folder and select Properties.
-
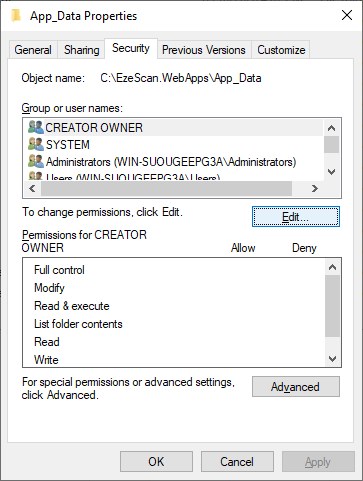
Select the Security Tab and then click the Edit button.
-
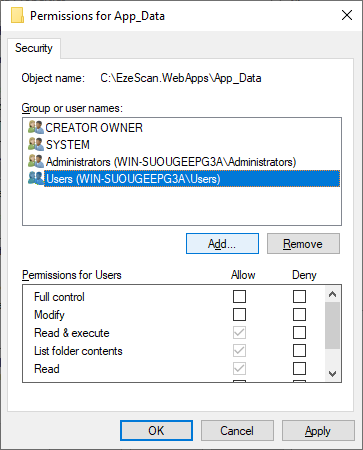
Click the Add button.
-
Enter IIS AppPool\EzeScanWebApps and click the Check Names button.
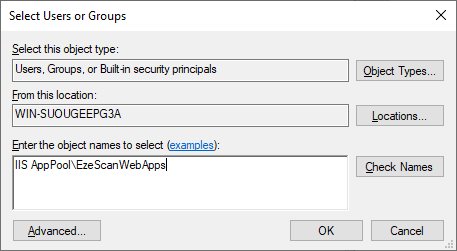
-
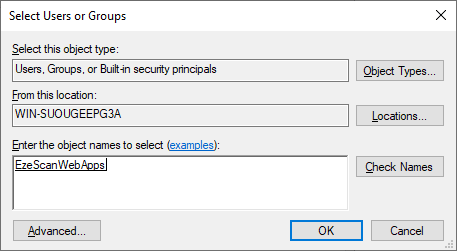
Confirm the name is changed to EzeScanWebApps and click the OK button.
-
Tick the Modify checkbox and then click the OK button.
-
Setup IIS
-
Open Internet Information Services (IIS) Manager.
-
Right click Default Web Site and then click Add Application.

-
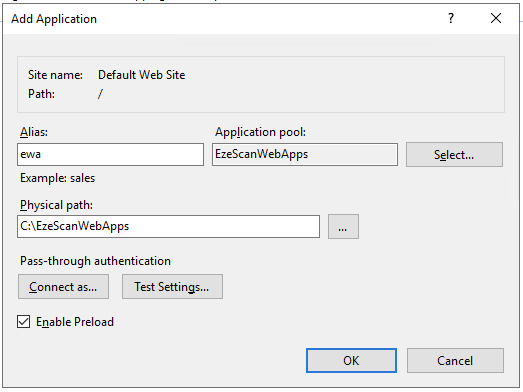
Set the following values:
Site Alias
ewa
Application Pool
EzeScanWebApps (click Select button)
Physical Path
C:/EzeScanWebApps (click ... to navigate)
Enable Preload
Ticked
-
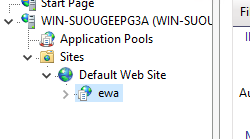
Click OK to finish and confirm your application is shown under Default Web Site.
Testing the site
-
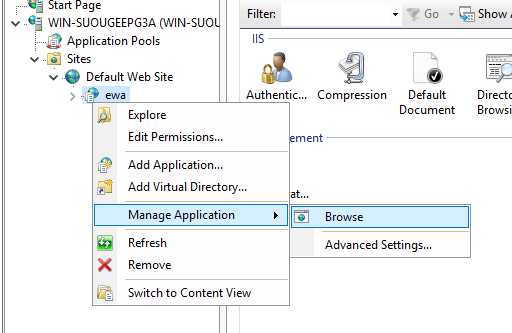
Right click on ewa > Manage Application > Browse.
-
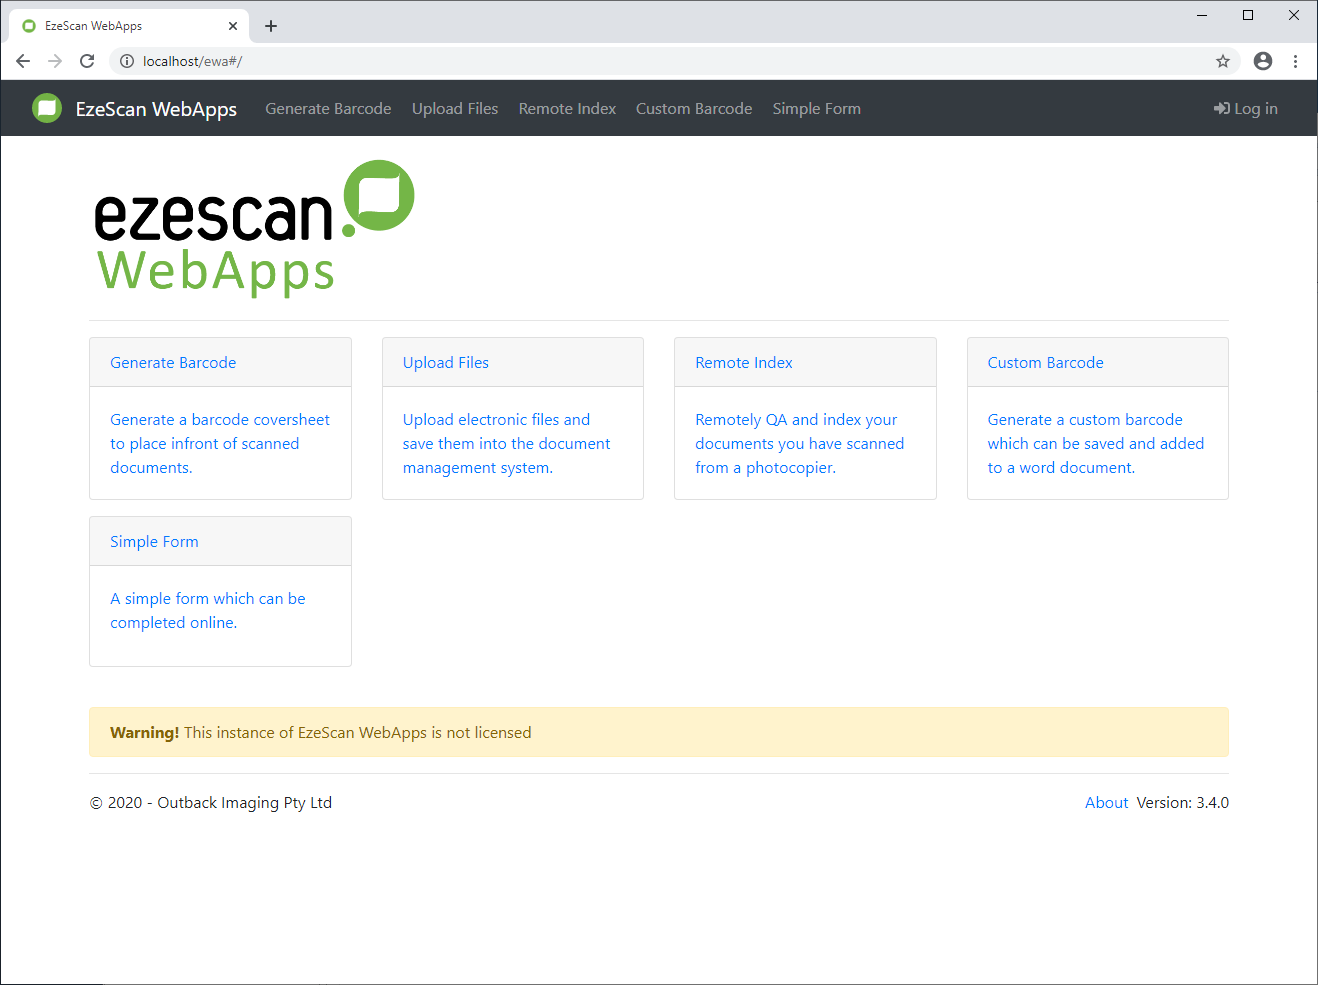
If the page loads, then installation is complete.