Generate an application key in EzeScan WebApps
-
Log into your EzeScan WebApps and click on your name in the top right > Settings

-
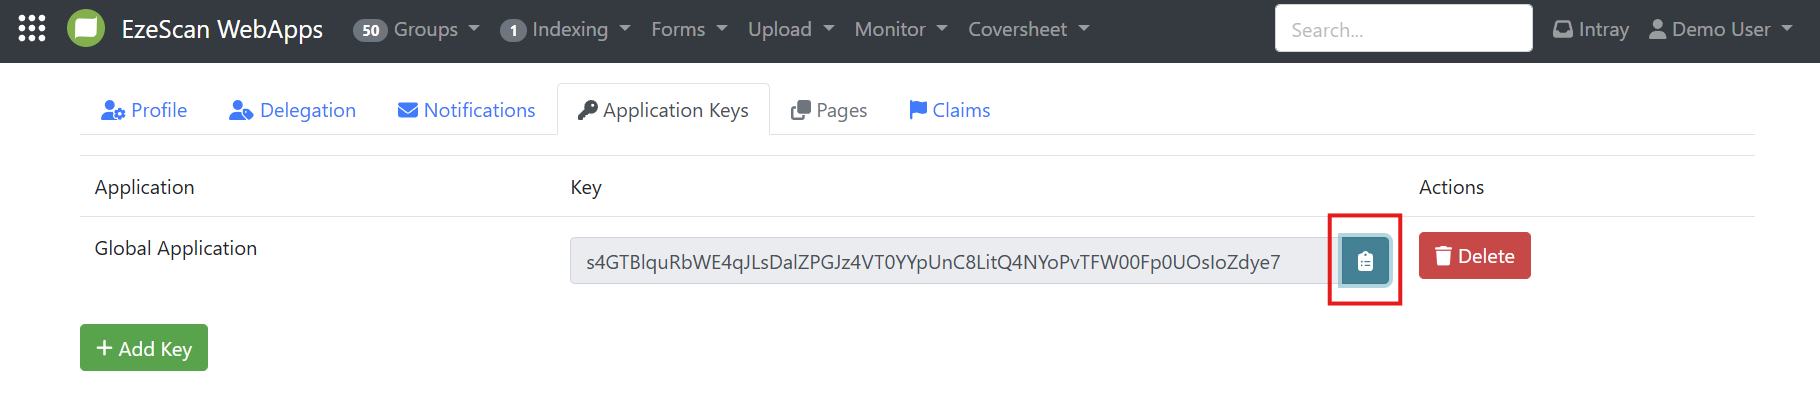
Click on the Application Keys tab and then click the green Add Key button.

-
An application key will then be created for your specific user account. Click the copy to clipboard button and save this key somewhere secure for the next step of the process.
Configure the Outlook Add-in
-
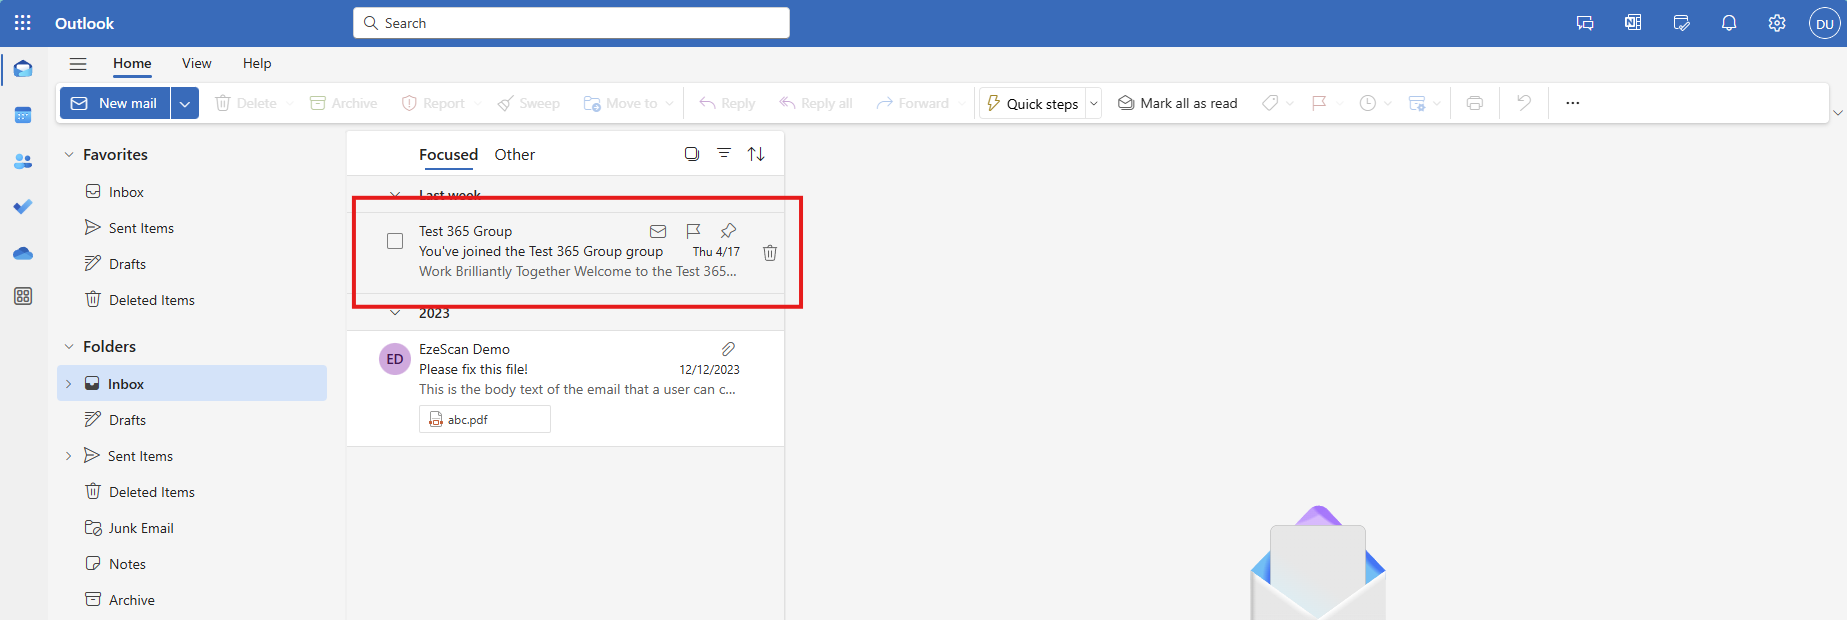
In your preferred outlook client click on an email to show the viewing pane.
-
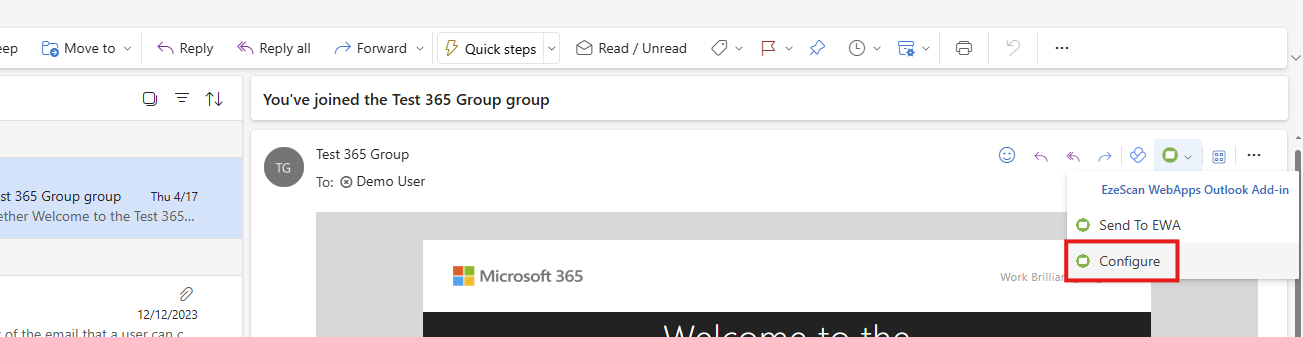
On the right side of the viewing pane select the EzeScan logo > Configure
-
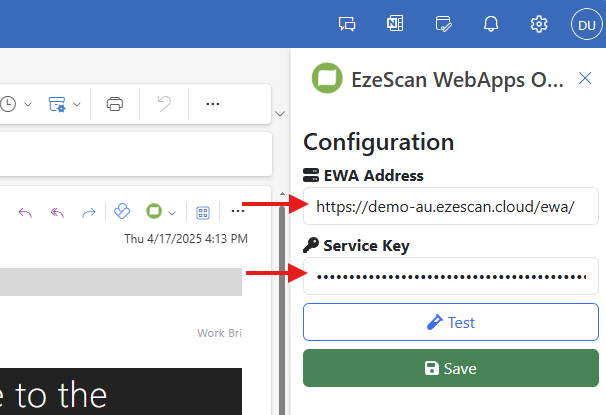
Enter your EWA Address and the application key you generated above into the Service Key.
-
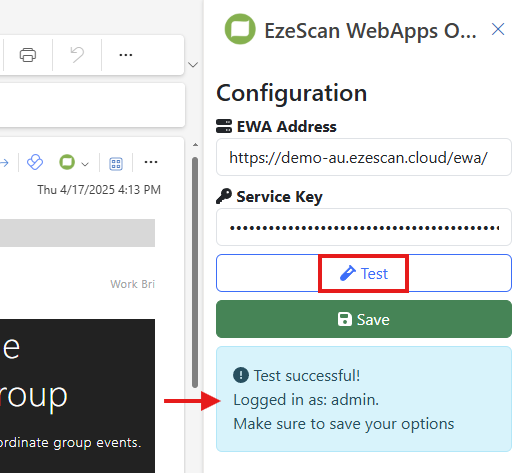
Click the Test button and confirm you recieve a success message.
-
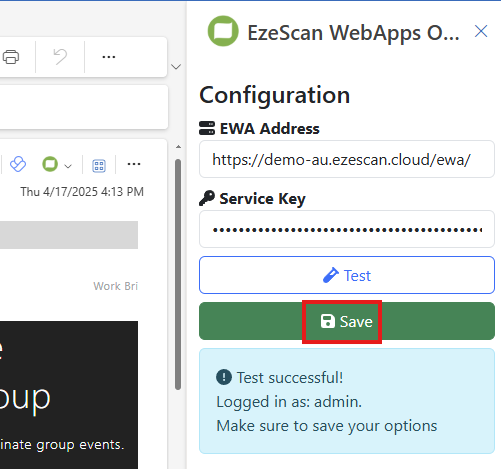
Click the green Save button.
-
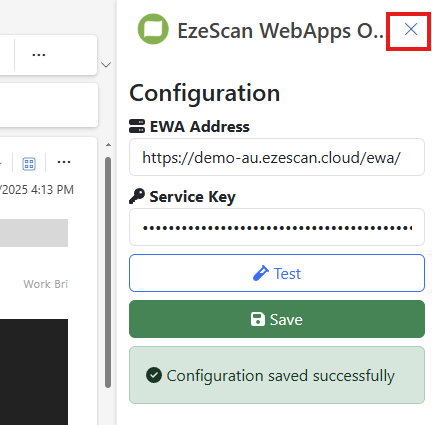
Click the X in the top right to close the configuration window.
Testing the configuration
-
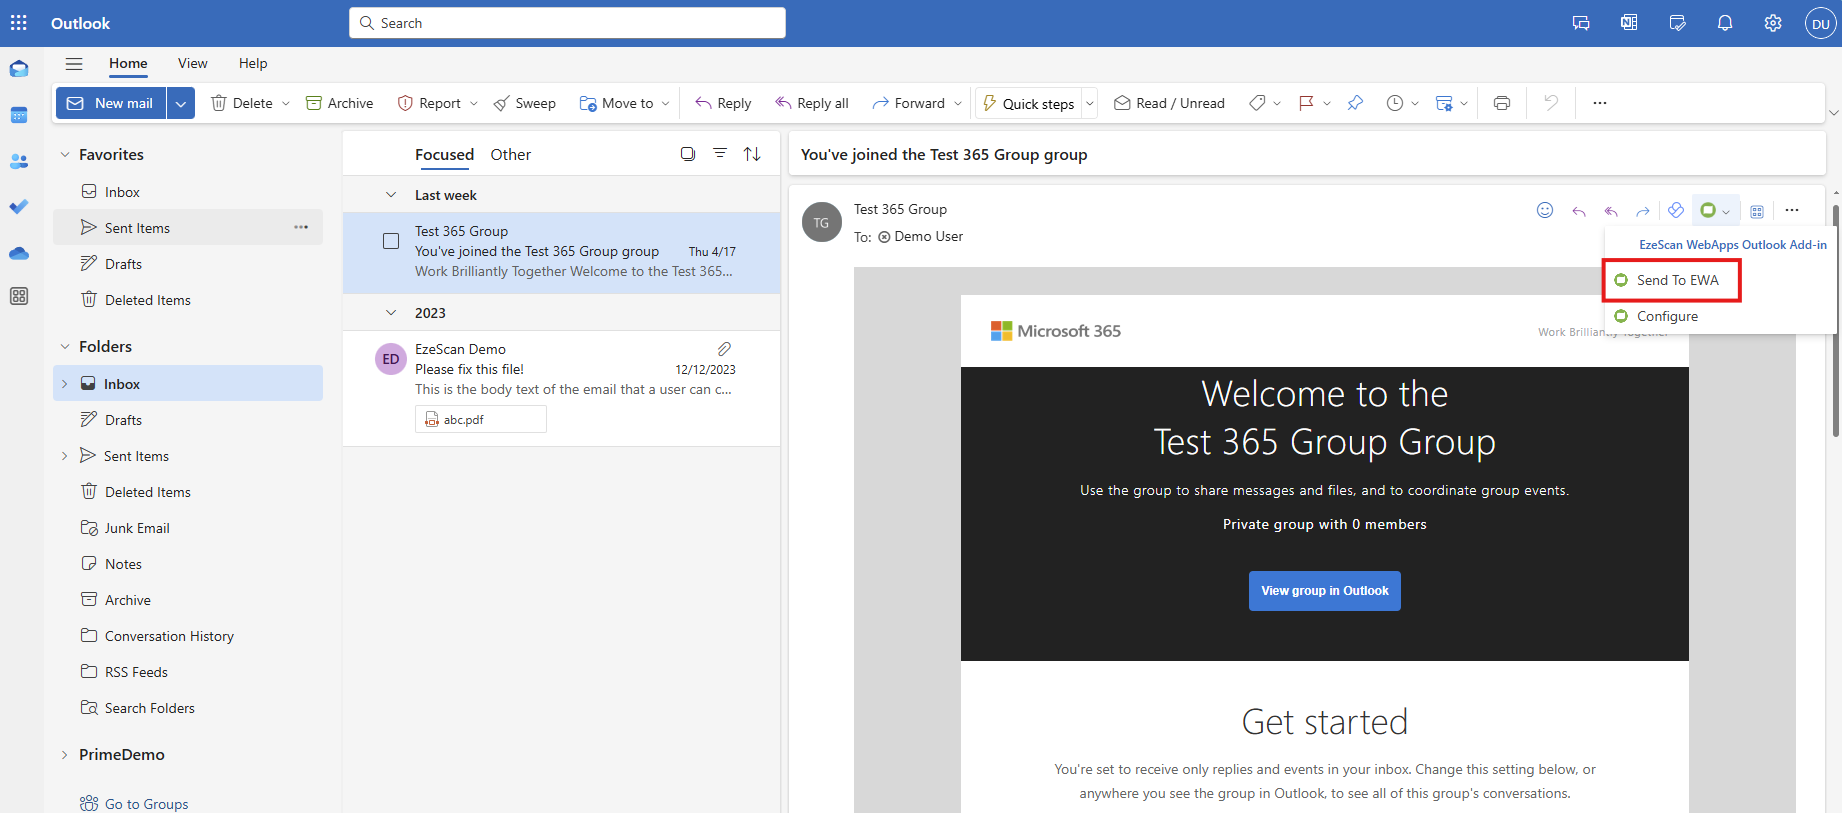
Open an email you wish to send to EzeScan WebApps and click the Send to EWA under the green EzeScan icon on the right of the viewer pane.
-
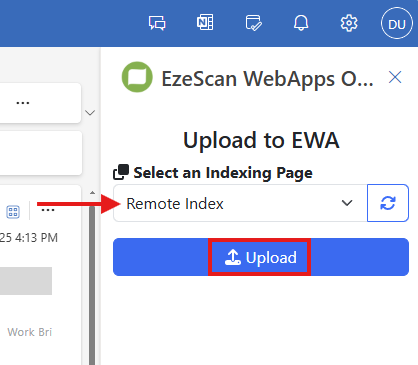
Select a remote indexing page and then click the Upload button.
-
When the item is successfuly uploaded to EzeScan WebApps you will see an alert on the top of the item as well as it being put in the “Uploaded to EzeScan WebApps” category.
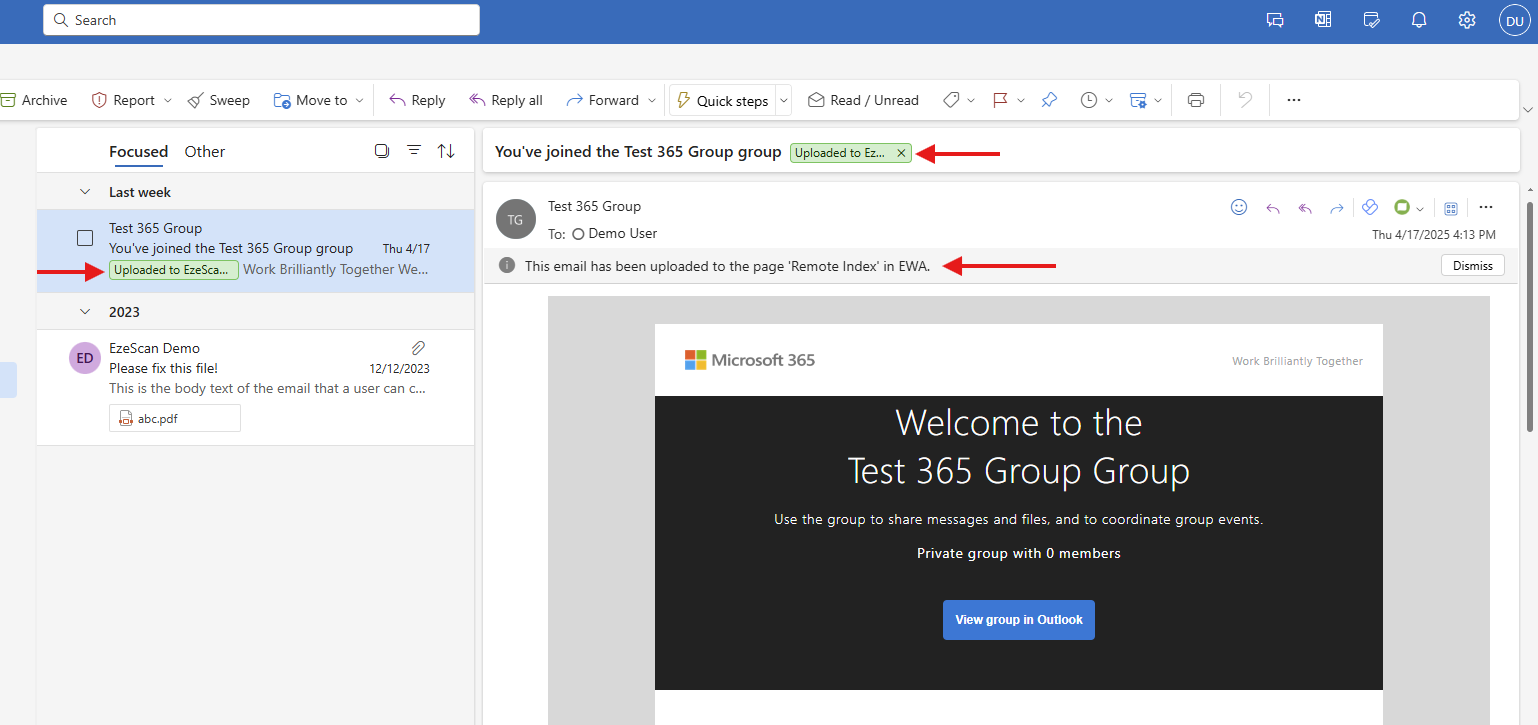
If the category doesn’t exist, then it will be created.
-
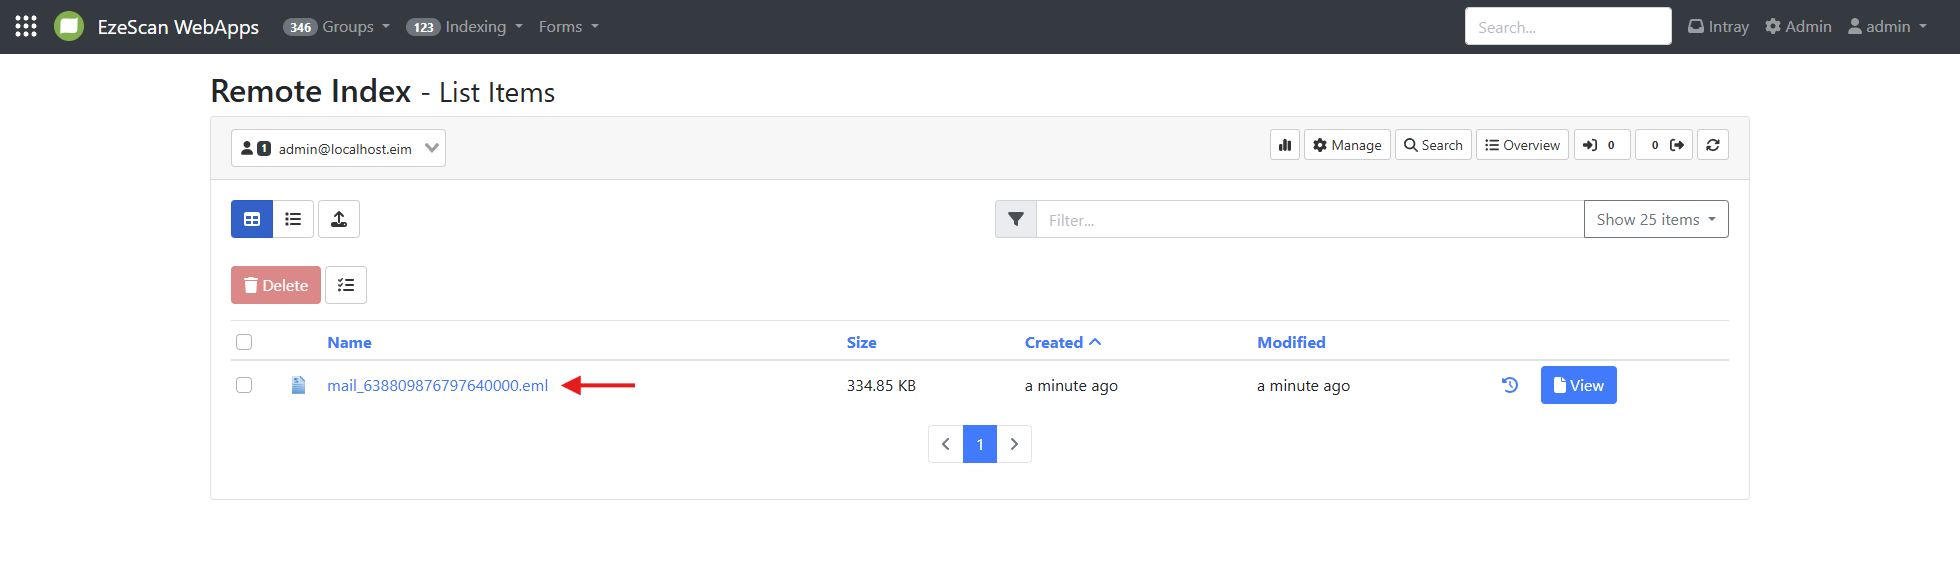
Navigate to your EzeScan WebApps indexing page and confirm the email was successfully uploaded in .eml format.