Installation
The latest version of EzeScan can be downloaded from the following webpage for registered users:
https://www.ezescan.com.au/downloads/software-downloads/ezescan-installers
Note: If you are not yet a registered user, you will need to create an account here: https://www.ezescan.com.au/user/register and wait for one of our team members to verify your account before you can access any software downloads.
64-bit Verse 32-bit
EzeScan V5.0 or higher can be configured to work on 32-bit or 64-bit Windows operating systems.
On 32-bit Windows operating systems, EzeScan will use 32-bit TWAIN scanner drivers, and will work with USB or FireWire connected scanners.
On 64-bit Windows operating systems, EzeScan will use 64-bit TWAIN scanner drivers, and will work with USB or FireWire connected scanners. Please ensure the TWAIN driver has x64 support.
To find out what version TWAIN driver your scanner has, visit: https://docs.ezescan.com.au/ekb/144-does-the-ezescan-desktop-scanning-module-suppo
You will also need to take into consideration of any supported integrations that will be used. If they only support a 32bit then the EzeScan 32-bit installation will need to be used.
Minimum PC Requirements / Specifications
The minimum PC specification for an EzeScan Workstation is:
Intel™ Core i7 3.06 GHz i7-950 or AMD equivalent processor
8GB Ram
250GB SSD
1000 Mbps Ethernet (for network scanners or to store to EDRMS / network repositories)
A video controller with at least 512MB RAM
Monitor supporting at least 1600 x 1280 pixel resolution
Microsoft Windows operating systems that support Microsoft .NET Framework Version 4.8 and above.
USB or SCSI connection for scanner (USB 2.0 recommended)
A TWAIN or ISIS compliant scanner (please refer the supported scanner list on our website)
When installing EzeScan you must be logged in with local administrator http://rights.It is recommended that the PC being used is be a 64 bit machine and preferrably has solid state drives.
Installation Wizard
Download the MSI file for either the 64-bit or 32-bit version.
This will launch the EzeScan MSI installer.
The main installation screen displays:
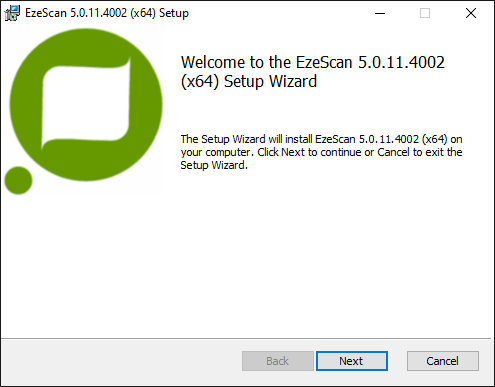
EzeScan Setup Wizard screen
Select Next to continue.
The License Agreement screen displays:
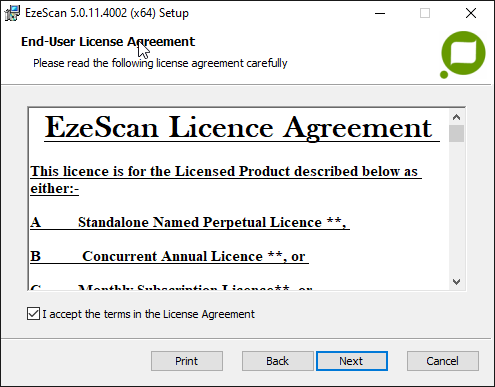
You must agree to the license agreement before proceeding
If you agree to the License Agreement, Select the I Accept Checkbox
Select Next to continue.
The Choose Destination Location screen displays:
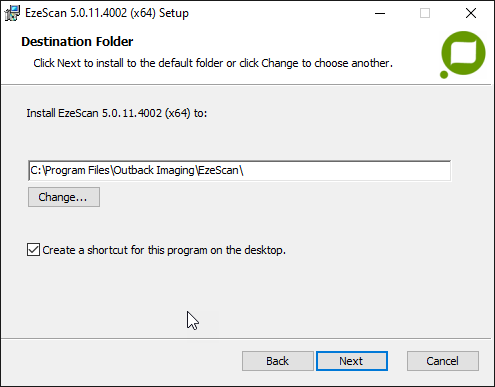
Ensure the "Create a shortcut" box is ticked before clicking Next
Select Next to accept the default installation directory of C:\Program Files\Outback Imaging\EzeScan.
(If required: Tick to create a shortcut on the desktop)
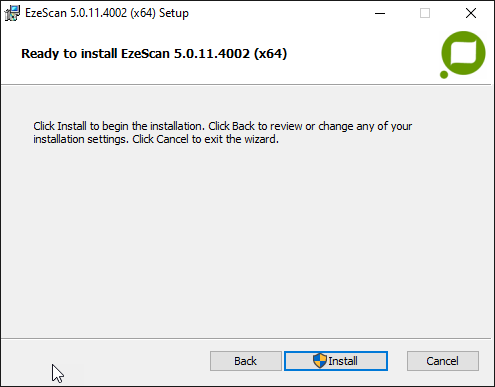
Click Install button
Click Install to begin the installation
The next screen displays while the software is loaded onto the workstation:

Installing EzeScan progress screen
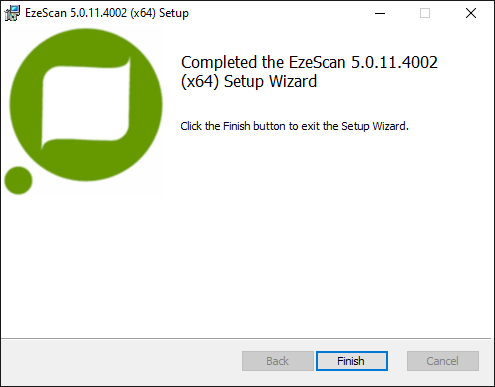
Installation completed screen
Click Finish to close the setup wizard.
The administrator can then log off and allow the operator to login and use EzeScan.
