
System Requirements
EzeScan 5.0.115 or higher.
Pathway Server version 3.08 - 3.10.024.
One of the following clients must be installed on the same PC.
|
Name |
Comments |
|---|---|
|
UX Client |
Recommended for all new deployments. Required for Pathway to EDMS solutions using GENCON model, and single tenant SaaS deployments. Pathway Agent must be installed with COM API. 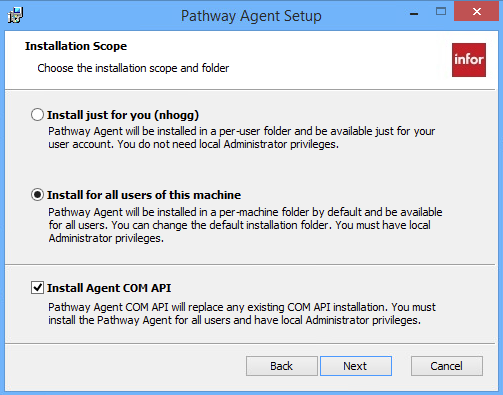
When installing multiple Pathway clients (e.g. Pathway Agent and Smart Client), the Pathway Agent should be installed last to ensure it’s Pathway COM registration overrides the previous clients. Failure to do so may result in the wrong Pathway client opening from EzeScan. |
|
Smart Client |
For on-premise deployments of Pathway server only. Use this option if you have not yet migrated to Pathway UX. |
|
Thick Client |
For on-premise deployments of Pathway server only. Use this option for older versions of Pathway when Pathway UX and Smart Client are not available. |
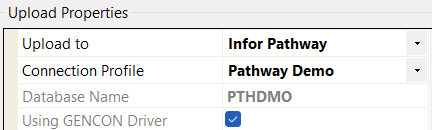
Connection Settings
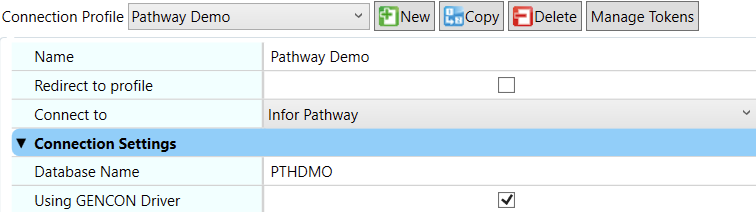
It is recommended that a connection profile be used in Workstation Options to allow the reuse of connection settings across various KFIs and Uploads.
|
Option |
Description |
|---|---|
|
Database Name |
The name of the Pathway Database to connect to. |
|
Use GENCON Driver |
This should be checked when Pathway server is configured to use GENCON driver for EDMS integrations, otherwise unchecked if using the legacy TRIMCO connector. |
Browse Name and Address Register
Browse Pathway Links
Upload to MicroFocus Content Manager (a.ka. TRIM)
The following explains how to map both Pathway Names and Pathway Links when uploading records to Content Manager.
|
Upload Field |
Description |
Example |
|---|---|---|
|
AutoLoc |
Search for existing pathway names within Content Manager using the pathway key (e.g. CNA/CNAIDTY/17023). If no match is found a new location is automatically created within Content Manager with the pathway key as the ID Number and any other properties applied to it. All names passed into this field are added as contacts to the upload document. These contacts are what populates the items in the Pathway Name Management form as per the below screenshot. 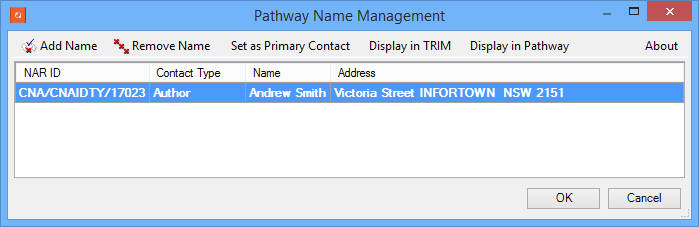
The Pathway 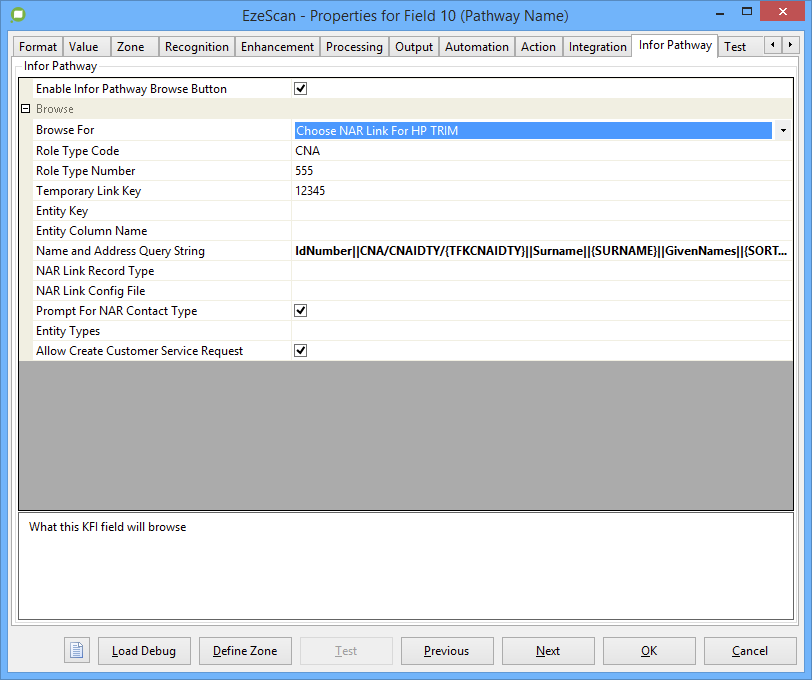
This browse options returns the pathway keys as the display value, and the specially formatted value for use with Note that multiple names can be joined using the delimiter |
IdNumber||CNA/CNAIDTY/17023||Surname||Smith||GivenNames||ANDREW ||Type||Person||DOB||||STREETADDRESS||Victoria Street INFORTOWN NSW 2151||MOBILE||0423154234561||EMAILADDRESS||||ContactType||Author |
|
Create Related Records |
Searches for existing pathway links within Content Manager using a pathway key (e.g. LPA/LPAPROP/12345). If no match is found a new link record is automatically created within Content Manager with both the pathway key and description populated. All links passed into this field are added as related records to the upload document. These related records are what populates the items in the Pathway Link Management form as per the below screenshot. 
The Pathway 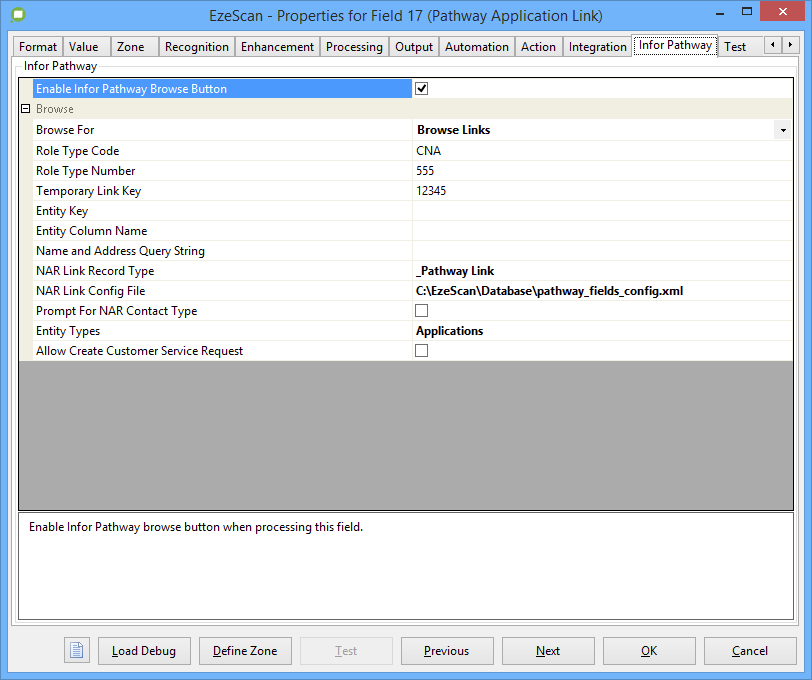
This browse options returns the specially formatted value for use with Note that multiple links can be joined using the delimiter |
LPA/LPAPROP/140202||_Pathway Link||||Pathway Primary Key::LPA/LPAPROP/140202||Pathway Container::||Pathway Description::2-GAR, 2 Victoria Street, INFORTOWN NSW 2151##LPA/LPAPROP/169580||_Pathway Link||||Pathway Primary Key::LPA/LPAPROP/169580||Pathway Container::||Pathway Description::2B Archer St, INFORTOWN NSW 5000 |
|
Pathway Link |
This field is for display purposes only and usually contains the description of the default pathway link. Consider populating with the description of the first pathway link that the user selected in KFI. |
2-GAR, 2 Victoria Street, INFORTOWN NSW 2151 |
|
Pathway Name |
This field is for display purposes only and usually contains the name of the primary pathway name. Consider populating with the name of the first pathway name the user selected in KFI. |
Andrew Smith |
|
Pathway Primary Key |
The key of the primary pathway link. Consider populating with the key of the first pathway link the user selected in KFI. |
140202 |
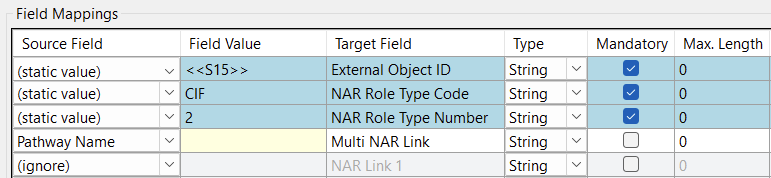
Upload Create Name Role Links
The following explains how to configure upload to link names in Pathway to an external EDMS object. It is assumed that your Job has been configured to use a primary upload that targets a supported EDMS such as Content Manager or Objective and the following upload will be chained to run after the respective document/record is created.
Select Upload To Infor Pathway and the connection profile that was configured in Workstation Options.
Field Mappings
|
Upload Field |
Description |
Example |
|---|---|---|
|
External Object ID |
The identifier of the external object in EDMS that the names in Pathway will be linked to. We recommend the following formatted date placeholder Otheriwse, consider using the document id placeholder |
or
|
|
NAR Role Type Code |
The NAR role type code to register name links with. This should always be |
|
|
NAR Role Type Number |
The NAR role type number to register name links with. This should be:
|
|
|
Multi NAR Link |
The primary key of one or more names in Pathway to link to the respective external object in EDMS. Multiple items can be delimited using two pipes ( |
|
|
NAR Link 1 to 6 |
The primary key of a name in Pathway to link to the respective external object in EDMS. |
|
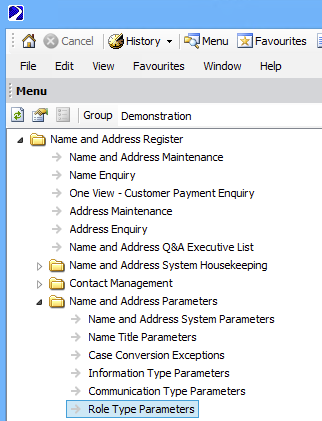
How to Locate Integration Role Type
-
Open the Pathway client and login as an Administrator.
-
Navigate to Name and Address Register → Name and Address Parameters → Role Type Parameters
How to Create Temporary Name Role Type
-
Open the Pathway client and login as an Administrator.
-
Navigate to Name and Address Register → Name and Address Parameters → Role Type Parameters
-
Click New
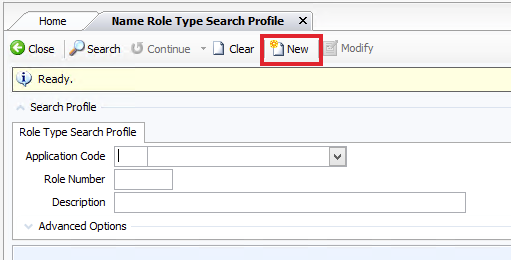
-
Select base role type CNA
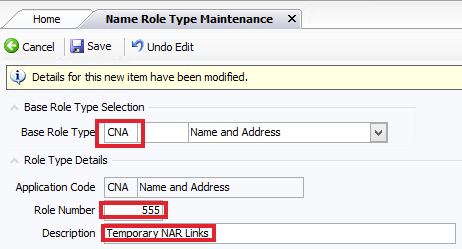
-
Enter a role number that is not in use (e.g. 555)
-
Enter a description (e.g. Temporary NAR Links)
-
Click Save