
-
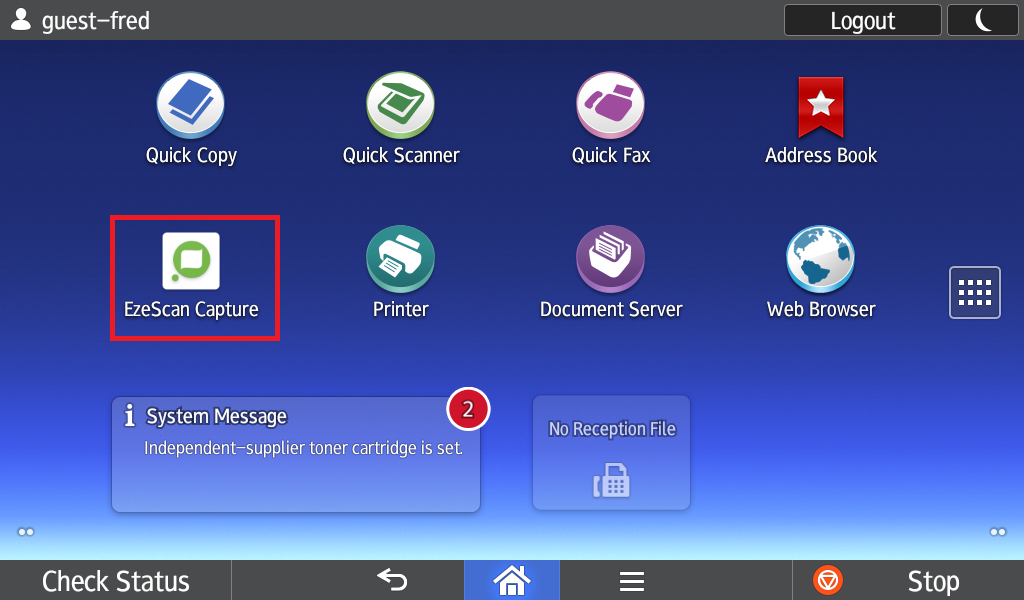
Ensure you are logged into the Ricoh device as Machine Administrator.
-
Open the EzeScan Capture app.
-
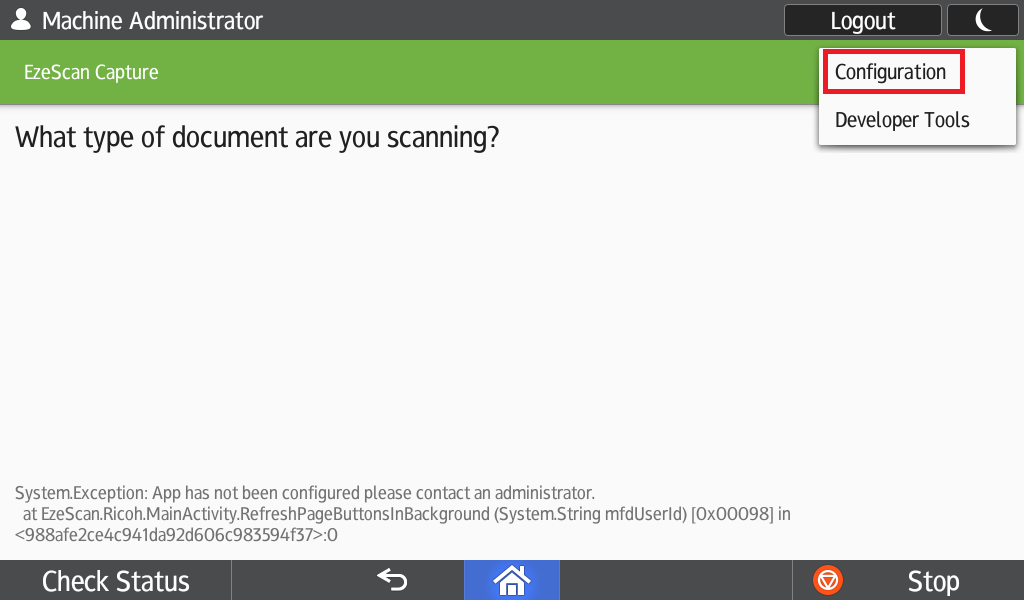
In the top right tap on the Three Dots.

-
Tap on Configuration.
-
Enter your connection settings.
EzeScan WebApps URL
The URL of your EzeScan WebApps instance to use.
(eg: https://ewademo.ezescan.com.au/mfd/)API Key
This is the API Key which can be:
Service Account (Recommended) - Configured by an administrator in the Admin Panel of EzeScan WebApps on the Authentication page.
User Account - Found on the Account Info page user the Application Keys tab in EzeScan WebApps.
User Id Lookup
By default leave this off.
Only enable this if the username of the logged in user on the copier is different from the username in WebApps.
When enabled it looks up the address book on the copier to locate the current users email address.
EzeScan Capture will then ask EzeScan WebApps for the username associated with that email address.
(eg: Sam might log into the copier as 187 but then login to WebApps as sam.smith so would need to enable this option.)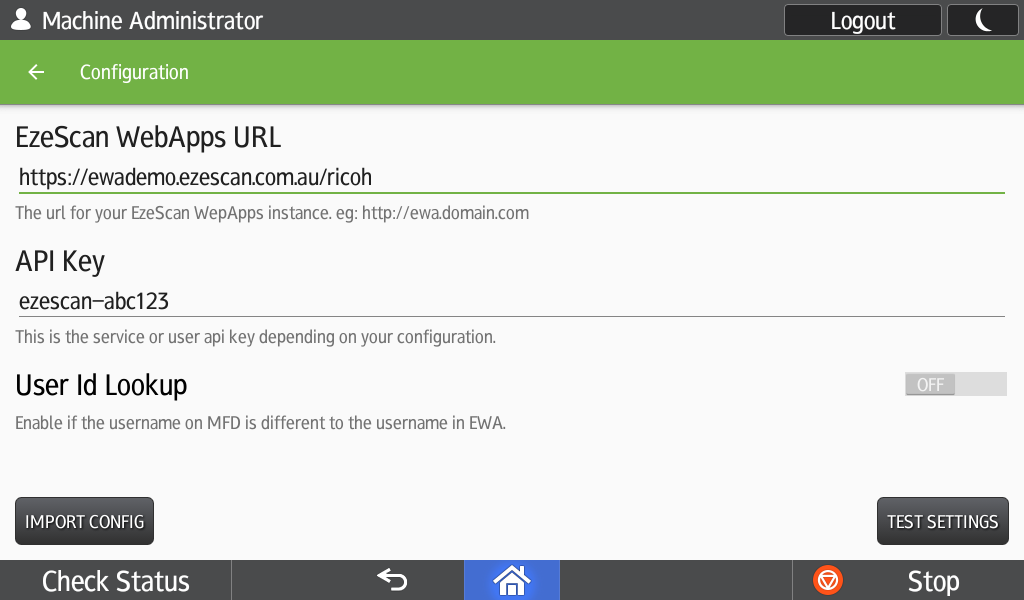
-
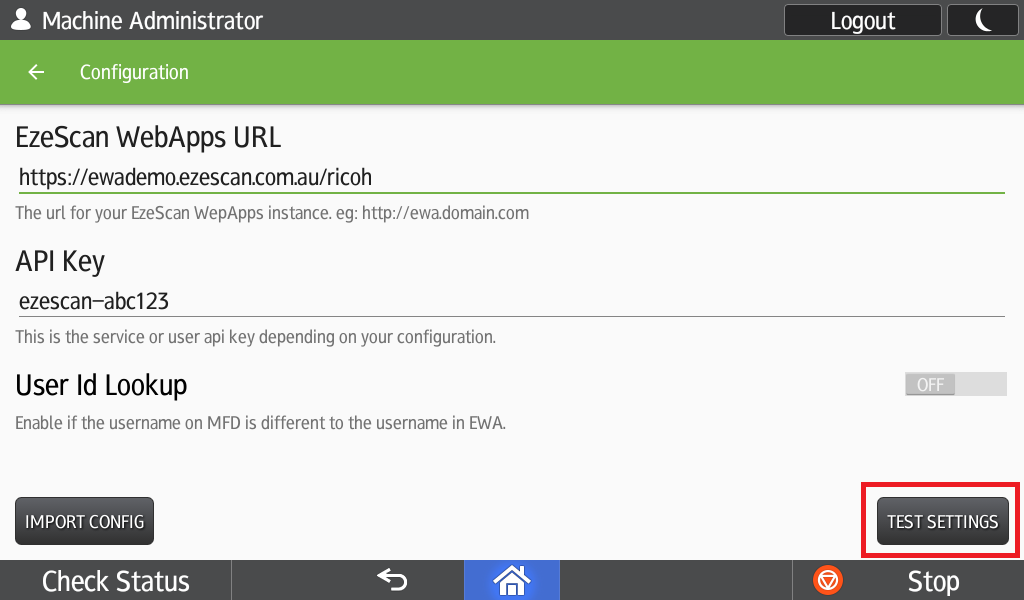
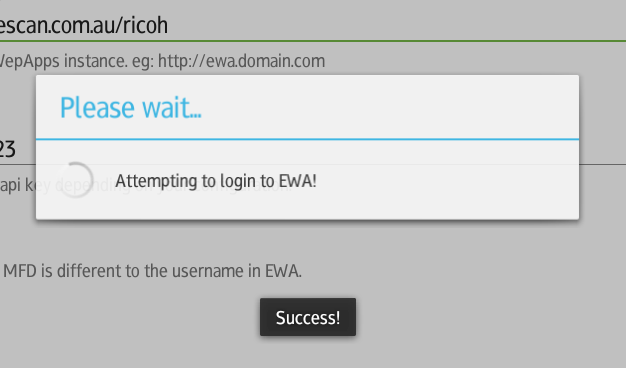
Tap the Test Settings button and confirm you see a "Success" message.
-
Tap the Back arrow in the top left.

-
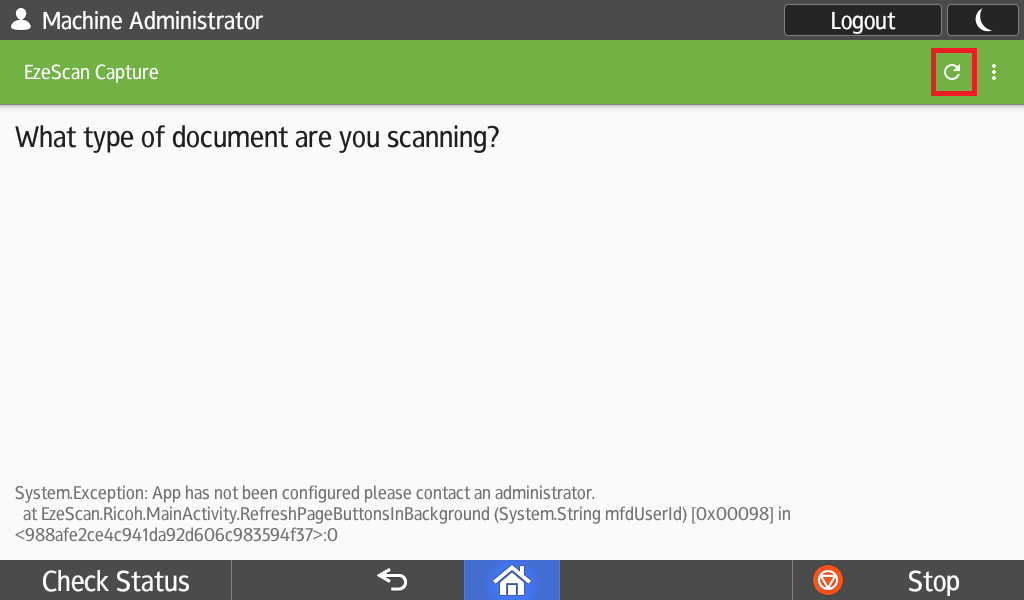
Tap the Refresh button in the top right.
-
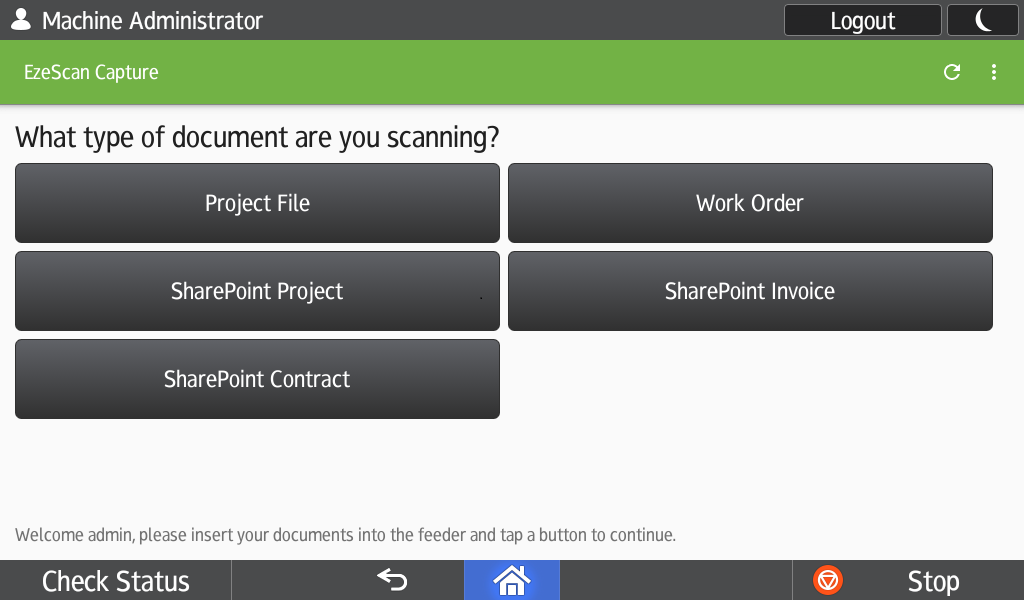
You should now see a button for each RIA page your account has access to.
-
Remember to log out of Machine Administrator before attempting to scan, as the Machine Administrator user is unable to use the scanner.