Installation
The current release may be downloaded from the EzeScan website www.ezescan.com.au and will be found under Home » Downloads » Software Downloads » EzeScan Authority Server
https://www.ezescan.com.au/downloads/software-downloads/ezescan-authority-server
A valid EzeScan website account will be required to log-in to download the application
Installation considerations
The EzeScan Authority application delivers its services via http and a degree of thought should be given regarding the server instance the Authority service is going to be installed to.
For example the following will apply.
All EzeScan clients will need to be able to connect to the http address.
If a custom FQN (Fully Qualified Name) is required for the web URL address, the site DNS (Domain Name System) may need to be configured to enable a custom name to resolve to the server.
The configuration profile location is shared to enable easy backup to the central server location. Note the share is for ease of backup and maintenance usage and not for the delivery of the Authority services, which will be provisioned via http.
As there is a share, the share and ACL (Access Control List) rights should be considered with regards to who is able to access.
e.g. Authenticated Users - Read, EzeScan Administrators - Change/Modify.
Backup is also an item to be considered as the service will hold the EzeScan configuration, licenses and table lookups centrally.
Generally an organisation's EDRMS/Finance server are a typical install location given the intertwined nature of EzeScan and these systems, although any suitable and available server instance would be fine as the resources required are quite low.
Installation Process
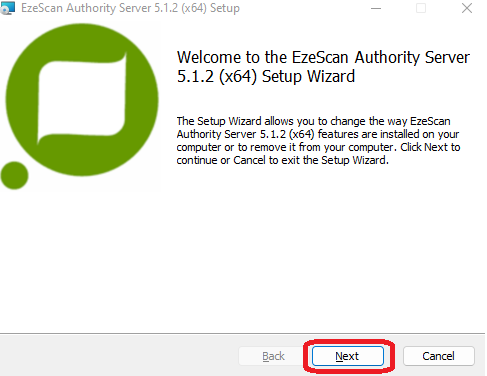
Double click the EzeScan Authority Server_5.1.x_x64.msi file and click the Next button
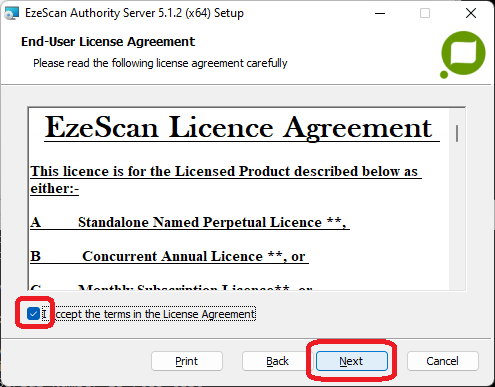
2. Read the terms of agreement,
Tick the checkbox to accept the terms in the License Agreement
Click the Next button
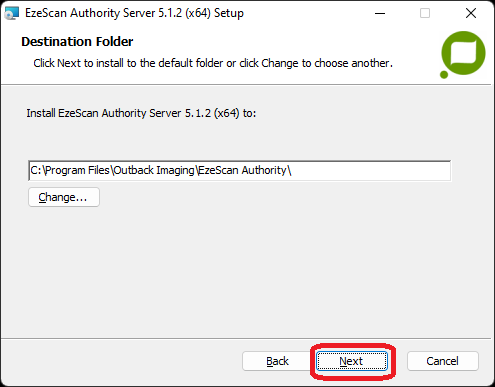
3. Choose the folder where EzeScan Authority Server will be installed
We recommend leaving it set to the default path; unless absolutely necessary to alter it.
Click the Next button
4. Click the Install button to begin the installation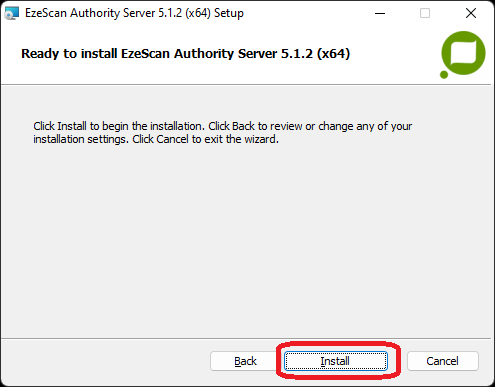
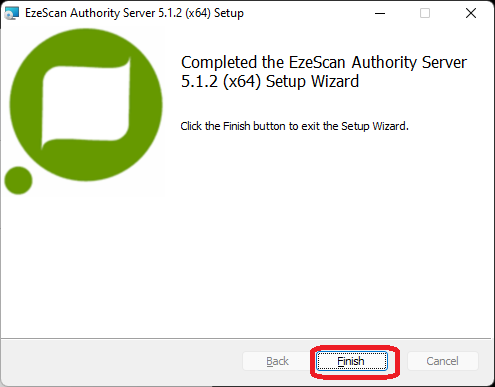
5. When the installation has completed click the Finish button. (A reboot is not required)
